Frigidaire Freezer Drawer Not Sealing? Fix It Fast
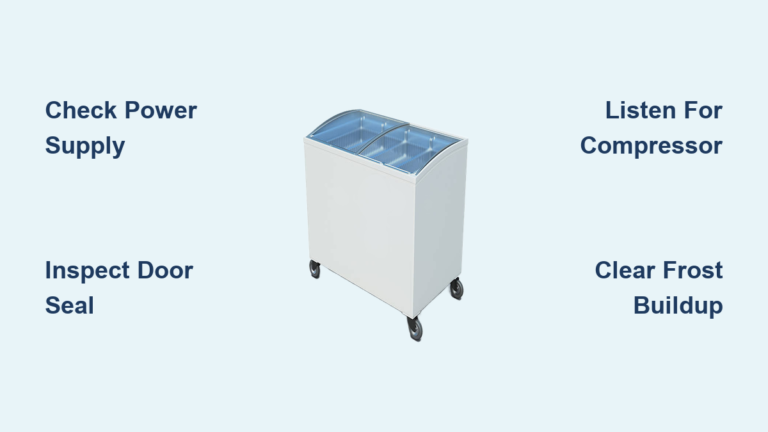
That annoying frost buildup in your freezer drawer or the telltale sound of your Frigidaire running constantly could signal a serious problem: your freezer drawer isn’t sealing properly. When warm, humid air sneaks into your freezer through gaps in the seal, it forces your appliance to work overtime, leading to excessive frost formation, higher energy bills, and potentially spoiled food. The good news is that most Frigidaire freezer drawer sealing issues can be diagnosed and fixed with basic tools and a little know-how—often without needing to call a service technician.
Ignoring a poor seal can lead to compressor strain, food spoilage, and even permanent damage to your appliance. Whether you’re dealing with a slightly loose gasket or a completely failed seal, understanding the root cause is the first step toward an effective solution. In this guide, you’ll learn how to systematically diagnose why your Frigidaire freezer drawer won’t seal, implement practical fixes for common problems, and prevent future sealing issues from developing.
Identify Why Your Freezer Drawer Isn’t Sealing
Before attempting repairs, you need to pinpoint exactly why your Frigidaire freezer drawer fails to create an airtight closure. Most sealing problems fall into one of three categories: debris interference, gasket deterioration, or mechanical misalignment.
Check for Physical Obstructions Preventing Closure
The most common—and easiest to fix—reason for poor sealing is something physically blocking the drawer from closing completely. Food containers placed too close to the edge, ice buildup along the track, or even crumbs and spills that have hardened can prevent the drawer from seating properly. Start by removing all contents from the freezer drawer and shining a flashlight along the entire perimeter while slowly closing the drawer. Pay special attention to the corners and edges where small items often get trapped.
If you spot obstructions, remove them carefully. For ice buildup, unplug the refrigerator and allow the freezer to defrost completely before attempting removal—never use sharp tools that could damage surfaces. After clearing obstructions, wipe down both the drawer track and cabinet frame with a damp cloth to remove any residue that might interfere with sealing. Test the closure again to see if the problem resolves before moving to more complex diagnostics.
Perform the Dollar Bill Seal Test
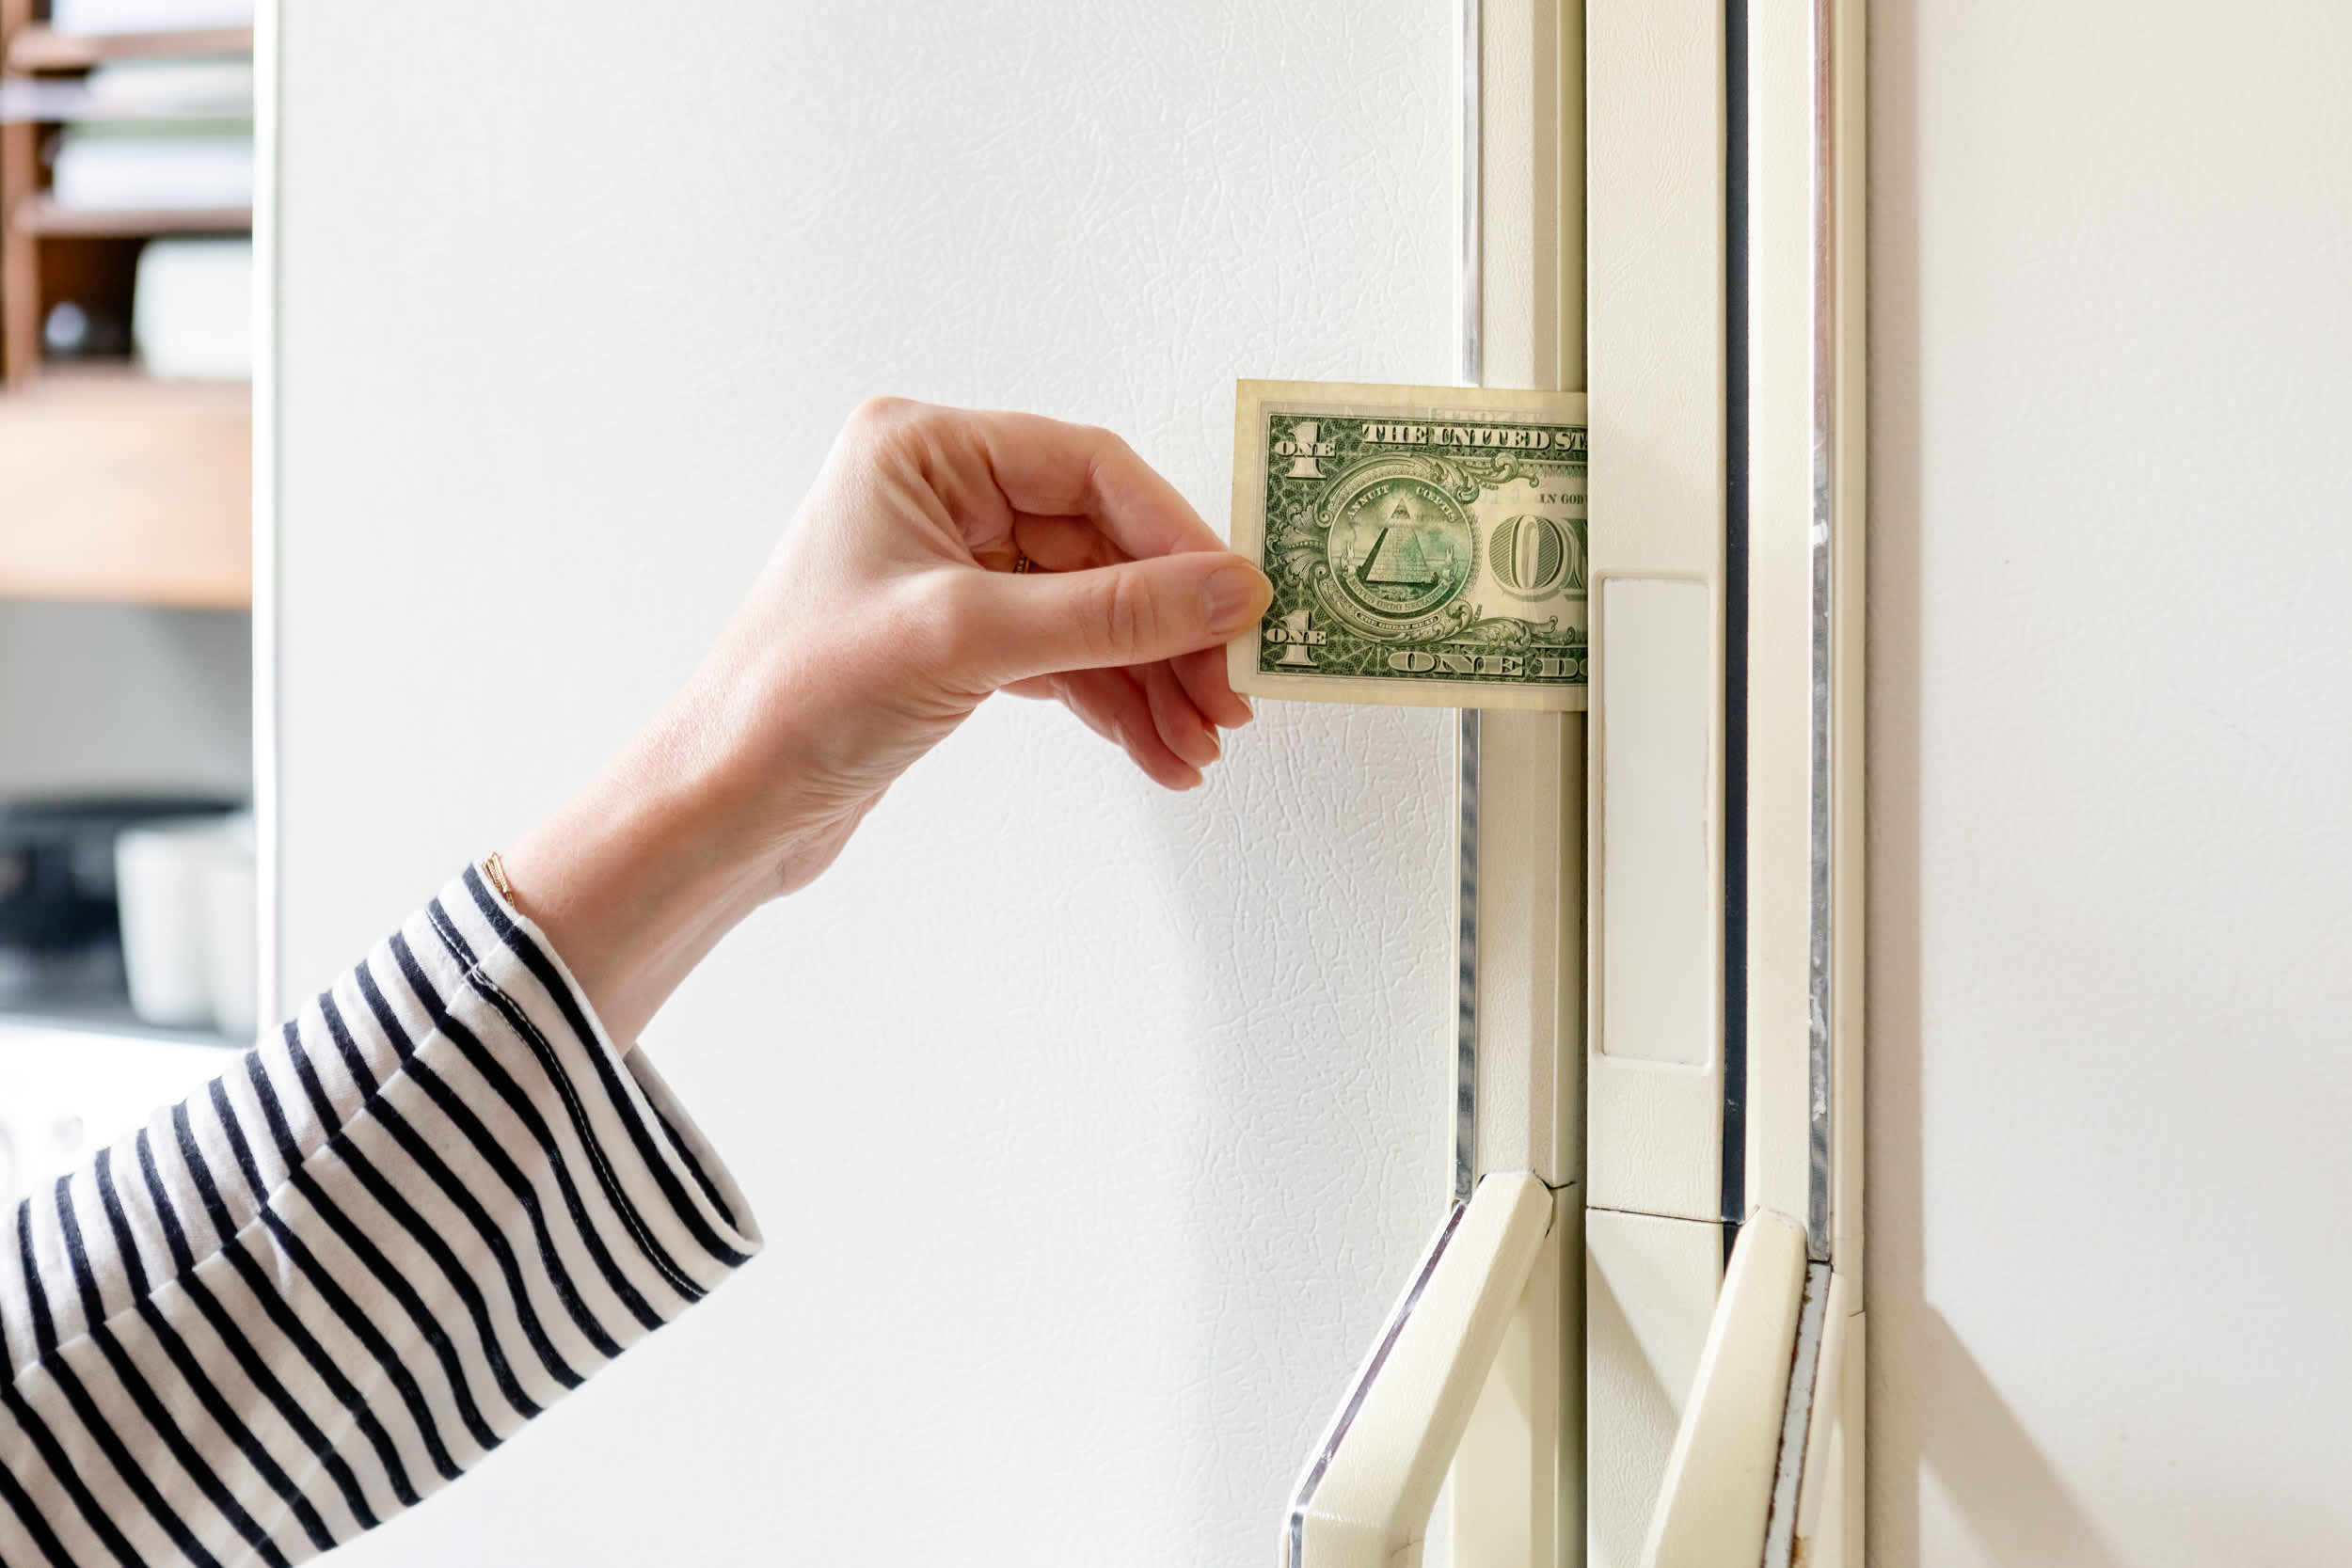
This simple test reveals exactly where your seal is failing. Close the freezer drawer on a dollar bill (or any paper) at various points around the perimeter. If you can pull the bill out easily at any location, that’s where air leakage occurs. A properly functioning seal should grip the bill firmly enough that you feel significant resistance when pulling.
Conduct this test systematically: top center, both top corners, left and right sides, bottom corners, and bottom center. Make note of where the seal fails—pattern recognition helps identify whether the problem is isolated (suggesting localized damage) or widespread (indicating general gasket wear). If the bill slips out easily along the entire perimeter, your gasket likely needs replacement. If only one section fails, you might have a localized issue that cleaning or realignment can fix.
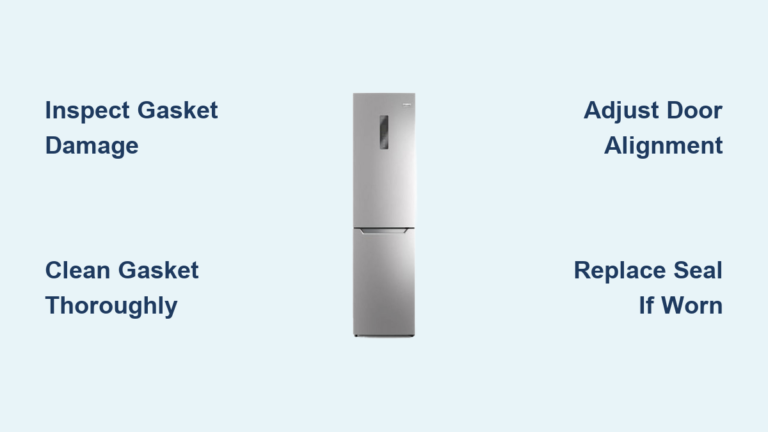
Clean and Restore Your Freezer Gasket
Many sealing problems stem from dirty or stiff gaskets that can be restored with proper cleaning and maintenance rather than replacement.
Deep Clean the Gasket and Sealing Surfaces
Create a cleaning solution using one tablespoon of mild dish soap mixed with one cup of warm water—avoid harsh chemicals that degrade rubber. Dip a soft cloth into the solution and wring it out thoroughly. Clean both the gasket surface and the cabinet frame it contacts, using an old toothbrush for crevices where debris accumulates. Pay particular attention to corners and edges where food particles and mold often hide.
For stubborn grime, use a paste of baking soda and water applied with a soft toothbrush. After scrubbing, wipe away residue with a clean damp cloth, then dry thoroughly with a microfiber towel. Never use abrasive pads or harsh cleaners that accelerate gasket deterioration. Perform this deep cleaning monthly to prevent buildup that compromises sealing.
Revive Stiff Gaskets with Proper Lubrication
After cleaning, apply a thin layer of food-grade silicone lubricant to restore flexibility to stiff gaskets. Spray the lubricant onto a soft cloth rather than directly onto the gasket to avoid oversaturation. Wipe the cloth along the entire sealing surface, focusing on areas that felt rigid during your inspection.
Allow the lubricant to absorb for 10-15 minutes before closing the drawer. This treatment helps the gasket compress properly against the cabinet frame. While lubrication provides temporary improvement, it’s not a permanent fix for severely worn gaskets. If your gasket requires frequent lubrication to seal properly, replacement is likely necessary.
Correct Freezer Drawer Alignment Issues

Even with a perfect gasket, misalignment prevents proper sealing. Your Frigidaire freezer drawer must sit perfectly within its opening for the gasket to create an airtight seal.
Level Your Refrigerator Properly
Improper leveling is a common culprit behind sealing problems. Use a bubble level placed on top of your refrigerator to check both front-to-back and side-to-side alignment. Most Frigidaire models have adjustable front legs—turn clockwise to raise, counterclockwise to lower.
Adjust the legs incrementally, checking the level after each adjustment. The refrigerator should slope slightly backward (¼ inch per foot) to ensure doors close properly. After leveling, test the seal again with the dollar bill test. Proper leveling often resolves seemingly gasket-related issues caused by cabinet misalignment.
Adjust Drawer Position and Hinges
If your freezer drawer has adjustable hinges, minor misalignment can prevent proper closure. Locate the hinge adjustment screws (usually Phillips head) and loosen them slightly without removing completely. Gently shift the drawer in the direction needed to improve alignment—typically toward the side with visible gaps.
Check the gap around the entire drawer perimeter; it should be consistent (about 1/8 inch). Once properly aligned, tighten the hinge screws firmly but avoid overtightening, which can strip threads. Test the seal again to confirm improvement. Some Frigidaire models have specific alignment procedures detailed in the owner’s manual—consult it for model-specific guidance.
Replace a Failed Gasket When Necessary
When cleaning and alignment fail to restore sealing, gasket replacement becomes necessary. Most Frigidaire freezer drawer gaskets can be replaced in under an hour with basic tools.
Find the Exact Replacement Part
Locate your Frigidaire model number (typically inside the fresh food compartment on the side wall or door frame) and use it to order the correct gasket. Search online using “Frigidaire [model number] freezer drawer gasket” or visit an appliance parts retailer with your model number.
If the original part is discontinued, measure your existing gasket’s dimensions (height, width, thickness) and mounting style to find a compatible universal replacement. Ensure the new gasket’s mounting flange matches your drawer’s channel—friction-fit or screw-mounted—to guarantee proper installation.
Install the New Gasket Correctly
Begin by removing the old gasket: for friction-fit models, work around the perimeter with a flat tool to release the mounting flange from its channel; for screw-mounted models, remove all mounting screws first. Clean the channel thoroughly before installing the new gasket.
Start installation at one corner, pressing the new gasket’s flange into the channel and working around the perimeter. Ensure the sealing surface faces inward toward the freezer compartment. For screw-mounted gaskets, insert screws loosely at first, then tighten evenly after positioning the entire gasket.
After installation, close and open the drawer several times to help the gasket settle, then perform the dollar bill test to verify proper sealing at all points. Some gaskets require 24-48 hours to fully conform to the door shape.
Prevent Future Sealing Problems
Proactive maintenance keeps your Frigidaire freezer drawer sealing properly and extends gasket life significantly.
Establish a Monthly Maintenance Routine
Set calendar reminders to inspect and clean your freezer drawer gasket monthly. During these checks, perform the dollar bill test and wipe down both sealing surfaces with a damp cloth. Every three months, verify your refrigerator’s levelness and adjust as needed.
Avoid slamming the drawer shut—close it gently but firmly to allow the seal to engage naturally. Keep the area around your refrigerator clean to minimize dust and debris that can work into the gasket channels over time.
Recognize Early Warning Signs
Stay alert to symptoms of developing seal problems: excessive frost buildup along the drawer edges, ice crystals forming on frozen foods (freezer burn), or unexplained increases in energy consumption. These indicate air leakage that will worsen if unaddressed.
When you notice early warning signs, perform immediate maintenance rather than waiting for complete failure. Early intervention often prevents the need for full gasket replacement and protects your food from spoilage.
A properly sealing Frigidaire freezer drawer maintains consistent temperatures, preserves food quality, and keeps energy costs under control. By following these diagnostic and repair steps, you can resolve most sealing issues yourself and avoid unnecessary service calls. Regular maintenance and prompt attention to warning signs will keep your freezer operating efficiently for years to come—saving you money while protecting your frozen food investment.