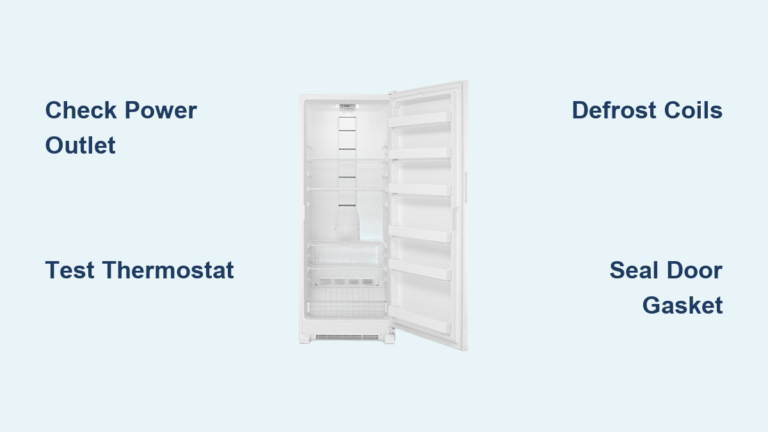
How to Fix a Broken Freezer Door Handle
Struggling with a broken freezer door handle isn’t just frustrating—it’s a serious threat to your food safety and energy efficiency. When your handle snaps or becomes loose, every attempt to access your frozen goods turns into a battle with slippery fingers and awkward maneuvers. This common appliance failure can lead to temperature fluctuations that compromise food quality, increase energy consumption by forcing your compressor to work overtime, and create dangerous frost buildup inside your unit. The good news is that 90% of freezer handle problems can be solved with basic DIY skills using tools you likely already own. Whether you’re dealing with a loose grip on your upright freezer or a completely detached handle on your side-by-side refrigerator, this guide provides the exact steps to restore proper function without expensive service calls.
Most handle repairs take less than 45 minutes and cost under $30, making them one of the simplest and most cost-effective appliance fixes you can perform. By following this guide, you’ll learn how to accurately diagnose your specific handle issue, gather the right tools for the job, execute professional-quality repairs, and implement maintenance strategies that prevent future failures. Whether your appliance is a budget-friendly model from the local home store or a high-end commercial freezer, these techniques will get your handle working like new.
Identify Your Freezer Handle Type Before Starting
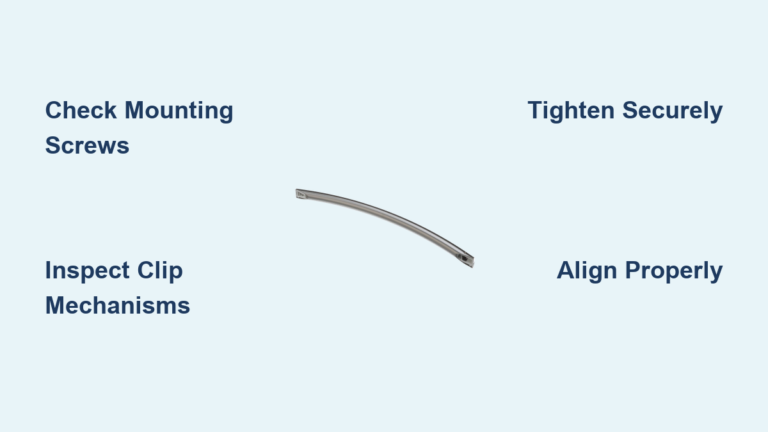
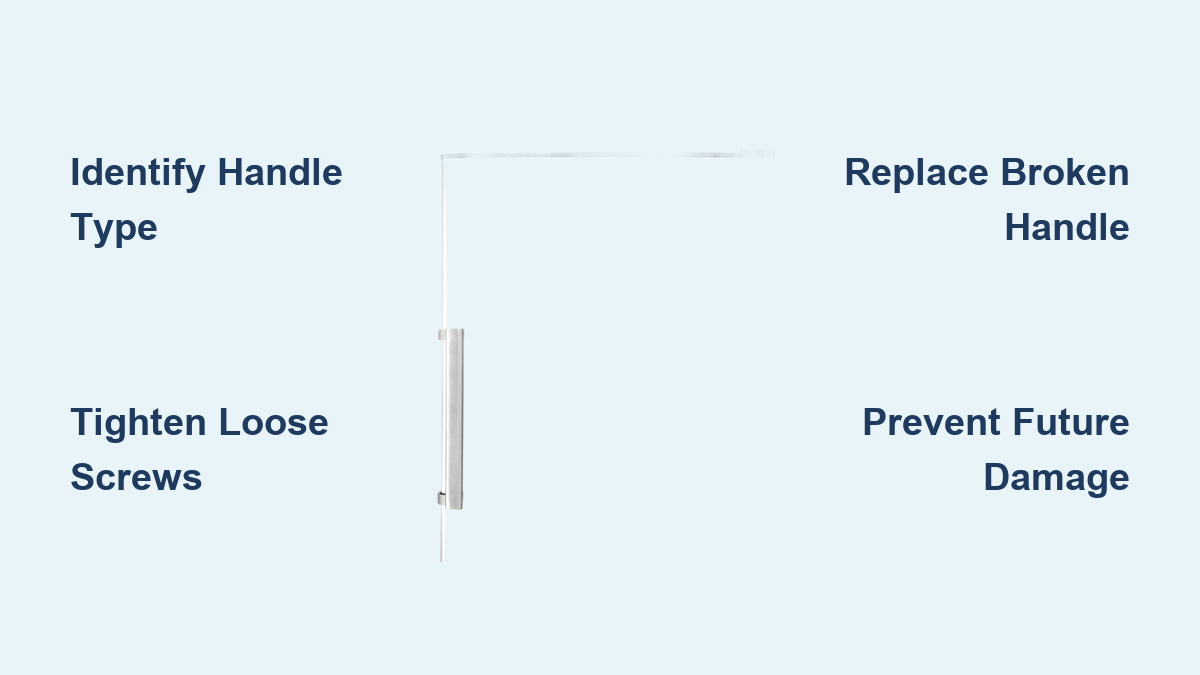
Your repair approach depends entirely on identifying which of the three common handle designs your freezer uses. Surface-mounted handles attach directly to the door with visible or hidden screws and dominate modern side-by-side refrigerators and standalone freezers. To spot these, look for small caps along the handle that pop off to reveal Phillips or Torx screws. Clip-on handles feature a mounting rail where the handle snaps into place—these typically require depressing release tabs with a flat-head screwdriver to remove. Integrated handles are built directly into the door panel and require replacing the entire face or using specialized mounting hardware.
Take 5 minutes to examine your handle closely before disassembling anything. Check for movement at both ends when you wiggle it gently—side-to-side motion usually indicates loose screws while up-and-down play suggests bracket damage. Shine a flashlight along the handle’s edge to spot hairline cracks that might not be visible in normal lighting. Snap photos with your smartphone from multiple angles before removing any components; these visual references prove invaluable when reassembling, especially if you get interrupted mid-project. This initial identification prevents wasted effort on incompatible repair methods and ensures you purchase the correct replacement parts if needed.
Gather These Essential Tools for Handle Repair

Having the right tools ready prevents frustrating mid-repair interruptions and protects your appliance from accidental damage. For most handle repairs, you’ll need a Phillips #2 screwdriver, a medium flat-head screwdriver for prying and clip release, and needle-nose pliers for retrieving dropped screws. Many modern appliances use Torx security screws (T15 or T20 sizes), so include a Torx bit set in your toolkit. Keep a rubber mallet and soft cloth nearby to protect door surfaces during prying operations, and have a flashlight ready for examining tight mounting areas.
Organize your workspace with a magnetic parts tray to prevent small screws from rolling away. Before starting, locate your appliance’s model number—typically found on a sticker inside the freezer compartment—and have it ready when ordering replacement parts. This single number ensures compatibility, as handle designs can vary significantly even within the same brand across different production years. If replacing the handle, purchase mounting screws of the same type and length as originals—using longer screws risks puncturing insulation or damaging internal components. Having these tools and information prepared saves time and prevents costly mistakes during the repair process.
Diagnose the Exact Nature of Your Handle Failure
Accurate diagnosis determines whether your handle needs simple tightening, reinforcement, or complete replacement. Grasp the handle firmly and test movement in three directions: side-to-side wobble indicates loose mounting screws, up-and-down play suggests bracket damage, and flexing or cracking sounds reveal material fatigue. Inspect mounting points closely with a flashlight—loose screws often leave visible gaps between handle and door surface. For clip-on handles, check if the mounting rail appears bent or if retention tabs show signs of breakage.
Examine the handle material itself for stress fractures, particularly at the ends where leverage forces concentrate. Plastic handles commonly develop hairline cracks that worsen with temperature changes, while metal handles may show bending or corrosion at mounting points. If the handle separates completely from the door, determine whether the failure occurred at the handle itself, the mounting bracket, or the door panel. This precise diagnosis guides your repair strategy—loose screws require tightening, cracked handles need epoxy reinforcement or replacement, and damaged brackets must be straightened or substituted. Skipping this diagnostic step often leads to wasted effort on ineffective solutions.
Tighten Loose Mounting Screws in Under 10 Minutes
Loose screws cause 40% of handle problems and represent the quickest fix you’ll perform. Start by locating all mounting hardware—many handles hide screws beneath decorative caps that pry off easily with a flat-head screwdriver. Work methodically through each fastener, tightening until snug but stopping before you feel resistance increase significantly, which indicates potential stripping. If screws spin freely without tightening, the mounting holes have become stripped from previous over-tightening or material fatigue.
For stripped holes, remove the screw and examine the damage. Minor stripping often accepts a longer screw that reaches undamaged material deeper in the door panel. For severe stripping, apply two-part epoxy to the hole before reinserting the screw, allowing 24 hours for full curing. Alternatively, use plastic wall anchors designed for appliance repair that expand to fill the oversized hole. After securing all mounting points, test handle stability by applying firm, realistic pulling force in multiple directions—any movement indicates additional attention is needed. This simple procedure restores secure operation to most wobbly handles without requiring part replacement.
Replace a Broken Handle With Professional Results
When cracks or breaks render tightening ineffective, complete replacement becomes necessary. Begin by documenting the current installation with multiple smartphone photos showing screw positions, bracket orientation, and any wiring connections. Remove mounting screws in reverse order of installation, keeping each screw organized by location—many handles use varying screw lengths at different positions. For clip-on designs, insert a plastic pry tool between handle and door to release retention clips while applying gentle outward pressure.
Before installing the new handle, inspect the mounting surface for damage that could compromise installation. Clean away debris, old adhesive, or corrosion with isopropyl alcohol and a soft cloth. Position the replacement handle precisely, ensuring alignment matches your documentation photos—improper positioning causes binding during operation. Start all mounting screws by hand to prevent cross-threading, then tighten gradually in a crisscross pattern to distribute pressure evenly. After securing all fasteners, perform multiple open-close cycles with realistic force to verify smooth operation before considering the repair complete.
Maintain Your Handle to Prevent Future Failures
Proactive maintenance extends handle lifespan significantly and prevents inconvenient mid-winter failures. Establish a quarterly maintenance routine where you check all mounting hardware for tightness and clean handles with mild soap and water to remove food residue that degrades materials. Teach household members to pull handles straight out rather than at angles, which reduces stress on mounting points by up to 60%. When cleaning, avoid harsh chemicals that weaken plastic components and strip protective finishes.
Monitor handles for early warning signs like minor cracks, stress marks near mounting points, or slight looseness that worsens over time. Address these issues immediately with epoxy reinforcement or screw tightening before they escalate into complete failures. Keep spare mounting screws matching your appliance’s specifications in your repair kit—these often get lost during repairs. For households with children, consider installing handle guards that reduce leverage forces during rough handling. These simple habits transform what could be an emergency repair into routine maintenance that preserves your appliance’s functionality for years.
When Professional Help Becomes Necessary
While most handle repairs are DIY-friendly, certain situations warrant professional assistance. Integrated handles connected to electronic components like touch displays or ice maker controls require specialized knowledge to avoid damaging sensitive wiring. If handle failure has compromised the door panel’s integrity—creating holes, cracks, or insulation damage—a technician can assess whether panel replacement outweighs repair costs. Appliances under active warranty typically require professional service to maintain coverage, as DIY repairs may void protection.
Additionally, if your investigation reveals refrigerant lines, electrical wiring beyond the handle assembly, or structural damage extending into the door frame, these complex systems demand trained technicians with proper certifications. When in doubt about your ability to complete a repair safely, investing in professional service prevents expensive mistakes that could turn a simple handle replacement into a costly compressor failure. Recognizing these limitations protects both your appliance and your wallet from preventable damage.