Fix Freezer Door Switch Not Working
Your freezer door switch failing can cause a cascade of problems throughout your refrigerator, from lights that won’t turn off to ice makers that mysteriously stop working. This small but critical component tells your appliance’s control system whether the door is open or closed, and when it malfunctions, it disrupts everything from lighting to temperature control. Fortunately, diagnosing and replacing a faulty freezer door switch is a straightforward DIY project that can save you hundreds in service calls. By the end of this guide, you’ll know exactly how to identify, test, and replace your freezer door switch with confidence—most repairs take under an hour with basic tools.
Recognize Freezer Door Switch Failure Signs
Interior Lighting Problems
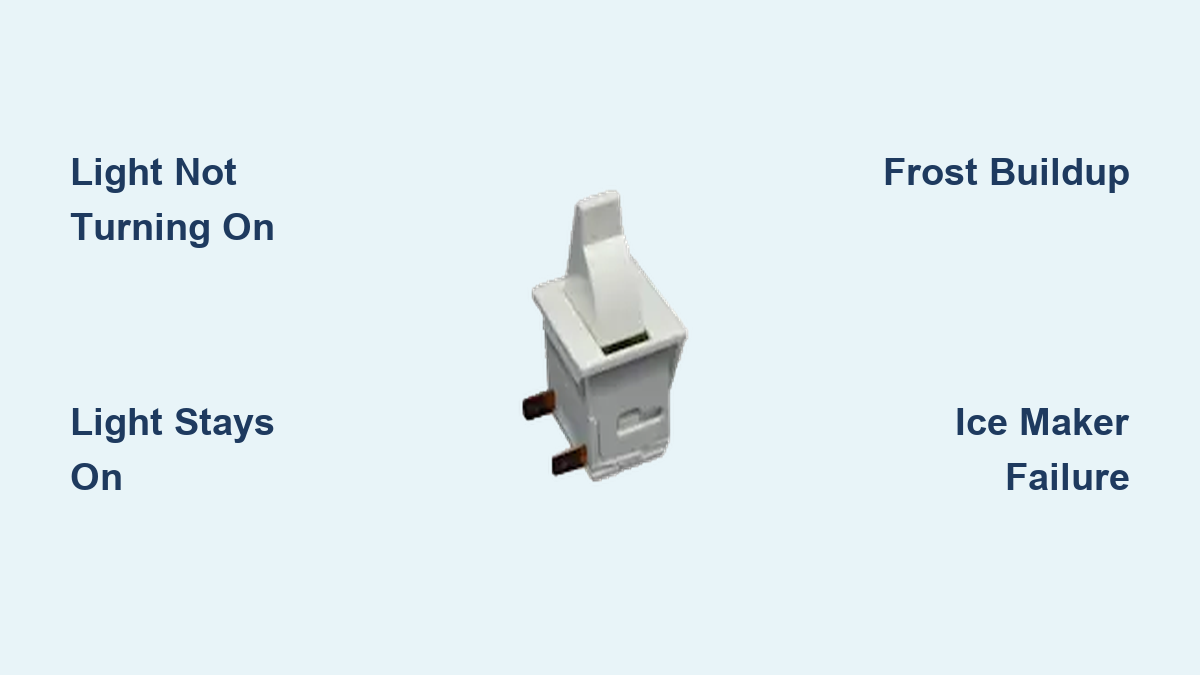
When your freezer door switch fails, the most immediate symptom involves your interior lighting system. If the light doesn’t illuminate when you open the freezer door, the switch has likely failed in the open position or lost electrical continuity entirely. This means the circuit powering the light remains broken even when the door is fully open. You’ll waste time searching for items in the dark while the problem worsens.
Conversely, if the light stays on after closing the door, the switch has probably failed in the closed position or the actuator arm is stuck depressed. This seemingly minor issue actually creates major problems: the constant light generates excess heat, forces your compressor to work overtime, and dramatically increases your energy bill. Test this by opening your freezer door—if the light doesn’t turn on immediately, or if it remains illuminated when the door is properly closed, your door switch requires attention.
Excessive Frost and Ice Accumulation
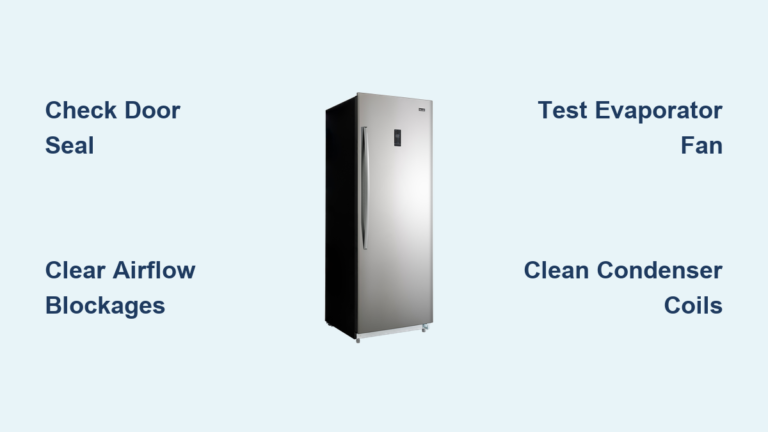
A malfunctioning door switch often triggers excessive frost buildup throughout your freezer compartment. Modern refrigerators rely on accurate door position signals to activate defrost cycles at proper intervals. When your switch fails in a way that makes the control board think the door is always open, the defrost system won’t activate correctly, leading to ice accumulation on the back wall and around the evaporator coils.
This frost buildup restricts airflow, causing temperatures to rise and potentially ruining your frozen food. If you notice frost accumulating faster than usual or appearing in unusual places inside your freezer, check your door switch before assuming it’s a compressor or refrigerant issue. Remember, frost specifically on the door itself usually indicates a seal problem, but widespread frost throughout the compartment points directly to a door switch failure affecting the defrost cycle.
Temperature and Cooling Irregularities
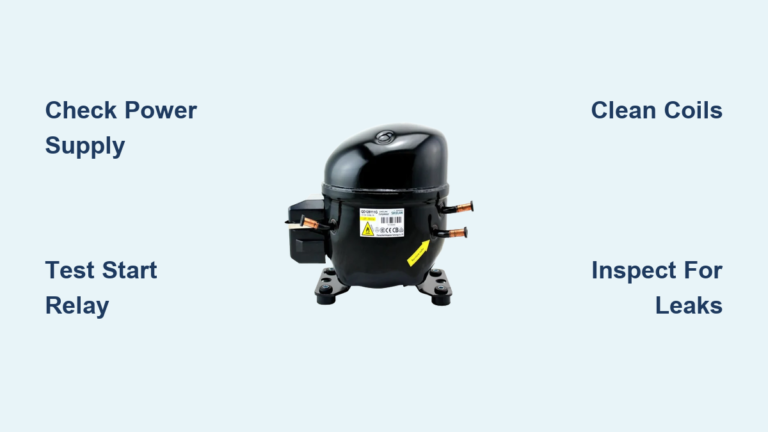
Inconsistent freezer temperatures often trace back to a faulty door switch sending incorrect signals to your refrigerator’s control system. When the switch falsely indicates the door is always open, your compressor may run continuously trying to compensate for perceived temperature influxes. This not only wastes energy but accelerates wear on your compressor—potentially leading to much more expensive repairs down the line.
You might notice your freezer struggling to maintain temperatures below 0°F, food partially thawing, or the compressor running constantly without adequate cooling. Many modern refrigerators include door-open alarms that fail to activate when needed if the switch malfunctions. If your freezer temperatures fluctuate unexpectedly or the compressor behaves erratically, test your door switch before calling for professional service.
Ice Maker and Dispenser Failures
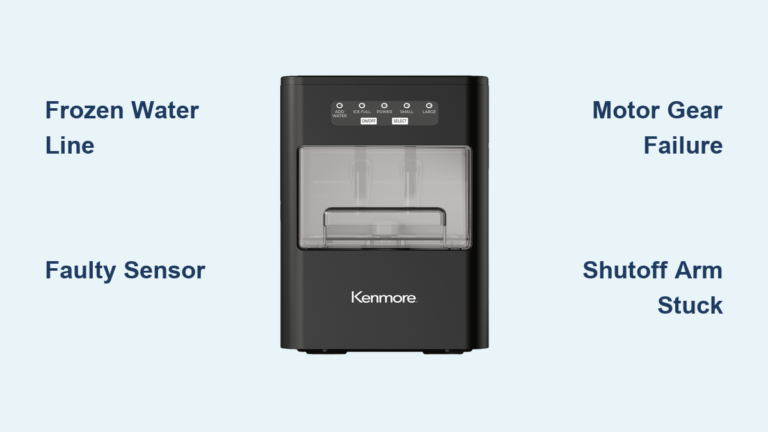
Side-by-side and French-door refrigerators frequently integrate the door switch with ice maker and water dispenser controls. A faulty switch can prevent your ice maker from cycling properly, cause it to produce small or hollow ice cubes, or stop ice production entirely—often without any other obvious explanation. The ice maker requires confirmation that the freezer door is properly closed before it will cycle safely.
Water dispensers may also malfunction, with some models preventing dispensing when the control system believes the freezer door is open. If your ice maker stopped working suddenly or your water dispenser refuses to function after ruling out water supply issues, your door switch should be high on your troubleshooting list. Test this by holding the door switch actuator in the closed position—if the ice maker or dispenser starts working, you’ve found your culprit.
Test Freezer Door Switch Function

Visual Inspection Before Electrical Testing
Before grabbing your multimeter, perform a thorough visual inspection of the switch assembly. Locate the switch on your freezer compartment frame where the door closes—it’s typically a small plastic or metal box with an actuator arm extending outward. Check for obvious signs of damage including cracks, melting, or burn marks that indicate electrical problems.
Manually depress and release the actuator arm while observing for binding, sticking, or abnormal resistance. The arm should move smoothly and return promptly to its extended position. Clean any debris, food particles, or ice accumulations that might prevent proper operation. Also examine your door seal for tears or compression that could prevent the door from making proper contact with the switch actuator—sometimes what appears to be a switch problem actually stems from a damaged door seal.
Multimeter Continuity Testing
For definitive diagnosis, test your switch with a multimeter. First, unplug your refrigerator or turn off the circuit breaker—safety comes first. Remove the switch by releasing its retaining clip or unscrewing its mounting screw. Disconnect the wires, noting their positions (take a photo for reference).
Set your multimeter to continuity mode (diode symbol or audible beep). With the actuator arm extended, touch probes to the switch terminals—you should hear a beep indicating continuity. Press and hold the actuator; the beep should stop, indicating an open circuit. If the switch fails to show continuity when unpressed or fails to break continuity when pressed, it’s defective and needs replacement. This test takes just 5 minutes but provides absolute confirmation of switch failure.
Simple Functional Testing Without Tools
Don’t have a multimeter? Try this quick test: With the freezer door open, the light should be on. Use a piece of cardboard to hold the switch actuator in the depressed position (simulating a closed door). The light should turn off immediately. Remove the cardboard—the light should turn back on. If the light doesn’t respond correctly, your switch is faulty.
Listen for an audible click as you manually depress and release the actuator. A healthy switch produces a distinct, repeatable click. No click suggests welded contacts or complete switch failure. While less definitive than multimeter testing, this method works well for most common switch failures and takes just 2 minutes to perform.
Replace a Faulty Freezer Door Switch
Finding the Correct Replacement Part

Identifying the right replacement switch is crucial—most manufacturers use model-specific part numbers. Locate the part number printed on your existing switch housing, or note your refrigerator’s make, model, and serial number when ordering. Major brands like Whirlpool, GE, Samsung, LG, and Maytag sell switches through authorized parts distributors for $15-$50.
Universal switches offer cost savings but verify compatibility carefully—electrical specifications must match or exceed your original switch. Check voltage and current ratings, as using an undersized switch creates fire hazards. Most replacements take 3-5 business days to arrive, so have your refrigerator model number ready when ordering to avoid delays.
Step-by-Step Installation

Begin by unplugging your refrigerator—never work on live appliances. Access the switch by removing any necessary panels (usually secured with screws or clips). Document wire connections with a photo before disconnecting them. Remove the old switch by releasing its mounting mechanism.
Install the new switch in the same orientation as the original, ensuring it’s fully seated. Reconnect wires exactly as documented—reversed connections cause malfunctions. This 15-minute process requires only basic tools: a screwdriver and possibly needle-nose pliers for wire connectors. Avoid pulling wires directly, as this damages connectors.
Verify Proper Operation After Installation
Before reassembling panels, restore power temporarily to test your new switch. Open and close the freezer door multiple times while observing the interior light—it should turn on when open and off when closed. Check that the actuator moves freely without binding.
Monitor freezer temperature over 24-48 hours to confirm normal cooling performance. Verify ice maker operation has resumed if applicable. If problems persist, double-check your wire connections against your photo documentation—most post-replacement issues stem from incorrect wiring rather than a defective new switch.
Maintain Door Switch Performance
Regular Inspection Schedule
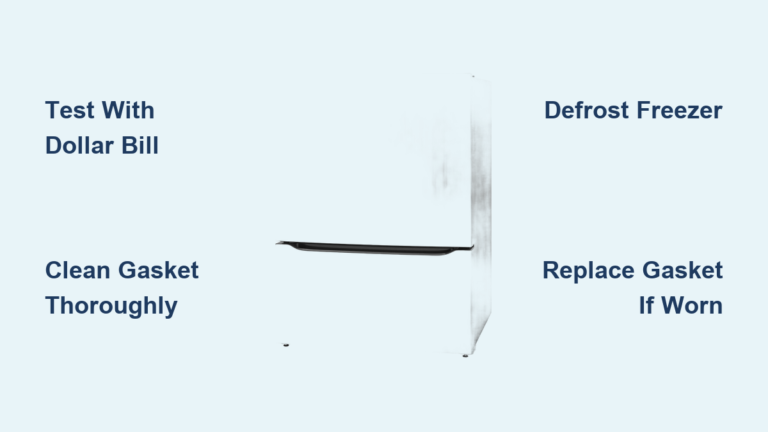
Incorporate door switch inspection into your refrigerator maintenance routine every six months. Clean the actuator and surrounding area with a soft brush to remove dust and ice buildup. Perform the dollar bill test on your door seal—close the bill in the seal at multiple points; if it slides out easily, your seal needs attention.
Check door alignment to ensure it makes positive contact with the switch actuator. Doors that bounce or fail to close fully create intermittent switch problems that are difficult to diagnose. Address hinge issues promptly to prevent ongoing switch malfunctions.
Environmental Factors Affecting Switch Life
Freezer door switches operate in challenging environments with temperature fluctuations and moisture exposure. In garages or unheated spaces, consider installing a small heater to prevent extreme cold from affecting switch operation. Keep your freezer well-organized to prevent items from interfering with door closure.
Avoid slamming the freezer door—this damages the switch actuator over time. Gentle door closing extends switch life significantly. If you notice frequent switch failures, examine your installation environment for contributing factors like excessive vibration or moisture exposure.
Know When to Call a Professional
While most door switch replacements are straightforward DIY projects, some refrigerator designs make switch access difficult. French-door models, built-in refrigerators, and units with complex interior configurations may require partial disassembly beyond a novice’s skill level. Professional technicians complete these repairs faster with specialized tools.
If your door switch problems accompany other issues like refrigerant leaks, compressor problems, or significant ice buildup, the underlying cause may be more complex than a simple switch replacement. Professionals can diagnose these interconnected problems before they lead to food loss or costly repairs. When in doubt, a diagnostic service call ($75-$150) often pays for itself by preventing misdiagnosis and unnecessary part replacements.