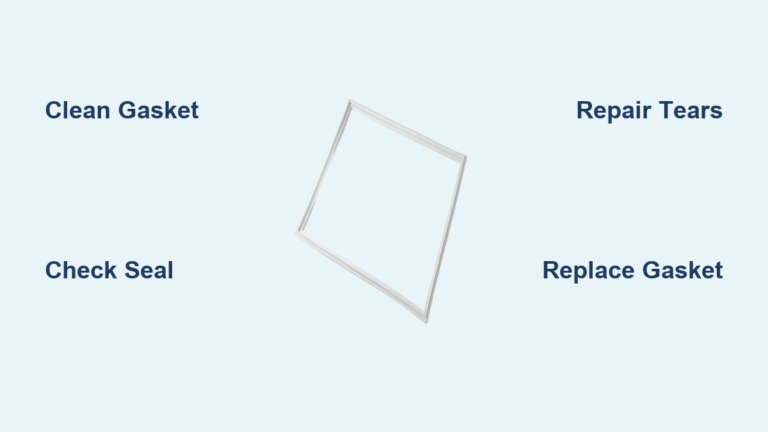
Fix Freezer Door Seal Not Tight Issue
You’ve noticed frost building up in your freezer, higher energy bills, or perhaps food isn’t staying properly frozen despite the temperature setting being correct. These frustrating issues often trace back to one common problem: your freezer door seal isn’t tight. A compromised freezer door gasket allows cold air to escape and warm, moist air to enter, forcing your appliance to work harder while compromising food safety. When your freezer door seal isn’t tight, you’re not just wasting energy—you’re risking spoiled food and potentially expensive repairs down the line. In this guide, you’ll discover exactly how to diagnose, troubleshoot, and fix a loose freezer door seal before it leads to bigger problems.
How to Confirm Your Freezer Door Seal Isn’t Tight
Before diving into repairs, you need to verify that a loose door seal is actually causing your problems. Many homeowners mistakenly assume the seal is faulty when the issue might stem from misalignment or simple debris.
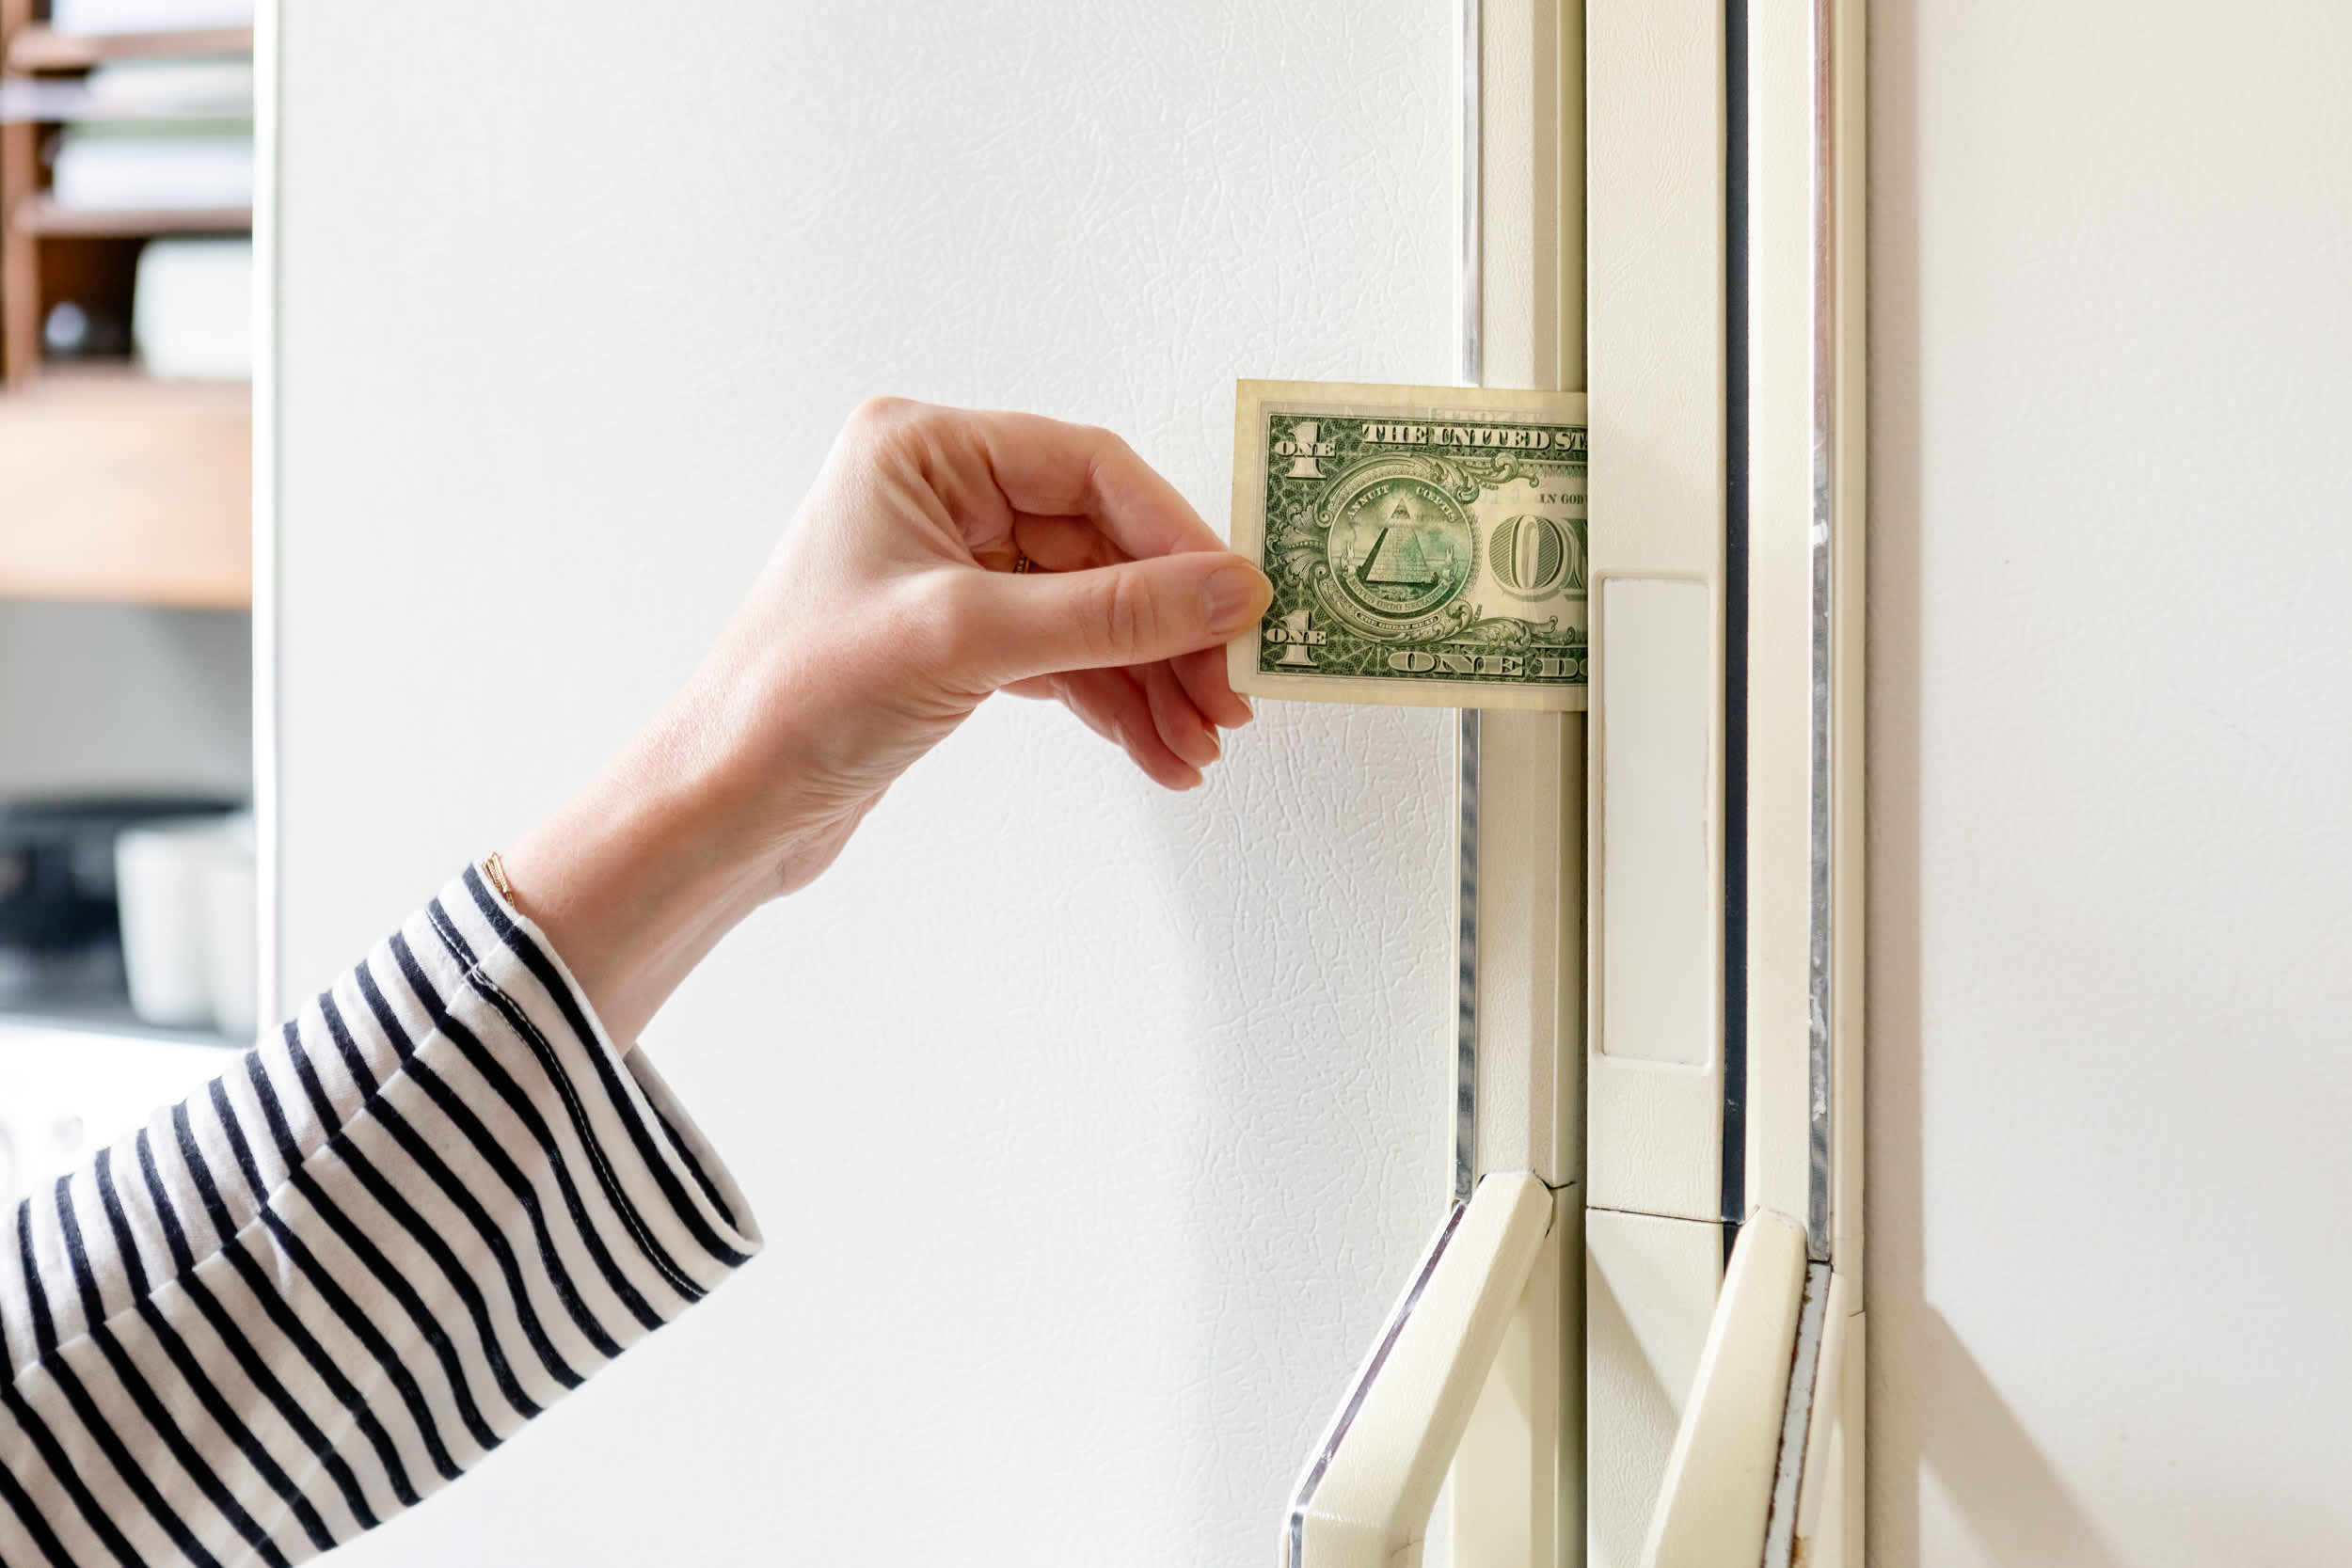
The Dollar Bill Test for Seal Integrity
The most reliable method to check your freezer door seal involves a simple dollar bill or piece of paper. Close the freezer door on the bill, then try to pull it out. If you feel significant resistance throughout the entire door perimeter, your seal is functioning properly. However, if the bill slides out easily in certain spots—especially near the corners or along the bottom edge—this confirms your freezer door seal isn’t tight in those areas. Repeat this test at multiple points around the door to identify exactly where the seal is failing.
Visual Inspection for Common Seal Problems
Examine your freezer door gasket for these telltale signs of failure:
– Visible gaps between the seal and cabinet when the door is closed
– Cracks, tears, or splits in the rubber material
– Hardened or brittle sections that no longer flex properly
– Debris trapped in the seal channel (food particles, ice buildup)
– Discoloration or mold growth indicating prolonged moisture exposure
Pay special attention to corners and areas around the door handle, as these spots typically experience the most wear and are most likely to develop leaks when your freezer door seal isn’t tight.
Immediate Fixes for a Loose Freezer Door Seal
Many seal issues can be resolved without replacement parts or professional help. Try these solutions before considering more involved repairs.
Cleaning and Conditioning Your Existing Seal
Dirt, grime, and food residue often prevent proper sealing. Mix warm water with mild dish soap and use a soft cloth to thoroughly clean both the gasket and the cabinet surface it contacts. For stubborn buildup, a solution of equal parts water and white vinegar works effectively without damaging the rubber. After cleaning, apply a small amount of food-safe mineral oil to condition dried-out rubber—this simple step often restores flexibility to seals that aren’t tight due to minor drying.
Adjusting Door Alignment Issues
Misaligned doors frequently cause uneven pressure on the seal. Check if your freezer has adjustable hinges—many models allow minor height adjustments using a screwdriver. Loosen the hinge screws slightly, reposition the door for even contact with the cabinet, then retighten. Test the seal again with the dollar bill method. If the top or bottom of the door consistently gaps while the opposite side seals properly, alignment adjustment is likely your solution when your freezer door seal isn’t tight.
When to Replace Your Freezer Door Seal
Some seal damage cannot be repaired through cleaning or adjustment. Recognizing when replacement is necessary prevents wasted effort on ineffective fixes.
Signs Your Seal Needs Replacement
Replace your freezer door gasket immediately if you notice:
– Deep cracks or tears that compromise the entire seal thickness
– Permanent deformation where the rubber no longer returns to shape
– Complete detachment from the door frame in any section
– Brittleness that causes pieces to flake off when flexed
– Persistent gaps after thorough cleaning and alignment attempts
A severely damaged seal won’t create proper contact with the cabinet, no matter how much you clean or adjust it. When your freezer door seal isn’t tight due to physical damage, replacement becomes the only effective solution.
Step-by-Step Seal Replacement Process
- Order the correct replacement gasket using your freezer’s model number (typically found inside the door or on the back panel)
- Remove the old seal by gently prying the retaining channel away from the door with a flathead screwdriver
- Clean the channel groove thoroughly before installation
- Start at the top center and press the new seal into the channel
- Work toward the corners maintaining even tension
- Use warm water to soften stiff sections during installation
- Allow 24 hours for the new seal to fully settle before heavy use
Most DIYers complete this process in 30-45 minutes with basic tools. The key to success is patience—forcing the seal can cause kinks that create new gaps where your freezer door seal isn’t tight.
Preventing Future Seal Problems
Maintaining your freezer door seal prevents recurring issues and extends your appliance’s lifespan.
Monthly Maintenance Routine
Establish this simple monthly habit to keep your seal tight:
– Clean the gasket with mild soapy water
– Inspect for early signs of wear or damage
– Apply a light coating of food-safe mineral oil
– Check door alignment using the dollar bill test
– Remove any debris trapped in the seal channel
This five-minute routine catches minor issues before they develop into serious problems where your freezer door seal isn’t tight.
Temperature and Placement Considerations
Your freezer’s environment significantly impacts seal performance. Keep these factors in mind:
– Maintain room temperature between 55-80°F (13-27°C)
– Allow at least 3 inches of clearance around the unit for proper airflow
– Avoid placing near heat sources like ovens or direct sunlight
– Never store hot food directly in the freezer
Extreme temperatures cause rubber seals to expand and contract beyond their design limits, accelerating wear that leads to a freezer door seal not being tight.
Energy and Food Safety Impacts of a Loose Seal
Understanding the consequences of a compromised seal creates urgency for proper maintenance.
What a Loose Seal Does to Your Energy Bill
A freezer with a poor seal can increase energy consumption by 30% or more as the compressor runs continuously to maintain temperature. This translates to potentially hundreds of dollars in wasted energy annually. The warm air entering through gaps forces your compressor to work overtime, significantly shortening its lifespan and increasing the risk of complete failure.
Food Safety Risks with Compromised Seals
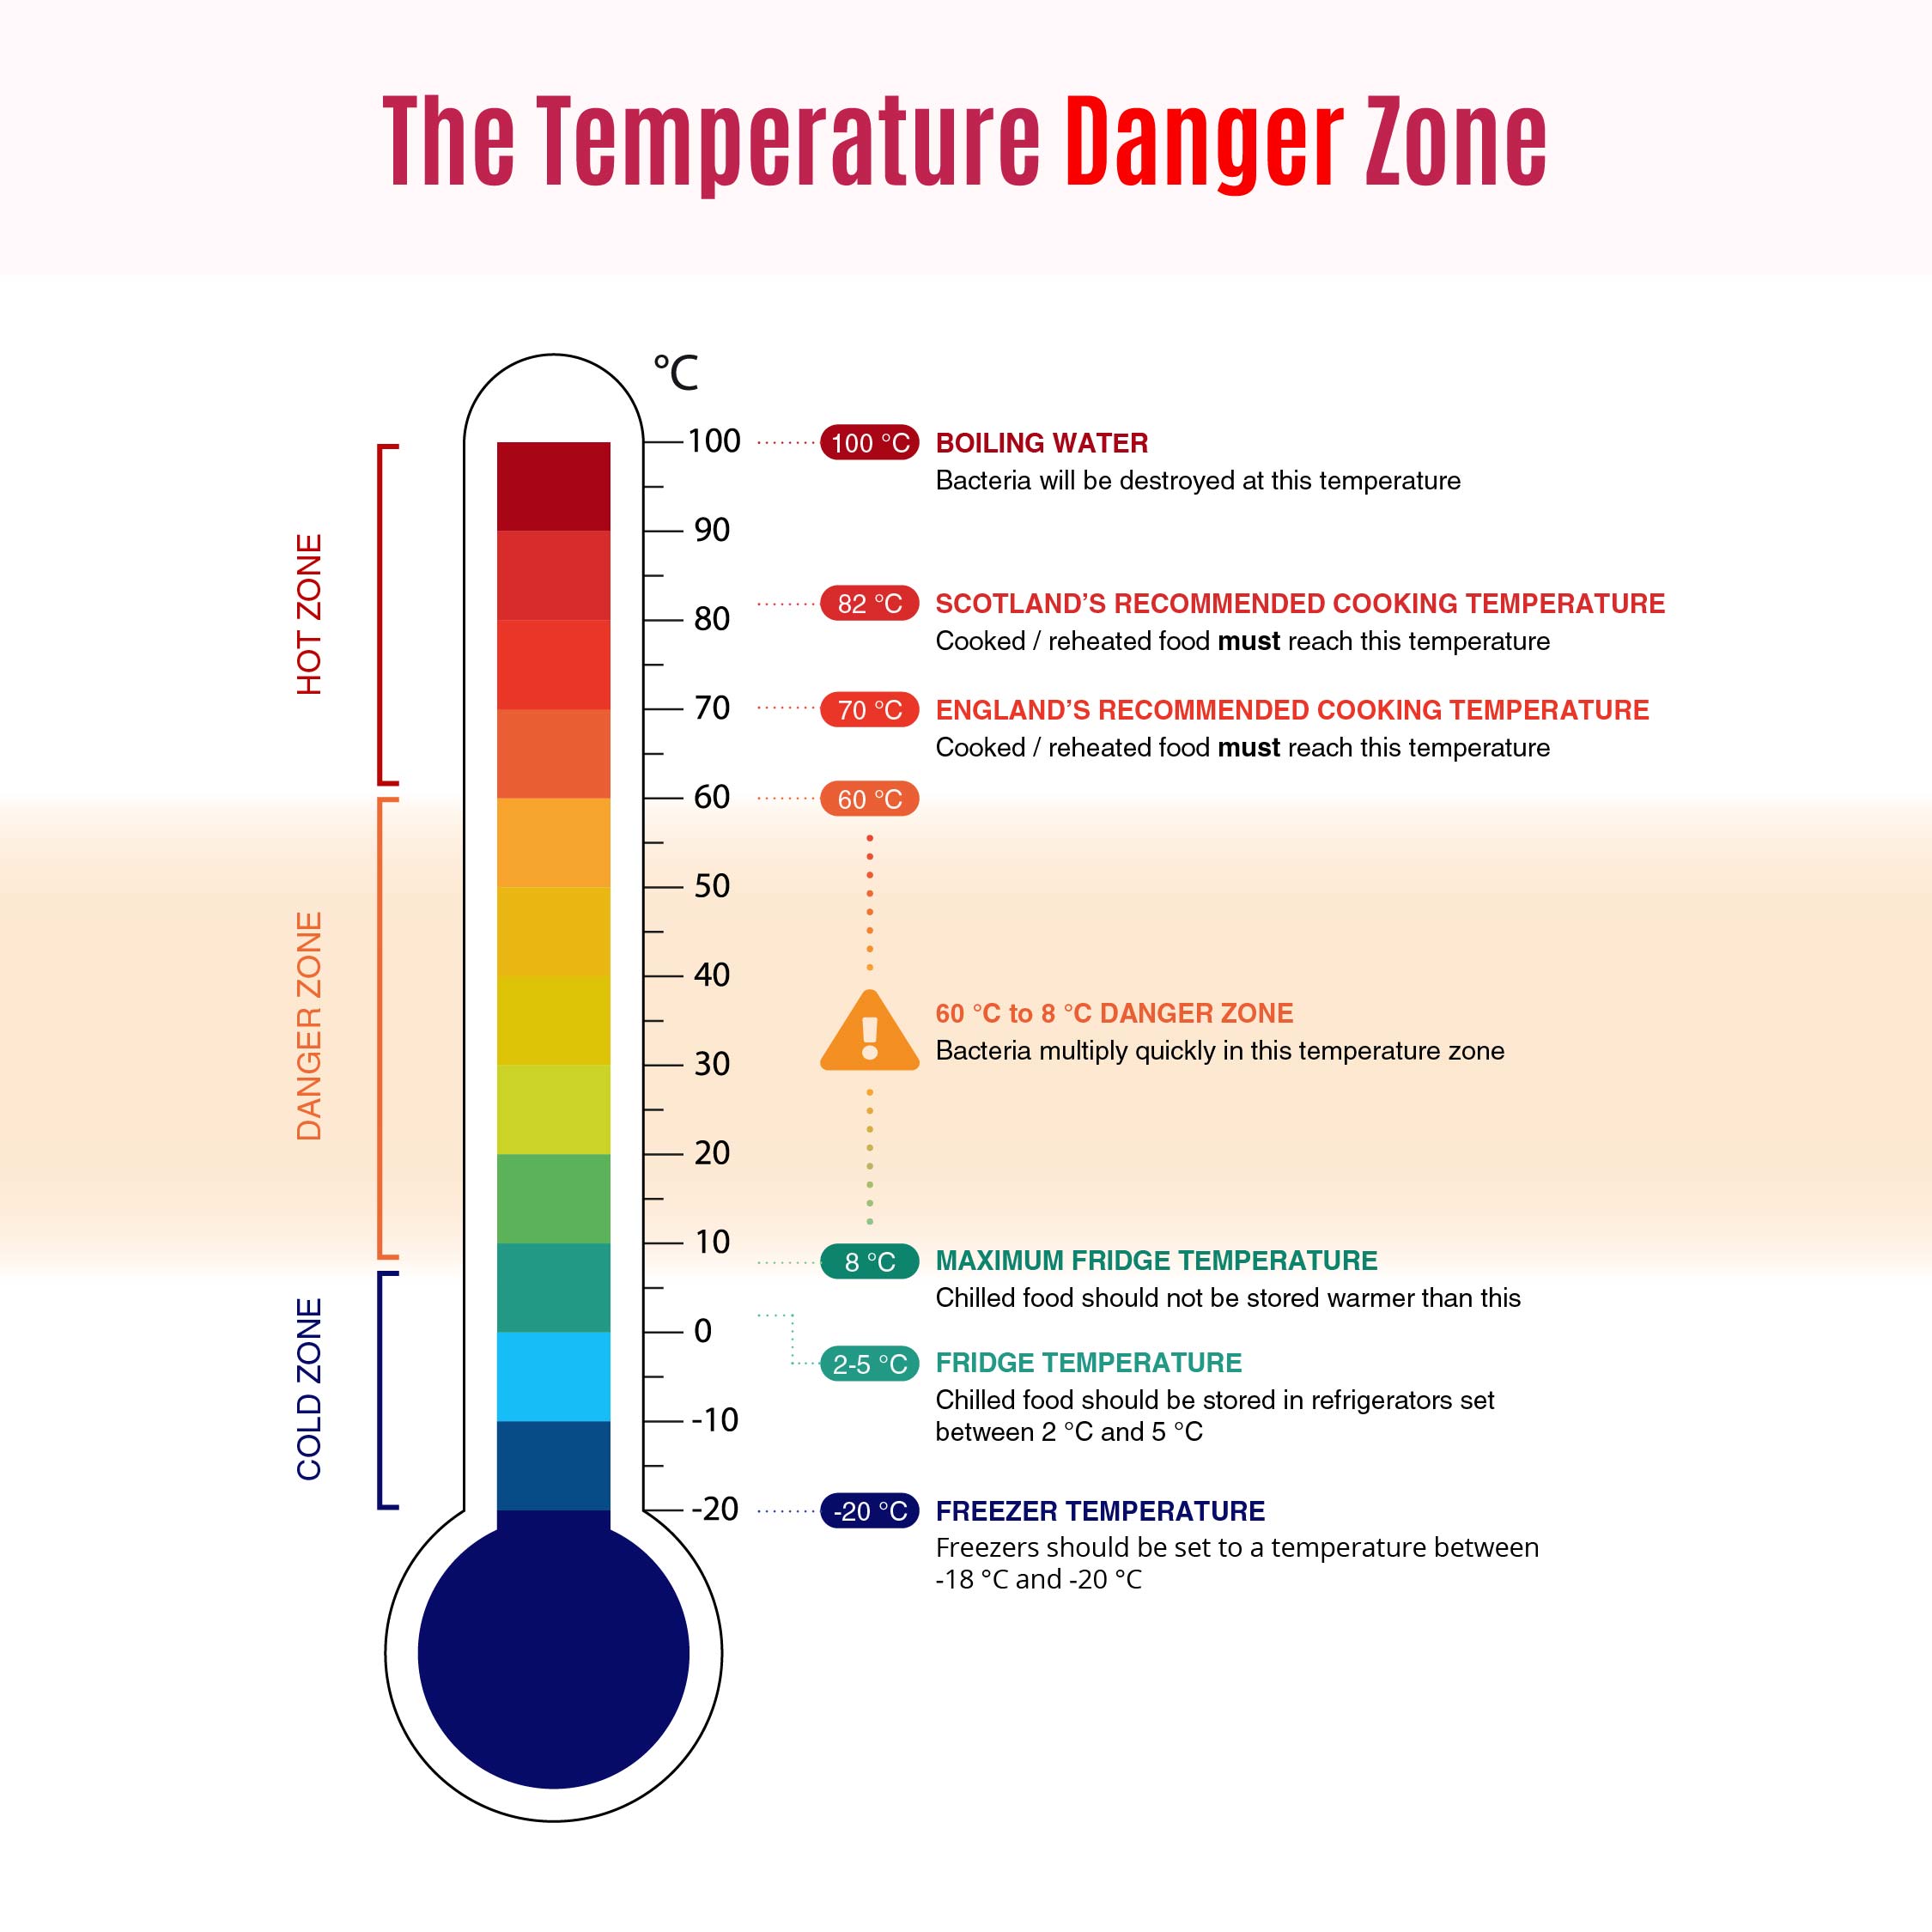
When your freezer door seal isn’t tight, temperature fluctuations occur that can push food into the danger zone (40-140°F). Even brief excursions above 0°F allow ice crystals to melt and refreeze, damaging food texture and quality. More seriously, partial thawing can activate bacteria that survive freezing temperatures, creating potential food safety hazards when the food is eventually cooked and consumed.
Brand-Specific Seal Considerations
While most freezer door seals follow similar designs, important differences exist between manufacturers.
Major Brand Seal Characteristics
- Whirlpool: Often uses dual-flap seals that require precise alignment during installation
- GE: Features magnetic strips in many models that enhance sealing performance
- Samsung: Some models incorporate specialized corner reinforcement
- LG: Frequently uses multi-chamber seals requiring section-by-section replacement
- Maytag: Known for thicker rubber compounds that resist drying
When replacing your seal, always verify compatibility with your specific model number—many manufacturers use different gaskets across product lines even within the same year.
When to Call a Professional
While most seal issues can be handled DIY, certain situations warrant professional help.
Complex Repair Scenarios
Contact an appliance technician if:
– Your freezer uses integrated electronic components in the door
– The door mechanism feels unusually heavy or resistant
– You’ve replaced the seal but still experience gaps
– Frost builds up immediately after repair
– The compressor runs constantly despite successful seal replacement
Professionals have specialized tools to diagnose underlying issues that might be causing your freezer door seal not to be tight, such as faulty door cams or misaligned cabinet frames.
A tight freezer door seal is critical for efficient operation, food safety, and appliance longevity. By implementing the regular maintenance routine outlined here and addressing problems promptly, you’ll avoid the common frustration of a freezer door seal not being tight. Remember that most seal issues can be resolved with basic cleaning or simple adjustments—only resort to replacement when absolutely necessary. When replacement is needed, take your time during installation to ensure proper seating throughout the entire door perimeter. With proper care, most freezer door seals last 7-10 years before needing replacement. Keep this guide handy for your next maintenance session, and consider bookmarking it for quick reference when you notice the first signs of seal trouble.