How to Check Freezer Door Seal: Quick Steps
Your freezer’s rubber gasket works tirelessly to keep cold air locked inside while blocking warm, moist air from entering. When this critical seal fails, your appliance runs longer cycles, energy bills climb, and frozen foods develop frost or spoil prematurely. Learning how to check freezer door seal integrity takes just minutes but prevents costly problems before they escalate. A compromised seal can increase energy consumption by up to 20 percent—potentially adding $100 or more to your annual electricity bill. This guide reveals the exact methods technicians use to diagnose seal problems, so you can identify issues early and maintain optimal freezer performance.
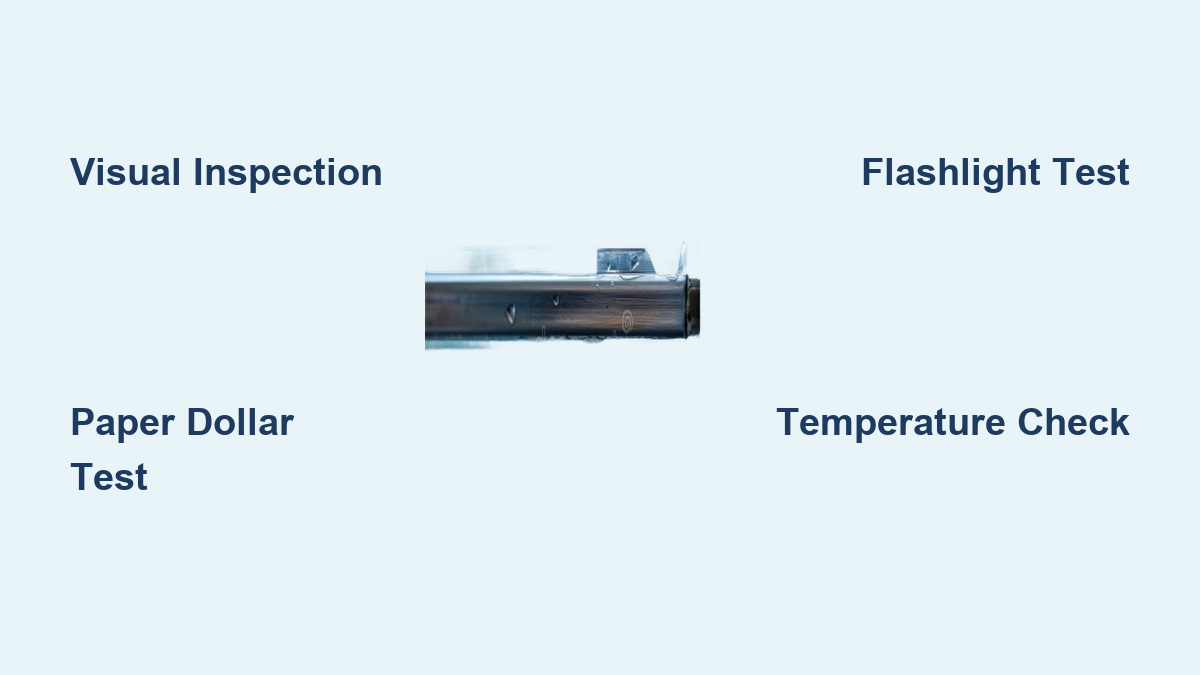
Perform Visual Seal Inspection
Before running any tests, give your freezer seal a thorough visual examination. This quick check often reveals obvious damage that explains poor performance, and it takes less than two minutes to complete when you know what to look for.
Look for Visible Damage
Examine the entire seal under bright light, running your fingers along both sides to feel for cracks, tears, or splits in the rubber. Pay special attention to the corners and fold lines where stress concentrates during normal door operation. Healthy seals feel slightly soft and pliable—not stiff or brittle. If you encounter hardened sections that resist flexing, those areas have likely lost their sealing ability permanently. Check for discoloration that might indicate mold growth or chemical damage from harsh cleaners.
Check Seal Positioning
With the door closed, inspect the seal’s contact with the cabinet frame along its entire perimeter. Look for gaps where the seal curls away or fails to lie flat against the metal surface. Focus on the corners, as these areas commonly lift due to repeated opening and closing. Verify the seal remains fully seated in its mounting groove without sections pulling loose. Even minor misalignment creates pathways for warm air to infiltrate your freezer.
Test Seal with Paper Dollar Method
The paper dollar test delivers the most reliable functional assessment of your seal’s effectiveness. This simple technique measures the friction required to pull paper from a closed door—simulating how well the seal blocks air movement.
Execute the Paper Test Correctly
Close your freezer door on a dollar bill so approximately two inches protrude. Position the paper along the seal’s entire length rather than testing just one spot. Gently pull the paper while noting resistance—your freezer should grip it firmly enough to require noticeable effort to extract. Repeat this test at eight strategic points: all four corners, midpoints of each side, and near the top and bottom edges. Use fresh paper sections for each location to avoid skewed results.
Interpret Your Results Consistently
A properly functioning seal holds paper securely at every test point with uniform resistance. If paper slips out easily anywhere, you’ve found a leak location. Pay particular attention to the bottom corners—they fail most frequently due to gravity and frequent foot traffic near the freezer base. Mark weak spots with tape for focused cleaning or repair. Significant resistance variation between locations indicates uneven wear that requires attention before complete seal failure occurs.
Conduct Flashlight Leak Test
The flashlight test provides visual confirmation of seal integrity by revealing light escaping through gaps. This method detects microscopic leaks that might not affect the paper test but still allow moisture infiltration.
Perform the Illumination Check
Turn off room lights and place a bright flashlight inside your freezer. Close the door and circle the appliance, examining the perimeter from multiple angles. Even pinprick-sized light leaks indicate seal problems. Focus your inspection on the hinge side and bottom edge—common failure zones where debris accumulates. Move slowly around the entire door, checking within six inches of the seal for optimal visibility of escaping light.
Enhance Detection Accuracy
For better results, perform this test when the freezer is running with its interior light off. Some technicians use laser pointers aimed across the seal gap, as concentrated beams make tiny leaks more visible. Document all leak locations with photos or notes to determine whether simple cleaning will suffice or if replacement is necessary. This test often reveals trapped food particles or ice buildup that visual inspection alone might miss.
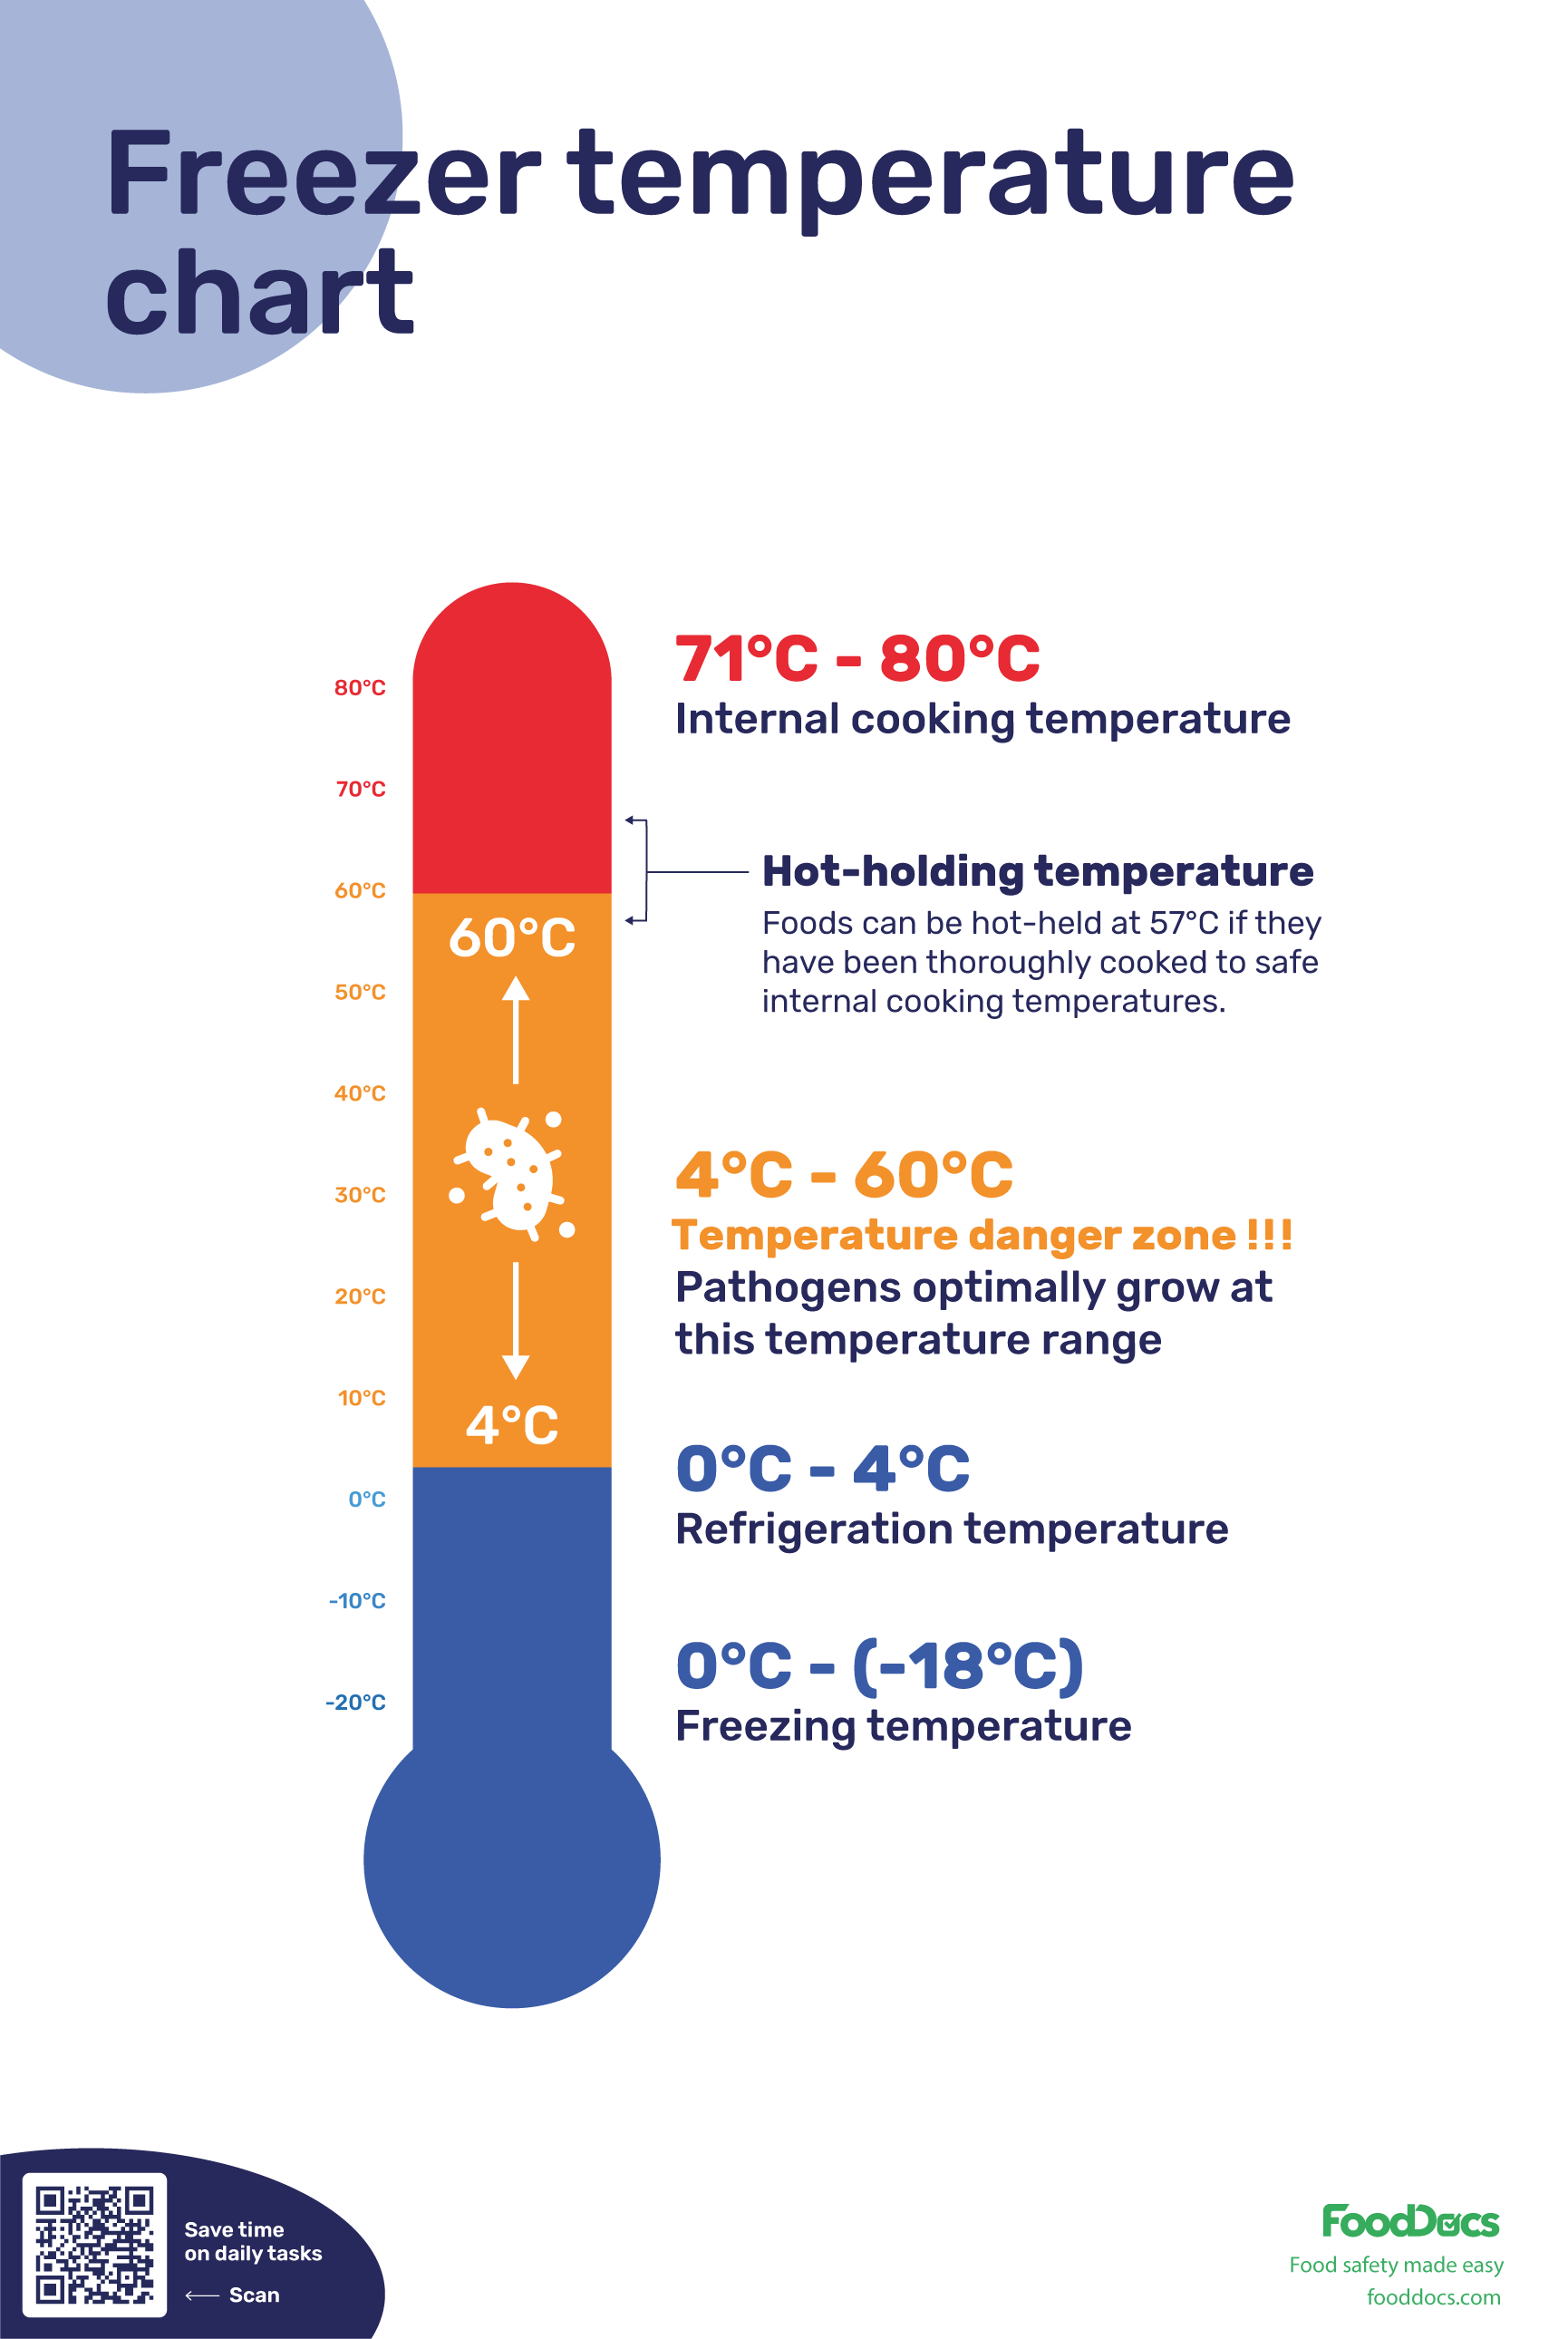
Monitor Freezer Temperature
Your seal’s ultimate purpose is maintaining cold temperatures, so tracking internal readings provides real-world verification of its effectiveness. This method identifies gradual degradation that physical tests might overlook.
Measure Internal Temperature Accurately
Place an accurate thermometer in your freezer’s center and monitor readings for 24 hours. Properly functioning freezers maintain 0-5°F consistently. Check temperatures during peak usage times and overnight when the door remains closed. Fluctuations exceeding 5 degrees indicate seal problems, as your appliance struggles to recover after door openings. Consistent readings above 5°F confirm your seal isn’t retaining cold air effectively.
Analyze Frost Accumulation Patterns
Excessive frost on interior walls or food packaging signals moisture infiltration through seal gaps. While some frost is normal, rapid buildup specifically near door edges points to seal failure. Check for ice crystals forming directly on the seal itself—this creates a barrier preventing proper contact with the cabinet frame. Defrost these areas completely before retesting, as residual ice compromises accurate assessment.
Identify Common Seal Problems

Understanding why seals fail helps you diagnose issues more precisely and choose appropriate solutions. Most problems fall into predictable categories with distinctive warning signs.
Recognize Environmental Damage
Exposure to garage temperature swings, UV light, or harsh cleaners accelerates rubber degradation. Look for cracks radiating from fold lines or uniform hardening across the seal surface. Mold appears as dark spots with musty odors—surface mold can be cleaned, but deeply penetrated growth requires seal replacement. Freezers in humid environments show faster deterioration, especially if doors get left open frequently.
Spot Mechanical Damage Signs
Door misalignment creates uneven wear patterns you can feel during paper testing. Check if one side requires more force to close than the other—this indicates hinge problems. Physical damage from sharp objects appears as punctures or tears, often near the bottom where items get shoved inside. Even small tears expand over time as the seal flexes, eventually creating significant air leaks that worsen with each door cycle.
Clean and Maintain Your Seal
Regular cleaning extends seal life significantly and often resolves minor issues without replacement. Establish this simple routine to prevent most common problems.
Execute Regular Cleaning
Wipe seals monthly with a soft cloth dampened with warm water and mild soap. Clean both sides and the mounting groove where debris accumulates. Rinse thoroughly and dry completely before closing the door. Avoid abrasive cleaners that accelerate rubber degradation. For stiff seals, apply food-grade silicone lubricant sparingly to the outer edge—this maintains flexibility without creating slippery surfaces that compromise sealing.
Deep Clean Periodically
Remove the seal quarterly by gently peeling it from the mounting groove starting at a corner. Soak in warm water with baking soda for 30 minutes, then scrub with a soft brush. Vacuum the mounting groove clean while the seal is out. Reinstall the seal firmly along its entire length, verifying full seating before closing the door. This deep clean removes embedded grime that surface cleaning misses.
Replace Worn Freezer Seals
When cleaning and adjustment no longer restore proper sealing, replacement becomes necessary. Knowing the right time prevents wasted effort on temporary fixes.
Determine When Replacement Is Needed
Replace your seal if you find cracks through the full material thickness, permanent deformation preventing shape recovery, or consistent paper test failures at multiple points despite thorough cleaning. Seals older than 7 years with visible wear should be replaced proactively. The combination of failed paper tests and temperature fluctuations provides the clearest replacement indicator—don’t wait for complete failure that risks food spoilage.
Install the New Seal Properly
Order the exact replacement by matching your freezer’s model number. Remove the old seal completely and clean the mounting groove thoroughly. Press the new seal firmly into place, working around the perimeter methodically. Secure any mounting clips properly before testing. Perform the paper test immediately after installation to verify correct seating—adjust as needed before relying on the new seal.
Quick Reference Guide: Monthly, check seals visually and test corners with paper. Quarterly, deep clean and verify alignment. Annually, run the flashlight test and monitor temperatures. Replace seals showing full-thickness cracks, permanent deformation, or persistent leaks after cleaning. Proper maintenance extends seal life to 7-10 years, saving hundreds in energy costs and preventing food waste. When in doubt about severe damage or complex installation, consult a professional technician who can perform thermographic leak detection and precise hinge alignment.