GE Adora Freezer Not Cooling? Fix It Fast
Your GE Adora freezer should maintain a steady temperature below 0°F (-18°C), but when it stops cooling properly, your frozen food begins thawing within hours. Nothing’s more frustrating than opening your freezer to find soft ice cream, partially thawed meat, or concerning puddles of water on the floor. This common issue affects many GE Adora owners, typically striking without warning and threatening hundreds of dollars worth of frozen inventory. In this guide, you’ll discover the exact steps to diagnose why your GE Adora freezer isn’t cooling properly, with specific solutions for model numbers like GNE27JYMWW, GNE25JYMWW, and other Adora series freezers. Whether it’s a simple thermostat adjustment or a more complex component failure, you’ll learn how to systematically identify and address the problem before your food spoils.
Immediate Actions When Your GE Adora Freezer Stops Cooling
Before diving into complex repairs, take these critical first steps that solve cooling issues in 30% of GE Adora cases. Most owners immediately assume compressor failure, but the problem is often simpler and easier to fix. Start by verifying the obvious issues that take less than five minutes to check but prevent unnecessary service calls.
Verify Power Supply and Electrical Connections
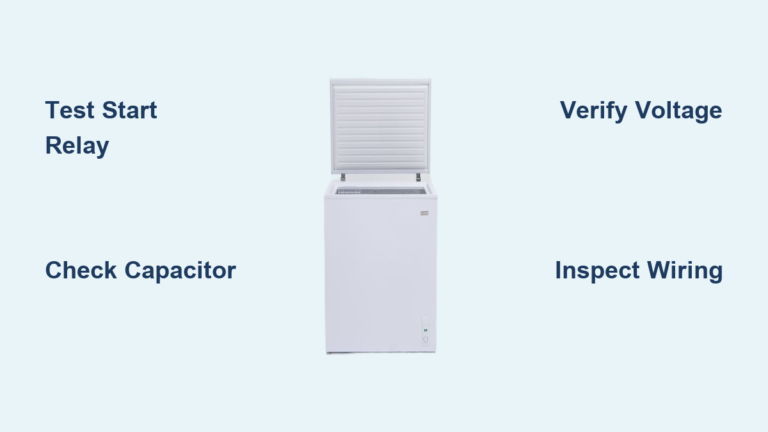
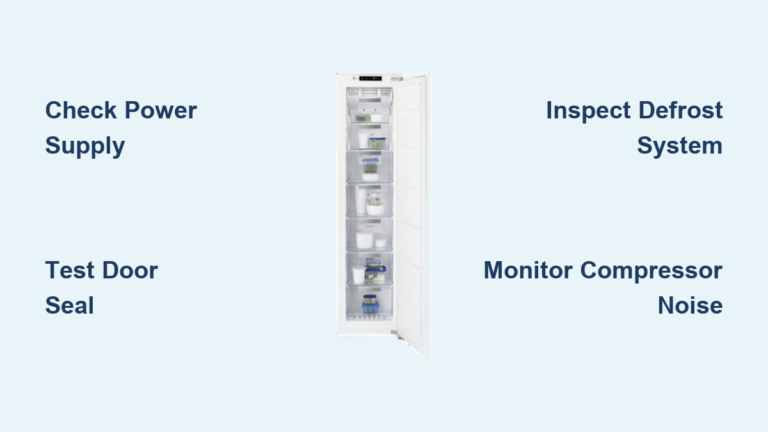
Check that your GE Adora freezer remains properly plugged in and receiving power. Many cooling failures occur after minor home electrical issues that trip circuit breakers without obvious signs. Locate your home’s electrical panel and confirm the freezer’s circuit breaker hasn’t tripped to the “off” position. If it has, reset it firmly to “on” and listen for the compressor restarting. For models with GFCI outlets, check nearby bathroom or kitchen outlets that might control your freezer circuit and press the “reset” button if tripped. Ensure the freezer’s power cord shows no damage and sits securely in the outlet—loose connections often cause intermittent cooling failure that seems random.
Check Temperature Settings and Control Panel
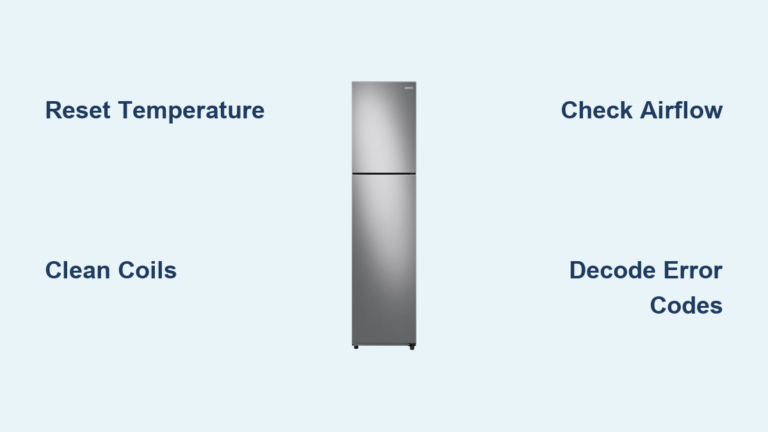
Your GE Adora’s digital temperature control might accidentally get changed during routine cleaning or by curious household members. Open the freezer door and examine the control panel—many owners don’t realize the temperature setting has been accidentally adjusted to a warmer setting. For most Adora models, the ideal freezer temperature ranges between -5°F and 0°F. If your display shows “HI” or “LO” error codes, unplug the unit for 30 seconds to reset the electronic control board, which often resolves temporary glitches. Some Adora models have separate controls for freezer and refrigerator sections—ensure you’re adjusting the correct setting, as changing the fridge temperature won’t affect freezer performance.
Diagnosing Common GE Adora Freezer Cooling Failures
When basic checks don’t restore cooling, systematically examine these common failure points specific to GE Adora models. Each component plays a critical role in maintaining proper freezer temperatures, and failures often present distinctive symptoms that help pinpoint the exact issue without expensive diagnostic tools.
Inspect Condenser Coils for Excessive Dust Buildup

Your GE Adora’s condenser coils, typically located along the back or bottom front of the unit, must dissipate heat effectively to maintain cooling. When clogged with dust and pet hair, these coils can’t release heat properly, causing the freezer to gradually lose cooling capacity. Unplug the freezer and locate the coils behind the front grill or along the rear panel. Using a flashlight, examine the coils for thick dust accumulation—healthy coils should appear clean and metallic, not covered in fuzzy debris. If heavily soiled, use a refrigerator condenser coil brush ($8-$15) and vacuum cleaner to remove buildup. For severe cases, you may need to pull the freezer away from the wall to access rear coils. After cleaning, wait 4-6 hours to assess temperature recovery—most moderately dirty coils restore cooling within this timeframe.
Test the Evaporator Fan Operation
The evaporator fan circulates cold air from the evaporator coils throughout your GE Adora freezer compartment. When this fan fails, the freezer section loses cooling while the refrigerator might still function normally—a classic symptom of evaporator fan failure. With the freezer door open, listen for the characteristic hum of the fan running when the compressor engages. If you hear no fan noise but the compressor is running, locate the fan behind the freezer’s interior rear panel. Remove any food obstructing access and check for ice buildup around the fan blades—a common issue in Adora models that prevents the fan from spinning. If the fan motor is clear but still not running, test it with a multimeter for continuity. Most GE Adora evaporator fans (part number WR60X10043) fail due to worn bearings and require replacement when they stop spinning.
Addressing Defrost System Failures in GE Adora Models
GE Adora freezers use automatic defrost systems that can fail in ways specific to this model line, causing cooling problems that appear intermittent or progressive. Understanding how your Adora’s defrost cycle works helps identify when components have failed versus normal operational patterns.
Identify Defrost Heater and Thermostat Issues

When your GE Adora freezer develops thick frost buildup on the evaporator coils (more than ¼ inch), the defrost system isn’t functioning properly. During normal operation, the defrost heater briefly activates every 8-10 hours to melt frost accumulation. If the defrost thermostat (often called the bi-metal) fails in the open position, it prevents the heater from activating regardless of frost levels. Locate the thermostat clipped to the evaporator coils—it’s a small black or silver disc about the size of a quarter. Test it with a multimeter for continuity when cold (should show continuity) and when warmed (should lose continuity). Similarly, the defrost heater (part number WR51X10072 for many Adora models) can burn out and require replacement. If both components test good but frost continues accumulating, the defrost timer or adaptive defrost control board may need replacement.
Check for Clogged Defrost Drain
A surprisingly common issue in GE Adora freezers involves the defrost drain becoming clogged with ice or food debris, preventing melted defrost water from draining properly. When this happens, water pools and refreezes at the bottom of the freezer, sometimes triggering false temperature alarms. Locate the drain hole at the bottom of the freezer compartment, typically behind the rear panel. Remove any visible ice blockage using warm (not boiling) water poured through the drain tube. For stubborn clogs, use a flexible bottle brush or pipe cleaner to clear the drain channel. After clearing, pour a mixture of water and baking soda down the drain to prevent future clogs. Most Adora models have a drain pan atop the compressor—ensure this pan isn’t overflowing, which can cause water leakage that owners mistake for cooling failure.
Critical Component Failures Requiring Professional Service
Some GE Adora cooling issues involve components that require professional expertise to diagnose and repair safely. Attempting DIY fixes on these components can void warranties, create safety hazards, or cause further damage to your appliance.
Diagnose Compressor and Refrigerant Issues
When your GE Adora freezer compressor runs constantly but fails to cool, you may have a refrigerant leak or compressor failure—issues requiring EPA-certified technicians. The compressor (typically located at the back bottom of the unit) should run in cycles, not continuously. If it runs nonstop while the freezer warms up, this often indicates low refrigerant levels. Unlike other issues, refrigerant problems won’t show obvious visual symptoms—no frost patterns, unusual noises, or error codes reliably indicate this failure. Do not attempt to add refrigerant yourself, as this requires specialized equipment and certification. Instead, look for oil stains near refrigerant lines, which may indicate a leak. Most GE Adora compressors (like the GE WR49X10171) last 10-15 years, so age becomes a factor when considering repair versus replacement.
Test the Temperature Control Board
The electronic control board manages all cooling functions in your GE Adora freezer and can fail in ways that mimic other component issues. When this board malfunctions, you might experience inconsistent cooling, error codes, or complete cooling failure while other components test good. Common failure signs include flickering display lights, unresponsive controls, or the freezer cycling on and off erratically. Testing the control board requires advanced diagnostic skills and equipment to check voltage outputs to various components. For GE Adora models, the main control board (part number WR55X10942) typically costs $120-$180, making professional diagnosis worthwhile before replacement. Many service technicians use temporary bypass tests to confirm control board failure before recommending replacement.
Preventing Future GE Adora Freezer Cooling Problems
Once you’ve restored proper cooling to your GE Adora freezer, implement these maintenance practices specific to this model line to prevent recurrence and extend your appliance’s lifespan. Many cooling failures result from preventable issues that proper maintenance easily addresses.
Establish Regular Cleaning and Maintenance Schedule
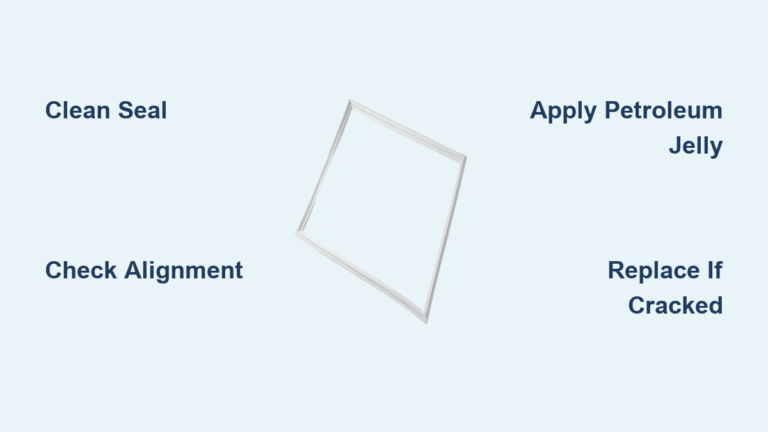
Create a monthly maintenance routine specifically for your GE Adora model to prevent common cooling issues. Every 30 days, vacuum the condenser coils using a soft brush attachment to prevent dust buildup. Every three months, check door gaskets for proper seal by closing them on a dollar bill—if you can pull the bill out easily, replace the gasket. Annually, clean the interior with mild soap and water, avoiding harsh chemicals that degrade components. For Adora models with adaptive defrost systems, periodically check the evaporator fan area for ice buildup, which indicates defrost system issues developing. Keep at least two inches of clearance around the unit for proper airflow—many cooling failures stem from inadequate ventilation behind the appliance.
Optimize Freezer Loading and Usage Habits
How you load and use your GE Adora freezer significantly impacts its cooling performance. Avoid overfilling, which restricts airflow and forces the cooling system to work harder—aim for 70-80% capacity for optimal performance. Similarly, don’t underfill, as empty freezers require more energy to maintain temperatures; use water-filled containers to fill unused space. When adding large quantities of warm food, spread items throughout the freezer rather than clustering them together, which creates localized warm spots. Ensure the door closes completely each time—many Adora models have interior lights that stay on if the door isn’t fully closed, a subtle sign of improper sealing. Finally, maintain consistent ambient temperatures in the room where your freezer operates, as extreme heat or cold affects performance.
Final Note: When your GE Adora freezer stops cooling, systematic troubleshooting prevents unnecessary repairs and saves valuable frozen inventory. By following these model-specific diagnostic steps, you’ll resolve most cooling issues yourself or provide precise information to service technicians when professional help becomes necessary. Remember that regular maintenance prevents 80% of common cooling failures in GE Adora freezers, so implement the recommended practices to keep your appliance running efficiently for years to come. If problems persist after completing these checks, consult GE’s official service documentation for your specific model number or contact an authorized GE service provider for model-specific diagnostics.