How to Fix Freezer Not Freezing | Quick Troubleshooting Guide
Your freezer suddenly stops freezing, and panic sets in as ice cream softens and frozen meals begin to thaw. This frustrating issue affects millions of households each year, with temperature settings, airflow problems, or failing components causing your freezer not to freeze properly. When your freezer fails to maintain the critical 0°F (-18°C) threshold, food safety becomes compromised within hours. This comprehensive guide provides actionable solutions to diagnose and fix your non-freezing freezer, whether the problem stems from simple user error or complex mechanical failure. By following these systematic troubleshooting steps, you’ll either restore proper freezing function or determine when professional help becomes necessary—saving you money on unnecessary service calls and preventing costly food waste.
Verify Temperature Settings Before Panic Sets In
Incorrect temperature settings cause more freezer problems than most homeowners realize. That accidental bump during cleaning or the curious child’s button pressing can easily change your freezer’s temperature without obvious signs. Before assuming catastrophic failure, confirm your freezer’s control is set to 0°F (-18°C)—the temperature required to keep food safely frozen.
Adjust the setting downward if it reads higher, then wait at least 24 hours for the temperature to stabilize. Temperature changes don’t happen instantly; the compressor must complete multiple cooling cycles before reaching the new target. For digital models, check whether demo mode is accidentally enabled—a showroom feature that intentionally limits cooling. Consult your owner’s manual for model-specific instructions to disable this mode.
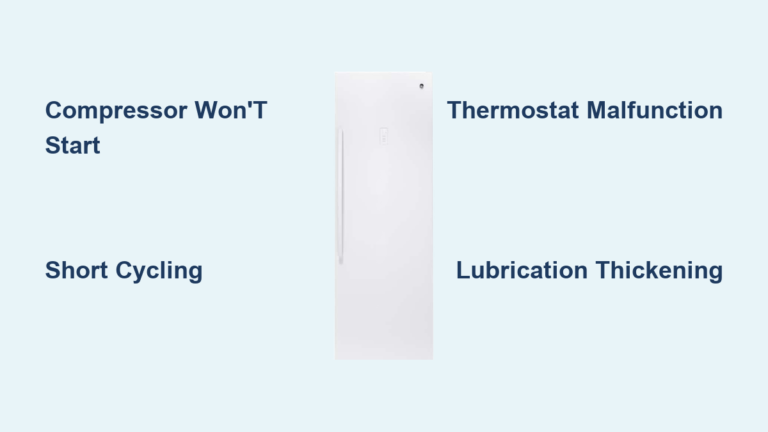
Test the thermostat’s functionality by turning it from the lowest to highest setting and listening for a distinct clicking sound. This click confirms the thermostat is signaling the cooling system to activate. No click indicates thermostat failure requiring replacement, while a constant running compressor suggests the thermostat is stuck in the “on” position. These simple checks take minutes but prevent unnecessary component replacements.
Repair Faulty Door Seals Causing Cold Air Escape
A compromised door seal (gasket) is the hidden culprit behind many freezer not freezing issues. When this rubber seal cracks, warps, or accumulates debris, cold air escapes continuously while warm household air enters, forcing your freezer to work overtime without achieving proper temperatures. This problem develops gradually as seals naturally degrade from repeated use and temperature cycling.
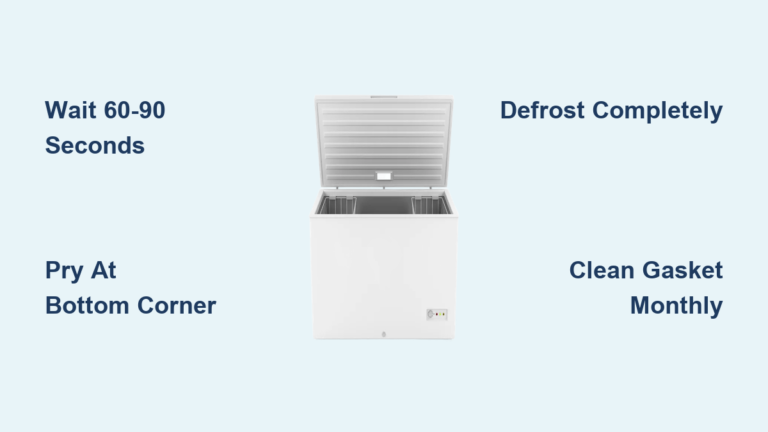
Inspect the entire gasket perimeter for visible cracks, tears, or sections that have pulled away from the door frame. Run your fingers along the seal feeling for thin spots or gaps where cold air might escape. Pay special attention to corners where seals often fail first due to concentrated stress during door closure.
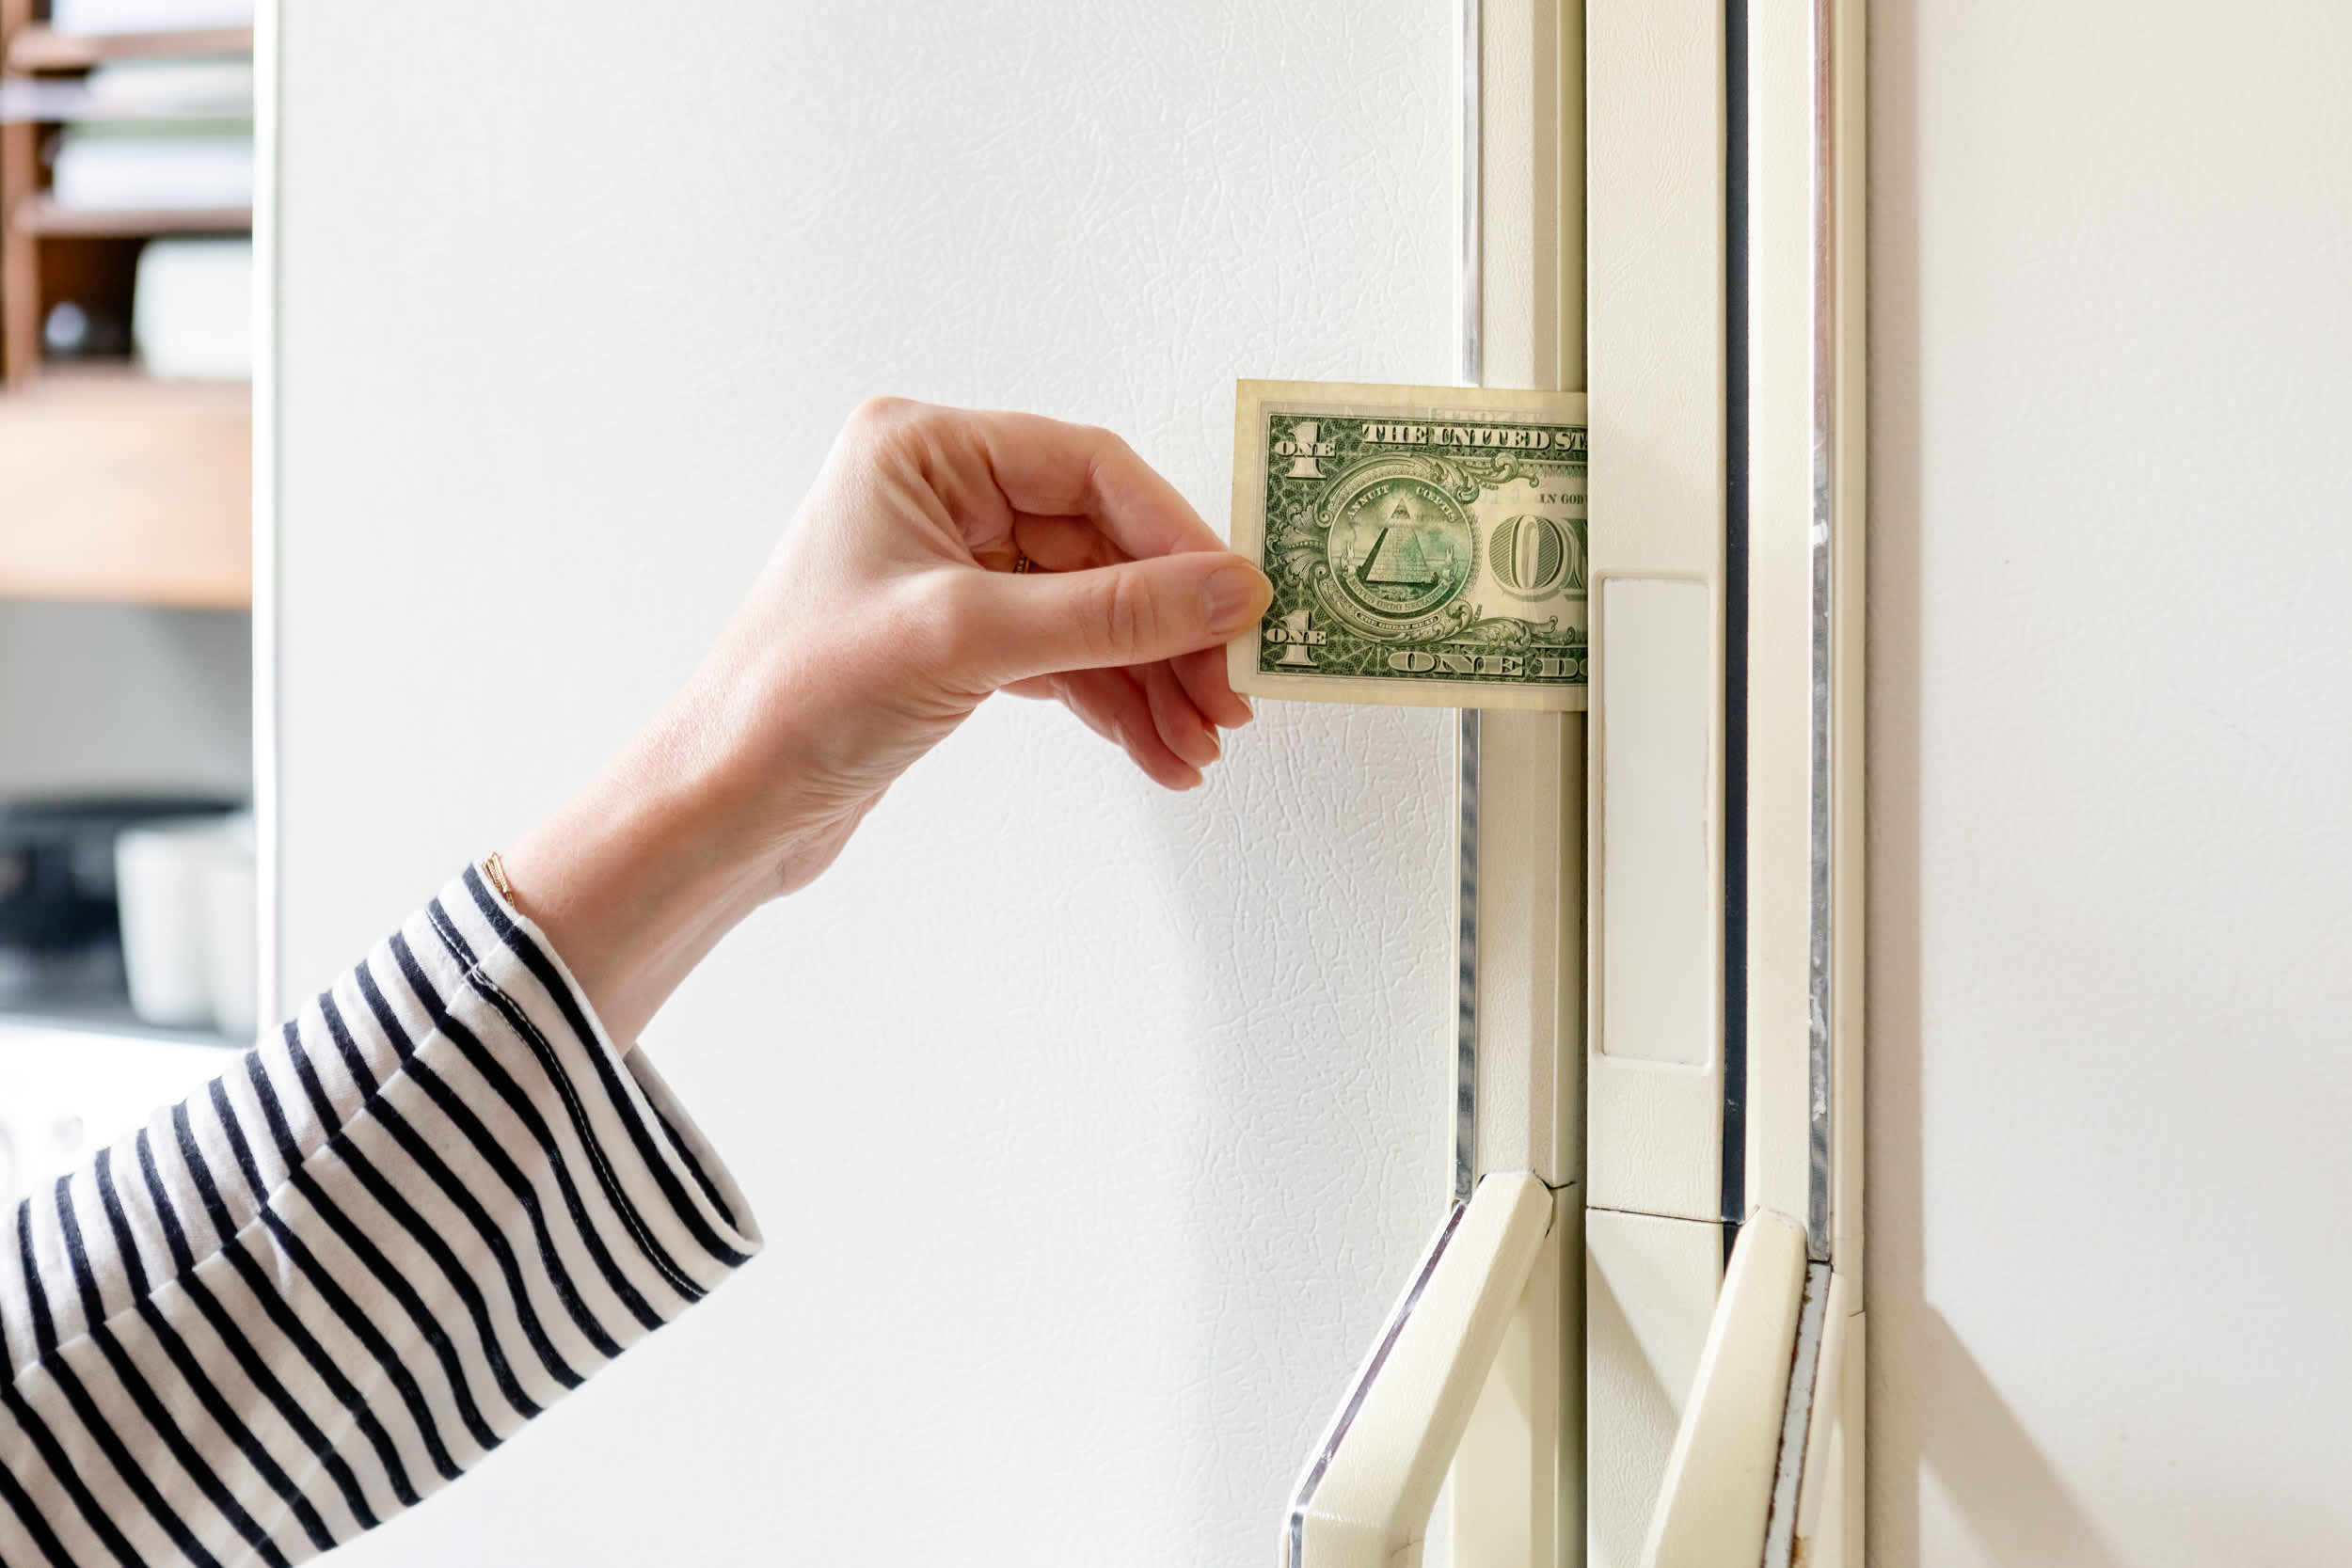
Perform the paper-dollar test: place a dollar bill against the gasket and close the door. If you can pull the bill out with minimal resistance at any point, that section of the seal has failed. Replace the entire gasket if multiple sections fail this test, as partial repairs rarely provide lasting solutions. Most modern freezer gaskets install without tools—simply unclip the old one and snap the new replacement into place. This $20-$40 repair typically takes less than 30 minutes but can completely restore your freezer’s ability to maintain freezing temperatures.
Clear Critical Airflow Blockages Restricting Cold Air

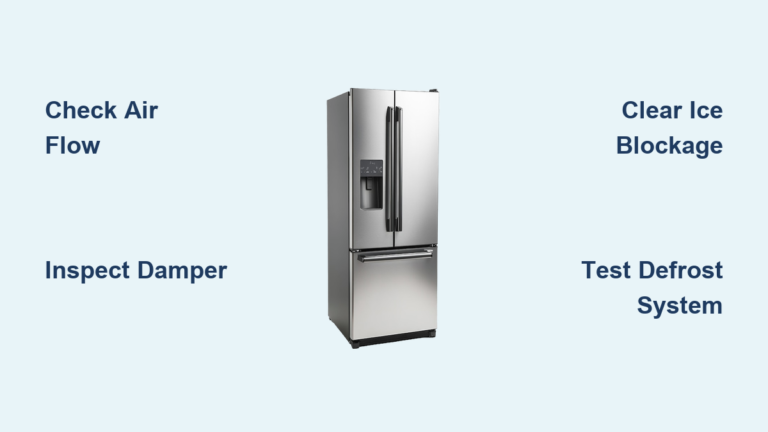
Overpacking your freezer creates hidden warm zones where food fails to freeze properly despite the compressor running normally. When items block air vents or crowd the evaporator fan, cold air cannot circulate throughout the interior, leaving food in certain areas dangerously above freezing temperatures.
Remove excess items until your freezer reaches approximately 75% capacity—this allows adequate space for air to circulate around all contents. Never block the evaporator fan cover, typically located on the back wall of upright freezers or beneath the lid in chest models. Leave at least two inches of clearance around this critical component to ensure proper airflow.
Listen for the evaporator fan after closing the freezer door—it should activate within seconds. If you hear unusual buzzing or complete silence, the fan may be blocked by ice or failing mechanically. Chest freezer owners should check that items aren’t preventing the lid from closing fully, as even a slight gap allows continuous cold air escape that prevents proper freezing.
Defrost Thick Frost Buildup Blocking Cooling Components
Excessive frost accumulation on interior walls or evaporator coils severely restricts your freezer’s ability to maintain freezing temperatures. While light frost on food packages is normal, thick buildup exceeding ¼ inch indicates a serious problem requiring immediate attention. This frost acts as insulation around cooling components, preventing efficient heat transfer even when the compressor operates normally.
Begin manual defrosting by moving all food to a cooler with ice packs. Unplug the freezer completely and leave the door open, placing towels around the base to catch melting water. Never use sharp objects to chip ice, as this can puncture refrigerant lines or damage interior components. Allow several hours for natural melting depending on frost thickness.
If frost returns within days after defrosting, your automatic defrost system has likely failed. This system includes the defrost heater, thermostat, and timer—all of which can malfunction and prevent regular frost removal. While DIY replacement is possible for experienced technicians, most homeowners should call a professional for defrost system repairs due to electrical complexity and component interdependence.
Clean Condenser Coils to Restore Cooling Efficiency
Dirty condenser coils represent one of the most common yet easily fixable reasons for a freezer not freezing properly. Located at the back or beneath your appliance, these coils release heat absorbed from the freezer interior. When clogged with dust, pet hair, or debris, they cannot dissipate heat efficiently, causing the entire cooling system to struggle.
Clean coils every two to three months using a refrigerator coil brush and vacuum with crevice attachment. Start by unplugging the freezer for safety. For rear coils, remove any access panels and gently brush between coil fins to dislodge debris, vacuuming as you go. Avoid bending coil fins, as damaged fins restrict airflow and reduce cooling efficiency.
For bottom-mounted coils, you may need to pull the freezer away from the wall and tilt it slightly forward to access the coil area. Some models require removing a front grille to reach the coils. After cleaning, plug the freezer back in and monitor temperatures over the next 24 hours. This simple maintenance task often restores proper freezing function and extends your appliance’s lifespan by reducing compressor strain.
Test and Replace Critical Electrical Components
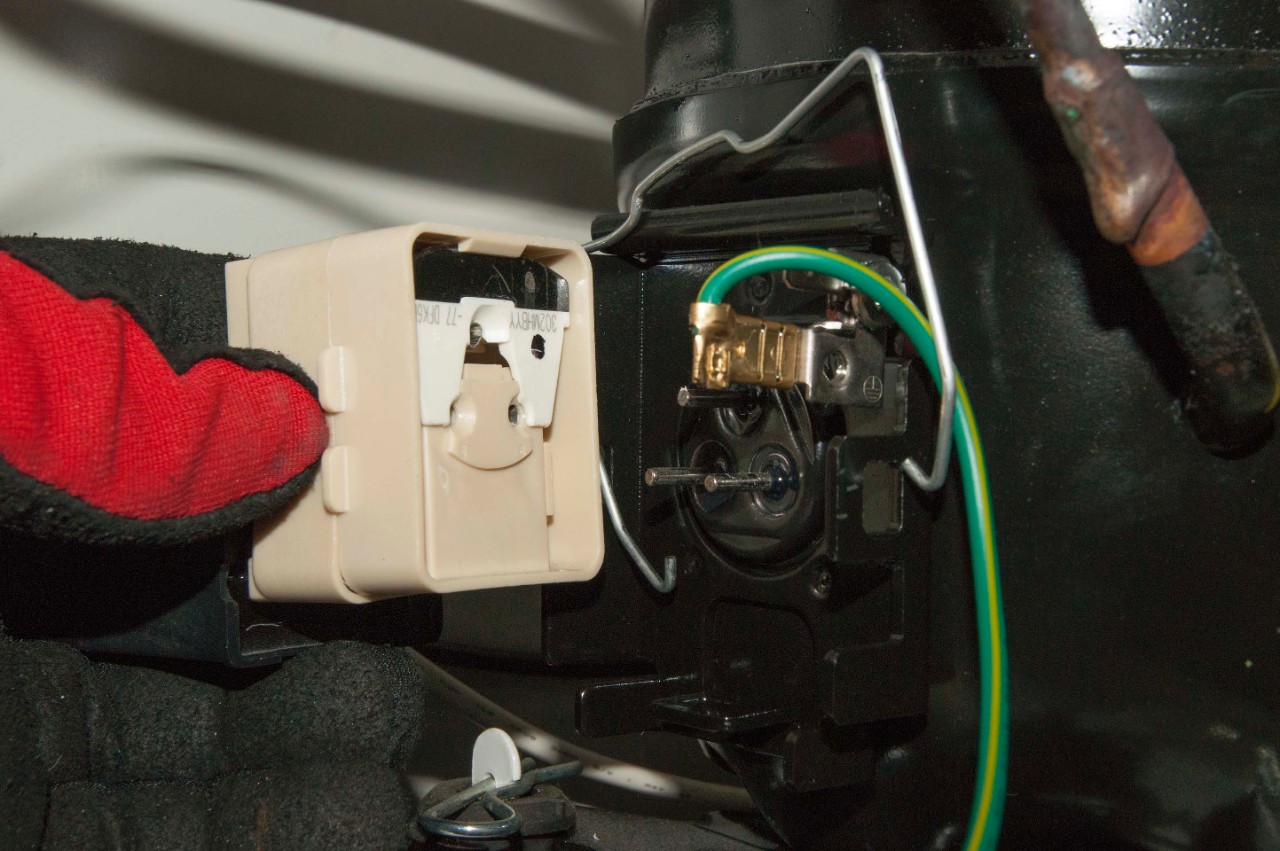
When basic maintenance fails to resolve freezing issues, testing specific electrical components becomes necessary. The start relay—a small device attached to the compressor—provides the electrical surge needed to start the compressor. A failed relay prevents cooling despite other components functioning normally.
Unplug the freezer and locate the start relay near the compressor. Remove it and shake gently—a rattling sound confirms internal failure requiring replacement. No rattle doesn’t guarantee functionality, as internal contacts can fail silently. Relay replacement costs $20-$40 and takes 15 minutes for most models—simply unplug the old unit and snap the new one into place.
The thermistor (temperature sensor) monitors internal temperatures and signals the control board when to activate cooling. A faulty thermistor causes inaccurate temperature readings that prevent proper freezing. Symptoms include wildly fluctuating display temperatures or the compressor cycling on and off without reaching 0°F. Thermistor replacement involves unplugging the freezer, locating the sensor (usually near evaporator coils), disconnecting the wiring, and installing the new unit—a moderate DIY repair costing under $30.
Recognize When Professional Help Becomes Essential
While many freezer problems are DIY-friendly, certain situations demand professional expertise. Call a technician immediately if you suspect refrigerant leaks, as these environmentally hazardous chemicals require EPA-certified handling. Compressor failures also warrant professional evaluation, as replacement costs often approach the value of older freezers.
Electrical repairs involving control boards, wiring harnesses, or multiple component interactions should be left to professionals due to shock risks and complex diagnostic requirements. If you’ve completed all troubleshooting steps without resolving the freezing issue, a service call prevents wasted money on incorrect parts and repeated repair attempts.
The cost of professional diagnosis (typically $75-$150) often pays for itself by identifying the precise problem on the first visit. Technicians arrive with specialized tools, common replacement parts, and experience recognizing subtle symptoms that multiple component failures might cause.
Implement Preventative Maintenance to Avoid Future Failures
Regular maintenance prevents most freezer problems before they develop. Check your freezer temperature weekly using an appliance thermometer—not just the display—to catch gradual warming trends before food spoilage occurs. Mark your calendar to clean condenser coils every two to three months, adjusting frequency based on your environment (more often with pets or high dust).
Include seal inspection in your cleaning routine. Wipe gaskets with warm, soapy water to remove residue that might prevent sealing, then dry thoroughly. The paper-dollar test provides a quick seal integrity check that takes seconds but prevents major problems.
Load your freezer thoughtfully—avoid pushing items against walls or blocking vents, and never exceed 75% capacity. Periodically review contents and discard anything past its prime; forgotten items accumulate in the back, blocking airflow and creating hidden warm spots. These simple practices extend your freezer’s operational life, maintain energy efficiency, and protect your food investment.