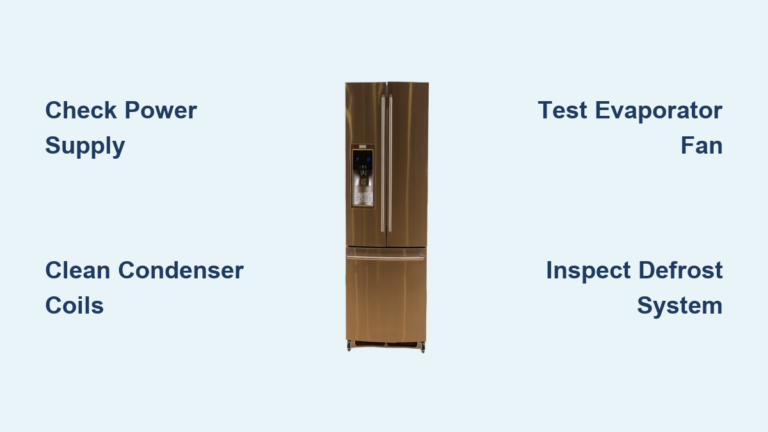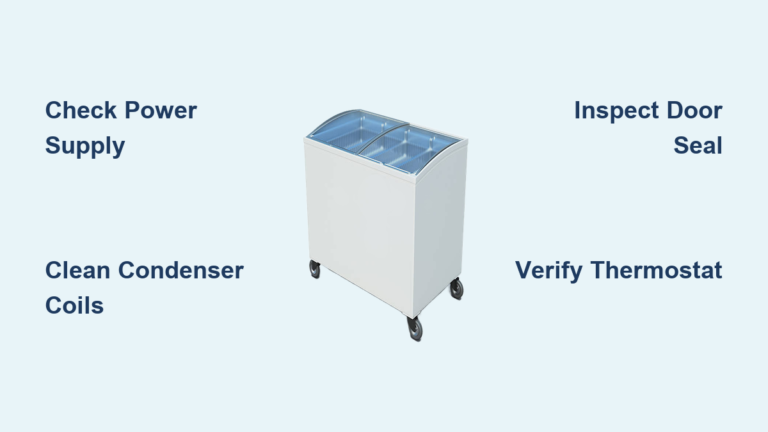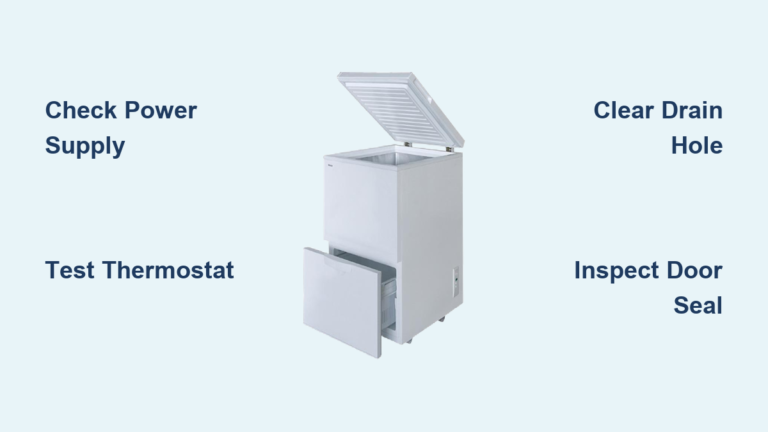
Vissani Freezer Not Freezing? Fix It Fast
Your Vissani freezer should maintain a rock-solid temperature that keeps food frozen solid for months. When you open the door to grab frozen vegetables only to find they’re soft and starting to thaw, you know something’s wrong. A Vissani freezer not freezing properly creates immediate concern—you’re facing potential food spoilage, wasted money, and the frustration of dealing with appliance failure. The good news is that most freezing issues stem from common, fixable problems rather than catastrophic failures. Many causes can be diagnosed and resolved without professional help, saving you both time and repair costs.
Don’t panic when you discover your freezer isn’t performing as it should. This systematic troubleshooting guide takes you through the complete diagnostic process, starting with the simplest checks anyone can perform and progressing to more technical component testing. By methodically working through these steps, you’ll either identify and fix the problem yourself or gather enough information to communicate effectively with a repair technician. Whether you’re a complete novice or have some appliance repair experience, this guide gives you the knowledge to tackle your Vissani freezer not freezing issue with confidence.
Verify Correct Temperature Settings Before Panic
Before diving into complex diagnostics, confirm your Vissani freezer’s temperature is actually set to freeze properly. It’s surprisingly common for settings to get accidentally adjusted—by children playing near the appliance, during cleaning, or simply from bumping the control. Your freezer should maintain temperatures between 0-5°F (-18 to -15°C), while the refrigerator section should stay between 34-40°F (1-5°C).
If you’ve recently adjusted the temperature control, give the system time to respond—wait a full 24 hours before judging effectiveness. The refrigeration system needs time to stabilize after temperature changes, and checking too soon leads to unnecessary troubleshooting. While verifying settings, check if someone accidentally bumped the control to a warmer setting. Dial controls can rotate without notice, and digital interfaces might register accidental presses.
If settings appear correct but freezing problems persist, move to the next diagnostic step but note that temperature settings have been eliminated as the cause. This simple verification saves hours of unnecessary component testing when the solution was merely adjusting a knob or digital setting.
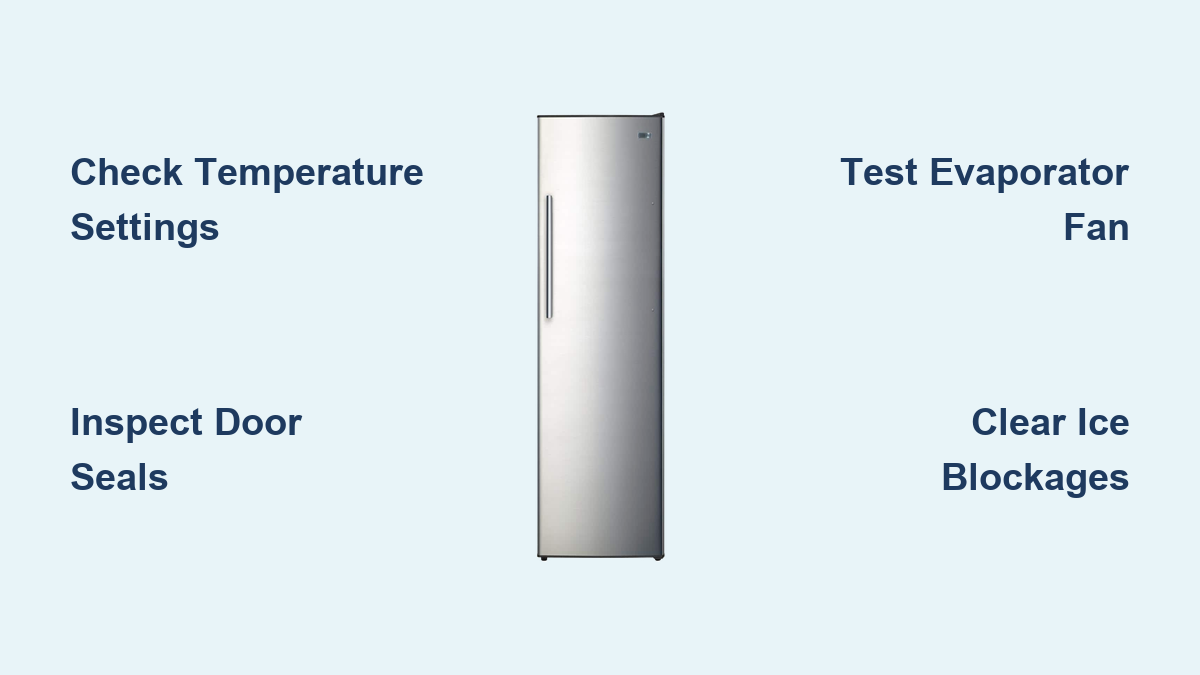
Inspect Door Seals for Hidden Air Leaks
The door gasket creates the critical airtight seal that traps cold air inside your freezer while blocking warm room air from entering. Over time, these rubber seals can develop cracks, tears, or compression damage from normal use, temperature cycling, and repeated door closures. When gaps form in this seal, warm air constantly infiltrates the freezer compartment, forcing your cooling system to work overtime while still failing to maintain proper freezing temperatures.
Perform a thorough inspection by:
– Visually examining the entire gasket perimeter for damage
– Running your hand around the closed door to feel for escaping cold air
– Conducting the dollar bill test: close the door on a bill at various points and try pulling it out—easy removal indicates poor sealing
If you discover damaged seals, replacement is necessary for optimal performance. Clean gaskets regularly with mild soap and water to remove debris that might prevent a complete seal. Neglecting this simple maintenance allows minor issues to develop into major freezing problems.
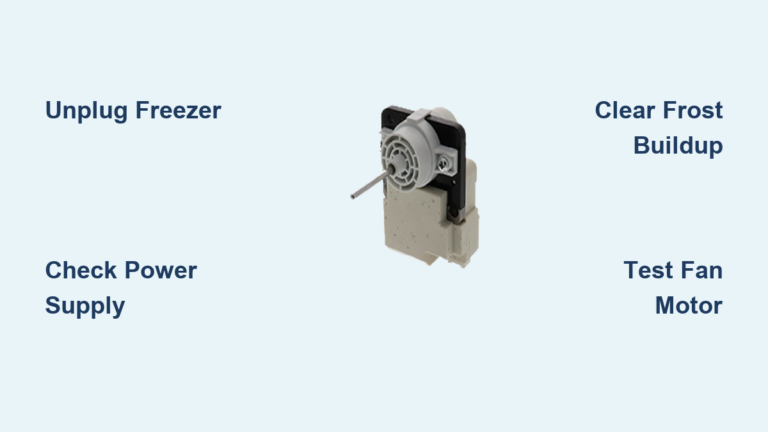
Test Evaporator Fan Motor Operation
The evaporator fan motor circulates cold air throughout your freezer by drawing air over the evaporator coils. When this fan fails, cold air cannot reach all areas of the freezer compartment, resulting in inconsistent temperatures—even if the compressor runs properly. Some Vissani models have separate evaporator fans for freezer and refrigerator sections.
Listen carefully when the freezer should be actively cooling—you should hear the fan’s steady hum. If silent or making unusual noises (clicking, grinding, rattling), the motor likely needs replacement. For a definitive test:
– Unplug the appliance
– Locate and access the fan motor (typically behind an interior panel)
– Attempt to spin the fan blade by hand—it should rotate freely
– Use a multimeter to check for electrical continuity across motor terminals
If the blade doesn’t turn freely or the multimeter shows no continuity, replace the evaporator fan motor. This relatively simple repair often resolves freezing issues without professional assistance.
Examine Condenser Fan Motor Functionality

The condenser fan motor draws air through the condenser coils to dissipate heat from the refrigeration system. Located at the back or bottom of your appliance, this component is crucial for efficient cooling. When the condenser fan fails, the entire system becomes less efficient, preventing your Vissani freezer from achieving proper freezing temperatures.
Start by checking for obstructions like dust, pet hair, or debris blocking the fan blade. Clear any visible blockages before testing further. If the blade spins freely but the fan doesn’t operate, perform an electrical test with a multimeter:
– Unplug the appliance
– Locate the condenser fan motor (typically behind a rear access panel)
– Disconnect the electrical connector
– Test for continuity between motor terminals
No continuity indicates a failed motor requiring replacement. Unlike the evaporator fan, the condenser fan operates whenever the compressor runs, so its failure significantly impacts overall cooling performance.
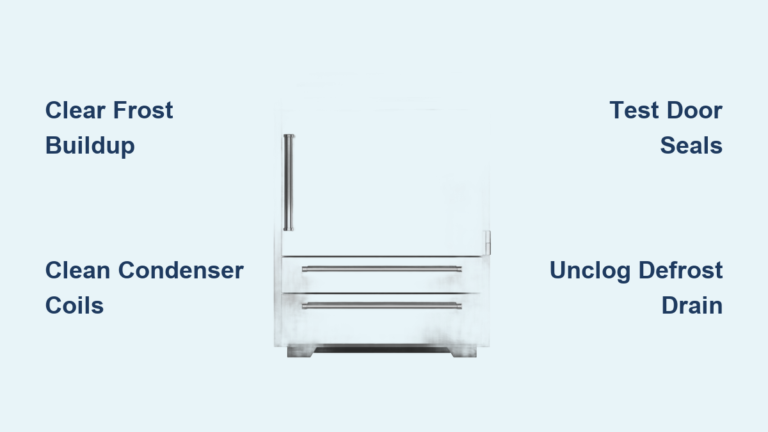
Clear Ice Blockages Around Evaporator Coils
Ice buildup around the evaporator fan or coils creates serious air circulation problems, preventing your freezer from maintaining proper temperatures. This typically occurs when the automatic defrost system malfunctions or when the door has been left open too long, allowing humid air to enter and freeze on cold surfaces.
If you suspect ice blockages:
– Unplug the appliance completely
– Remove all food items
– Allow ice to melt naturally (4-8 hours) or use a hair dryer on low setting
– Never use sharp objects to chip ice—this can damage refrigerant lines
– Place towels to absorb melting water
– Dry all surfaces thoroughly before restoring power
After defrosting, monitor your freezer for 24 hours. If ice reaccumulates quickly, you likely have a defrost system problem requiring further diagnosis of the defrost heater, thermostat, or control board.
Diagnose Start Relay and Compressor Issues
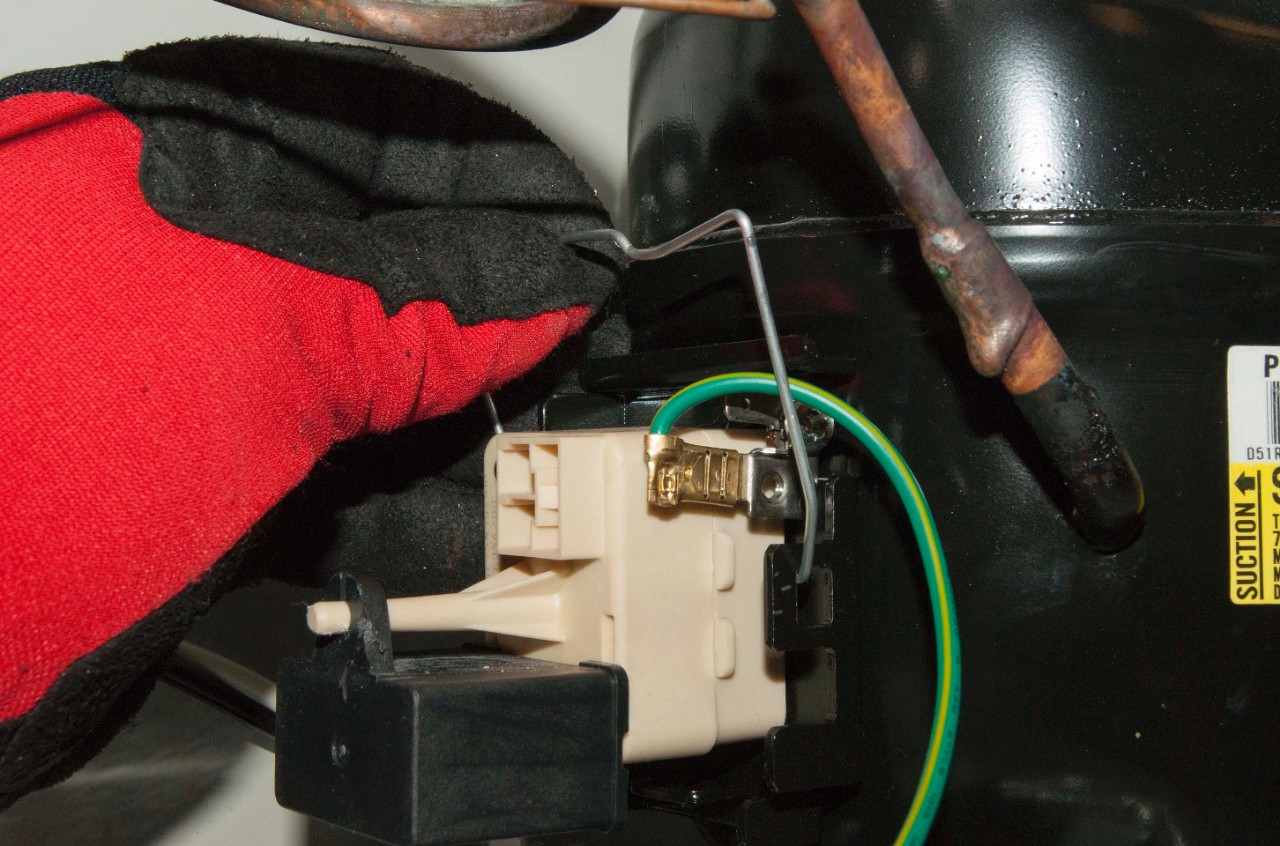
The start relay provides the initial electrical boost needed to start your compressor. When this small component fails, the compressor won’t run, resulting in complete cooling failure. Start relays commonly fail and are relatively inexpensive to replace.
To test the start relay:
– Locate it near the compressor (typically a small rectangular component)
– Remove it from the compressor terminals
– Inspect for physical damage, melting, or burnt smell
– Use a multimeter to check continuity between run and start terminals
No continuity means immediate replacement is needed. If the start relay tests good but the compressor still doesn’t run, the compressor itself may have failed—a more serious issue requiring professional repair due to refrigerant handling requirements.
Test Thermistor Temperature Sensor Accuracy

The thermistor monitors internal freezer temperature and sends readings to the control board. When defective, it may report incorrect temperatures, causing the system to fail to activate cooling when needed.
Testing requires:
– Locating the thermistor (consult your manual for specific placement)
– Disconnecting it from the control board
– Measuring resistance with a multimeter while monitoring actual temperature
– Comparing readings to expected values for your model
A properly functioning thermistor shows decreasing resistance as temperature rises and increasing resistance as temperature falls. If readings don’t match specifications or resistance doesn’t change with temperature, replace the thermistor—a relatively simple fix that often resolves mysterious cooling problems.
Prevent Future Freezing Failures with Routine Maintenance
Regular maintenance prevents most common causes of a Vissani freezer not freezing:
– Clean condenser coils every 6 months using a coil brush or vacuum
– Inspect door gaskets monthly for damage and clean with mild soap
– Avoid overfilling the freezer, which restricts proper air circulation
– Ensure adequate clearance around the appliance for proper ventilation
– Unplug during extended absences to prevent potential electrical issues
After power outages, perform a power reset: unplug for 5 minutes, then reconnect. This often resolves temporary control glitches without component replacement. Consistent maintenance extends your freezer’s lifespan significantly while preventing unexpected freezing failures that lead to food spoilage.
When basic troubleshooting doesn’t resolve the issue, professional repair becomes necessary—particularly for compressor problems, refrigerant leaks, or complex control board issues. By following this systematic approach, you’ll either fix your Vissani freezer not freezing problem yourself or gather enough diagnostic information to communicate effectively with a repair technician, ensuring you receive the right repair without unnecessary costs.