Upright Freezer Not Freezing? Quick Fix Guide
Your upright freezer has stopped freezing, and you’re watching your frozen food start to thaw. This situation demands immediate attention—not just because of the food at risk, but because a freezer that isn’t maintaining proper temperatures often signals a developing problem that will only worsen without intervention. The optimal freezer temperature sits at 0° F (-18° C) or below, and any sustained temperature above this threshold means something inside your appliance has gone wrong.
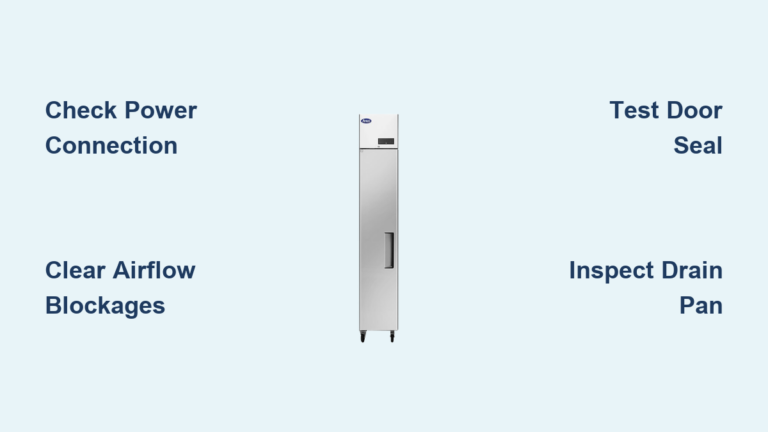
The good news is that many freezing failures stem from issues you can diagnose and resolve yourself. From simple airflow obstructions caused by overpacked shelves to door seal failures that let warm air infiltrate the compartment, understanding the root cause puts you back in control. This guide walks you through systematic troubleshooting, helping you identify whether you’re dealing with a quick fix or a problem requiring professional service.
Before diving into repairs, confirm the problem with a reliable thermometer. Many apparent temperature failures trace back to thermometer malfunctions rather than actual appliance problems. Place a thermometer designed for low temperatures in your freezer, wait several hours, and check the reading. If your thermometer battery is weak or dead, replace it and re-measure. Accurate diagnosis starts with knowing your freezer’s true temperature.
Diagnose Door Seal Failures with the Paper Test
The door gasket creates the critical barrier between your freezer’s cold interior and the warm room air outside. When this seal fails, even slightly, warm humid air enters the compartment while cold air escapes. Your cooling system fights a losing battle against this continuous heat infiltration, struggling to maintain freezing temperatures despite running constantly.
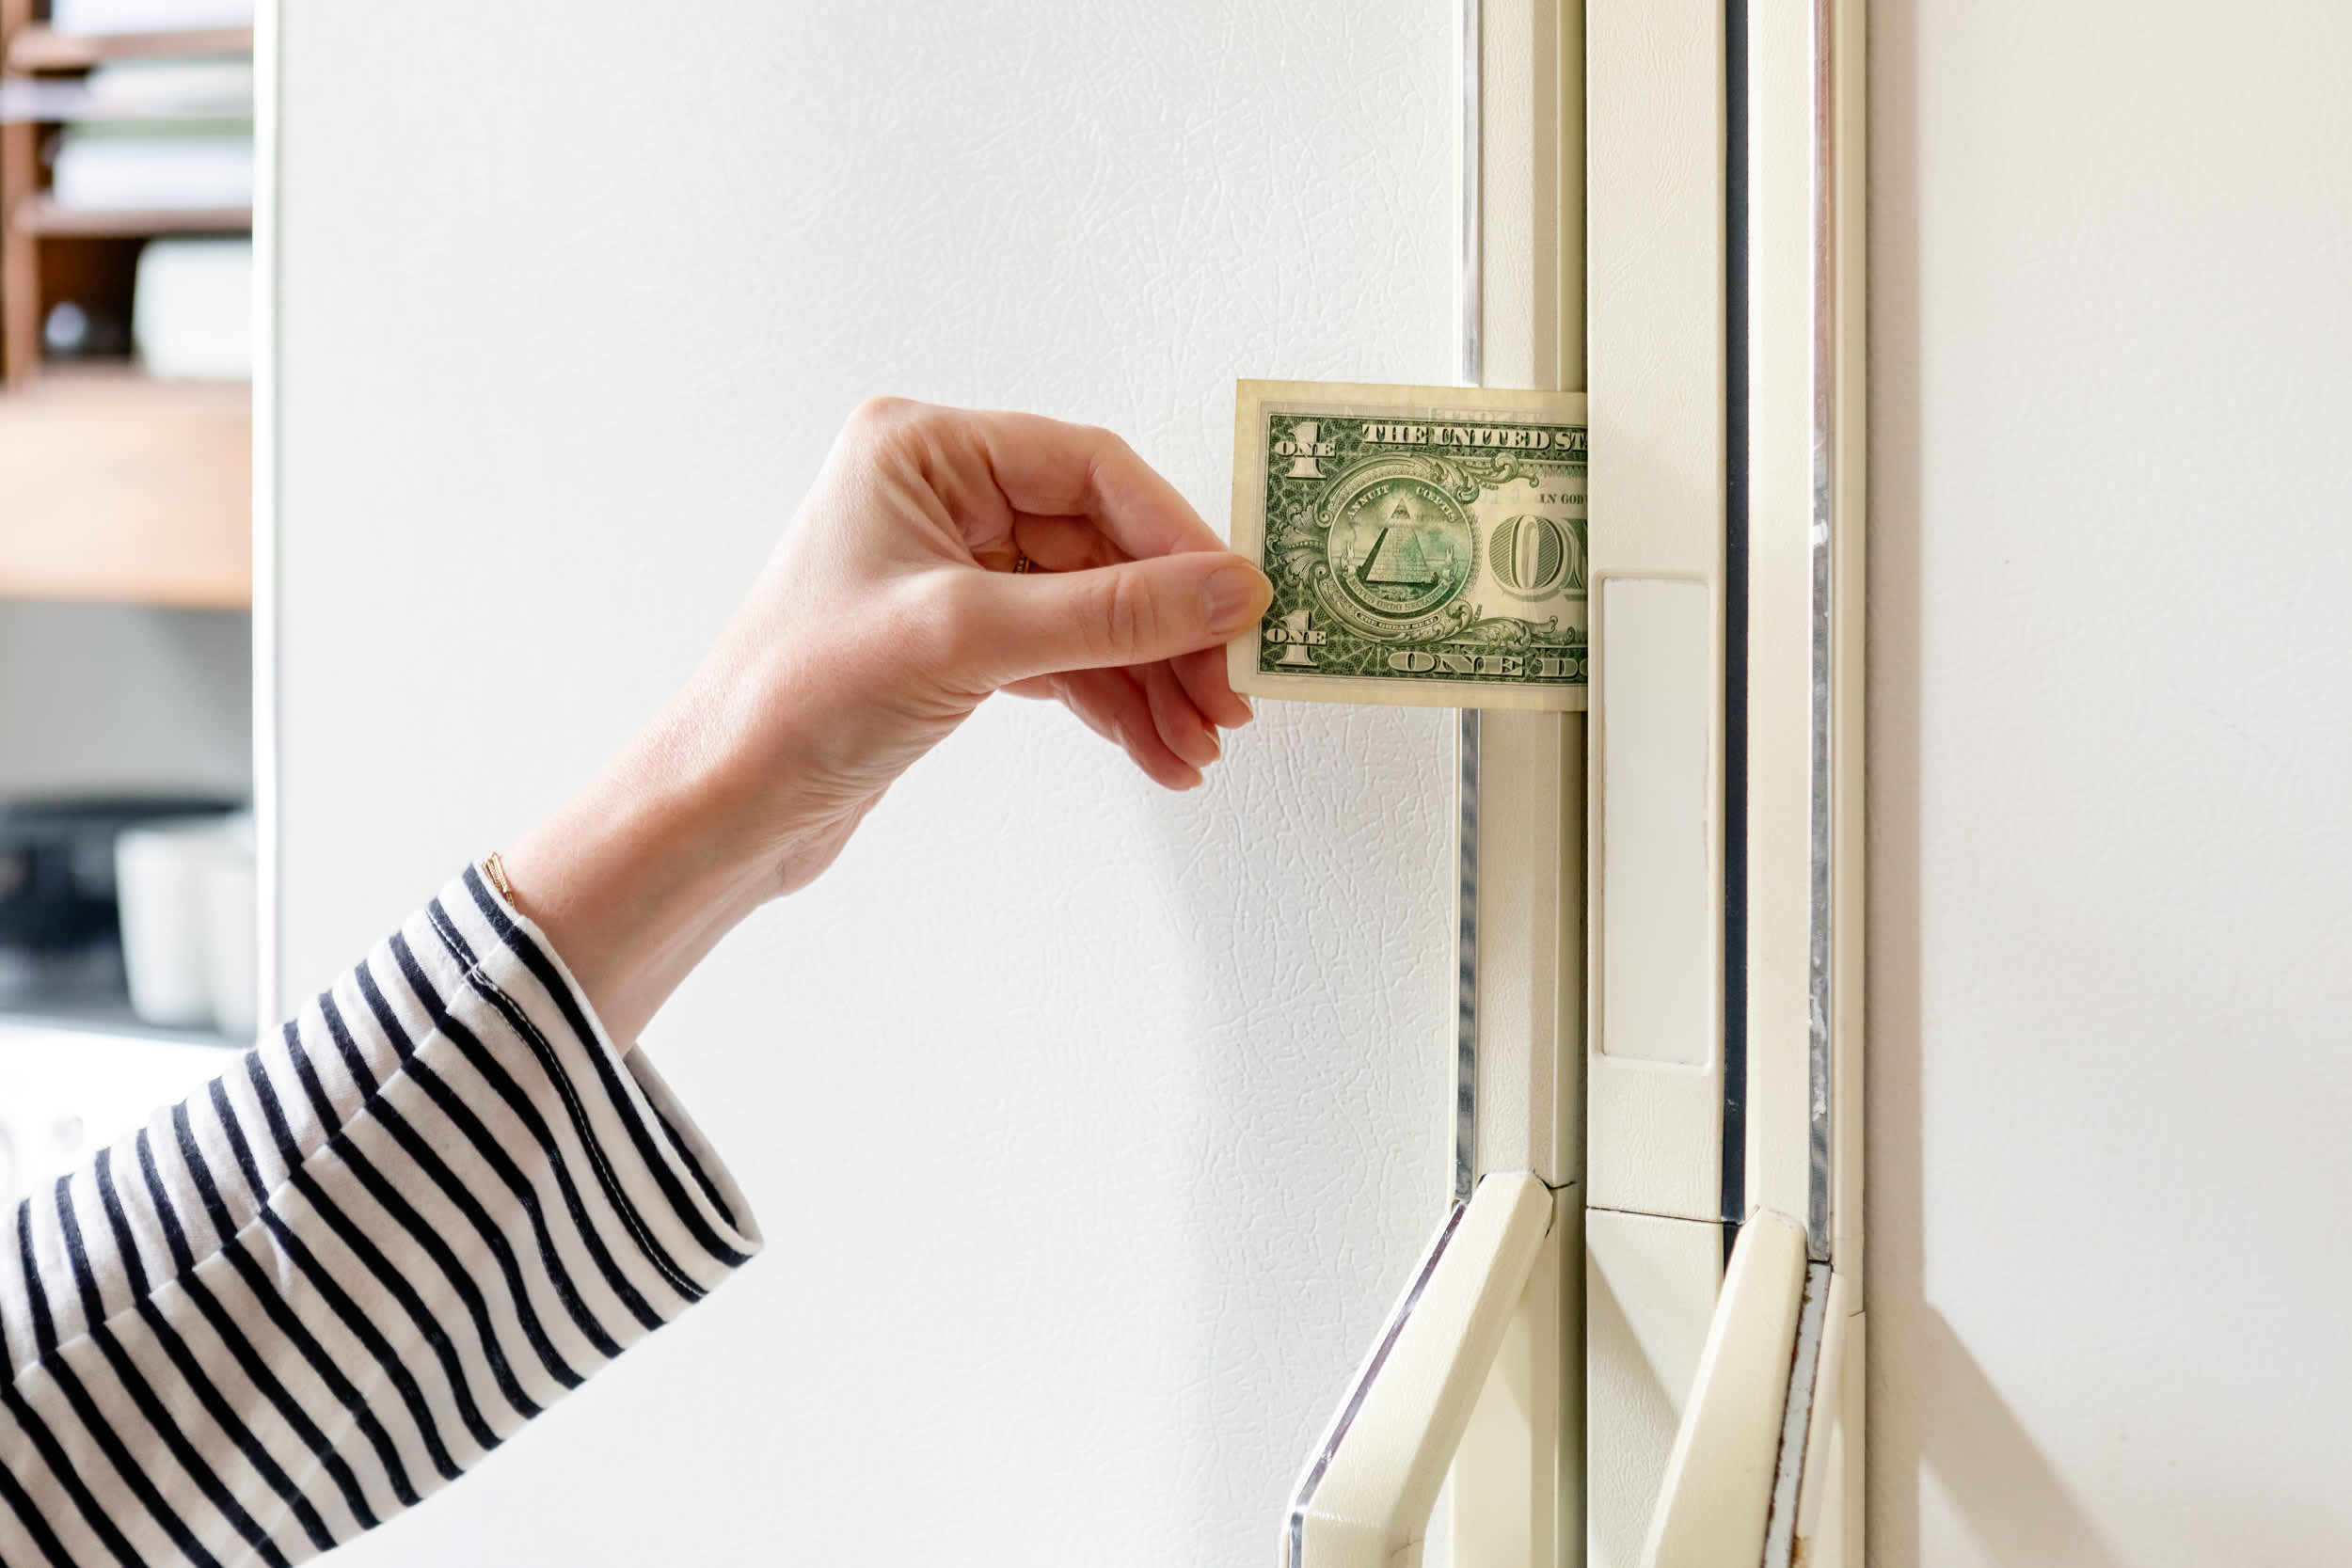
Test your door seal with a simple paper test. Close a dollar bill or sheet of paper flat against the door gasket, then pull outward. A properly sealing door grips the paper firmly, requiring noticeable effort to remove. If the paper slides out easily with minimal resistance, your seal has compromised integrity. Test around the entire door perimeter, including corners and the hinge side, as seal failures often localize to specific areas.
Door alignment problems can prevent proper sealing even when the gasket itself remains in good condition. Over time, hinges shift or warp, causing the door to close offset from its intended position. Some freezers stop short of fully closing, requiring manual pressure to complete the seal. If adjusting or replacing hinges doesn’t resolve alignment issues, you’ll need a new door gasket. Most newer models feature gaskets that push into place without specialized tools, while older designs may require screw removal and more extensive disassembly.
Clear Shelf Blockages Causing Uneven Freezing
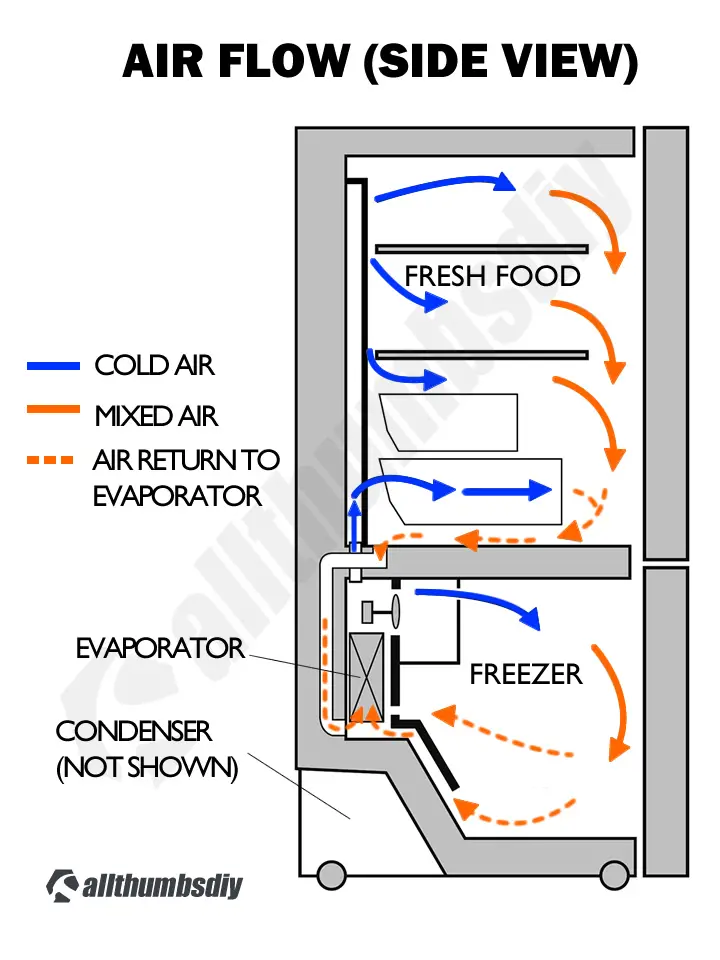
One of the most frequent culprits behind inadequate freezing performance is improper air circulation caused by overcrowded shelves. The evaporator fan in upright freezers operates continuously—except during defrost cycles and when the door is open—to circulate cold air throughout the compartment. When you pack shelves too tightly, especially around air vents and the evaporator fan housing, this airflow becomes blocked.
The cold air in your freezer, being heavier than warm air, naturally settles toward the bottom. Without proper circulation, upper sections fail to reach freezing temperatures while the bottom may remain adequately frozen. This temperature stratification often manifests as a freezer where only the bottom freezes while the top stays cool. The solution involves clearing all shelves, removing any items forgotten in the back, and reorganizing stored contents to ensure unobstructed space around air vents and the fan.
Check that no food packages, boxes, or bags are impinging on the evaporator fan blade or blocking the vents through which cold air distributes. Rearrange items to create at least several inches of clearance around all air circulation pathways. After reorganizing, allow the freezer several hours to stabilize its temperature before judging whether this resolved your issue.
Test Your Thermostat with the Click Method
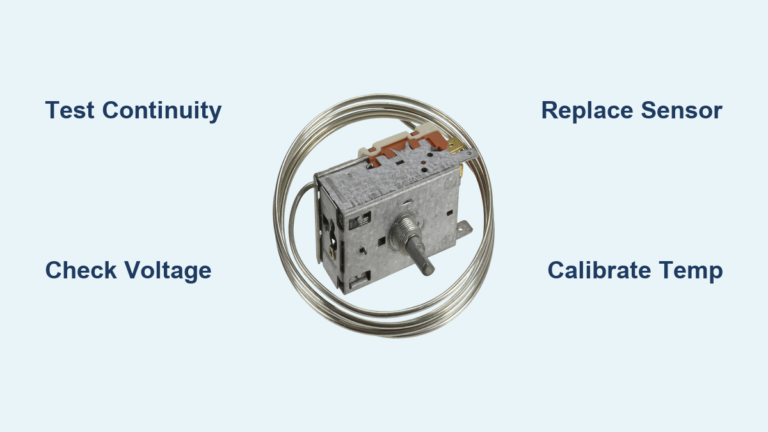
The thermostat regulates your freezer’s entire cooling system, controlling the compressor, evaporator fan, and condenser fan based on interior temperature readings. When this component malfunctions, cooling functions may not initiate properly regardless of other system components’ condition.
Test your thermostat by changing the setting from its lowest to highest position while listening carefully for an audible click. This click indicates the thermostat is making electrical contact as it cycles between settings. Absence of this click suggests thermostat failure requiring professional replacement. Some thermostats click but still fail to regulate temperature properly, indicating internal calibration issues or sensor malfunctions.
Modern freezers increasingly rely on electronic control boards rather than mechanical thermostats. These controls can fail due to power surges, component aging, or manufacturing defects. When electronic controls malfunction, your freezer may fail to start cooling cycles, display incorrect temperature readings, or behave erratically. Try resetting the control by turning the appliance off and back on—this sometimes resolves minor electronic glitches. Persistent issues require professional diagnosis, as electronic control replacement demands technical expertise.
Fix Evaporator Fan Blockages in 30 Minutes
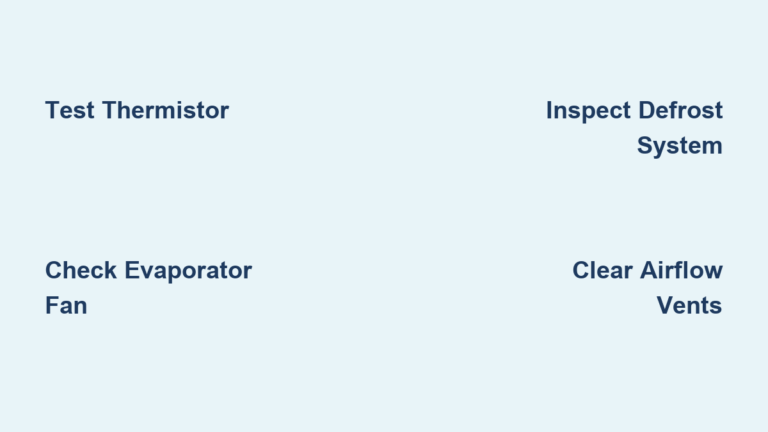
The evaporator fan circulates cold air generated by the evaporator coils throughout your freezer compartment. When this fan malfunctions, the freezer may cool initially but fails to maintain uniform temperatures throughout. In severe cases, evaporator coils frost over completely because static air cannot carry moisture away from coil surfaces.
Test evaporator fan function by opening your freezer door and manually holding down the door switch—this simulates a closed-door condition and should cause the fan to begin operating. Absence of fan operation under these conditions indicates a failed fan motor requiring professional replacement. Listen for the characteristic hum of the fan and verify that blades rotate freely without obstruction.
Strange noises emanating from your freezer, such as loud humming or rattling sounds, often originate from the evaporator fan or condenser fan. These sounds may indicate fan blade obstruction, bearing failure, or motor degradation. Clear any debris from around the fan blades—if the noise persists, you’re likely facing impending fan motor failure.
Vacuum Condenser Coils to Restore Cooling Power

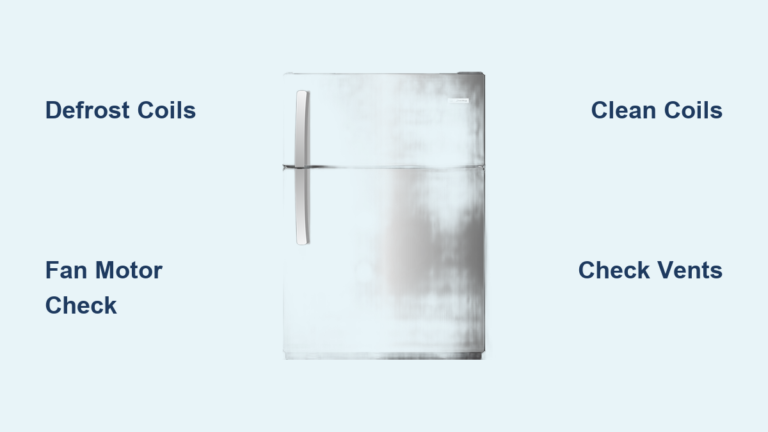
The condenser coils release heat extracted from your freezer’s interior to the surrounding environment. Located at the back or bottom of the appliance, these coils must remain clean to function efficiently. When coated with dust, pet hair, or debris, their heat dissipation capability diminishes significantly, reducing overall cooling efficiency.
Dirty condenser coils can cause your upright freezer is not freezing properly even when all other components function correctly. The solution involves vacuuming the coils using a crevice attachment to remove accumulated debris. For refrigerator-freezer combination units, access to condenser coils is typically available from the rear or bottom of the appliance. Upright and chest freezers may have condenser coils located within the cabinet walls, which are generally not user-serviceable and require professional attention if suspected of malfunctioning.
The condenser fan motor works alongside the coils to draw cool air across their surfaces, facilitating heat dissipation. A worn or broken condenser fan motor causes the compressor to overheat as it loses its primary cooling mechanism. Without proper cooling, the compressor cannot maintain the refrigerant pressure differentials necessary for effective cooling, leading to progressive temperature elevation within the freezer compartment.
Perform Emergency Manual Defrost When Frost Builds Up
Excess frost accumulation on your freezer’s interior walls indicates a defrost system problem. When frost builds up on evaporator coils or surrounding surfaces, it insulates the cooling components and obstructs proper cold air transfer into the compartment. This frost accumulation originates from frequent door openings, damaged door seals allowing humid room air to enter, or failures in the automatic defrost system.
Modern freezers incorporate automatic defrost functionality that periodically melts frost accumulation and drains the resulting water away. When this system malfunctions, frost accumulates to excessive levels, eventually impeding airflow and compromising freezing performance. Manual defrosting becomes necessary when automatic defrost fails—shutdown the unit, remove all contents, and allow all ice to melt naturally. Place towels around the freezer base to absorb melting water, and thoroughly dry the interior before restarting.
Frost that returns quickly after manual defrosting indicates an underlying problem requiring professional attention. Potential causes include a malfunctioning defrost heater, defective defrost timer or thermostat, or issues with the defrost termination sensor. Ice exclusively on the upper half of evaporator coils while the lower portion remains clear suggests a potential blockage preventing proper refrigerant flow and frost distribution.
Decide Between Repair or Replacement for Major Failures

Some freezer problems require professional service due to electrical complexity, the need for specialized tools, or environmental regulations governing refrigerant handling. Attempting these repairs without proper training risks electrical shock, further system damage, and potential injury.
Compressor and sealed system issues represent the most complex repairs. The compressor circulates refrigerant through the evaporator and condenser coils to achieve cooling. A broken compressor renders the entire cooling system inoperative. Diagnosing compressor problems involves listening for the characteristic humming sound that indicates startup attempts—this hum should begin within approximately 30 seconds of the freezer being energized. Absence of humming or clicking sounds without successful startup indicates potential start relay failure or compressor motor failure.
Refrigerant leaks within the sealed system cause progressive cooling degradation as refrigerant charge diminishes. Signs include oily residues around compressor connections, refrigerant lines, or at joints in the sealed system. This oil lubricates the compressor, and its presence outside the sealed system indicates a breach through which refrigerant has escaped. Licensed professional service is required for sealed system repairs due to environmental regulations and the specialized equipment necessary.
When facing major repairs, consider your freezer’s age and the repair cost. Compressor replacement typically ranges from $650 to $850, reflecting the complexity involved. For freezers approaching or exceeding their expected 10-15 year lifespan, replacement often proves more economical than comprehensive repairs. Newer appliances also offer improved energy efficiency that offsets replacement costs over time.
Prevent Future Freezing Failures with Quarterly Maintenance
Regular maintenance significantly extends your freezer’s service life and reduces unexpected failures. Quarterly tasks include visual inspection of the door seal for damage or deformation, verification of proper door closure, and confirmation of normal operational sounds from the compressor and fans.
Annual maintenance should include condenser coil cleaning for accessible units, interior cleaning to remove food debris and odors, and inspection of the evaporator area for frost accumulation indicating defrost system issues. Familiarize yourself with your freezer’s normal operating sounds so you can recognize developing problems early.
Door seals require regular cleaning using mild detergent and water to remove accumulated food residue, ice buildup, or debris that might compromise effectiveness. After cleaning, dry seals thoroughly before closing the door. Inspections should note any cracks, tears, deformation, or loss of magnetic closure strength. Prompt seal replacement prevents cascading effects on other components, as a failing seal forces the cooling system to work harder, accelerating wear.
Maintain awareness of your freezer’s temperature through regular checks. A thermometer placed in the freezer and checked during routine use provides ongoing verification of proper operation. Any sustained temperature elevation above the optimal range should prompt investigation before the problem progresses to complete cooling failure. Catching issues early often transforms an expensive repair into a simple fix.
When your troubleshooting efforts fail to restore proper freezing, replacement provides the most reliable solution. Modern upright freezers offer improved energy efficiency, better temperature consistency, and features that simplify maintenance. Investing in a new appliance ensures reliable food preservation and eliminates the uncertainty of repeated repairs on an aging unit.