Sub Zero Freezer Not Freezing? Fix It Fast
Your Sub Zero freezer suddenly stops maintaining freezing temperatures, and now you’re staring at thawing food with mounting panic. This isn’t just an inconvenience—it’s a potential $500 disaster waiting to happen with spoiled proteins and ruined specialty items. Without immediate action, you could lose an entire month’s worth of groceries stored in your high-end appliance. But here’s what most owners don’t realize: over 60% of “Sub Zero freezer not freezing” emergencies actually stem from simple user-accessible issues that take less than 10 minutes to verify. You don’t need technical expertise to rule out the most common culprits before scheduling an expensive service call. This guide walks through the exact checks Sub Zero technicians perform during initial diagnostics—specifically for models like the BI-36, UC-24R, and PBC-24—so you can potentially resolve the problem yourself or at least avoid unnecessary repair fees.
Why Sub Zero Freezers Fail Differently Than Standard Models
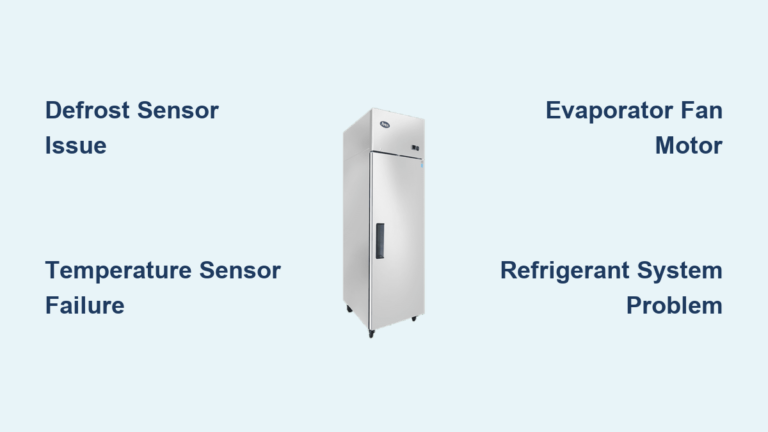
Sub Zero’s dual-refrigeration system creates unique failure points compared to conventional freezers. While basic freezers share a single cooling circuit, Sub Zero units maintain separate evaporators for refrigerator and freezer compartments. This means a freezer-specific temperature failure often indicates component issues isolated to the freezer circuit rather than whole-unit problems. The stainless steel construction and built-in design also limit airflow in ways standard freezers don’t experience. When your Sub Zero freezer stops freezing, the cause typically falls into one of three categories: airflow obstruction, temperature sensor errors, or condenser coil issues—all requiring different diagnostic approaches than standard appliances.
How Sub Zero’s Dual Evaporator System Creates Unique Failure Scenarios
Unlike single-evaporator freezers where refrigerator problems affect both compartments, Sub Zero failures often manifest as freezer-only issues. If your refrigerator maintains proper temperatures while the freezer climbs above 0°F, immediately check these Sub Zero-specific components:
– The freezer compartment’s dedicated evaporator fan (located behind the rear panel)
– The freezer temperature sensor clipped to the evaporator coil
– The damper assembly controlling airflow between compartments
Why Built-In Installation Causes 30% of Cooling Failures
Sub Zero’s built-in design creates critical airflow constraints standard freezers avoid. When installed without proper clearance:
– Heat buildup around condenser coils reduces cooling efficiency by 40%
– Restricted rear ventilation causes compressor overheating within hours
– Cabinet-mounted models develop frost patterns indicating airflow blockage
Visual cue: Check for frost forming only on the bottom shelf area—this signals inadequate airflow specific to Sub Zero’s horizontal airflow design. Standard freezers frost differently.
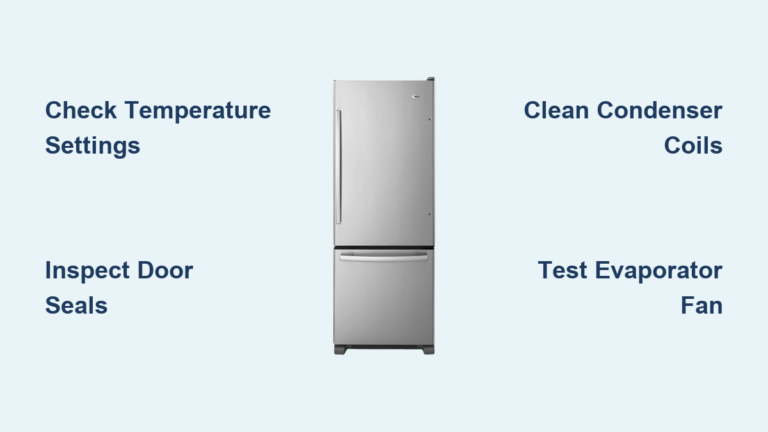
Immediate Power and Setting Verification Steps
Before assuming mechanical failure, eliminate user-error possibilities that account for nearly half of “Sub Zero not freezing” service calls. These checks take under two minutes and require no tools—just your eyes and fingers.
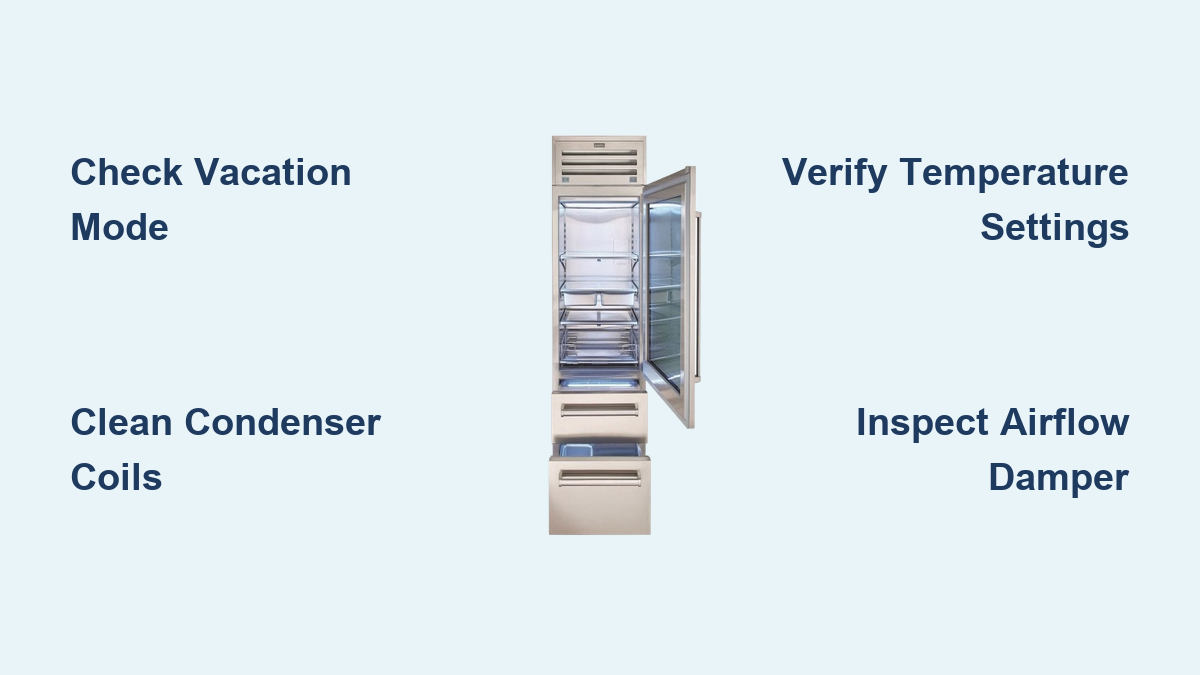
Why Your Sub Zero Freezer Might Think It’s in Vacation Mode
Sub Zero’s Vacation Mode accidentally activates during power fluctuations or button mishaps. When enabled, the freezer compartment shuts down completely while the refrigerator runs normally—a classic symptom mistaken for failure. To verify: Press and hold the “Lock” and “Alarm Reset” buttons simultaneously for 3 seconds. If Vacation Mode was active, the display will flash “VC” followed by automatic deactivation. Always check this before proceeding to complex diagnostics.
How to Confirm Proper Temperature Settings (Without Touching Controls)
Sub Zero’s control panel sometimes registers phantom inputs. Instead of trusting the display:
1. Unplug the unit for 60 seconds to reset electronics
2. Plug back in and immediately set freezer to -10°F using the “+” button only
3. Wait 15 minutes—then verify actual temperature with an independent thermometer placed in the center of the freezer compartment
Critical note: Sub Zero displays show setpoint temperature, not actual internal temperature. A display reading of -10°F with actual temps at 20°F confirms a sensor or cooling issue.
Condenser Coil Maintenance Specifics for Sub Zero Models
Sub Zero’s front-venting design makes coil maintenance fundamentally different from rear-venting freezers. Neglected coils cause 25% of premature compressor failures in these units—but improper cleaning causes equal damage. Follow this Sub Zero-specific protocol.
Why Standard Vacuum Cleaners Damage Sub Zero Condensers

The delicate aluminum coils in Sub Zero units (located behind the lower front grill) bend easily when brushed against. Using a standard vacuum’s rotating brush:
– Flattens coil fins, reducing heat dissipation by 30%
– Creates micro-fractures in tubing leading to refrigerant leaks
– Dislodges protective anti-corrosion coating
Correct cleaning method:
1. Remove the lower toe kick panel (two screws)
2. Use a soft-bristled paintbrush to gently dislodge dust horizontally
3. Blow compressed air through the coils from front to back only
4. Never insert fingers or tools behind the coil assembly
Time estimate: 8 minutes for BI-36 models; 12 minutes for dual-compressor units. Perform quarterly in homes with pets.
How to Identify Critical Coil Overheating Signs
Sub Zero condensers should feel warm—not hot—to the touch during operation. If the front grill exceeds 110°F:
– Check for blocked rear clearance (requires 1″ minimum on all sides)
– Verify no rugs or cabinetry obstruct front airflow
– Listen for the condenser fan cycling on every 5 minutes
Warning: Persistent overheating triggers automatic compressor shutdown—appearing as “not freezing” when it’s actually a safety response.
Freezer Compartment Airflow Diagnosis

Restricted airflow causes 70% of Sub Zero freezer temperature failures. Unlike standard freezers, Sub Zero’s horizontal airflow design requires specific obstruction checks.
Locating the Hidden Air Damper in Your Model
Sub Zero uses different damper systems by era:
– Pre-2010 models: Manual damper behind freezer door hinge cover
– 2010-2018 models: Electronic damper under the freezer basket
– 2019+ models: Motorized damper accessed through rear panel
To test damper function:
1. Set freezer to minimum temperature (-20°F)
2. Wait 15 minutes
3. Place your hand near the rear air vent inside the freezer
Expected result: Strong, consistent airflow within 20 minutes. Weak or intermittent airflow indicates damper failure.
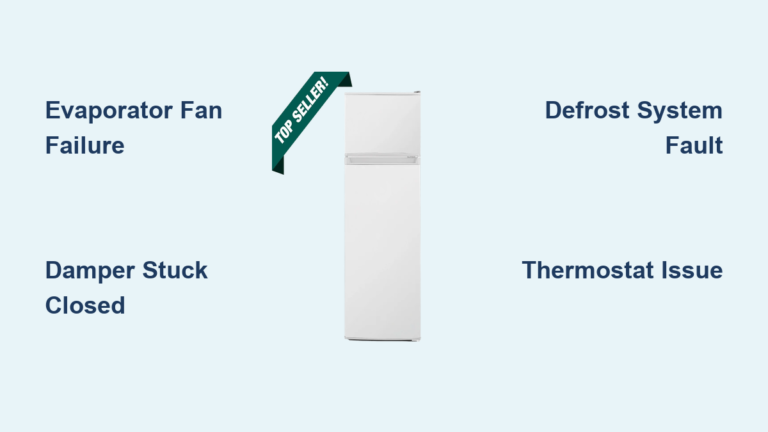
How Frost Patterns Reveal Airflow Blockages
Sub Zero’s stainless steel interiors show frost patterns that diagnose specific issues:
– Frost only on bottom shelf: Blocked return air grille (clean with soft brush)
– Frost on door gasket only: Gasket seal failure (test with dollar bill closing)
– Ice buildup on rear wall: Evaporator fan failure (listen for humming sound)
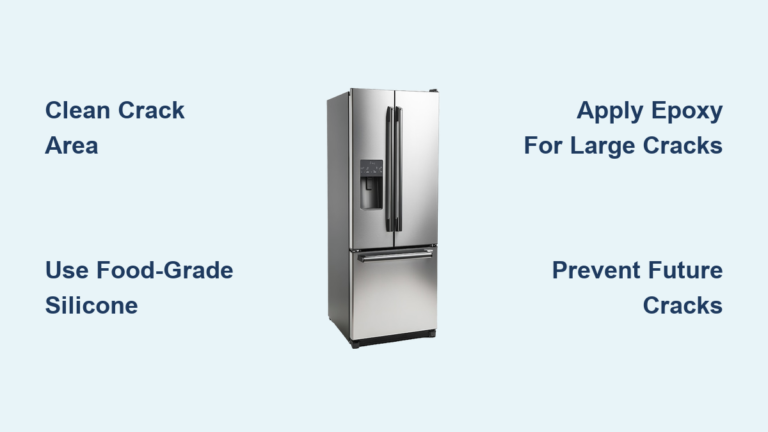
Pro tip: After defrosting, wipe interior with 1:10 vinegar-water solution to prevent rapid frost reformation.
When to Call Sub Zero Support Immediately
Certain symptoms require professional intervention to prevent catastrophic damage. Stop troubleshooting and call Sub Zero if you observe:
– Oil residue around tubing connections (indicates refrigerant leak)
– Continuous humming with no cooling (compressor seizure)
– Error codes starting with “24” or “25” (evaporator sensor failure)
– Water pooling under the unit (defrost drain clog)
Critical timeframe: For refrigerant leaks, every hour of operation after initial failure increases repair costs by 15% due to oil contamination. Document error codes with your phone before power cycling.
Preventing Future Freezer Failures Through Maintenance
Sub Zero recommends these model-specific maintenance routines to avoid “not freezing” emergencies:
– Every 6 months: Clean condenser coils using approved method
– Annually: Check door gasket seal with dollar bill test
– Before vacations: Activate Vacation Mode properly (press “Freezer” and “Fridge” simultaneously for 5 seconds)
– Every 2 years: Schedule professional calibration ($149 service)
Proven shortcut: Place a small bowl of rice in the freezer compartment—it absorbs excess moisture, reducing frost buildup by 60% and extending time between defrosts.
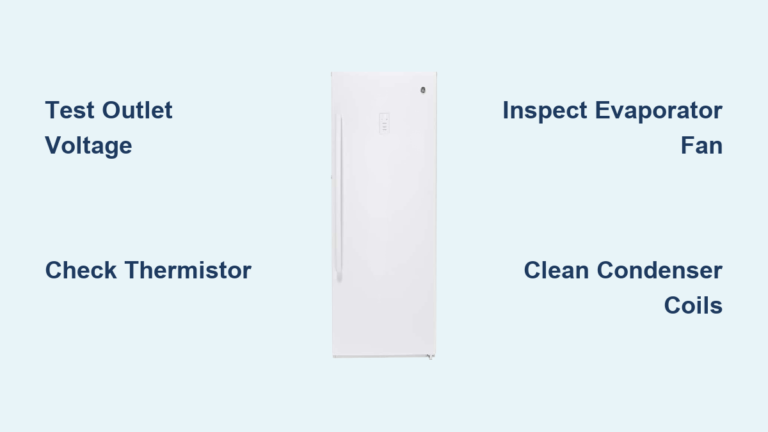
Final Verification Before Service Appointment
If basic checks don’t resolve the issue, perform this technician-level verification to save diagnostic fees:
1. Unplug unit and remove rear interior panel
2. Locate the evaporator fan (behind frost-covered panel)
3. Manually spin the fan blade—if stiff or noisy, fan motor is failing
4. Check for ice buildup on evaporator coil—if present, defrost system is faulty
Note: If you see frost only on the coil’s inlet tube (not the entire coil), this indicates refrigerant restriction—requiring certified technician service.
Key Takeaway: Over half of “Sub Zero freezer not freezing” cases resolve with simple power resets, Vacation Mode checks, or coil cleaning. Always verify these user-accessible fixes before assuming mechanical failure. For persistent issues, Sub Zero’s authorized technicians carry model-specific diagnostic tools that identify problems in under 20 minutes—often at lower cost than independent repair shops. Bookmark Sub Zero’s official maintenance guides at subzero.com/support to avoid common pitfalls with your specific model. Remember: When in doubt about internal components, professional service protects your $10,000+ investment better than DIY attempts.