KitchenAid Fridge Freezer Not Freezing? Fix It Fast
Your KitchenAid refrigerator’s freezer has stopped keeping ice cream solid, and those frozen dinners in the back are turning soft and mushy. This frustrating scenario plays out in kitchens across the country, and the causes range from simple fixes you can complete in minutes to complex repairs requiring professional service. Before you start shopping for a replacement or calling a technician, work through this comprehensive troubleshooting guide to identify the problem and determine the best solution for your specific situation.
A KitchenAid fridge freezer not freezing properly can stem from several interconnected systems that work together to maintain cold temperatures. The compressor pumps refrigerant through sealed tubing, the evaporator coils absorb heat from the freezer compartment, fans circulate cold air between the freezer and refrigerator sections, and door seals prevent warm household air from invading the cold interior. When any one of these systems fails or malfunctions, the entire cooling process breaks down, resulting in a freezer that simply cannot maintain freezing temperatures regardless of how low you set the thermostat.
This guide covers the complete diagnostic process, from basic checks any homeowner can perform to advanced component testing for those comfortable with DIY repairs. You’ll learn how to test door seals, clear airflow obstructions, identify failing components, and determine whether a repair makes economic sense or if professional service—and potentially replacement—is the better option.
Verify Power and Basic Operation First
Before diving into complex repairs, confirm your KitchenAid refrigerator is receiving proper power and isn’t in a special mode that disables cooling.
Check that the power cord is securely plugged into a working outlet and examine your home’s electrical panel to ensure the refrigerator’s circuit breaker hasn’t tripped. A loose connection or tripped breaker can cause complete cooling failure without obvious visual indicators. If your model has a display panel, verify it’s not in “showroom” or “demo” mode—a setting used in retail displays that illuminates interior lights but disables cooling entirely. On affected models, the word “Showroom” will appear on the display.
If you recently installed the refrigerator or moved it to a new location, allow 24 hours for the freezer to stabilize at proper temperatures. Adding large quantities of warm food temporarily warms compartments significantly, requiring several hours for temperatures to recover. Also verify that the refrigerator isn’t located in a garage where temperatures fall outside the recommended range of 55°F to 110°F, as operation outside this range compromises cooling performance.
Test Temperature Settings Properly
The freezer should be set between 0°F and 5°F for proper freezing performance. If your freezer thermometer reads higher than 0°F, the appliance isn’t achieving freezing temperatures. After adjusting the temperature setting, wait at least 24 hours before evaluating performance—the system needs time to stabilize.
A light clicking sound when adjusting the thermostat indicates the appliance is responding to your input; if no clicking occurs, the thermostat or control board may be faulty. Factory temperature presets typically work well for normal household conditions, but surrounding factors like heat sources, high room temperatures, or direct sunlight may necessitate lowering the freezer temperature setting slightly.
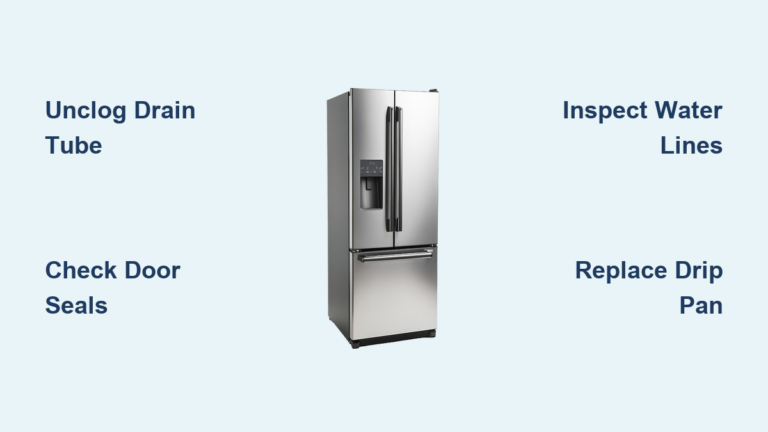
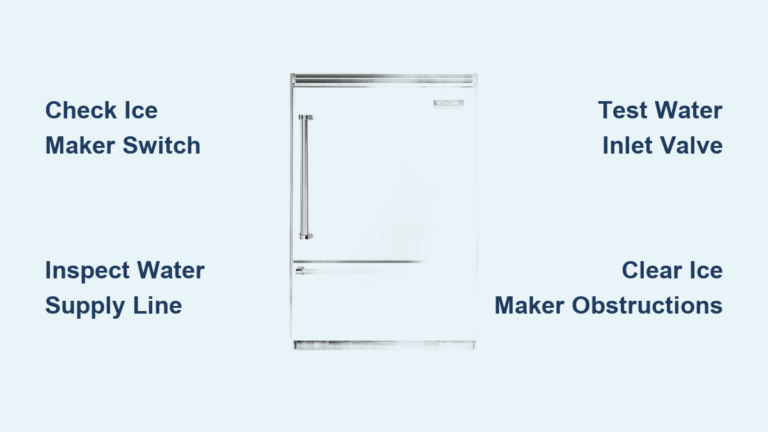
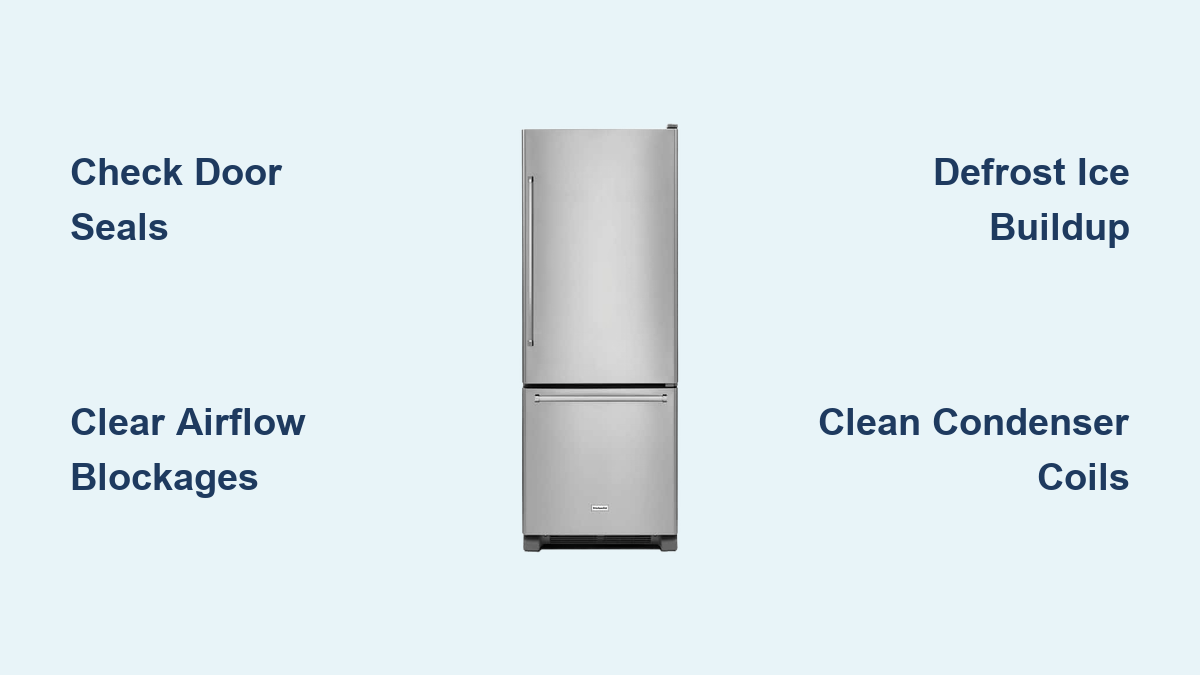
Check Door Seals for Air Leaks Immediately

The freezer door gasket creates the essential barrier preventing warm household air from entering. When this seal becomes compromised, cold air escapes and warm moist air enters, creating a continuous battle that prevents proper freezing.
Perform the paper dollar bill test: Close the door on a piece of paper positioned along the entire perimeter of the gasket, then attempt to pull the paper out. If it slides out easily with minimal resistance, the seal is insufficient. The paper should require noticeable force to remove.
Inspect the gasket visually for tears, cracks, or areas where it has become hard and brittle. Clean the gasket with warm soapy water to remove food residue or debris that might prevent proper sealing. If cleaning doesn’t improve the seal or you find physical damage, the gasket requires replacement. A damaged gasket forces the compressor to work harder and ultimately prevents the freezer from maintaining proper temperatures.
Clear Airflow Blockages in 5 Minutes

Proper airflow between compartments is essential for maintaining correct temperatures. Locate the air vents in your model—they’re typically found on the rear wall of the refrigerator section and on the back or bottom of the freezer section.
Ensure nothing is blocking these openings, including food items, containers, ice bins, or frost accumulation. Items placed directly in the airflow stream from the freezer to the refrigerator may actually freeze, indicating improper airflow distribution. Reposition these items to allow more dispersed airflow throughout the compartments.
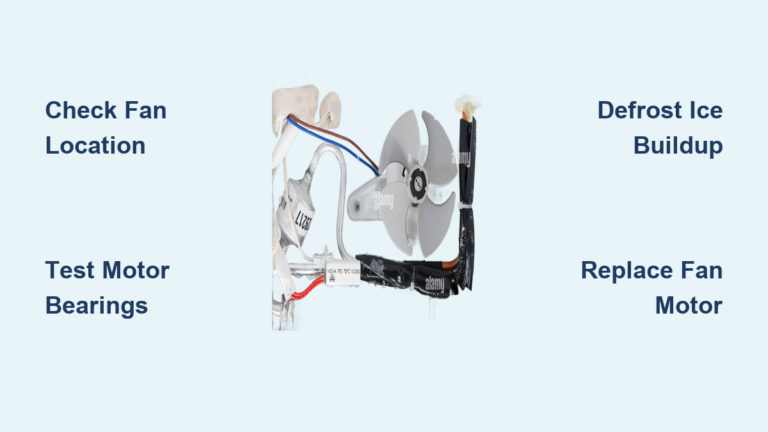
Listen for the evaporator fan running when the compressor is active—it should produce a gentle humming sound. If you hear no fan noise during compressor operation, the fan may be obstructed by ice or failed. Clear any visible obstructions and ensure items are stored away from the fan area. Avoid overstuffing the freezer, as this interferes with cold air circulation throughout the compartment.
Defrost Excessive Ice Buildup Correctly
Excessive frost or ice accumulation on interior walls or evaporator coils creates an insulating barrier that blocks proper cooling. If frost exceeds approximately ¼ inch in thickness, manual defrosting is necessary.
Begin by emptying the freezer completely and storing food in coolers with ice. Unplug the refrigerator and leave the freezer doors open, allowing ice to melt naturally over 12 to 24 hours. Speed the process by placing towels in the freezer to catch melting water and replacing them periodically.
Never use metal tools to chip away ice, as this can puncture refrigerant lines or damage the interior lining. Use a plastic scraper to gently remove ice once it has softened. After removing all ice, clean the interior with a bleach and water solution to prevent mildew growth, then dry thoroughly before plugging the appliance back in.
If ice accumulates repeatedly despite proper defrosting, the automatic defrost system has likely failed. This system includes the defrost heater, defrost thermostat, and defrost timer—all components that require professional assessment if faulty.
Clean Condenser Coils for Maximum Efficiency
Dirty condenser coils are one of the most common causes of a KitchenAid fridge freezer not freezing properly. These coils release heat from the refrigerant system and become clogged with dust, pet hair, and household debris over time.
Locate your model’s condenser coils—they’re typically found on the back of the refrigerator or beneath the front kick plate. Using a vacuum with a crevice attachment or a specialized coil cleaning brush, carefully remove all dust and debris from the coil surfaces. Work gently to avoid bending the delicate coil fins.
The condenser fan should run freely when the compressor is operating. Listen for unusual clicking or humming sounds that might indicate fan motor problems. A fan that runs constantly typically indicates the coils are dirty and restricting heat dissipation.
Identify Component Failure Warning Signs
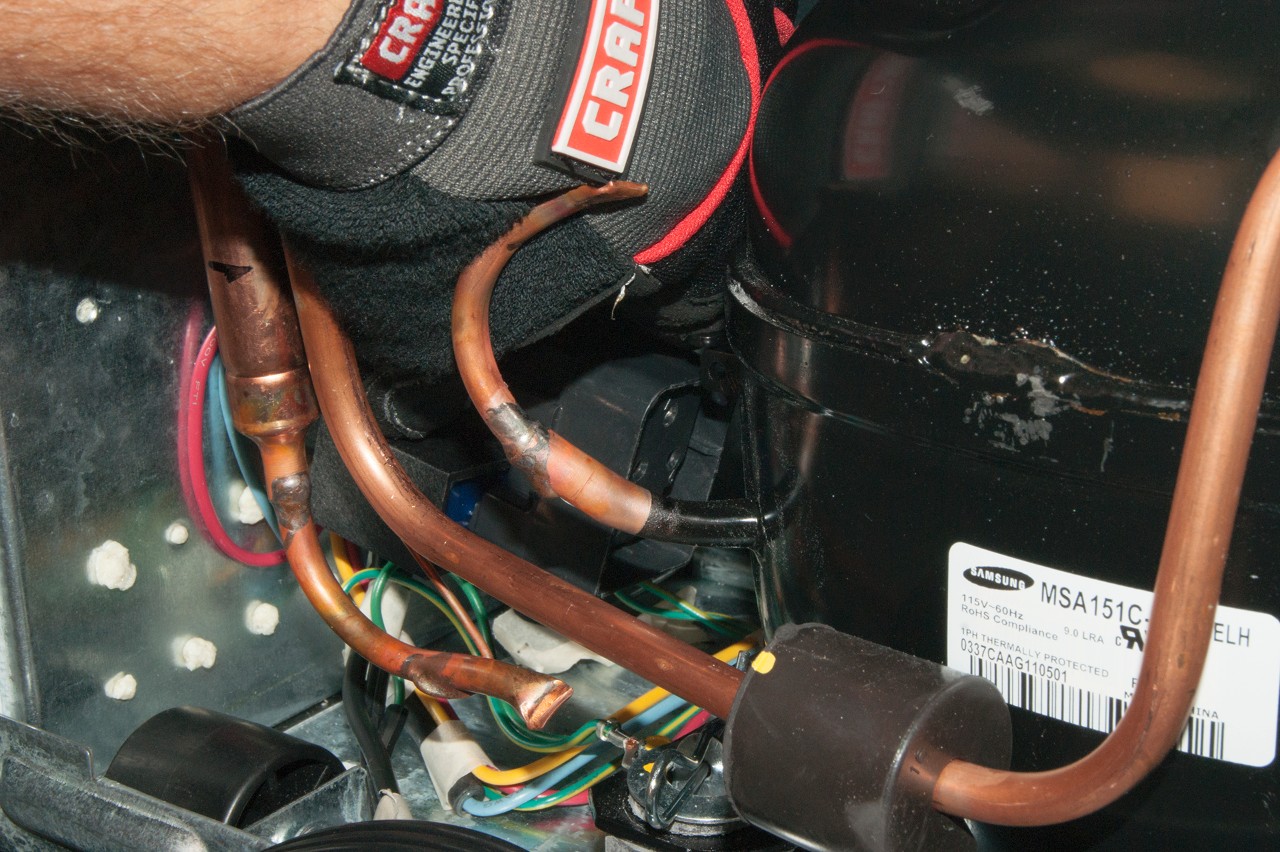
When basic troubleshooting fails, one or more internal components have likely failed. The start relay provides the initial electrical boost needed to start the compressor motor. When this component fails, the compressor may not start at all or may run intermittently with clicking sounds.
Listen for the compressor’s gentle intermittent humming sound during operation; if no humming is heard over a 30-minute period, the compressor or its starting components may be faulty. The evaporator fan motor circulates cold air throughout the freezer—if this fan fails, airflow is severely restricted.
A faulty temperature thermistor can send incorrect readings to the control board, causing the system to believe the freezer is colder than it actually is. Many KitchenAid models include diagnostic modes that can verify thermistor function.
When to Call a Professional Immediately
Certain scenarios clearly require professional expertise. Sealed system problems involving the compressor, refrigerant lines, or three-way valve require EPA certification and specialized equipment to properly diagnose and repair.
If diagnostics indicate low refrigerant due to a leak, the system must be evacuated, repaired, leak-tested, and recharged—an involved process beyond typical DIY capability. Error codes that persist after basic component replacement often indicate deeper system issues requiring professional diagnosis with manufacturer-specific service tools.
Before paying for expensive repairs, verify your appliance’s warranty status. The sealed system warranty on many KitchenAid refrigerators extends for up to 10 years from the original purchase date. When repair costs approach or exceed 50% of a comparable new appliance’s price, replacement typically offers better value.
Prevent Future Freezer Problems Proactively
Implement these regular maintenance habits to prevent cooling problems:
- Every few months, verify your freezer temperature is set properly (0°F to 5°F)
- Check the door seal using the paper dollar bill test
- Clean condenser coils as needed—more frequently in dusty households or those with pets
- Keep the area around the refrigerator clear of dust and debris
- Organize freezer contents to maintain clear airflow paths
- Minimize door opening frequency and duration, especially in warm weather
- Avoid overfilling compartments, which restricts airflow
- Monitor for frost accumulation exceeding ¼ inch thickness
By following this systematic approach to diagnosing and fixing your KitchenAid fridge freezer not freezing properly, you can often resolve the issue yourself or determine when professional help is truly necessary. Most importantly, regular maintenance prevents many common cooling problems before they develop, extending your appliance’s service life significantly.