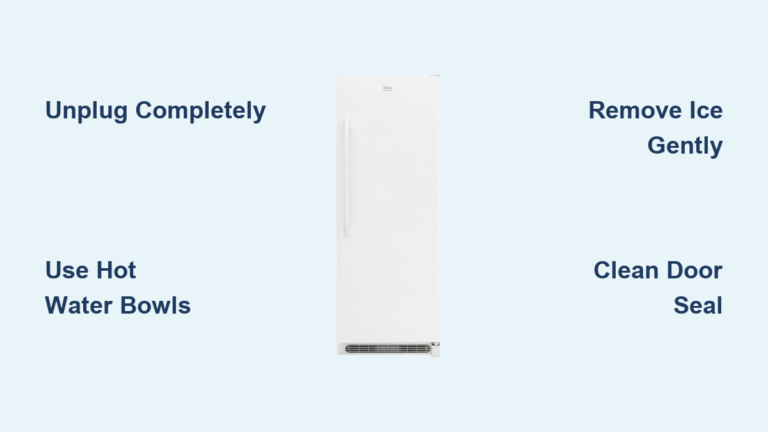
How to Replace Freezer Light: Quick Steps
Nothing ruins your frozen food retrieval experience faster than fumbling in the dark when your freezer light burns out. A failed freezer light transforms what should be a simple grab-and-go moment into a frustrating game of freezer treasure hunt. Replacing your freezer light bulb is actually one of the simplest appliance repairs you can do yourself—most homeowners can complete this task in under 15 minutes with basic tools. This guide delivers the exact steps to replace your freezer light bulb safely and correctly, with specific instructions for Whirlpool chest freezer models and universal principles that apply to nearly all freezer types. Stop wasting time digging through frozen items blindly and restore proper visibility to your freezer with this complete how to replace freezer light tutorial.
When your freezer light fails, don’t automatically assume you need to call for service or replace the entire appliance. Most light failures stem from a simple burned-out bulb or loose connection that you can fix immediately. The right approach ensures you select the correct replacement part, avoid electrical hazards, and complete the repair without damaging your appliance. Whether you’re dealing with a completely dark freezer or a flickering light that signals impending failure, this guide covers everything you need to know to get your freezer properly illuminated again.
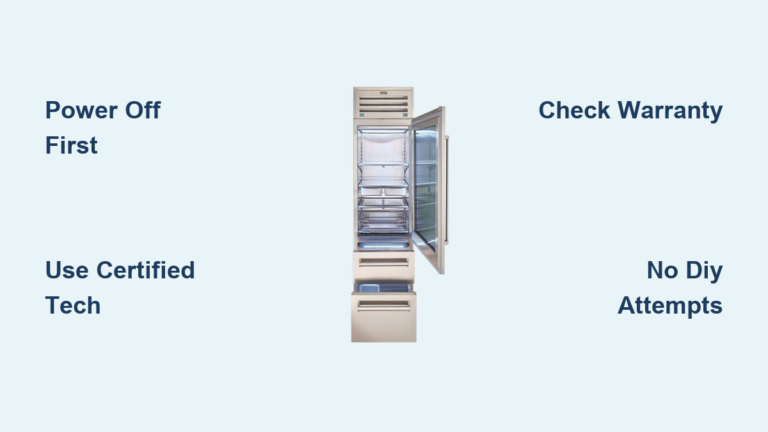
Disconnect Power Before Touching Any Components

Electrical safety must be your absolute priority when working with any appliance component. The risk of shock or short-circuiting disappears completely when you follow proper disconnection procedures before attempting to replace your freezer light.
Unplug the freezer from the wall outlet completely—never rely on simply turning the appliance off. The light circuit remains energized even when the freezer appears to be off. Locate the power cord connection and pull the plug firmly from the socket. If your freezer is hardwired rather than plugged in (common in some built-in models), switch off the corresponding circuit breaker in your electrical panel. Wait five minutes after disconnecting power before proceeding; this allows residual electricity to dissipate and prevents unexpected compressor activation during your repair.
Position the unplugged cord where it can’t accidentally reconnect while you work. Ensure your hands are completely dry before touching any internal components, and if you need to move the freezer to access the plug, get assistance—these appliances are heavy and awkward to maneuver alone. Skipping these safety steps could result in serious electrical shock or damage to your appliance’s internal components.
Collect Your Replacement Parts and Tools
Gathering everything you need before starting prevents frustrating interruptions and ensures a smooth replacement process. The required items are minimal but using the correct components makes all the difference between success and complications when you attempt how to replace freezer light.
Your most critical item is the replacement bulb itself—always use an appliance-rated bulb designed specifically for freezer conditions. Standard household bulbs lack the durability to withstand extreme temperature fluctuations and will fail prematurely in freezer environments. Appliance bulbs typically carry a maximum rating of 40 watts—exceeding this creates fire hazards or can melt plastic components. Check your current bulb’s specifications or consult your owner’s manual before purchasing a replacement to ensure proper fit and safety.
Prepare a small flathead or Phillips screwdriver as some freezer models require tools to access the light assembly, even though many modern freezers feature tool-free access. Wear clean gloves during the replacement process to protect your hands from cold surfaces and prevent skin oils from contaminating the new bulb—these oils create hot spots that significantly shorten bulb life. Finally, have a reliable flashlight or phone light ready since you’ll be working in darkness once power is disconnected.
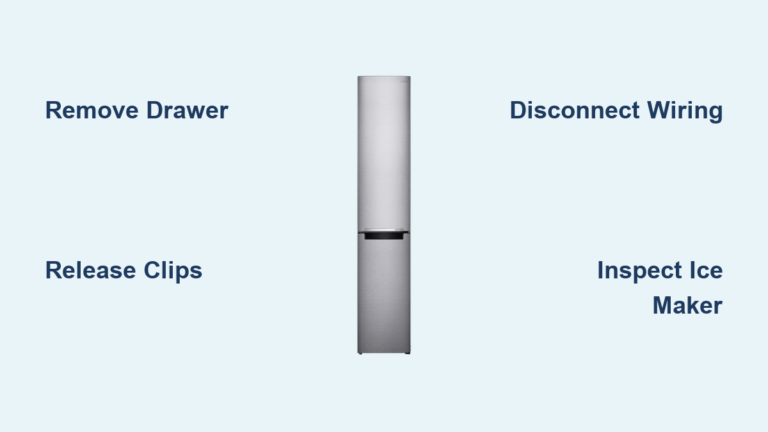
Remove the Light Shield Without Breaking It
With safety confirmed and tools gathered, you can now access the light assembly inside your freezer. The exact removal method varies by model, but most Whirlpool chest freezers share a common design that requires specific technique to avoid damaging the plastic shield.
For standard Whirlpool chest freezers, squeeze both sides of the light shield simultaneously while pushing it backward, then pull it downward to release it from the mounting tabs. Apply firm, even pressure on both sides—uneven pressure can crack the plastic. If the shield doesn’t release with this method, check for small retaining screws along the edges that require a screwdriver to remove. Never force the shield if it resists; consult your owner’s manual for model-specific instructions to avoid breaking this relatively fragile component.
Once removed, inspect the shield for cracks or damage that might require replacement. Set it aside carefully on a clean surface to prevent scratches or deformation that would prevent proper reinstallation. Take note of how the shield oriented in its original position—this makes reassembly much simpler later.
Why Your Bulb Might Not Actually Be Burned Out
Before discarding the old bulb, perform a quick diagnostic check. Many “failed” bulbs are simply loose from thermal cycling during normal freezer operation. Gently rotate the bulb clockwise to tighten it in the socket—if it was loose, the light may now function properly. Test this by briefly reconnecting power (with extreme caution and the shield still removed), then immediately disconnect power again after testing.
If the bulb lights when tightened, you’ve saved the cost of an unnecessary replacement and avoided handling a potentially fragile burned-out bulb. Only proceed with full replacement if tightening doesn’t restore function—this simple check prevents wasted effort and parts.
Replace the Bulb Using Proper Technique

When genuine replacement is necessary, remove the old bulb by rotating it counterclockwise until it releases from the socket. Most bulbs unscrew smoothly, but if resistance occurs, the base may have fused from corrosion or extreme temperature cycling. In this case, use needle-nose pliers to grip the base gently while turning—avoid applying excessive force that could damage the socket threads.
Install the new bulb by aligning it with the socket and rotating clockwise until snug. Never overtighten—this can make future removal difficult or crack the bulb base. The bulb should seat fully with no visible threads exposed, but should not require significant force to install. If you feel resistance before the bulb seats completely, back it out and check for proper alignment before trying again.
Selecting the Perfect Replacement Bulb
Choosing the correct replacement bulb ensures safe operation and prevents future problems. Verify these critical specifications before purchasing:
- Wattage: Never exceed 40 watts—higher wattage creates dangerous heat buildup
- Size and shape: Must match original to fit within the light shield
- Base type: Must properly connect with your socket configuration
- Environment rating: Must be rated for freezer/refrigerator use
While LED options offer longer lifespan, not all LED bulbs work in freezer conditions. Some are designed only for dry environments and fail prematurely in cold, damp freezer interiors. Read packaging carefully to confirm freezer suitability—when in doubt, stick with traditional appliance incandescent bulbs proven compatible with your model.
Reinstall Components and Verify Operation
With the new bulb installed, carefully reverse the removal process to reassemble your freezer light assembly. Proper reinstallation prevents future problems and ensures safe operation.
Reattach the light shield by aligning it with the mounting points and pushing it upward until it clicks or seats fully. For squeeze-release models, apply even pressure on both sides simultaneously as you push the shield into position. If your model uses screws, replace them now but don’t overtighten—snug is sufficient. The shield should sit flush against the freezer interior with no gaps or uneven edges that could allow frost buildup.
Restore power by plugging the freezer in or switching the circuit breaker back on. The light should illuminate immediately upon opening the freezer lid. If it doesn’t, unplug again and verify the bulb is fully seated with a final quarter-turn. Persistent failure suggests a problem beyond the bulb itself—possibly with the socket, wiring, or light switch mechanism.
Address Common Post-Replacement Issues
If your new bulb doesn’t illuminate despite correct installation, diagnose these potential problems before concluding you need professional service:
- Faulty light switch: Test by manually pressing the switch while someone observes the light
- Damaged socket: Look for discoloration, corrosion, or melted plastic around the socket
- Wiring problems: Check for loose connections or frayed wires (requires electrical knowledge)
For most homeowners, wiring issues or complex electrical faults warrant professional service. However, a simple socket replacement might be within your capabilities if you’re comfortable with basic appliance repair.
Maintain Your Freezer Light for Long-Term Reliability
Once your how to replace freezer light project succeeds, simple maintenance prevents future failures and extends component life. Every few months, with power disconnected, gently check that the bulb remains tight in its socket—thermal cycling gradually loosens bulbs over time.
Monitor light performance each time you open the freezer. Bulbs that flicker, take time to reach full brightness, or show discoloration signal impending failure. Address these warning signs proactively rather than waiting for complete darkness. Wipe the light shield periodically with a dry cloth to remove frost buildup that reduces light output, ensuring it’s completely dry before reinstallation.
Keep your freezer model number and bulb specifications handy for future replacements. Taking a photo of the existing bulb before removal helps ensure perfect matching at the store. Genuine replacement parts from authorized retailers guarantee compatibility and proper fit for your specific appliance.
By mastering how to replace freezer light properly and maintaining awareness of your lighting system, you’ll enjoy reliable visibility for years to come. The minimal time investment pays immediate dividends in convenience and ensures you can always see exactly what’s stored in your freezer—no more frozen food fishing expeditions in the dark.