How to Replace a Freezer Thermostat: Step-by-Step Guide
Your freezer suddenly stops keeping food properly frozen—ice cream turns to soup while frost builds up like an Arctic expedition. This frustrating scenario often points to a failing thermostat, the critical component that regulates your freezer’s temperature. When your thermostat malfunctions, your food safety and energy bills both suffer as the compressor either runs nonstop or refuses to activate. The good news? Replacing a freezer thermostat is a DIY project most homeowners can complete in under two hours with basic tools. This guide gives you the exact steps to diagnose thermostat failure and install a replacement, restoring reliable freezing performance without expensive service calls.
Before grabbing your screwdriver, recognize that thermostat replacement requires understanding its role in your appliance’s ecosystem. The thermostat constantly monitors internal temperature and signals the compressor to cycle on and off, maintaining that crucial zero-degree environment. When it fails, your freezer either wastes energy creating excessive frost or lets your food thaw dangerously. By learning how to replace the thermostat yourself, you take control of your appliance’s performance and avoid unnecessary repair costs that could exceed $200.
Identify Clear Thermostat Failure Symptoms
Temperature inconsistencies represent the most obvious sign your thermostat needs replacement. If some foods remain frozen solid while others near the door turn soft, your thermostat isn’t accurately sensing conditions. Similarly, rapid frost buildup combined with warm spots indicates the thermostat fails to signal the compressor to cycle off properly. These fluctuations create dangerous food safety conditions you can’t ignore.
Listen for abnormal compressor behavior that confirms thermostat issues. A compressor that runs continuously for more than 24 hours creates excessive frost and skyrockets energy bills. Conversely, a compressor that won’t start at all leaves your freezer warming dangerously. Check for these specific warning signs:
– Temperature display showing readings that don’t match an appliance thermometer
– Unusual clicking sounds from the control housing when adjusting the temperature dial
– Complete lack of response when turning the temperature control
– Visible cracks or damage to the thermostat housing
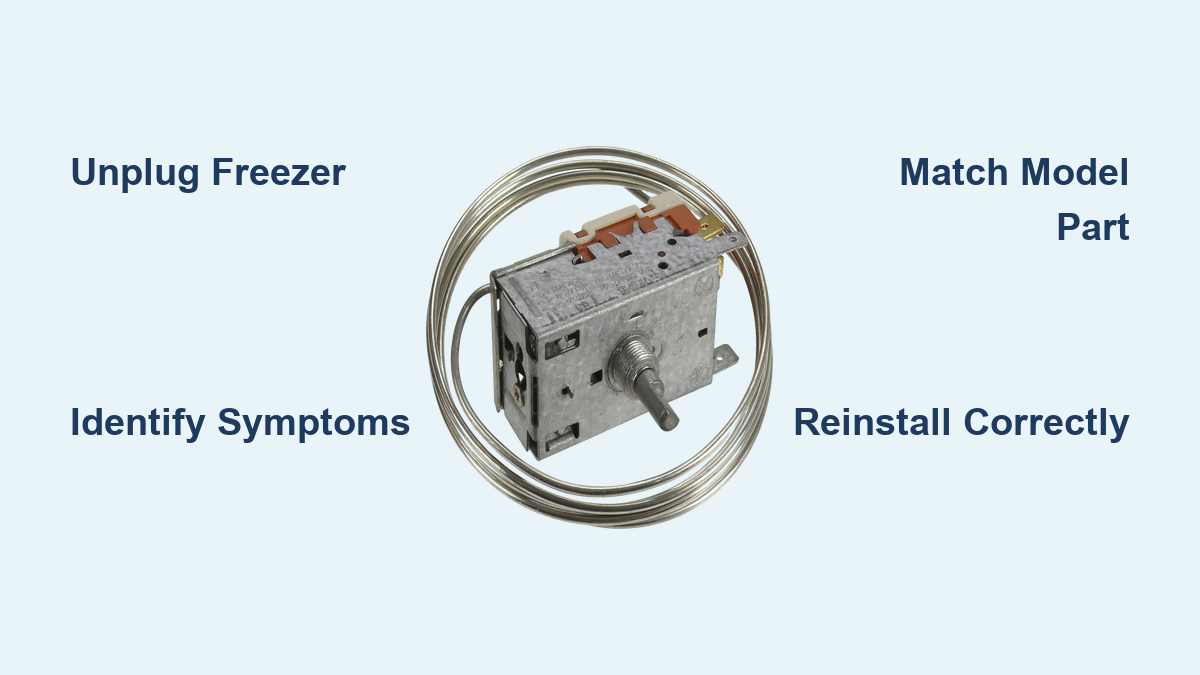
Gather Model-Specific Tools and Replacement Parts

Success begins with having the right equipment before starting your repair. Essential tools include Phillips and flathead screwdrivers for removing control panels, a digital multimeter for testing electrical connections, needle-nose pliers for handling wires in tight spaces, and a flashlight to illuminate dark freezer compartments. Work gloves protect your hands from sharp edges inside the appliance, while towels manage frost and condensation during disassembly.
Most critical is obtaining the exact thermostat model for your specific freezer. Thermostats aren’t universal—they vary by manufacturer, model number, and production year. Locate your freezer’s model number (typically on a sticker inside the door frame or on the back panel) and order a replacement matching those specifications precisely. Using an incompatible thermostat causes temperature control issues, compressor damage, or electrical hazards. Verify the replacement matches in three key areas:
– Mounting configuration and screw holes
– Capillary tube length and connection type
– Electrical terminal arrangement
Power Down and Remove Access Panels Safely
Begin every repair by unplugging your freezer—never work on an appliance connected to power. If your freezer is built into cabinetry, carefully pull it forward while watching for water lines or electrical constraints. For built-in units, remove the lower kick plate first using a putty knife to release retaining clips.
Locate the thermostat control housing inside the freezer compartment, typically mounted on the front wall or integrated into the door assembly. Remove obstructing shelves and drawers, then carefully detach the temperature control dial—this often pulls straight off or requires removing a small set screw. In most models, you’ll need to remove the inner wall panel to access the thermostat mounting location; this panel secures with either screws or plastic clips that require gentle prying with a flathead screwdriver to avoid breaking.
Extract the Faulty Thermostat Without Damage

With the control housing exposed, identify the thermostat assembly—a small metal or plastic bulb attached to a capillary tube leading to an electrical switch housing. The sensing bulb typically sits in a tube extending toward the evaporator coils, allowing direct temperature monitoring. Document all wire connections before disconnecting anything; take multiple photos from different angles showing which wires connect to which terminals.
Label wires with painter’s tape if your model has multiple connections, as mixing them up during reassembly causes operational failures. Remove the mounting screws or retaining clips securing the thermostat, noting their exact positions for reinstallation. Gently pull the capillary tube from its mounting channel, avoiding kinks or sharp bends—this delicate copper tube carries refrigerant that activates the thermostat mechanism, and damage here renders the new unit useless.
Install the Replacement Thermostat Precisely
Before mounting your new thermostat, compare it side-by-side with the old unit to confirm identical specifications. Check that mounting holes align perfectly, capillary tube length matches exactly, and electrical connections use the same configuration. Any discrepancies mean you have the wrong part—stop immediately and verify your model number before proceeding.
Route the capillary tube through the exact path of the original, securing it in all retaining clips along the way. This positioning is critical—the tube must remain free of kinks and positioned to accurately sense evaporator temperature without touching metal surfaces directly. Mount the new thermostat using the provided hardware or original screws, ensuring it sits flush against the mounting surface. Reconnect wires according to your documentation, double-checking each connection before tightening terminal screws. Test the temperature dial movement to confirm smooth operation through its full range.
Reassemble Components and Conduct Initial Testing
Reassemble your freezer in reverse order of disassembly, starting with the inner wall panel. Secure all plastic clips by pressing firmly around the edges until you hear each one click into place. Replace shelves, drawers, and any other components you removed earlier, ensuring nothing obstructs the door seal path.
Restore power to your freezer and monitor the initial startup carefully. The compressor should activate within 15-20 minutes of plugging in. Set the temperature dial to the midpoint setting (typically “4” on a 1-9 scale) and allow one hour for stabilization before checking temperatures. Place an appliance thermometer in a cup of water in the center of the freezer for an accurate reading—your unit should reach 0°F (-18°C) within 24 hours. Listen for normal compressor cycling—running for 15-20 minutes followed by a 20-30 minute rest period indicates proper thermostat operation.
Verify Temperature Stability Over Time
Thorough testing confirms your repair’s success and ensures food safety. Monitor temperatures hourly for the first four hours using your separate appliance thermometer, noting fluctuations. A properly functioning thermostat maintains temperatures within a 2-4 degree range of your setting. Track compressor cycling patterns—write down when it starts and stops to confirm regular intervals.
If temperatures remain unstable after 24 hours, check these common issues:
– Capillary tube touching evaporator coils directly (causes false cold readings)
– Incorrect thermostat calibration (adjust calibration screw if present)
– Loose wire connections at terminals
– Improper capillary tube routing through retaining channels
Troubleshoot Persistent Temperature Problems
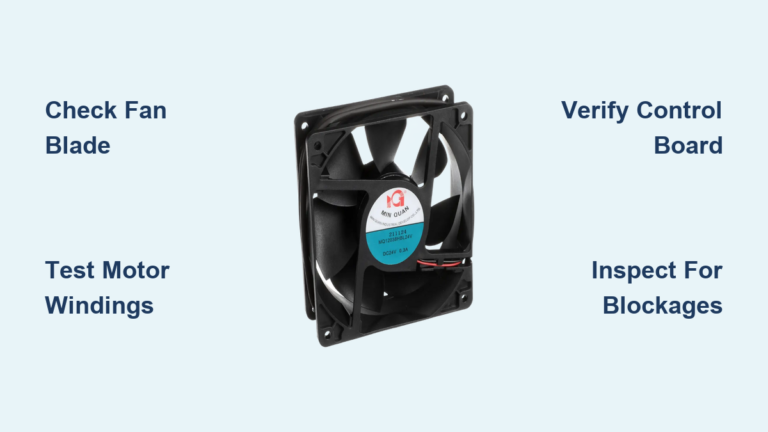
When issues continue after replacement, consider these less obvious causes. If your freezer still won’t reach freezing temperatures, test the evaporator fan motor—this component circulates cold air throughout the compartment and often fails simultaneously with thermostats in older units. Check condenser coils for excessive dust buildup, which reduces cooling efficiency by up to 30%.
Temperature fluctuations often stem from improper capillary tube positioning. The sensing bulb needs to be surrounded by cold air, not pressed against metal surfaces that conduct temperature too quickly. Verify the tube follows the original path exactly, with no sharp bends or compressed sections. If the compressor runs continuously, the thermostat might be set too cold for your environment—adjust to a warmer setting and monitor for normal cycling within 4 hours.
Implement Preventive Maintenance for Long-Lasting Performance
After successful thermostat replacement, adopt these maintenance habits to extend your freezer’s life. Clean door gaskets monthly with mild soap and water, checking for cracks or tears that compromise the seal—replace gaskets immediately if damaged. Defrost manual-defrost freezers when frost exceeds ¼ inch thickness, as excessive buildup insulates the interior and stresses all components.
Vacuum condenser coils every six months—dusty coils force the compressor to work 25% harder, accelerating thermostat wear. Ensure at least 3 inches of clearance around your freezer for proper airflow, especially at the top and back where heat dissipates. During summer months, adjust the thermostat setting slightly colder to compensate for warmer ambient temperatures in garages or basements.
Final Note: Replacing a freezer thermostat typically costs $35-$85 for parts and takes 60-90 minutes of your time, saving significant money compared to professional repairs. If your freezer still shows temperature inconsistencies after careful replacement, consult an appliance technician—refrigerant issues or compressor problems may require professional diagnosis. Properly maintained, your new thermostat should provide reliable temperature control for 5-7 years before needing replacement.