How to Replace a Freezer Gasket: Step-by-Step Guide
That annoying frost buildup in your freezer isn’t just inconvenient—it’s a sign your appliance is working overtime due to a failing door seal. When your freezer gasket wears out, cold air escapes, warm air sneaks in, and your electricity bill climbs without warning. The good news is learning how to replace a freezer gasket is one of the most cost-effective DIY repairs you can make to restore efficiency and protect your food. Most homeowners can complete this project in under an hour with basic tools, saving hundreds compared to professional service. In this guide, you’ll discover exactly how to replace a freezer gasket from start to finish, including diagnosing problems, selecting the right replacement, and testing your work for a perfect airtight seal that keeps your freezer running efficiently for years to come.
Spot These 7 Warning Signs of a Failing Freezer Gasket
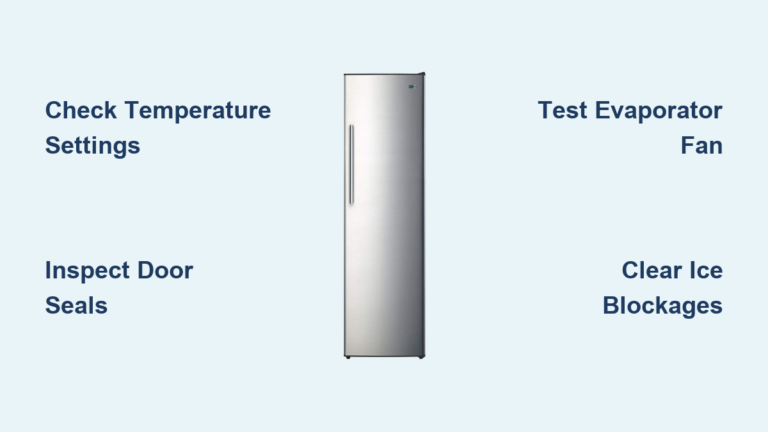
Before you learn how to replace a freezer gasket, you must confirm it’s actually the culprit behind your freezer issues. Many homeowners mistake gasket problems for compressor failures or thermostat malfunctions, leading to unnecessary repairs.
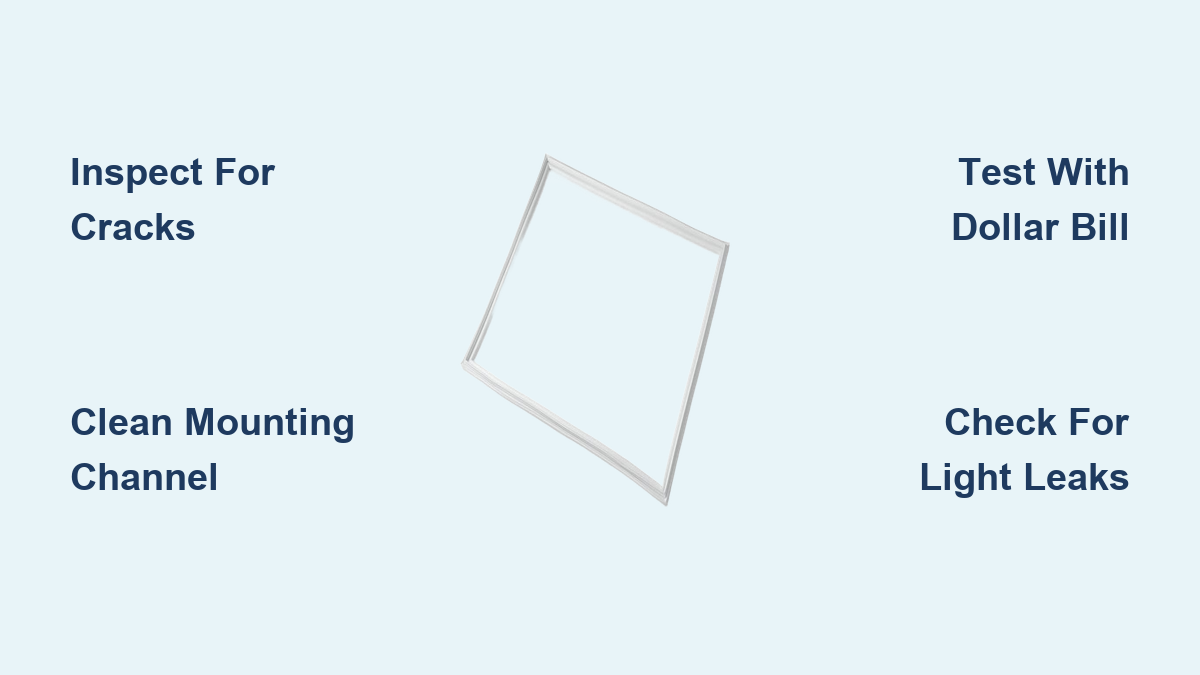
Visible cracks and tears are the most obvious red flags. Inspect your gasket thoroughly, running your fingers along its entire length. Look for splits in the rubber, especially at corners where stress concentrates. A gasket with even small cracks can’t maintain a proper seal, allowing warm air to infiltrate your freezer compartment.
Hardening and brittleness compromise sealing performance. Press on the rubber—if it doesn’t flex back to shape or feels stiff and unyielding, it’s lost its elasticity. Test the entire perimeter; you might find the gasket remains flexible in some areas while hardening in others, particularly near the hinges where temperature fluctuations occur.
The dollar bill test reveals hidden air leaks. Close a dollar bill in the door at multiple points around the seal. If you can pull it out easily without resistance, that section isn’t sealing properly. A functioning gasket should grip the bill firmly at every position. Pay special attention to the bottom corners where gravity often causes premature wear.
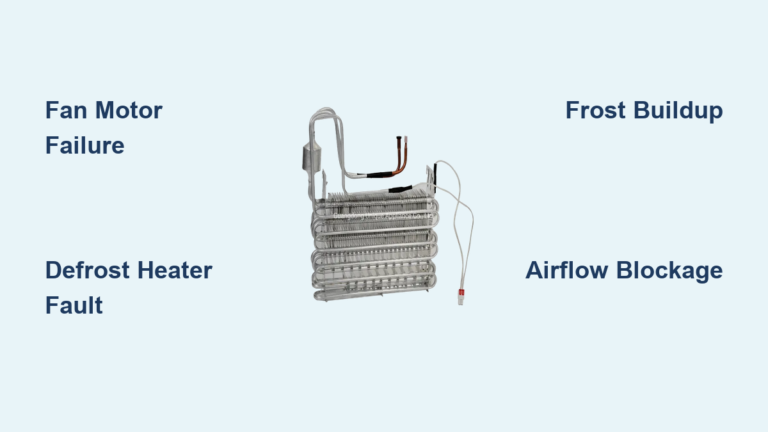
Excessive frost buildup signals major air infiltration. While some frost is normal, thick ice accumulating on walls, shelves, or food packages means warm, humid air is entering through gasket gaps. This forces your compressor to work harder, increasing energy consumption and shortening your appliance’s lifespan.
Check for light gaps around the door seal. With the interior light on, close the door and inspect the perimeter in a dark room. Any visible light indicates a breach in the seal where cold air escapes. Even small gaps can significantly impact efficiency over time.
Listen for compressor overwork. If your freezer’s motor runs constantly instead of cycling on and off, air leaks through a compromised gasket are likely the culprit. This constant operation not only increases your electricity bill but accelerates wear on critical components.
Unexplained temperature fluctuations affect food quality. Items that should remain solidly frozen becoming partially thawed, or ice cream losing its firm texture, often points to a failing seal. Use an appliance thermometer to verify if your freezer maintains a consistent 0°F temperature.
Essential Tools for Freezer Gasket Replacement

Having the right equipment makes learning how to replace a freezer gasket significantly easier and prevents door damage during the process.
Magnetic screwdriver set is non-negotiable for most installations. You’ll need both Phillips and flathead options in multiple sizes to access various mounting hardware. The magnetic tip prevents screws from falling into hard-to-reach areas—a common frustration during gasket replacement. Keep a small container nearby to organize screws by location, as different sizes often secure different sections.
Flexible putty knife protects your freezer door during removal. Choose a thin, plastic scraper rather than metal to avoid scratching surfaces while prying the old gasket loose. The flexibility allows you to work around tight corners without tearing the material or damaging the mounting channel.
Isopropyl alcohol and clean microfiber cloths ensure proper adhesion. After removing the old gasket, you must thoroughly clean the mounting channel. Alcohol removes grease and residue that could prevent the new gasket from seating properly. Have multiple cloths on hand—one for cleaning and another for drying—since moisture compromises the seal.
Replacement gasket must match your specific model exactly. Never guess at sizing—measure your old gasket’s length and cross-section profile, or better yet, locate your freezer’s model number (typically inside the refrigerator compartment) before purchasing. Most major appliance retailers and online stores offer model-specific gaskets that guarantee perfect fit.
Optional but helpful: hair dryer for stubborn gaskets. If your old gasket resists removal, apply gentle heat from a hair dryer on low setting to soften the rubber. Move continuously to avoid melting plastic components, and never use excessive heat that could warp door panels.
Prepare Your Freezer for Successful Gasket Installation
Proper preparation prevents food spoilage and protects your appliance during the replacement process.
Unplug the freezer before starting work. This critical safety step prevents electrical shock and protects sensitive components. Verify power is off by checking that interior lights don’t illuminate when opening the door. Leaving power connected risks damaging control boards during disassembly.
Transfer all frozen items to coolers with ice packs. Empty your freezer completely to provide unobstructed access to the door mechanism. Group items by type and wrap them in towels for extra insulation. For larger freezers, prepare multiple coolers and work quickly to minimize temperature exposure.
Document your gasket’s attachment method before removal. Take photos of how the existing gasket secures to the door—some use screws through metal strips, others employ plastic clips, and some rely on adhesive. Understanding this system prevents confusion during reinstallation and ensures you don’t lose or misplace critical components.
Clean the area around your freezer. Remove any obstacles that might interfere with door movement during the process. Clear at least two feet of space in front of the appliance to allow the door to open fully without obstruction.
Remove the Old Gasket Without Damaging Your Freezer
The removal process varies based on your gasket’s attachment method, but these techniques work for all types.
Screw-secured gaskets require systematic disassembly. Starting at the top center, carefully remove each screw while noting its position. Some models use different screw lengths at corners versus straight sections. Place screws on labeled tape or in compartmentalized containers to avoid mixing them up during reassembly.
Clip-mounted gaskets need gentle persuasion. Insert your putty knife at one corner and carefully pry the clip away from its slot while pulling the gasket outward. Work slowly around the perimeter—forcing clips can break the plastic retainers or damage the door frame. If a clip breaks, note its location for potential replacement.
Adhesive-bonded gaskets require patience. Work the putty knife under the gasket edge and apply steady pressure to break the adhesive bond. Move incrementally around the perimeter, avoiding sudden jerks that might tear the material. For particularly stubborn sections, apply gentle heat with a hair dryer to soften the adhesive.
Corner removal demands special attention. Start at the top corner and work downward on one side before moving to the adjacent side. This prevents uneven stretching that could damage the gasket channel. If your gasket has pre-formed corners, handle them extra carefully as they’re often the most fragile sections.
Inspect the mounting channel after removal. Use a flashlight to check for debris, old adhesive residue, or damage that needs addressing before installing the new gasket. A damaged channel can prevent proper seating of the replacement.
Achieve Perfect Adhesion With Proper Mounting Surface Prep
A clean mounting surface is critical for long-lasting gasket performance—this step often gets rushed but makes all the difference.
Vacuum the gasket channel thoroughly. Use a crevice tool attachment to remove loose debris, dust, and food particles from the entire perimeter. Pay special attention to corners where crumbs accumulate over time. Skip this step, and trapped debris will prevent full contact between gasket and channel.
Wash with mild detergent solution. Mix warm water with a few drops of dish soap and use a soft cloth to scrub the entire mounting surface. Focus on removing grease buildup that compromises adhesion. Rinse with clean water to eliminate soap residue that could interfere with the seal.
Degrease with isopropyl alcohol. This crucial step removes invisible oils that prevent proper bonding. Apply alcohol to a clean cloth and wipe the entire channel, replacing the cloth as it becomes soiled. The surface should feel completely dry and free of any slippery residue.
Dry completely before proceeding. Allow at least 15 minutes for the channel to air dry, or wipe thoroughly with a dry microfiber cloth. Installing a gasket on a damp surface invites mold growth and reduces adhesion.
Install Your New Freezer Gasket for Maximum Efficiency
Proper installation technique ensures your new gasket creates an airtight seal from day one.
Dry-fit the gasket before final installation. Position the new gasket without securing it to verify proper fit. The material should lie flat against the mounting surface without stretching, bunching, or gaps at corners. If it doesn’t seat properly, you may have the wrong size or need to adjust your approach.
Begin installation at the top center point. This creates balanced tension as you work toward the corners. For screw-type gaskets, insert screws loosely at first to allow adjustment before final tightening. For clip systems, snap the center section into place before moving toward the edges.
Work methodically around the perimeter. Move slowly and deliberately, ensuring the gasket remains fully seated in the channel. For screw installations, tighten in a star pattern rather than sequentially to distribute pressure evenly. For clip systems, press firmly along the entire length to ensure full engagement.
Treat corners with special care. Proper corner installation determines overall sealing effectiveness. Some gaskets have pre-formed corners that simply snap into place, while others require careful folding. Avoid creating gaps or overlaps that compromise the seal.
Check for complete seating before testing. Run your fingers along the entire perimeter to verify the gasket is fully seated in the channel with no sections lifted or misaligned. A single gap can undermine the entire seal’s effectiveness.
Verify Your Work With These 3 Critical Tests
Testing confirms your gasket replacement succeeded and identifies any issues requiring correction.
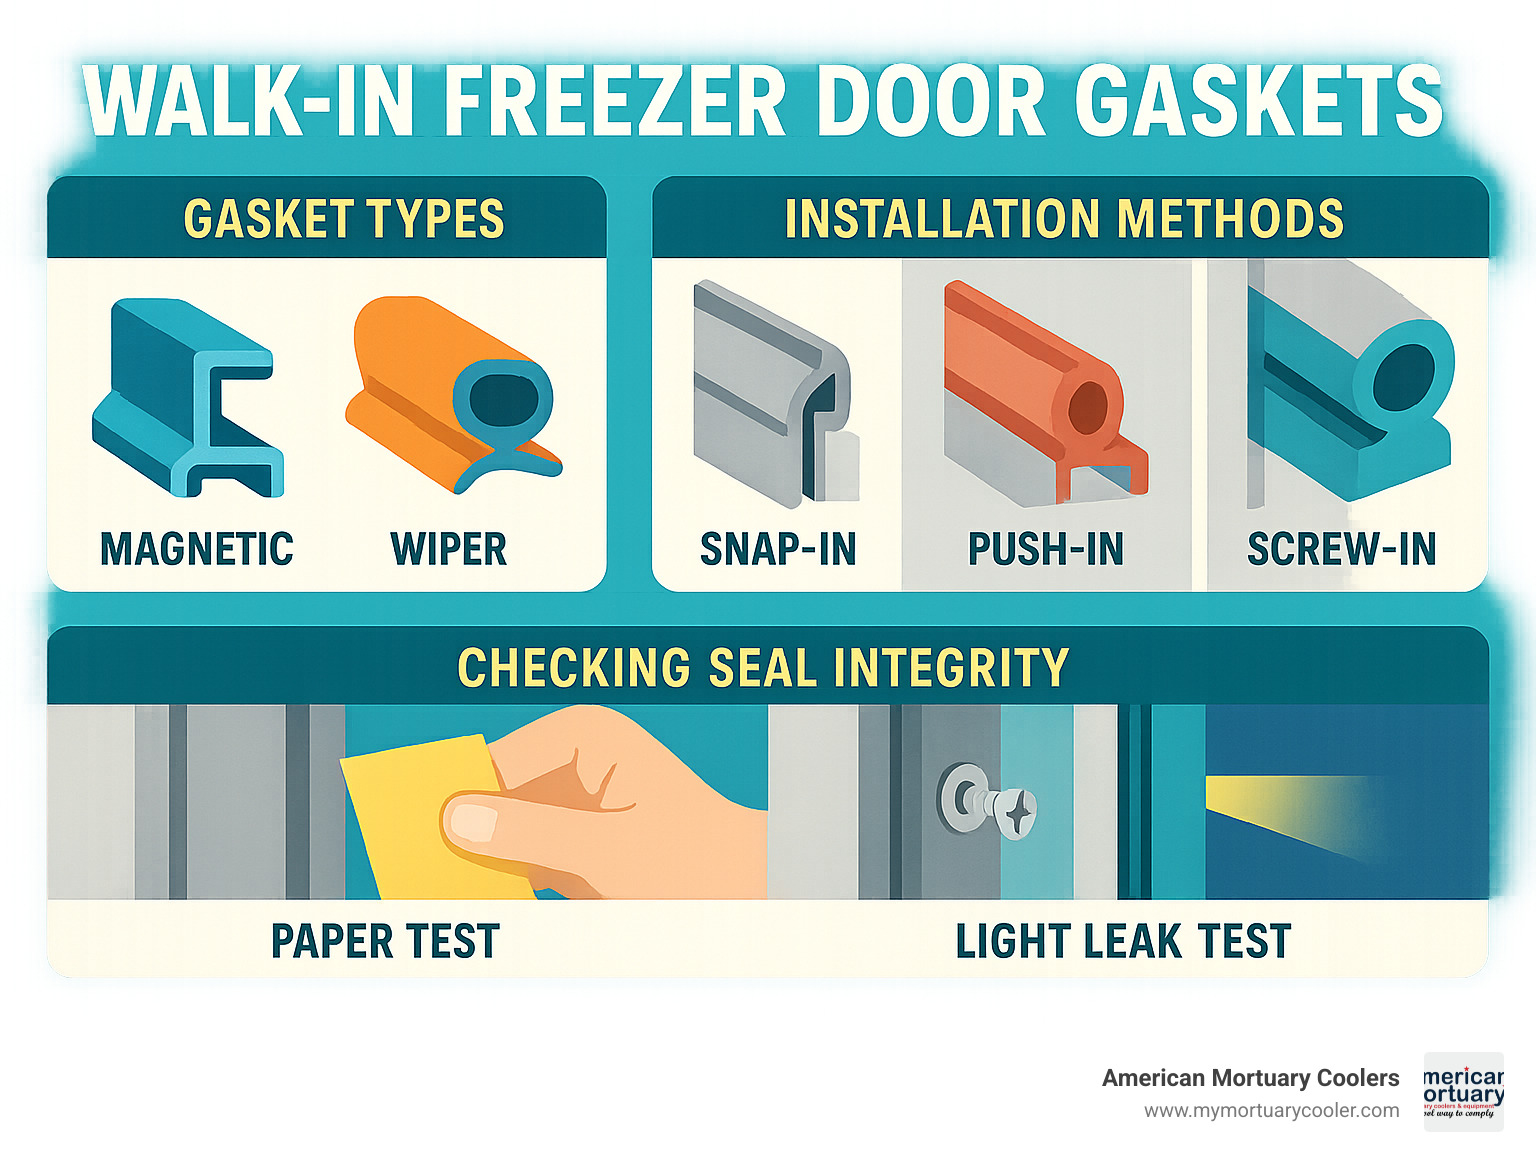
Perform the dollar bill test at 8 strategic points. Insert a bill between gasket and cabinet at top center, each corner, and midpoints of each side. The bill should resist removal with consistent force at every location. If it slides out easily anywhere, adjust the gasket seating at that point.
Check for light leakage in a dark room. With interior light on, close the door and inspect the perimeter. Any visible light indicates a seal failure. This test often reveals small gaps missed during visual inspection.
Monitor compressor cycling after restoration. Once power is restored and the freezer reaches temperature, observe the compressor cycle. It should run for 10-15 minutes then shut off for 20-30 minutes. Constant running indicates remaining air leaks that need addressing.
Extend Your New Gasket’s Lifespan With Simple Maintenance
Proper care ensures your new gasket delivers years of efficient performance after you’ve learned how to replace a freezer gasket.
Clean the gasket monthly with mild soap solution. Use a soft cloth to remove food residue and debris from both sides of the seal. Pay special attention to the groove where the gasket contacts the cabinet frame—this area traps moisture and promotes mold growth.
Inspect for damage during routine cleaning. Run your fingers along the entire gasket to detect early signs of hardening, cracks, or tears. Catching issues early allows for minor repairs before complete replacement becomes necessary.
Avoid slamming the freezer door. The impact damages gaskets over time, particularly at corners. Teach household members to close doors gently to preserve seal integrity.
Check the paper test quarterly. Regular performance testing identifies developing problems before they cause significant efficiency loss or food spoilage.
Learning how to replace a freezer gasket saves you money on service calls while improving your appliance’s efficiency. By recognizing early warning signs, preparing properly, and following these installation techniques, you’ll create a perfect seal that maintains optimal temperatures and reduces energy consumption. Remember that consistent maintenance extends your gasket’s life significantly—clean it regularly, inspect for damage, and address minor issues promptly. A properly sealed freezer not only lowers your electricity bill but also preserves food quality and extends your appliance’s overall lifespan. If you encounter persistent sealing issues after replacement, consult a professional to check for underlying problems like door misalignment or structural damage.