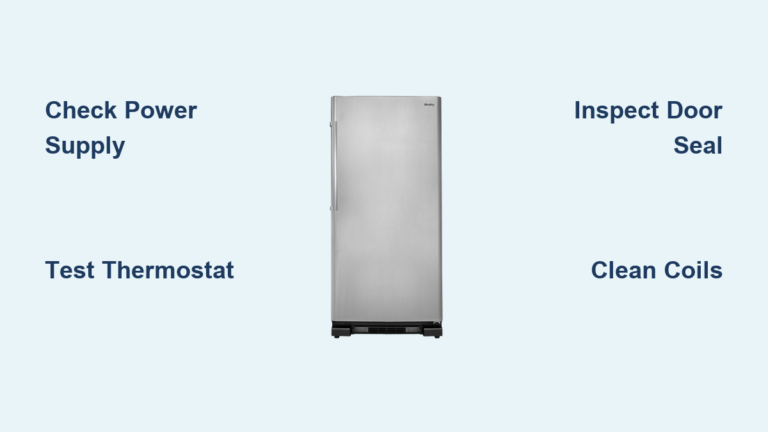
How to Fix Freezer Door Seal Leak
That annoying frost buildup in your freezer isn’t just inconvenient—it’s costing you money every day. When your freezer door seal fails, cold air escapes and warm air rushes in, forcing the compressor to work overtime while your frozen food risks spoilage. The good news? Learning how to repair a freezer door seal is a manageable DIY project that most homeowners can complete with basic tools and minimal expense. This guide reveals exactly what to look for, how to fix common seal problems, and when replacement becomes necessary—saving you hundreds compared to professional service calls. Let’s dive into the warning signs that indicate your freezer seal needs immediate attention.
Visible Damage and Frost Buildup Indicating Seal Failure
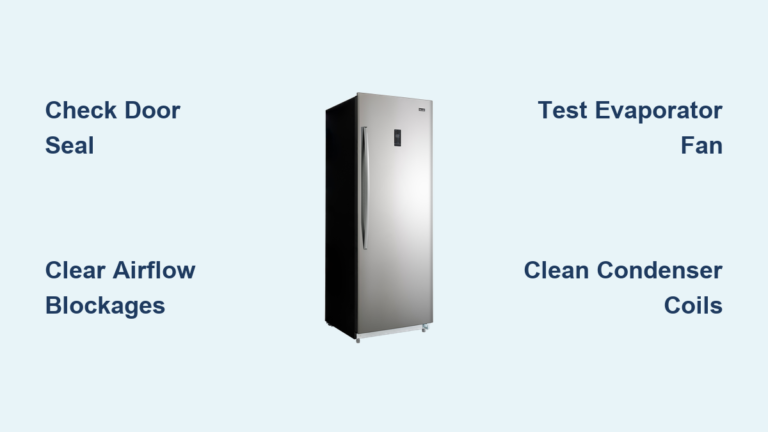
Your freezer door seal should form a perfect airtight barrier when closed, but several visible signs reveal when this critical component has failed. Inspect the rubber gasket carefully for tears, cracks, splits, or punctures—particularly in the corners where stress concentrations cause the earliest damage. Sections that have warped, curled, or flattened lose their ability to compress properly against the cabinet frame, even when the material appears intact. If any portion of the seal pulls away from the door frame or fails to make complete contact with the cabinet, you’ve identified a problem requiring immediate action.
Frost accumulation along the door edges or on stored items strongly indicates seal failure. When warm humid air infiltrates through a compromised seal, moisture freezes on contact with cold interior surfaces, creating a snowball effect of deterioration. You might also notice your freezer running longer cycles than before, as the compressor works overtime to compensate for temperature losses. In severe cases, you’ll feel cold air escaping from around the door edges when passing your hand along the perimeter. These warning signs shouldn’t be ignored—each day of delay increases energy costs and risks food spoilage.
Perform the Dollar Bill Test to Diagnose Seal Problems
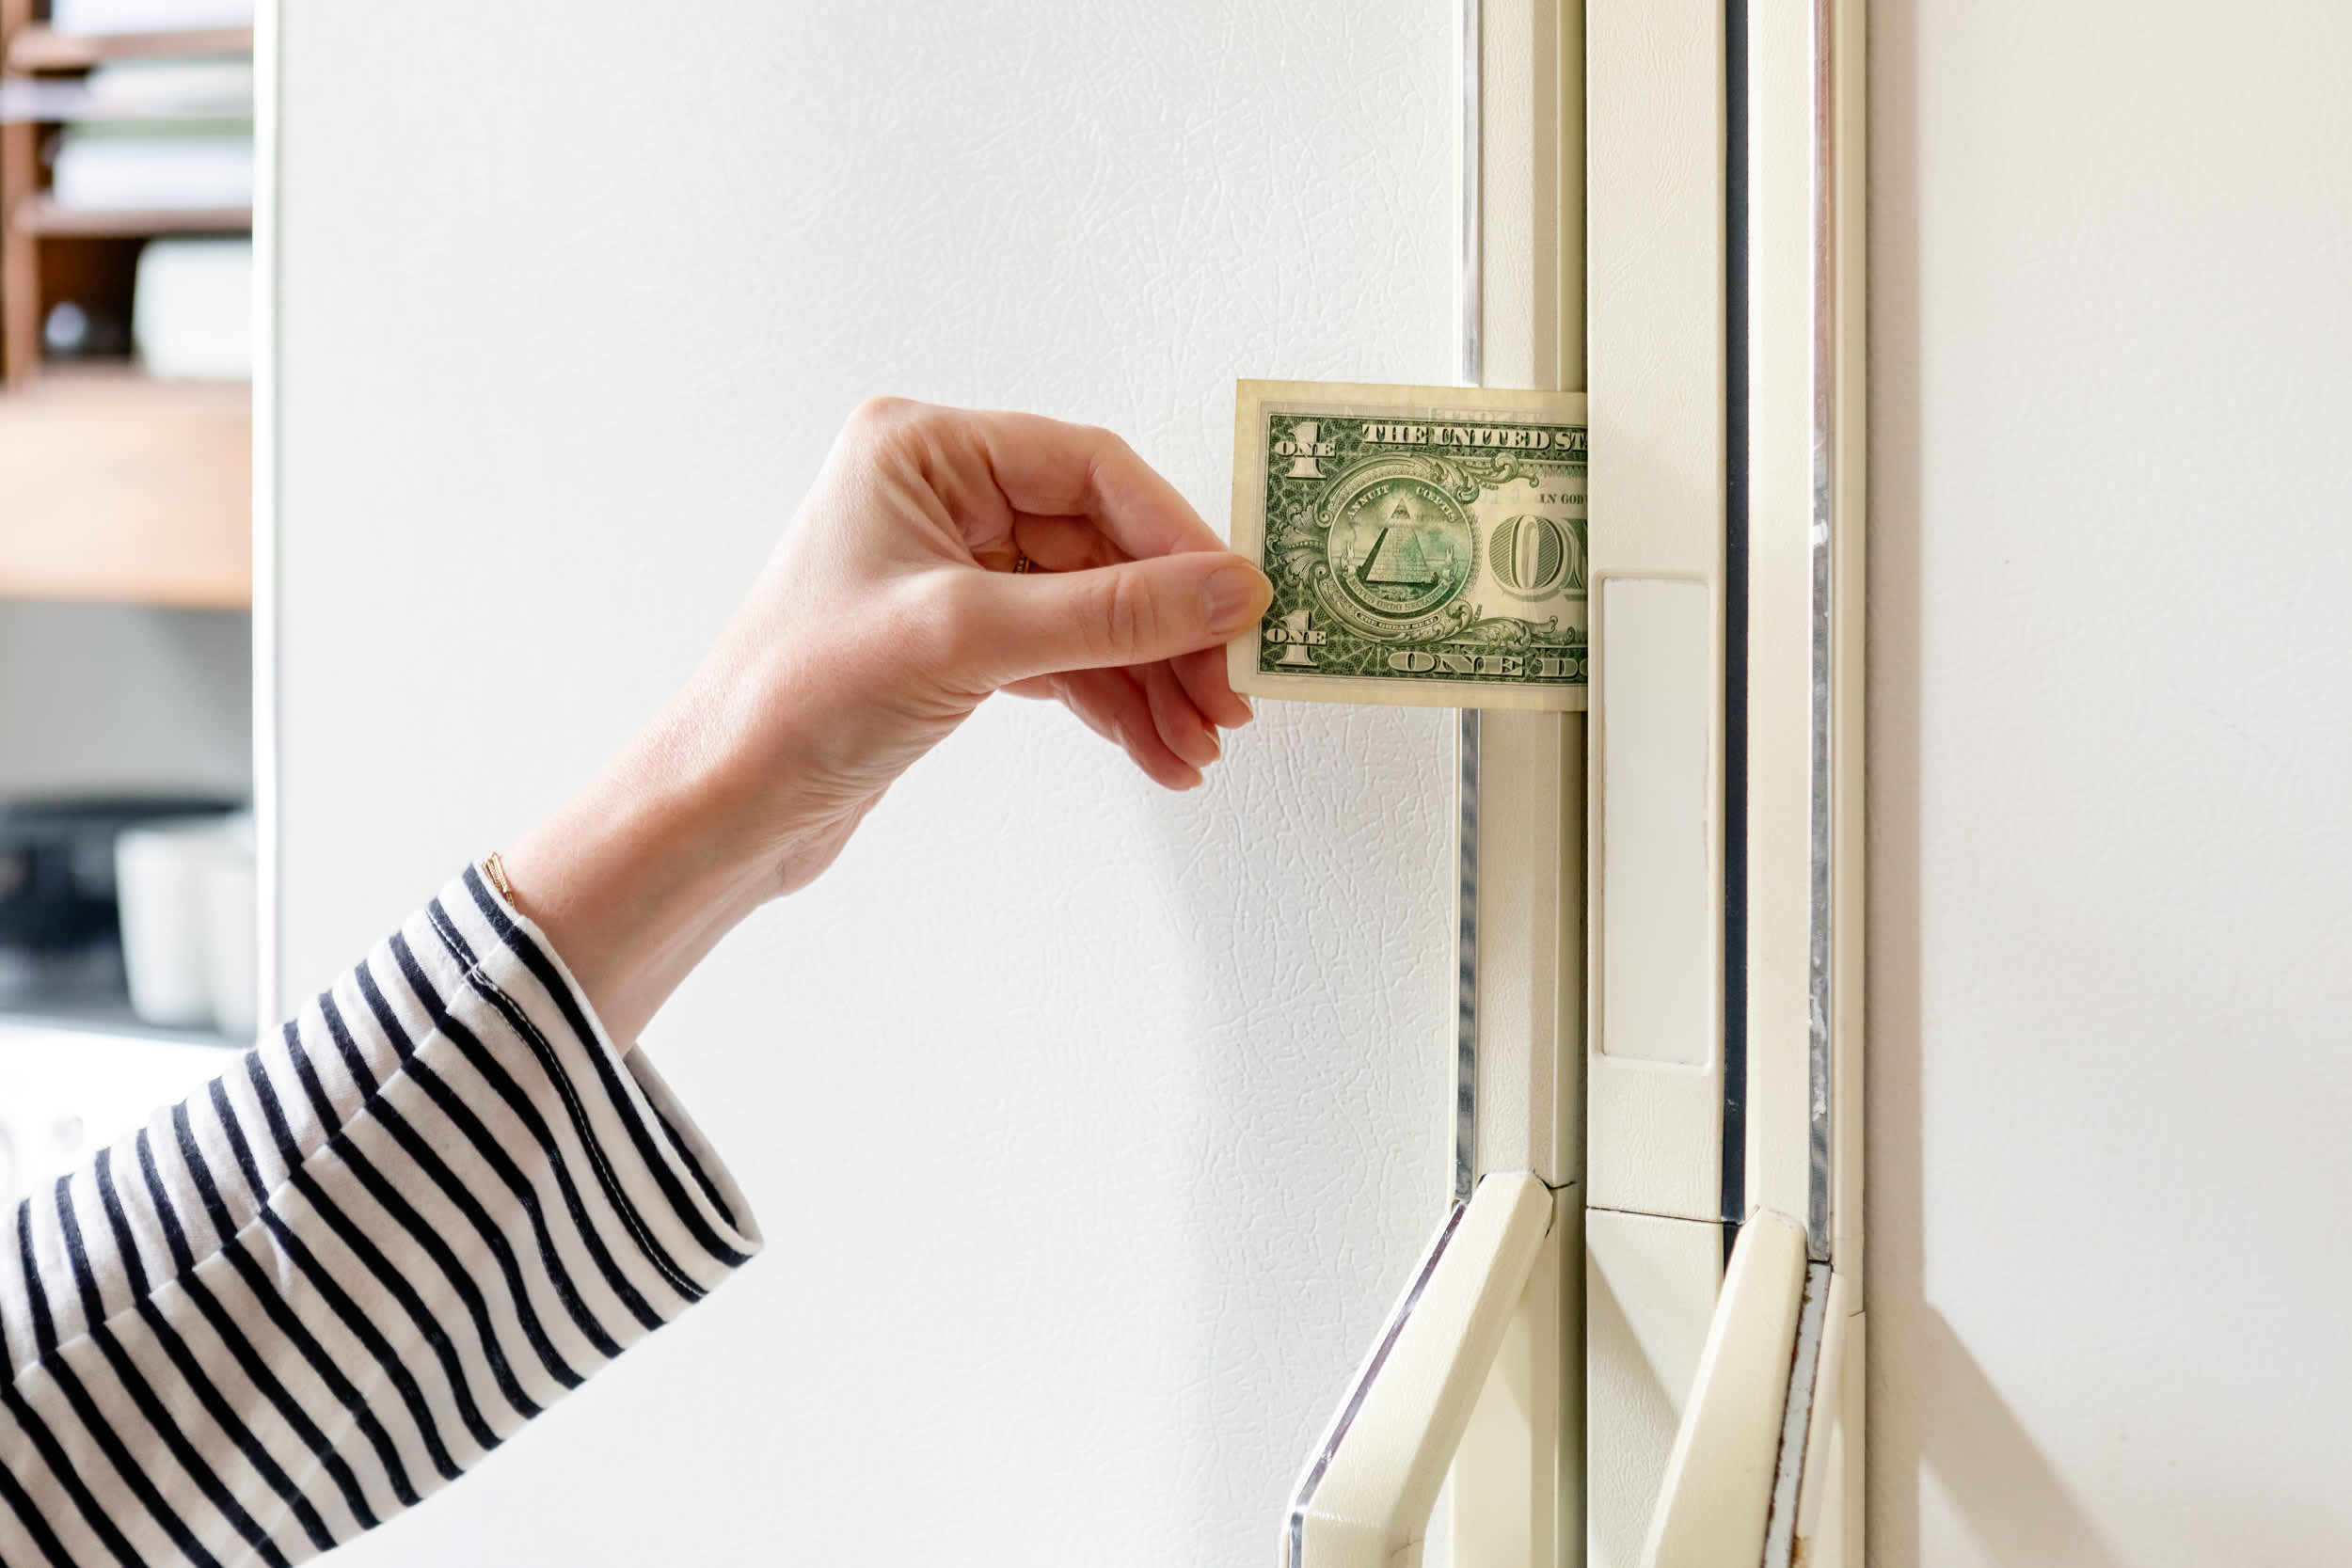
Before attempting any repair, confirm the exact location and severity of your seal failure using the dollar bill test—a simple yet highly effective diagnostic technique. Open your freezer door and slide a dollar bill flat between the door seal and cabinet frame at multiple points around the entire perimeter. Close the door gently, allowing the seal to compress around the paper, then try to pull the bill out.
A healthy seal holds the paper firmly enough that considerable force is required to extract it. If the bill slides out easily with little resistance, you’ve identified an air gap where the seal fails to achieve proper compression. Test all four corners and the center of each side, noting specific locations where sealing is weak. This test works best when the seal is at normal operating temperature, as very cold seals may appear to seal properly but fail once they warm slightly during normal use.
Clean Your Freezer Door Seal to Restore Proper Function
Food residue, dust, and grease accumulation often cause apparent seal failure when the solution is simply thorough cleaning. Establish a monthly cleaning routine to prevent contaminant buildup that degrades performance. Begin with a solution of mild dish detergent mixed with warm water—never use harsh chemicals or abrasive cleaners that damage rubber seal material.
Dip a soft sponge or microfiber cloth into the solution and wring it out thoroughly to prevent excess moisture. Working systematically around the entire perimeter, wipe down all surfaces of the gasket, paying special attention to folded areas and crevices where debris accumulates. A soft-bristled brush helps clean grooves that sponges can’t reach. After cleaning, rinse thoroughly with clean water to remove all soap residue, then dry completely with a clean cloth. Perform the dollar bill test again—many sealing problems resolve entirely once debris is removed.
Fix Small Tears with Silicone Glue Repair Method
For tears less than one inch in length, a silicone glue repair provides an effective temporary solution that restores seal integrity. Clean the damaged area thoroughly with mild detergent and warm water, then allow it to dry completely. Cut a piece of wax paper slightly larger than the damaged section to prevent adhesive from sticking to surrounding surfaces.
Apply a small amount of silicone glue directly into the tear, spreading it evenly to cover the damaged section completely. Press the wax paper firmly over the adhesive, smoothing out air bubbles. Allow the silicone to cure according to manufacturer instructions (typically several hours), then carefully peel away the wax paper. Inspect the repair and perform the dollar bill test to verify proper sealing. While this method extends seal life for several months, it’s a temporary solution—complete replacement remains the permanent fix.
Apply Heat to Restore Flexibility in Stiff Seals
A hair dryer set to low or medium temperature can temporarily improve flexibility in seals that have become stiff or developed a permanent set from constant compression. Keep the heat source moving constantly to avoid concentrating heat in any one area, which could damage the material. Work in sections, warming the seal until noticeably more pliable, then immediately close the door briefly to help the warmed material conform to the cabinet frame shape.
This process may need repetition to achieve optimal results. Some users report that deliberately tilting the freezer slightly backward improves seal performance—adjust the leveling legs so the back sits slightly higher than the front, allowing the door’s natural weight to maintain better compression. However, excessive tilting causes other problems, so make adjustments gradually and test thoroughly after each change.
Replace Your Freezer Door Seal When Damage is Extensive
When seal damage is too severe for temporary repairs, complete replacement becomes necessary. Obtain the correct replacement seal for your specific freezer model—seals are model-specific, and proper fit is essential. OEM seals typically cost $30-$150, while aftermarket options may be available at lower prices with varying quality.
Prepare the new seal by soaking it in warm water for several hours or using a hair dryer on low heat to soften the material. Begin installation at one corner, pressing the new seal firmly into the mounting groove and working systematically around the door. Ensure proper alignment before applying pressure, as repositioning after initial seating proves difficult. Pay particular attention to corners, which must be properly mitered for a smooth continuous seal.
Allow the new seal several hours to settle and conform to your freezer door’s exact shape before testing performance. During this settling period, avoid excessive door opening that could shift the seal. After settling, perform the dollar bill test at multiple points to verify proper sealing across the entire perimeter.
Adjust Door Alignment to Fix Seal Contact Issues

Door misalignment causes sealing problems even with a perfect seal. Signs include a door that doesn’t close under its own weight, uneven wear patterns on the seal, or corners sitting at different heights. Locate the hinge mounting screws, typically at the top and bottom of the door hinge assembly, and loosen them slightly.
Adjust the door position by pushing or pulling corners as needed to achieve proper alignment. For top adjustment, loosen top hinge screws and shift the top left or right. For bottom adjustment, the bottom hinge typically allows raising or lowering to correct height issues. Retighten all screws securely and test the seal again. Check appliance levelness using a bubble level—adjust leveling legs until properly level, which often resolves alignment problems.
Test Your Repair Results with Multiple Verification Methods
After completing any repair or replacement, thorough testing verifies your freezer door now achieves a proper seal. Begin with the dollar bill test at multiple points around the entire perimeter, including all four corners. A properly sealed door holds the paper firmly enough that significant force is required to extract it.
Observe door closure behavior over the following days—a properly sealed door closes with noticeable resistance and stays firmly closed without popping open. Listen for hissing sounds when opening the door, which indicate air leaks. Monitor energy consumption if possible, as a properly sealed freezer maintains temperature with less compressor runtime. Establish a schedule for periodic re-testing to catch developing problems before they cause food spoilage or excessive energy use.
Prevent Future Seal Problems with Regular Maintenance
Monthly visual inspections catch seal problems early before they result in significant energy waste. Look for visible damage, accumulated debris, and signs of mold or mildew. Quarterly dollar bill testing verifies seal compression across all areas. Annual deep cleaning removes residue that degrades performance over time.
Avoid placing freezers in areas with extreme temperature variations, direct sunlight, or excessive humidity. Ensure adequate ventilation around the appliance to prevent heat buildup that accelerates seal degradation. Clean seals using mild detergents only—never harsh chemicals or abrasive tools. Petroleum-based products should be avoided, as these degrade rubber materials over time. By following these maintenance practices, you extend seal life significantly and catch developing problems before they become expensive failures.
A well-sealed freezer door is essential for energy efficiency and food preservation, but seal problems develop gradually and often go unnoticed until significant damage occurs. By learning how to repair a freezer door seal and establishing regular maintenance habits, you protect your frozen food investment while keeping energy costs under control. Whether you’ve just noticed frost buildup or are proactively maintaining your appliance, these techniques give you everything needed to diagnose problems accurately and execute appropriate repairs. Your freezer—and your electricity bill—will thank you for the attention.