How to Remove Moisture from Freezer: Quick Steps
That frustrating layer of frost building up in your freezer isn’t just annoying—it’s compromising your food storage and wasting energy. When you open your freezer to find ice crystals coating everything, moisture pooling on shelves, or condensation dripping from the door seals, you need practical solutions now. The good news is that most moisture problems can be resolved with straightforward fixes that target the root causes. By understanding why humid air infiltrates your freezer and implementing these targeted strategies, you’ll eliminate excessive moisture while preserving your appliance’s efficiency and your frozen foods’ quality.
The secret to solving freezer moisture issues lies in recognizing that warm, humid room air is the primary culprit. Every time you open the freezer door, this moisture-laden air rushes inside and condenses on cold surfaces. Rather than just defrosting repeatedly, focus on preventing humid air from entering and ensuring your appliance can manage any moisture that does get inside. This guide delivers actionable steps you can implement immediately to stop moisture buildup at its source.
Identifying Problematic Moisture Levels

Spotting Normal vs. Excessive Frost Buildup
Small ice droplets on freezer walls and the back panel represent typical operation, especially in humid climates. During summer months or in regions with high humidity, seeing some frost on interior walls or food packages falls within normal parameters—it doesn’t necessarily indicate appliance malfunction. The critical distinction lies in quantity and persistence: normal moisture appears as light frost that doesn’t accumulate significantly, while problematic moisture shows as thick ice layers, persistent condensation, or water pooling on shelves.
When frost begins forming substantial layers that require frequent defrosting or you notice moisture returning quickly after wiping surfaces clean, it’s time for intervention. Homes without air conditioning often experience more pronounced moisture issues as indoor humidity levels approach outdoor conditions. Understanding what constitutes normal behavior prevents unnecessary concern while keeping you alert to developing problems that require action.
Recognizing Warning Signs of Serious Issues
Certain moisture patterns signal underlying problems needing immediate attention. If you’re finding water pooling on freezer shelves or excessive ice buildup behind panels, your appliance may be struggling with more than just environmental humidity. Pay special attention to moisture appearing on door seals when the surrounding area remains dry—this often indicates a failing gasket or misaligned door.
Pro Tip: During your next inspection, run your hand along the entire door gasket perimeter while the door is closed. Any spots where you feel air passing through or notice the gasket failing to make full contact with the cabinet require immediate attention to prevent escalating moisture problems.
Stop Humid Air From Entering Your Freezer
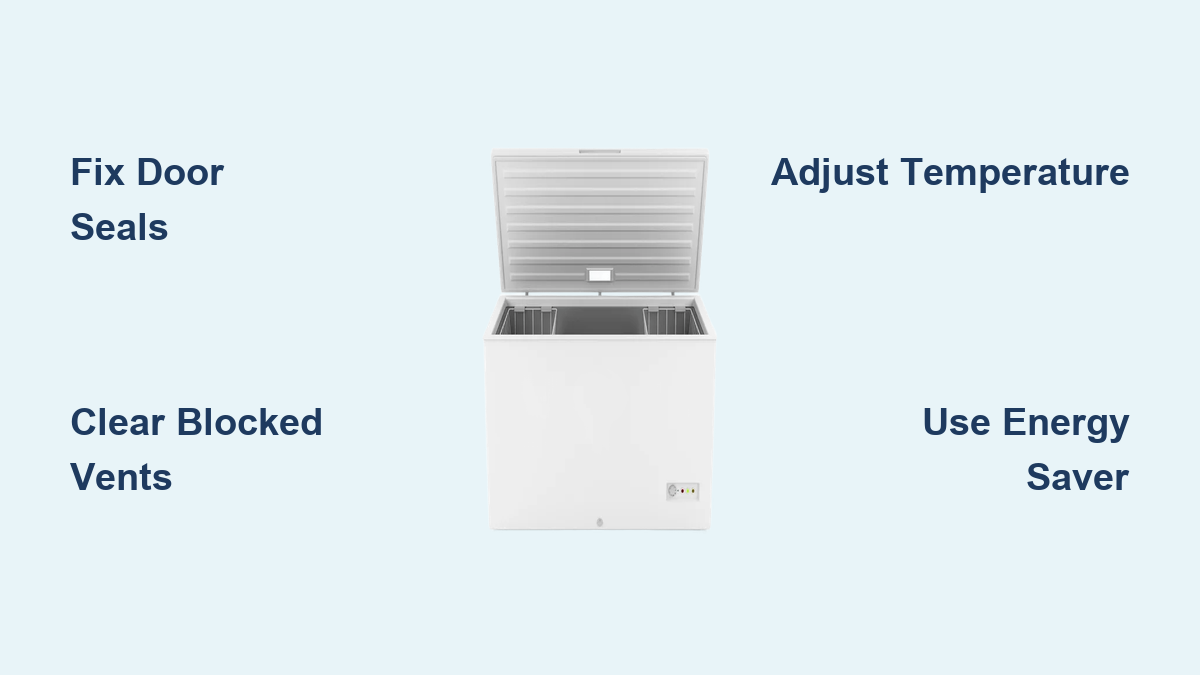
Fixing Faulty Door Seals in 3 Steps
A compromised door seal remains one of the most common causes of freezer moisture problems. Start by performing the dollar bill test: close a bill in the door gasket and try to pull it out. If it slides freely, your seal needs attention. Next, clean the gasket thoroughly with mild soap and warm water to remove any debris preventing proper closure. Finally, inspect for physical damage like cracks, tears, or permanent compression in the rubber.
If cleaning doesn’t restore the seal, replacement becomes necessary. Most manufacturers offer model-specific gaskets that install with basic tools. The investment pays off quickly through reduced frost buildup, improved energy efficiency, and better food preservation. When installing a new gasket, ensure it lies flat against the cabinet all around its perimeter without gaps.
Optimizing Your Door Opening Habits
Before opening your freezer, take three seconds to identify exactly what you need rather than browsing with the door open. Organize contents so frequently used items sit near the front for quick access. Retrieve everything you need in one go rather than making multiple short trips. Close the door immediately after retrieving items—every extra second allows more humid air to enter.
During high humidity periods, these habits become even more critical. Homes without air conditioning should implement a “two-item rule”—only opening the freezer when you need two or more items at once. This simple practice dramatically reduces moisture introduction while still accommodating normal usage patterns.
Unblock Critical Airflow Pathways
Locating and Clearing Blocked Vents

Blocked air vents between freezer and refrigerator compartments severely disrupt proper airflow, leading directly to moisture accumulation. Consult your owner’s manual to identify vent locations in your specific model—they’re commonly found on the rear wall of the refrigerator compartment, along the ceiling of the fresh food section, or on the divider between compartments.
Warning: Never force items against vent openings when organizing your freezer. Leave at least two inches of clearance around all vents to ensure unrestricted airflow. During high humidity periods, check vents weekly for ice buildup that might indicate more serious moisture problems requiring additional intervention.
Managing Temperature Settings for Moisture Control
Excessively cold freezer temperatures accelerate moisture condensation. While most freezers operate optimally between 0°F and 5°F, your specific model may require slight adjustments. If moisture problems persist despite addressing door seals and airflow, try raising the temperature by one degree within the recommended range.
Allow 24-48 hours for the appliance to stabilize after each adjustment. The ideal setting balances food preservation with moisture management—cold enough to keep food safe but not so cold that it encourages rapid condensation of any moisture that enters. Consult your owner’s manual for your model’s specific temperature recommendations.
Activate Built-In Moisture Control Features
Using Your Energy Saver Feature Correctly
Many refrigerators include an Energy Saver or Humidity Control feature specifically designed to reduce moisture on seals and dividers. Contrary to what the name suggests, turning this switch “off” typically activates the anti-condensation heater that prevents moisture buildup on the vertical hinged seal and center mullion.
Locate this control (often near temperature settings) and switch it to “off” during high humidity periods. This counterintuitive setting engages the heater that maintains these surfaces at a temperature discouraging condensation. For French door models, this feature is especially crucial for preventing moisture from dripping onto floors between doors.
Manual Wiping Techniques for High Humidity Spells
During particularly humid days, keep a soft, dry microfiber cloth near your freezer for quick moisture removal. Focus on wiping the center mullion (divider between compartments), cabinet flanges, and vertical hinged seals where moisture typically accumulates. Perform this quick task every 12-24 hours during extreme humidity to prevent small droplets from developing into problematic ice formations.
Time-Saving Shortcut: Place a small absorbent mat on the floor near your freezer during humid months to catch any drips that might escape your wiping routine. This prevents water damage to flooring while giving you more flexibility in your wiping schedule.
Prevent Future Moisture Problems
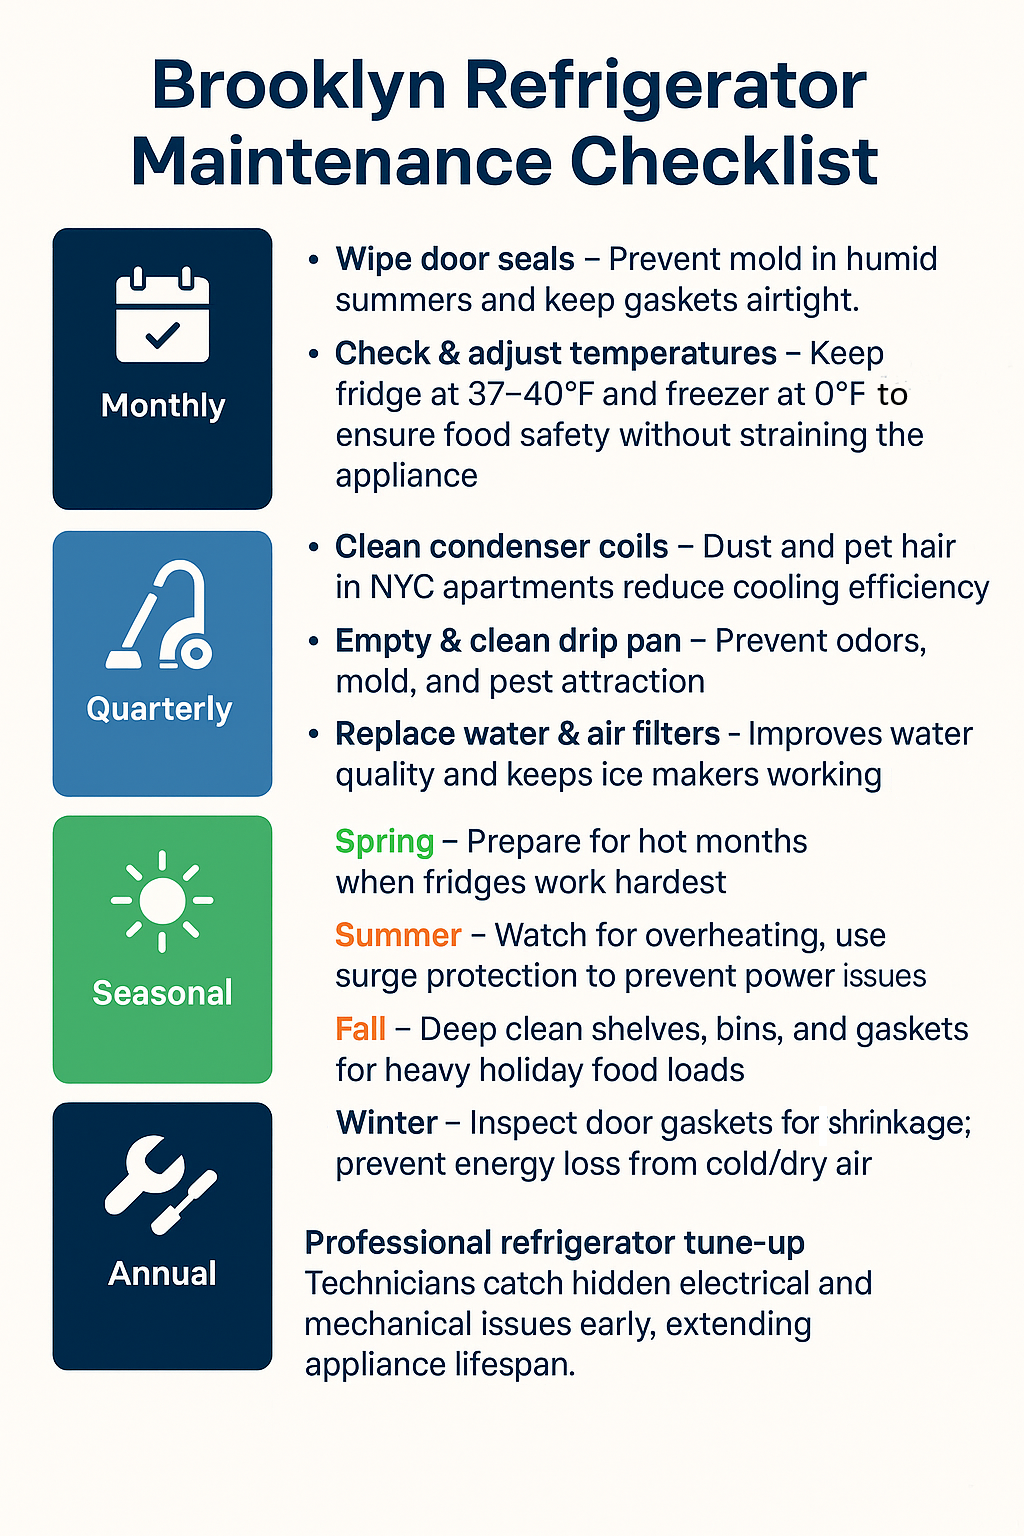
Implementing a Monthly Maintenance Routine
Establish a simple monthly inspection that prevents minor issues from becoming major problems. Check door seals for proper closure, verify vents remain unobstructed, and examine interior surfaces for early signs of excessive frost. During these inspections, clean gaskets with mild soap solution and ensure nothing blocks the door’s full closure path.
Schedule these checks at the beginning of each month when you’re likely to be restocking groceries. This timing ensures you catch developing problems before they affect your food storage and allows you to address issues while your freezer has fewer items inside.
Seasonal Adjustments for Year-Round Protection
Recognize that moisture management requires different approaches throughout the year. During summer months, increase your attention to door usage habits and implement more frequent vent checks. Homes in naturally humid climates should keep the Energy Saver feature engaged year-round while maintaining stricter door opening protocols.
When humidity levels drop during winter, you can relax some precautions but shouldn’t abandon good habits entirely. The occasional high-humidity day can still cause problems if your freezer isn’t properly maintained, so continue monthly inspections regardless of the season.
When to Call a Professional Technician
If moisture problems persist after implementing these solutions, several underlying issues may require professional attention. If your door seals appear intact but still fail the dollar bill test, your door may need realignment. When the Energy Saver feature doesn’t reduce moisture despite correct activation, the anti-condensation heater might need replacement.
Before scheduling service, document specific symptoms: note where moisture appears, how quickly it returns after wiping, and any patterns related to door usage or environmental conditions. This information helps technicians diagnose problems efficiently, potentially saving you diagnostic fees and ensuring the right parts arrive for your first service call.
Key Takeaways for Permanent Moisture Control
Successfully eliminating freezer moisture requires targeting both prevention and management. Start by fixing door seals and optimizing your door usage habits—the most immediate and effective solutions for most households. Next, ensure proper airflow by unblocking vents and making strategic temperature adjustments. Activate your Energy Saver feature during humid periods and implement a simple wiping routine for problem areas.
Remember that some moisture during high humidity represents normal behavior—you’re aiming for management, not complete elimination. By establishing regular maintenance habits and understanding your appliance’s specific features, you’ll keep frost buildup under control while extending your freezer’s lifespan and protecting your frozen foods. When in doubt, consult your owner’s manual for model-specific guidance before attempting more complex repairs.