How to Remove GE Bottom Freezer Ice Maker
Your GE bottom freezer’s ice maker has stopped producing ice, developed a persistent leak, or simply needs replacement after years of service. Before calling a technician and paying for an expensive service call, you can tackle this common repair yourself. Knowing how to remove ice maker from GE bottom freezer properly ensures you won’t damage your refrigerator’s internal components or create water hazards in your kitchen. This guide walks you through every critical step of the removal process, from initial safety precautions to extracting the ice maker assembly, so you can complete this repair confidently and efficiently.
Many homeowners hesitate to attempt ice maker removal because they fear electrical hazards or water damage, but with proper preparation and systematic execution, this repair is well within the capabilities of most DIYers. GE bottom freezer models follow similar ice maker designs across most production years, making this guide applicable to numerous refrigerator series including Profile, Café, and standard GE models. By following these steps carefully, you’ll avoid the most common pitfalls that turn a simple repair into a costly mistake.
Essential Safety Steps Before Removing Your GE Ice Maker
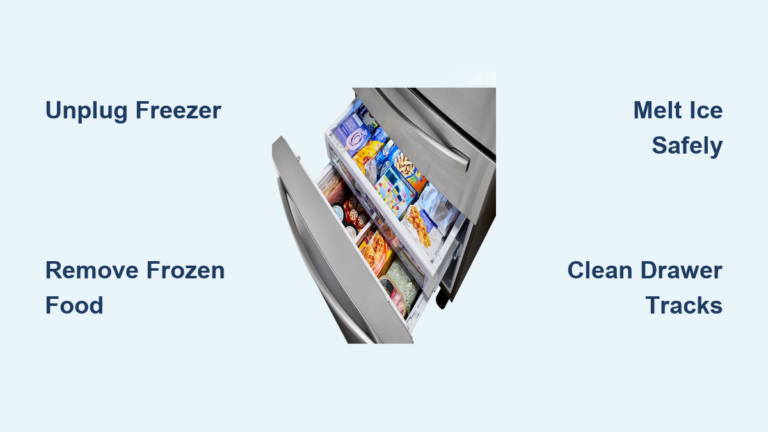
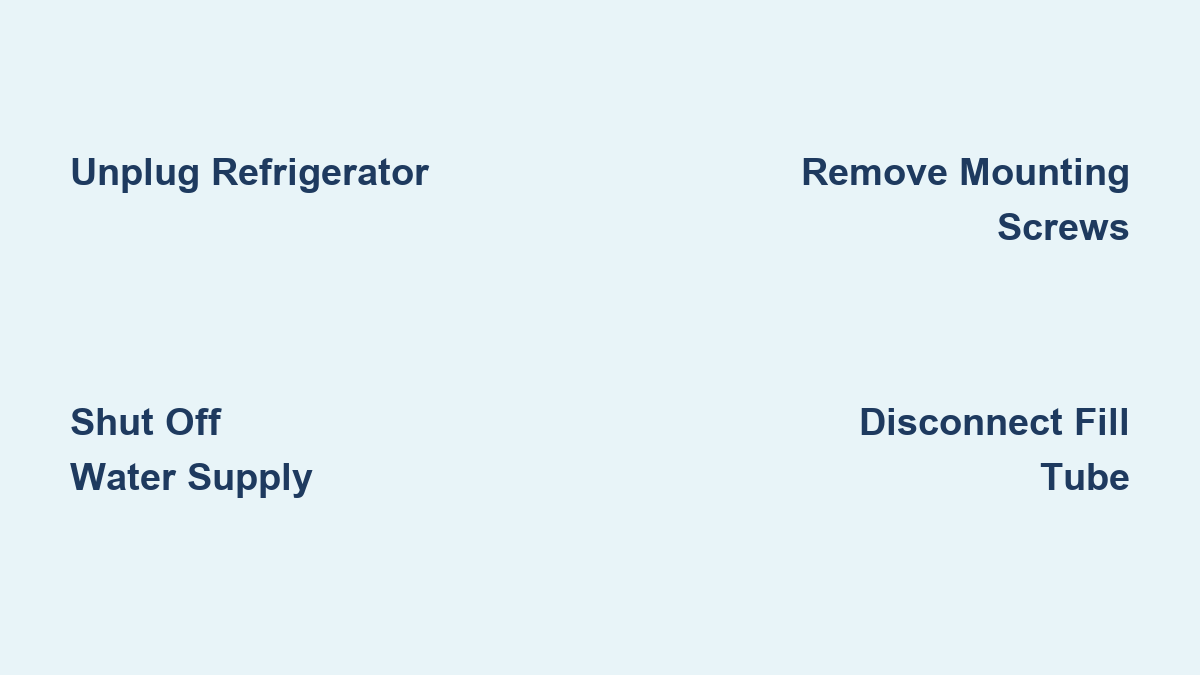
Before touching a single screw or connector, prioritize safety to protect yourself and prevent expensive damage to your refrigerator. The most critical step is disconnecting power to your refrigerator—unplug it from the wall outlet or flip the dedicated circuit breaker. Many DIYers skip this step when working on ice makers, not realizing the electrical components remain energized even when the ice maker appears inactive. This oversight risks serious electrical shock when disconnecting wiring harnesses.
Simultaneously, shut off the water supply valve feeding your refrigerator’s ice maker. This valve typically sits behind your refrigerator where the water line connects to your home’s plumbing. Turn the valve handle perpendicular to the pipe to close it completely. Place several dry towels and a shallow pan beneath the connection point to catch residual water that will inevitably drip when you disconnect lines. Never skip this step—failing to close the water valve can flood your kitchen when disconnecting supply lines.
Clear sufficient workspace around your refrigerator by removing items from the top and door compartments. Pull the appliance away from the wall just enough to access the rear connections comfortably without straining cords or lines. Having ample room to maneuver prevents accidental damage to surrounding components and makes the entire process significantly smoother.
Required Tools for GE Bottom Freezer Ice Maker Removal
Gather these essential tools before starting to avoid frustrating mid-repair interruptions. A quality Phillips head screwdriver is indispensable for removing mounting screws, though some GE models use Torx or hex head fasteners—having a multi-bit screwdriver set ensures you’re prepared for any fastener type. A bright LED work light or headlamp illuminates the dim freezer compartment, making hidden screws and connectors visible without straining your eyes.
Keep needle-nose pliers within reach for manipulating small electrical connectors and water line fittings. These pliers provide the precision grip needed when working in tight spaces behind the ice maker assembly. Don’t forget multiple clean towels and a small bucket to manage water spills during disconnection—ice maker lines always contain residual water that will leak when disconnected.
For models with stubborn connections, a plastic pry tool helps release clips without damaging plastic components. If your ice maker has been leaking extensively, consider having a wet-dry vacuum nearby to extract water pooled beneath the refrigerator before beginning work.
How to Access Your GE Bottom Freezer Ice Maker Components
GE bottom freezer models position the ice maker assembly in the upper portion of the freezer compartment, typically on the left or right side wall. To access it, fully open the freezer drawer and locate the ice maker housing, which appears as a rectangular unit with a rotating ejector arm. Some models feature a removable plastic cover panel secured by clips or screws that you must remove before reaching mounting hardware.
The ice bucket sits either in the freezer door or within the freezer compartment itself and must be removed first. Most buckets have a release lever you press while pulling the bucket forward. If your model includes a dispenser mechanism, you may need to remove additional cover panels using a flathead screwdriver to gently pry plastic clips loose—work slowly to avoid breaking these fragile components.
Behind the refrigerator, locate the lower access panel or kick plate covering the water valve and electrical connections. This panel typically snaps into place or secures with a few screws. Removing it provides access to the water supply valve and the electrical harness connection point.
Disconnecting the Water Supply Line Without Flooding Your Kitchen
The water supply connection requires careful handling to prevent water damage. With the supply valve confirmed closed, locate the connection point behind your refrigerator where the copper or plastic supply line meets the inlet valve. Place your shallow pan directly beneath this fitting to catch drips.
Most GE models use one of two connection types: compression fittings require loosening a brass nut with an adjustable wrench, while quick-connect fittings feature a release collar you press while pulling the line free. For compression fittings, turn the nut counterclockwise just enough to break the seal—over-loosening can damage threads. For quick-connect fittings, press the release collar firmly while pulling the line straight out.
After disconnecting, immediately cap the open valve fitting with a spare plug or wrap it tightly with plumber’s tape to prevent debris from entering your refrigerator’s water system. Keep towels ready as residual water will continue dripping for several minutes.
Safely Disconnecting Electrical Components in Your GE Ice Maker
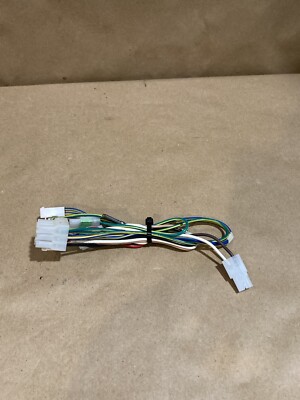
Electrical connections for GE ice makers typically involve a multi-pin harness located near the water valve or within the freezer compartment. Before disconnecting anything, take a clear photo of the connector orientation with your smartphone—this reference proves invaluable during reassembly.
Most connections feature locking tabs that must be released before separating the connectors. Use your fingernail or a plastic tool to gently press the release mechanism while pulling the connectors straight apart—never yank on the wires themselves. If corrosion is visible on the contacts, note this as it may indicate why your ice maker failed.
For connections inside the freezer compartment, work methodically to avoid damaging surrounding components. Some models require removing additional panels to access these connections, so proceed slowly and document each step with photos.
Removing Mounting Hardware Without Stripping Screws

With all connections disconnected, locate the mounting screws securing the ice maker assembly. These typically appear on the sides or top of the unit, though some models include bottom mounting points. Use the correctly sized screwdriver bit to prevent stripping screw heads—applying steady, firm pressure while turning slowly works better than excessive force.
As you remove each screw, note its length and position. GE often uses different length screws in various locations, and reinstalling them incorrectly can damage threads or fail to secure the unit properly. Organize screws on a magnetic tray or piece of tape labeled with their positions.
Some models feature hidden mounting points behind access panels or under the ice maker housing itself—thoroughly inspect the entire assembly before attempting to lift it out. Missing even one screw can damage components when you try to remove the unit.
Detaching the Fill Tube Connection Without Damage
The fill tube delivers water to the ice maker mold and must be disconnected before complete removal. This tube typically runs from the back of the refrigerator through the freezer wall. At the ice maker end, it connects via a friction fit, clamp, or small retaining screw.
To disconnect, first ensure no tension exists on the tube. Some models require gently twisting the tube while pulling it free, while others have a small screw securing the connection. Work slowly—forcing the tube can crack the plastic fitting, requiring expensive repairs.
After disconnection, immediately plug the open end of the tube with a small piece of tape to prevent debris from entering. Residual water will drip from the tube, so keep towels positioned beneath the connection point.
Extracting the Ice Maker Assembly Without Damaging Components
With all connections and fasteners removed, carefully lift the ice maker assembly straight up and out of its housing. Some units require slight tilting to clear mounting brackets—feel for resistance rather than forcing the unit. If the assembly doesn’t move freely, double-check for missed connections before applying additional force.
Place the removed ice maker on a protected surface where drips won’t damage flooring. If replacing the unit, compare the new and old assemblies to verify compatibility before installation. For disposal, check local regulations as some municipalities require special handling for appliance components.
Preparing for Reinstallation or Professional Service
After removal, thoroughly clean the mounting area to eliminate frost buildup or debris that could interfere with a new installation. Inspect mounting holes for stripped threads—if damaged, you may need helical inserts for proper reassembly. Cap all open water connections to prevent contamination.
Examine the removed ice maker for failure indicators like burnt components, melted plastic, or excessive corrosion that might explain its malfunction. If under warranty, preserve the unit in its current condition for potential inspection.
Before restoring power or water, double-check that all connections are secure and components are properly positioned. Turn on the water supply gradually while monitoring for leaks, then restore power and test operation before closing panels.
Final Note: Successfully removing your GE bottom freezer ice maker saves significant repair costs while giving you valuable insight into your appliance’s operation. If installing a replacement, verify model compatibility before connecting—using an incorrect unit causes improper fit and potential damage. For persistent issues after replacement, consult GE’s technical support with your model and serial numbers for targeted troubleshooting. Regular maintenance, including cleaning the ice maker area and checking connections annually, prevents many common failures and extends your appliance’s lifespan.