How to Remove Freezer Basket – Easy Steps
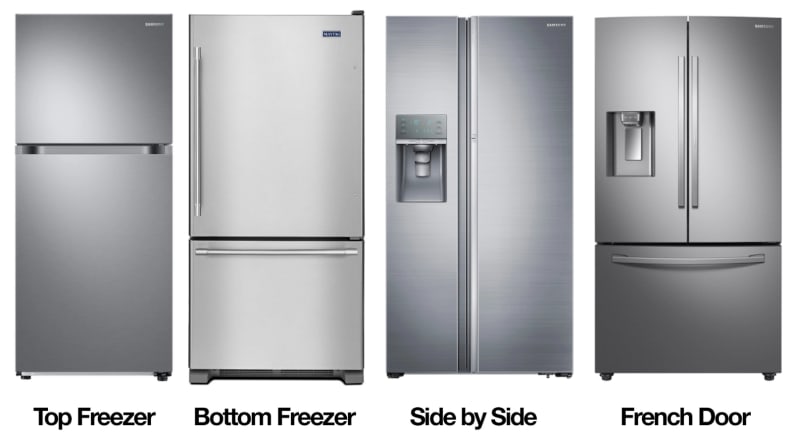
Ever struggled to pull out your freezer basket only to have it jam halfway? You’re not alone. Freezer baskets become frustrating obstacles when they stick, won’t slide properly, or seem permanently frozen in place. Whether you need to clean stubborn ice buildup, reorganize your frozen goods, or access items behind the basket, knowing the correct removal technique prevents damage to your refrigerator and saves valuable time. This comprehensive guide reveals the exact methods for removing every type of freezer basket across major refrigerator brands, with specific instructions that work whether you own a side-by-side, French door, top-freezer, or bottom-freezer model.
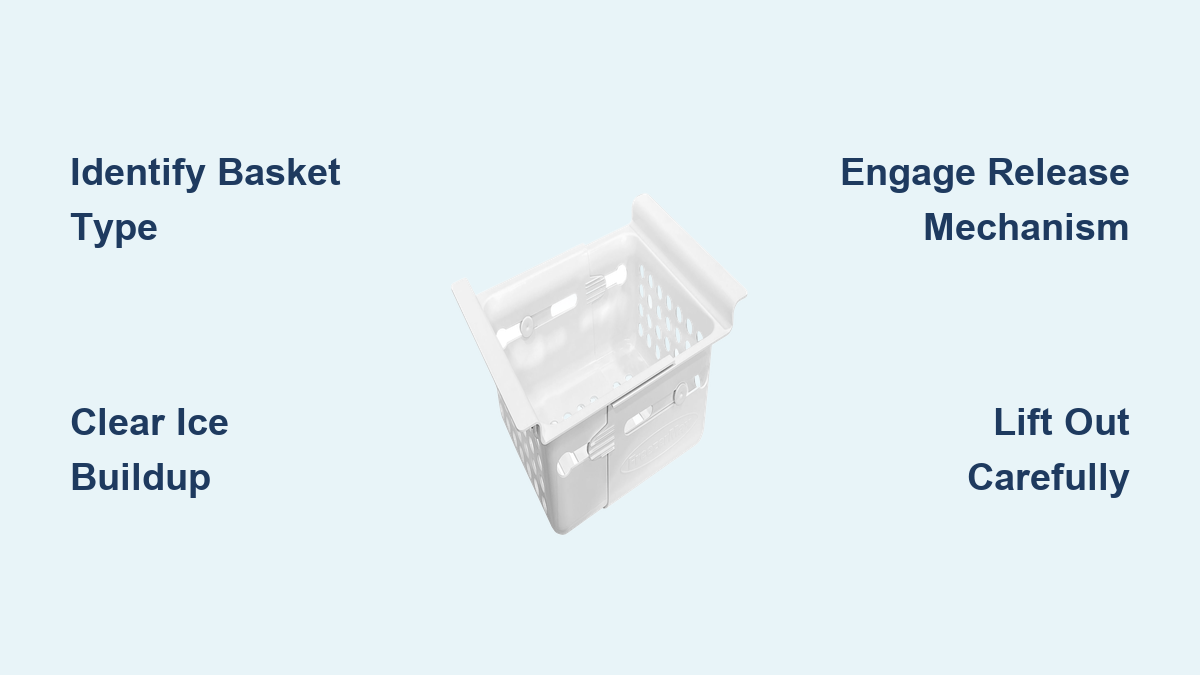
Identify Your Freezer Basket Type Before Attempting Removal
Your freezer basket’s design determines the exact removal technique you must use. Mistaking one type for another leads to broken clips, damaged tracks, and unnecessary frustration. Understanding your specific basket mechanism saves your appliance from preventable damage.
Sliding drawers on rails dominate modern side-by-side and French door refrigerators. These baskets glide smoothly along metal or plastic tracks visible along both sides of the compartment. When you pull the basket out, it stops at a specific point rather than coming completely free. Look for small plastic tabs where the basket meets the track—these indicate the release mechanism you’ll need to engage. GE and Frigidaire models typically feature side-mounted clips while Samsung and LG often use bottom-mounted tabs on these track systems.
Lift-out bins function differently, sitting directly on freezer shelves or the compartment floor without any tracks. Common in top-freezer models, these baskets lift straight up and out with no sliding motion required. You’ll recognize this type by the absence of visible rails and the basket’s ability to clear its space with just a few inches of vertical movement. These simpler designs often appear in budget-friendly refrigerator models but require careful lifting technique to avoid spills.
Track-mounted drawers with release buttons combine elements of both designs. These baskets slide out partially but require pressing hidden release mechanisms to disengage completely. The buttons might be located on the inner walls of the track, beneath the basket, or on the basket itself near the front corners. Whirlpool and Maytag frequently use these more complex mechanisms that confuse many homeowners during removal attempts.
Prepare Your Workspace for Safe Freezer Basket Removal
Skipping proper preparation leads to damaged components and potential food spoilage. Taking five minutes to set up correctly makes the entire process smoother and prevents common mistakes that turn a simple task into a repair bill.
Empty your freezer basket completely before attempting removal. Transfer all frozen items to a cooler with ice packs to maintain safe temperatures. A loaded basket becomes significantly heavier and more difficult to maneuver, increasing the risk of dropping it or scraping against refrigerator walls. The weight distribution changes dramatically when the basket is full, making controlled removal nearly impossible.
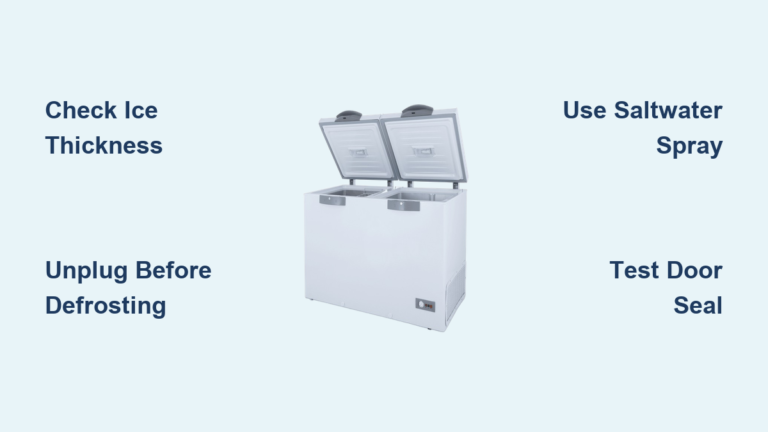
Check for ice buildup around the basket edges before pulling. Frost accumulation creates a frozen seal that makes baskets appear stuck when they’re simply bonded by ice. If you notice significant frost, leave the freezer door open for 5-10 minutes to allow slight thawing. Never force a basket that feels frozen in place—this cracks plastic components or dislodges track mechanisms. For stubborn ice bonds, use a hair dryer on low heat while keeping it moving to avoid melting plastic surfaces.
Gather essential tools before starting. A flashlight illuminates track mechanisms hidden in dark freezer corners. A soft microfiber cloth protects your hands from extreme cold and provides better grip on slippery surfaces. For some models, a plastic pry tool (never metal) helps disengage stubborn clips without scratching plastic components. Having these items ready prevents mid-process delays that allow more frost accumulation.
Remove Sliding Drawer Baskets Without Damaging Tracks
Sliding freezer drawers require precise technique to disengage from tracks without causing costly damage. Follow these specific steps for smooth removal every time, regardless of your refrigerator brand.
Pull the freezer drawer completely open until it reaches its natural stopping point. Most drawers have built-in stops preventing them from falling out, but this position gives you full access to track mechanisms on both sides. Take a moment to examine how the basket rests on the rails and identify any visible clips or tabs—these indicate where your release mechanism is located.
Locate the release mechanism on each side of the basket. These vary significantly by manufacturer: GE models often have side-mounted plastic tabs you push inward, Frigidaire uses downward-pressing levers, while Samsung and LG typically feature bottom-mounted release tabs you lift upward. Some models require simultaneous engagement of both sides, while others release one side at a time.
Engage the release mechanism while lifting the front of the basket slightly and pulling it toward you. The motion should feel like unhooking the basket from the rail while guiding it forward. Work on one side at a time if the mechanisms don’t release simultaneously—most baskets will lift out once both sides disengage. Support the basket’s weight as it comes free, as even empty baskets can weigh several pounds and become unwieldy in tight spaces.
Handle Stuck Freezer Baskets Safely Without Causing Damage
When your freezer basket refuses to release despite following proper technique, specific issues are likely causing the obstruction. Addressing these problems systematically prevents further damage to your appliance.
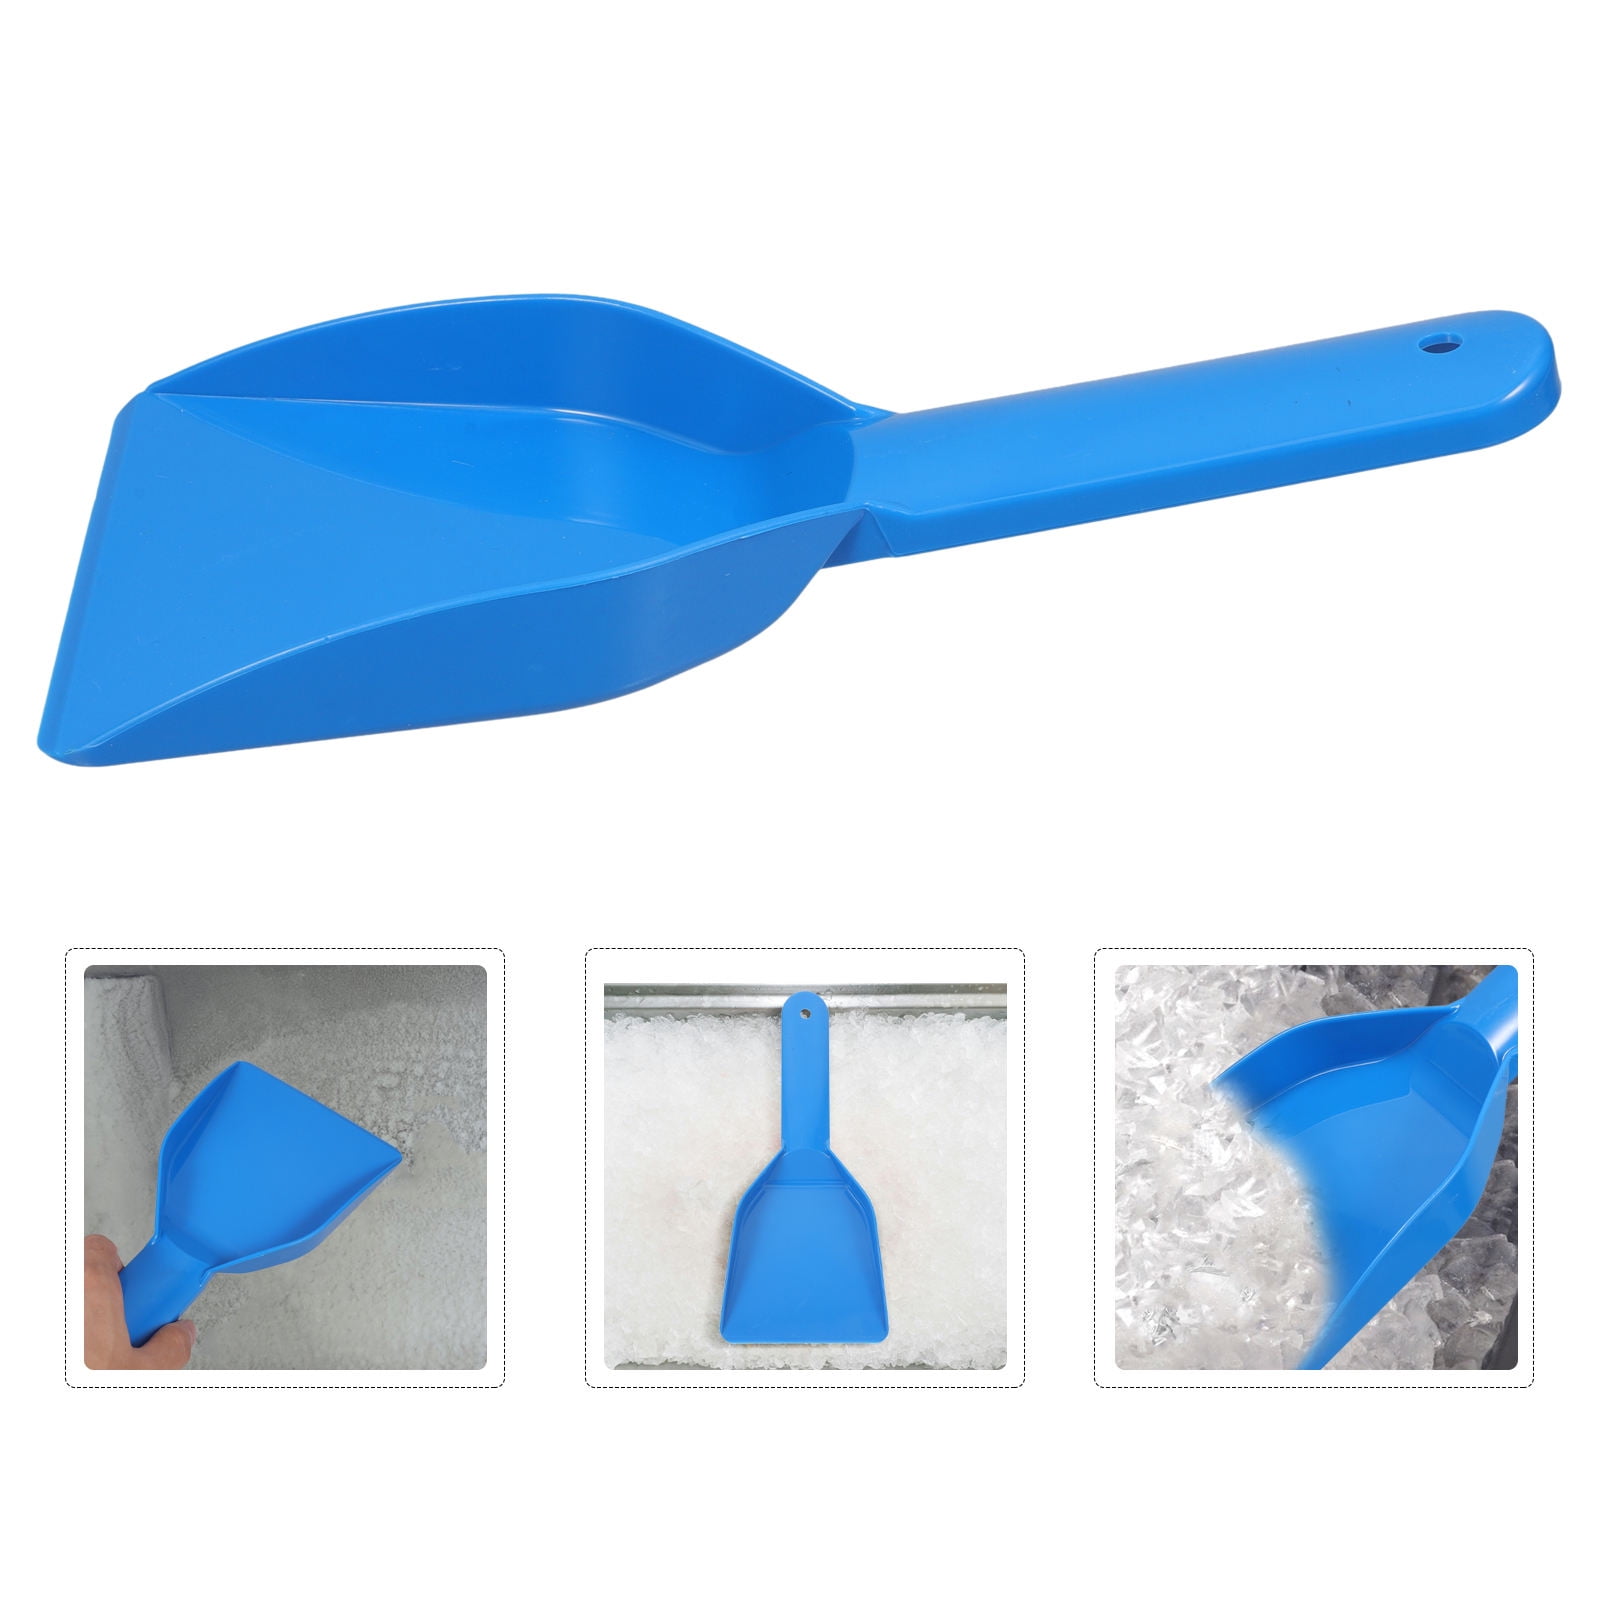
Ice accumulation between the basket and tracks creates the most common sticking problem. Even a thin frost layer generates significant friction that prevents release. If you suspect ice, close the freezer door and wait 10-15 minutes for partial thawing. Alternatively, carefully scrape ice from track surfaces using a plastic spatula or credit card—never metal tools that scratch plastic components.
Misaligned tracks cause baskets to sit at angles that prevent release mechanisms from disengaging properly. Check whether your drawer appears crooked when closed. If so, the track brackets may have shifted over time and require realignment by loosening mounting screws and adjusting rail position. This repair needs basic tools but falls outside standard removal procedures.
Broken release clips present a different challenge. If a plastic tab has cracked, one side won’t release while the other hangs unbalanced. In this case, you may need to remove the basket at an angle or use a plastic tool to manually lift the broken clip. Exercise extreme caution—broken plastic often has sharp edges. Consider ordering replacement parts if damage is significant.
Forcing a stuck basket almost always causes more damage than patience. If you’ve tried all proper techniques and the basket remains stuck, contact your refrigerator manufacturer’s customer service. Professional assistance typically costs far less than repairing damaged tracks or replacing a cracked basket.
Reinstall Freezer Baskets to Ensure Smooth Operation
Proper reinstallation prevents future problems and extends the life of both baskets and track mechanisms. The process essentially reverses removal, but specific details make the difference between smooth operation and recurring issues.
Inspect the basket and tracks thoroughly before reinstallation. Clean any remaining ice buildup, food residue, or debris from both surfaces. Check the basket’s wheels or sliders for damage or excessive wear. Examine track surfaces for obstructions that might impede movement. Addressing these issues now prevents future sticking problems.
Position the basket above the tracks and lower it carefully, ensuring wheels or sliders align with their respective tracks. Push the basket backward slowly while maintaining even pressure on both sides. The basket should slide smoothly and sit level within the compartment. Test the sliding motion by opening and closing the drawer several times before reloading it with food items.
For lift-out baskets, lower the basket straight into its compartment and verify it sits level and stable. Check that it doesn’t rock or tilt when released, as this indicates improper placement that could cause spills during future use.
Maintain Your Freezer Baskets for Trouble-Free Operation
Regular maintenance prevents stuck baskets and extends the life of both baskets and their track mechanisms. Incorporate these simple practices into your routine freezer care for smooth operation year after year.
Keep baskets reasonably empty and organized. Overloading puts excessive stress on tracks and makes removal difficult. Spread items evenly across available space, and avoid stacking things so high that they interfere with drawer closure. A well-organized basket operates more smoothly and prevents future sticking problems.
Wipe basket surfaces monthly to remove ice crystals and food residue. A solution of warm water and mild dish soap works well for regular cleaning. Dry baskets thoroughly before returning them to the freezer to prevent ice buildup. This simple step takes minutes but significantly reduces frost accumulation in track mechanisms.
Address spills and ice buildup immediately rather than allowing them to accumulate. Ice that sits in track mechanisms compresses into dense frost that’s difficult to remove without tools. Prompt attention keeps tracks clear and release mechanisms functioning properly.
Check release mechanisms periodically for signs of wear or damage. Plastic tabs and clips become brittle over time in cold environments. Catching wear early allows you to order replacement parts before complete failure leaves you with an unusable basket.
Know When Professional Help Is Necessary for Freezer Basket Issues
Some freezer basket problems require professional assistance rather than DIY intervention. Recognizing these situations prevents costly mistakes and ensures proper repair.
Track damage—including bent rails, broken wheels, or misaligned brackets—typically requires professional repair. While track assemblies are sometimes available as aftermarket parts, proper installation needs specific tools and expertise to ensure safe operation. Attempting complex track repairs without experience often creates additional problems.
Persistent problems affecting multiple baskets may indicate a larger issue with your freezer’s design or construction. If baskets from different compartments all show similar sticking or misalignment symptoms, the refrigerator itself may need adjustment or repair beyond simple basket removal.
Cosmetic damage to baskets, such as cracks, warping, or broken handles, often requires complete basket replacement rather than repair. Contact your refrigerator’s manufacturer or an authorized parts distributor to find replacement baskets matching your model’s specifications.
Removing a freezer basket becomes straightforward once you understand your specific design and follow proper technique. The keys to success lie in identifying your basket type, preparing adequately, working patiently, and knowing when professional help is warranted. With these skills, you can confidently clean, reorganize, or service your freezer whenever needed—without damaging your valuable appliance. Regular maintenance keeps baskets moving freely and prevents the frustration of stuck or damaged components, saving you time and money in the long run.