How to Remove Drawers from KitchenAid Freezer
Your KitchenAid freezer drawer won’t budge when you need to clean or replace it. You’re tugging harder, worried you’ll break the mechanism, and frustrated that the manual seems to have vanished. This common problem affects thousands of KitchenAid freezer owners each year who need to access components behind the drawer or perform deep cleaning. Knowing how to properly remove your KitchenAid freezer drawer prevents costly repairs and extends your appliance’s lifespan. In this guide, you’ll learn the exact steps to remove your freezer drawer safely regardless of your KitchenAid model, recognize when your drawer requires special handling, and avoid the three most common mistakes that damage drawer mechanisms during removal.
Why Your KitchenAid Freezer Drawer Won’t Slide Out Normally
KitchenAid freezer drawers incorporate safety mechanisms that prevent accidental removal during regular use. These mechanisms vary between bottom-freezer models, French door configurations, and side-by-side units. The drawer stop system engages when the drawer reaches full extension to prevent it from completely separating from the appliance. Many users mistakenly believe their drawer is stuck when it’s actually functioning as designed. Temperature fluctuations can cause plastic components to expand, creating additional resistance that makes removal more difficult than expected.
How to Identify Your KitchenAid Drawer Type
KitchenAid uses three primary drawer systems across their freezer models:
– Roller glides: Found in most bottom-freezer models (2015-present)
– Telescopic rails: Common in French door refrigerators with pull-out freezers
– Track-and-wheel systems: Older side-by-side models (pre-2018)
Your specific model number (typically found on a sticker inside the freezer compartment) determines the exact removal procedure. Without this number, proceed with extreme caution as forcing the wrong technique can break plastic retainers.
Signs Your Drawer Requires Special Handling
Certain visual cues indicate your KitchenAid freezer drawer needs specific removal techniques:
– Metal release tabs visible at the front of the drawer track
– Plastic levers protruding from the sides of the drawer channel
– No visible release mechanism, suggesting an internal stop system
– Drawer only extends 80% of its track length before stopping firmly
If you notice any resistance beyond normal friction when pulling the drawer, stop immediately. Forcing it at this stage often results in broken plastic components that require expensive replacements.
Step-by-Step KitchenAid Freezer Drawer Removal Process
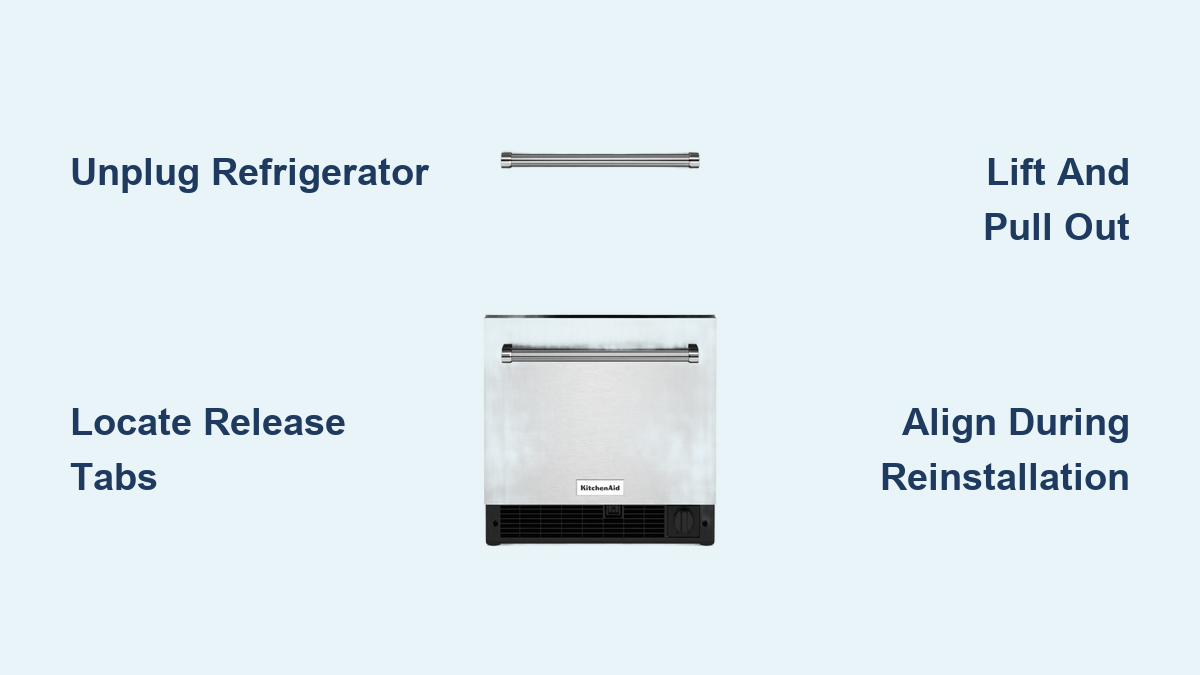
Removing your KitchenAid freezer drawer requires following a precise sequence based on your model type. The entire process takes 5-15 minutes depending on your appliance configuration. Always unplug your refrigerator before starting any work near electrical components.
How to Remove Bottom-Freezer Drawers With Roller Glides
Bottom-freezer models represent the majority of KitchenAid units requiring drawer removal. These drawers use simple roller mechanisms that lock at full extension.
- Empty the drawer completely – Remove all contents and ensure no food debris blocks the tracks
- Pull the drawer fully open – Continue pulling until you feel firm resistance (do not force beyond this point)
- Locate the release mechanism – On most models, you’ll see plastic tabs at the front of each track
- Simultaneously lift and pull – Apply upward pressure while pulling outward (this disengages the roller stops)
- Slide the drawer completely out – Maintain slight upward pressure until the drawer clears the tracks
Pro Tip: If your drawer sticks during removal, place a thin kitchen towel between the drawer front and cabinet to protect surfaces while applying gentle leverage.
Removing French Door Freezer Drawers With Telescopic Rails

French door models with pull-out freezers use more complex rail systems that require specific release techniques.
- Open the freezer compartment door fully to access the drawer mechanism
- Pull the drawer out until it stops at the safety catch point
- Locate the release levers – Usually metal tabs at the outer edge of each rail
- Press both release levers downward while maintaining outward pressure on the drawer
- Continue pulling smoothly until the drawer clears the internal stops
Warning: Never attempt to remove French door freezer drawers with only one hand operating the release mechanism. Both sides must disengage simultaneously to prevent misalignment.
Troubleshooting Stuck KitchenAid Freezer Drawers

When standard removal techniques fail, your drawer likely has an obstruction or requires model-specific handling. Never use excessive force as this typically damages plastic components that cost $50-$150 to replace.
How to Fix a Drawer That Won’t Release From Tracks
Many users report their KitchenAid freezer drawer moves freely but won’t disconnect from the tracks. This usually indicates:
- Ice buildup in the track channels (common in humid climates)
- Food debris blocking the release mechanism
- Worn plastic stops that have deformed over time
Solution: Unplug the refrigerator and allow the freezer to warm for 20-30 minutes. Use a hairdryer on low heat to target problem areas (never use sharp tools). Reattempt removal with the warming method – the slight expansion from warmth often releases stuck components.
Why Your Drawer Slides Unevenly During Removal
Uneven movement during removal typically signals track misalignment. This happens when:
– The drawer was previously forced back into place incorrectly
– Heavy items caused the drawer to twist on its tracks
– Plastic glide components have worn down unevenly
Fix: Before attempting removal, check both sides of the drawer for equal extension. If one side lags, gently wiggle the drawer side-to-side while applying even pressure. Proper alignment allows both release mechanisms to disengage simultaneously.
Critical Safety Precautions During Drawer Removal
KitchenAid freezer drawers weigh 10-25 pounds when empty, creating significant injury risk if dropped. Always follow these safety measures:
- Clear the area beneath the drawer path to prevent tripping during removal
- Wear gloves to protect hands from sharp track edges
- Have a second person assist with larger bottom-freezer drawers
- Never stand directly in front of the drawer when releasing mechanisms
Danger Zone: The most common injury occurs when the drawer suddenly releases and falls forward. Keep your feet clear of the removal path and maintain a stable stance with knees slightly bent.
How to Properly Reinstall Your KitchenAid Freezer Drawer
Improper reinstallation causes most recurring drawer problems. Follow these steps to ensure smooth operation after cleaning or maintenance:
- Align the drawer perfectly with the track openings (even 1/8 inch misalignment causes problems)
- Tilt the front slightly upward as you begin insertion
- Slide in smoothly until you feel resistance at the stopping point
- Press down firmly on the front of the drawer to engage the roller mechanism
- Test operation by opening and closing three times before reloading
Expert Note: Apply a small amount of food-safe silicone lubricant to plastic tracks annually to maintain smooth operation. Never use petroleum-based lubricants as they degrade plastic components.
When to Call a Professional for Drawer Removal
Certain situations require professional assistance rather than DIY removal:
- Visible damage to track components or release mechanisms
- Recurring sticking problems after multiple cleaning attempts
- Electrical components near the drawer mechanism (defrost sensors, lighting)
- Warranty coverage that could be voided by improper handling
Attempting drawer removal with damaged components often turns a simple $20 part replacement into a $300 service call. When in doubt, consult KitchenAid’s official service network using your model number.
Preventing Future Drawer Removal Problems
The best approach is preventing issues before they occur through proper maintenance:
- Clean tracks quarterly with a soft brush and mild detergent
- Avoid overloading drawers beyond manufacturer weight limits
- Check for ice buildup monthly in humid environments
- Never force closed drawers that meet resistance
Time-Saving Tip: Place a reminder in your phone to clean freezer tracks every three months. This takes just 5 minutes but prevents 90% of future removal problems.
Final Checklist Before Removing Your KitchenAid Freezer Drawer
Before attempting drawer removal, ensure you’ve completed these critical steps:
- Verified your specific KitchenAid model number
- Unplugged the refrigerator or turned off power
- Removed all contents from the drawer
- Cleared space to safely place the drawer during maintenance
- Gathered necessary tools (gloves, soft cloth, potential lubricant)
Successfully removing your KitchenAid freezer drawer requires understanding your specific model’s mechanism while following precise removal techniques. By identifying your drawer type, using the correct release method, and avoiding common pitfalls, you’ll maintain smooth operation for years. Remember that proper reinstallation is just as critical as removal—taking an extra minute to align tracks correctly prevents future headaches. When performing regular maintenance using these techniques, most KitchenAid freezer drawers will operate smoothly for the life of your appliance without requiring professional service.