How to Move a Freezer Shelf: Easy Steps
Nothing disrupts your kitchen routine like trying to rearrange your freezer only to discover a stubborn shelf that won’t budge. Knowing exactly how to move a freezer shelf properly saves you from broken components, food spoilage, and unnecessary frustration. Whether you’re deep cleaning your freezer, retrieving a fallen item, or simply reorganizing your frozen goods, this guide provides the precise steps to complete the task safely and efficiently. You’ll learn model-specific techniques that work for most major refrigerator brands, along with critical safety precautions that protect both your appliance and your food.
Attempting to move a freezer shelf incorrectly can lead to snapped clips, misaligned rails, or even electrical hazards if proper safety steps are skipped. Many homeowners make the mistake of forcing shelves when they encounter resistance, only to cause expensive damage that requires professional repair. This comprehensive guide eliminates guesswork by walking you through each phase of the process—from preparation through reinstallation—with manufacturer-approved techniques that work for side-by-side, top-freezer, and French door models. By following these instructions, you’ll maintain your appliance’s warranty, preserve food safety, and extend your refrigerator’s lifespan.
Prepare Your Workspace Before Touching Any Shelf
Before you attempt to move a freezer shelf, completing these critical safety preparations protects you from electrical hazards and prevents food spoilage during the process.
Disconnect Power Completely to Eliminate Shock Risks
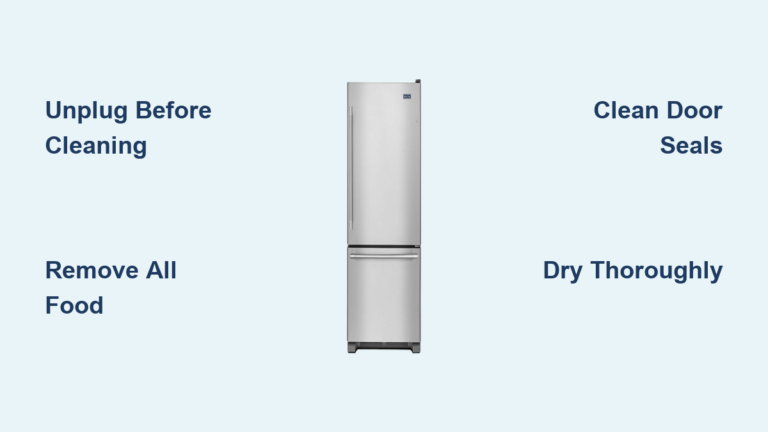
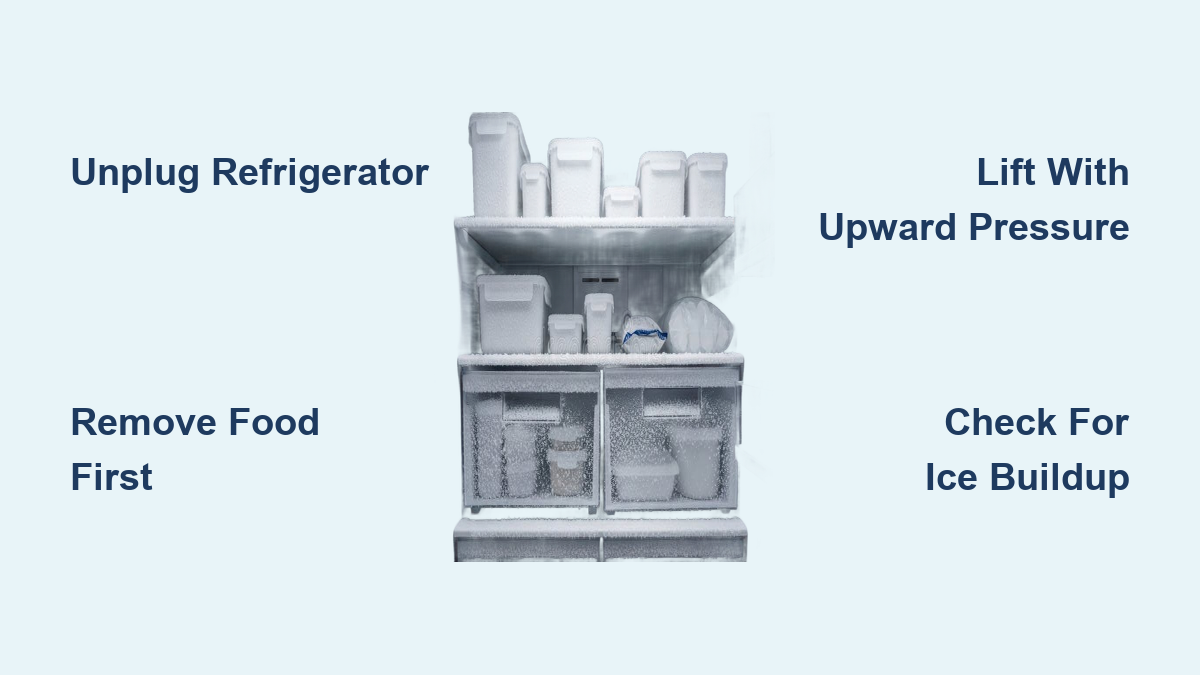
Always unplug your refrigerator before attempting to move any freezer component—this isn’t optional. Electrical components combined with potential moisture create serious shock hazards in the confined space of your freezer. Grasp the power cord firmly at the plug end (never pull the cord itself) and pull straight outward from the wall outlet. For refrigerators installed in tight kitchen spaces, you may need to pull the unit away from the wall to access the plug safely. After unplugging, wait 5-10 minutes before beginning work—this brief period allows residual electrical charge to dissipate and compressor oil to settle. Skipping this step risks electrical shock that could cause serious injury.
Manage Food Items Strategically to Maintain Safety
Remove all food from your freezer before touching any shelf—this serves three critical purposes: it eliminates obstacles blocking access to mounting points, prevents items from falling during removal, and maintains food safety by minimizing open-door time. As you remove items, check expiration dates and discard anything showing freezer burn or prolonged storage. Place remaining items in a cooler with ice packs to keep them at safe temperatures. For freezers containing substantial quantities, remove food in batches rather than all at once—this approach minimizes temperature fluctuation and reduces spoilage risk. Work efficiently; aim to complete shelf removal and reinstallation within 20-30 minutes to prevent excessive temperature rise.
Identify Your Shelf Mounting System Before Removal

Different refrigerator models use distinct shelf mounting mechanisms—knowing yours prevents damage during removal attempts.
Recognize Common Support Mechanisms by Brand
Most freezers use one of three mounting systems: side-mounted clips that engage with vertical rail guides (common in Whirlpool side-by-side models), wire shelves that hook onto raised tabs (typical in older GE models), or solid glass shelves with integrated bracket systems that snap into place (frequently found in Samsung French door refrigerators). Side-by-side models typically feature horizontal sliding shelves, while top-freezer configurations often use simpler tab-and-slot systems. Examine your shelf closely—Whirlpool shelves usually have visible plastic clips on the sides, while LG models often feature spring-loaded release mechanisms requiring specific pressure points to disengage.
Conduct a Pre-Removal Inspection to Avoid Surprises
Before attempting to move a shelf, spend 60 seconds inspecting its mounting points. Identify exactly where the shelf connects to the support structure, noting visible clips, brackets, or hooks. Check for ice buildup around rail guides—this frozen barrier often prevents smooth removal. Examine the shelf itself for cracks or damage that might indicate replacement is needed rather than simple repositioning. If you notice excessive frost accumulation, you’ll need to defrost the freezer first using a hair dryer on low heat (never metal tools) to avoid damaging plastic components. This quick inspection prevents the most common mistakes that lead to broken clips and misaligned shelves.
Remove the Freezer Shelf Using Proper Technique
With safety preparations complete and your mounting system identified, follow these precise steps for successful shelf removal.
Position Yourself for Optimal Control and Safety
Stand at the front of the freezer compartment with clear, unobstructed access to the shelf. Ensure adequate lighting—use a flashlight if necessary—to clearly see mounting points. Remove any items from adjacent shelves that might block your movement. Wear non-slip shoes to prevent accidents on potentially wet surfaces. Keep your back straight and bend at the knees when lifting to avoid strain injuries. Having everything within reach—a protected surface for the removed shelf, cleaning supplies, and good lighting—makes the process smoother and prevents rushed movements that cause damage.
Lift and Disengage Using Model-Specific Motion
Grasp the front edge firmly with both hands, applying steady upward pressure. Most shelves require a 1-2 inch lift before sliding forward. Listen for the distinct click indicating clips releasing from engagement points. Whirlpool models typically need straight upward motion, while Samsung shelves often require simultaneous lifting and slight backward angling. If resistance occurs, check for ice binding components—never force the shelf. Apply firm but controlled pressure; sudden jerks cause shelves to tip or drop. For stubborn shelves, gently wiggle side-to-side while maintaining upward pressure to loosen frozen connections.
Slide the Shelf Out Completely Without Damage
Once disengaged, carefully slide the shelf forward while maintaining even support. Some models require combining upward lift with forward motion throughout removal. Keep your fingers clear of rail guides to prevent pinching. Set the shelf aside on a towel-lined surface—never on cold tile or wet areas that could cause thermal shock to glass shelves. For heavy glass shelves, use both hands to support the entire surface area, not just the edges. Wire shelves can be set on edge to save space, but ensure they won’t roll or fall. Proper handling prevents the most common damage—chipped edges and bent support wires.
Reinstall the Shelf Correctly to Ensure Long-Term Function

Proper reinstallation prevents future problems like loose shelves or difficult operation.
Align and Position Using Visual Confirmation
Hold the shelf at a 15-degree angle, engaging rear mounting points first before lowering the front edge. Look for alignment marks—many shelves have small notches or colored indicators showing correct positioning. Whirlpool models often require precise centering over rail guides, while LG shelves need specific tab orientation. If the shelf doesn’t slide in smoothly, don’t force it—recheck alignment. Proper positioning ensures even weight distribution and prevents premature wear on mounting points.
Secure and Test Using Manufacturer Specifications
Apply firm downward pressure on the front edge until you hear the distinct click confirming full engagement. Test stability by pressing down on all four corners—there should be no rocking or movement. For sliding shelves, perform three complete in-and-out motions to verify smooth operation. If resistance occurs, remove and check for debris in rail guides. Properly installed shelves should support 15-20 pounds without sagging—test with a small container of water before loading with food. This verification step prevents the most common post-installation issue: shelves that disengage unexpectedly during normal use.
Troubleshoot Common Shelf Movement Problems
Even with proper technique, issues sometimes arise during shelf removal or reinstallation.
Fix Stuck Shelves with Temperature-Controlled Techniques
If a shelf won’t lift, apply a hair dryer on low heat to rail guides for 15-20 seconds to melt minor ice buildup—never use metal tools. For persistent sticking, wrap a warm towel around mounting points for two minutes before attempting removal again. Some Samsung models require pressing specific release buttons while lifting—consult your manual for model-specific solutions. If the shelf moves partially but binds, check for food debris in rail guides using a plastic toothpick for removal.
Resolve Reinstallation Issues with Precision Alignment
When a shelf won’t seat properly, remove it and examine mounting points for bent tabs or debris. Verify shelf orientation—many models have asymmetrical designs requiring specific front/rear positioning. Apply firm, even pressure while watching both sides simultaneously to ensure balanced engagement. If clips still won’t engage, gently flex the shelf frame outward slightly while installing. For models with multiple adjustment positions, ensure you’re installing at the correct height setting—some rails have numbered indicators.
Maintain Your Freezer Shelves for Long-Term Reliability
Regular maintenance prevents problems and extends the life of your freezer components.
Schedule Quarterly Shelf Inspections
During routine cleaning every 3-4 months, remove each shelf for thorough inspection. Check wire shelves for rust at connection points and glass shelves for hairline cracks near mounting brackets. Clean rail guides with a soft brush to remove debris buildup. Apply a small amount of food-safe silicone lubricant to plastic rail guides annually to maintain smooth operation. Address minor issues immediately—replacing a single damaged clip costs far less than repairing a compromised shelf system.
Optimize Shelf Positioning for Your Usage Patterns
After maintenance, consider rearranging shelves to match your storage needs. Place frequently accessed items on middle-height shelves to minimize bending. Store bulk items on lower shelves where weight distribution matters less. Use the top shelf for small containers that benefit from easy visibility. Leave 1-2 inches of space between items and shelf edges to prevent blocking air vents. This strategic organization reduces how often you need to move shelves and makes your freezer more efficient overall.
Moving a freezer shelf correctly requires attention to detail but becomes straightforward when following these specific steps. By preparing properly, identifying your mounting system, using correct removal techniques, and verifying secure reinstallation, you maintain your appliance’s performance while protecting your food investment. Remember to consult your refrigerator’s manual for model-specific guidance and never force components when resistance occurs—patience prevents most damage. With these techniques mastered, you’ll handle future freezer maintenance with confidence, keeping your appliance running efficiently for years to come.