How to Fix Frigidaire Freezer Not Cooling
Your Frigidaire freezer suddenly stops maintaining that crucial icy temperature, putting hundreds of dollars of frozen food at risk of spoilage. When your freezer isn’t cooling properly, the problem could range from something as simple as a tripped circuit breaker to more complex compressor issues. Understanding how to systematically diagnose and address these problems saves money on service calls and prevents costly food waste. This guide provides exactly what you need to know to restore your freezer’s performance and protect your frozen inventory.
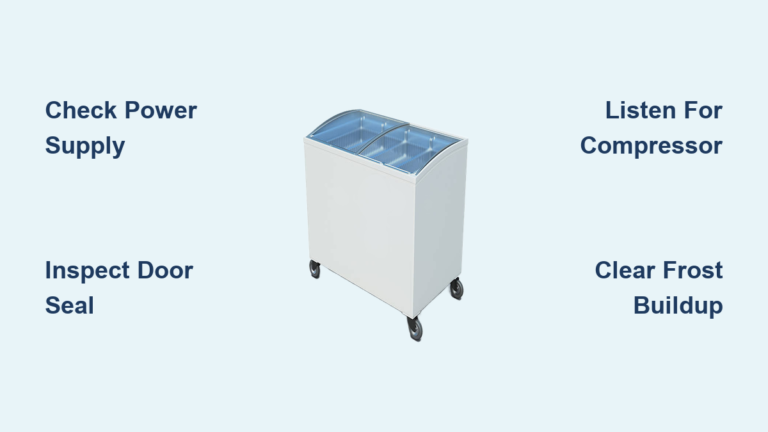
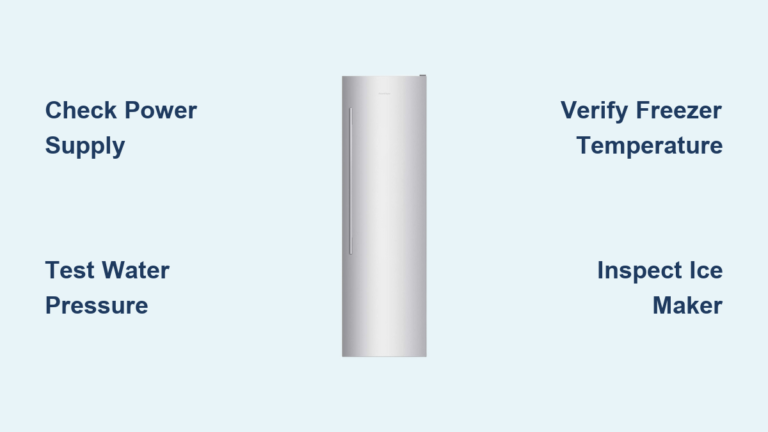
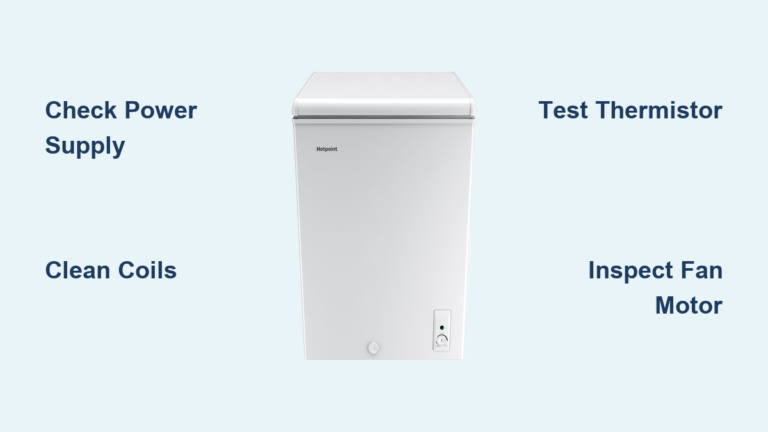
Confirm Electrical Connections Are Secure
Before assuming component failure, verify your Frigidaire freezer actually receives power—a surprisingly common oversight in cooling problems.
Test Outlet Functionality Immediately
Check for indicator lights on the control panel and interior illumination when opening the door. No lights? Your freezer likely has a power supply issue rather than a cooling system failure. If your outlet uses GFCI protection (common in kitchens and laundry areas), press the reset button firmly—these outlets trip frequently due to moisture or electrical fluctuations. Confirm power restoration by testing the outlet with another device like a lamp before reconnecting your freezer.
Reset Circuit Breakers Thoroughly
Locate your home’s circuit breaker box and identify the freezer’s circuit. Even if the breaker appears “on,” toggle it fully off then back on—minor trips aren’t always visible. Your Frigidaire requires a dedicated 115-120 volt circuit with proper grounding, protected by either a 15 or 20 amp breaker. Sharing this circuit with other appliances causes inconsistent cooling and potential damage. After resetting, allow 24 hours for temperature stabilization before judging performance.
Adjust Temperature Settings to Factory Specifications
Incorrect temperature settings cause more cooling complaints than actual mechanical failures—fix this first before pursuing complex repairs.
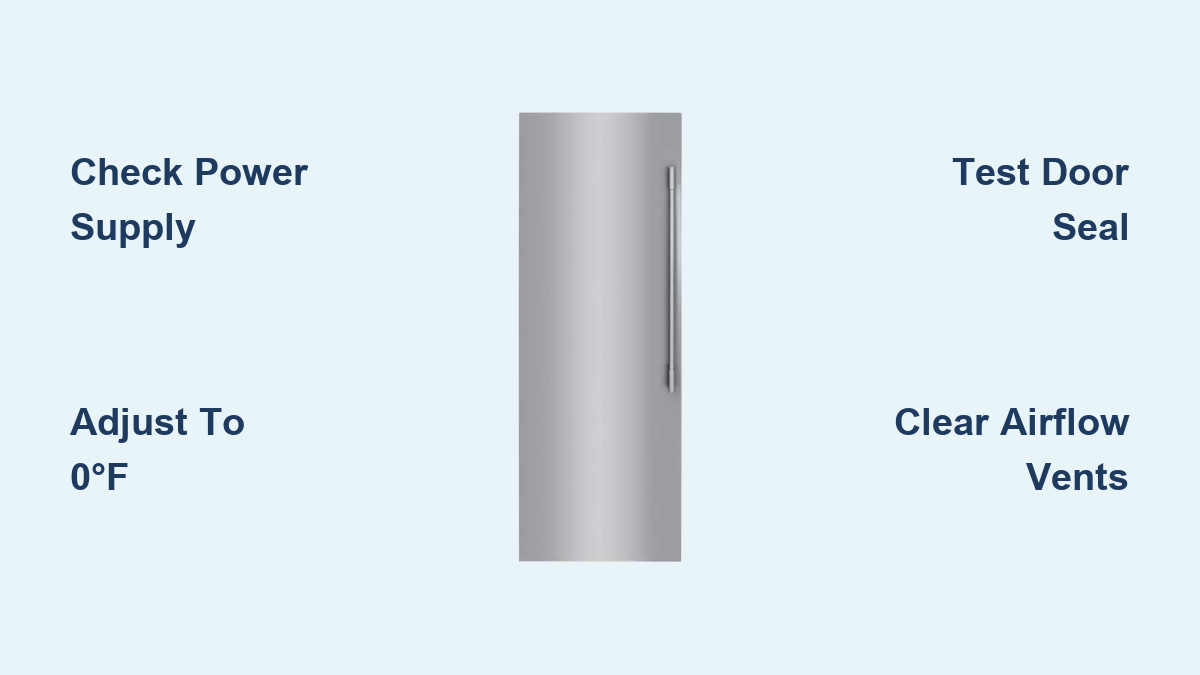
Set Freezer to 0°F for Optimal Performance
Frigidaire factory-calibrates freezers for 0°F in the freezer compartment and 37°F in refrigerator sections. Use an appliance thermometer placed in vegetable oil for accurate readings—built-in displays can be unreliable. Acceptable freezer temperatures range from -6°F to 6°F; anything outside this range indicates problems. If your freezer runs warm, reset to 0°F and wait 24 hours before rechecking temperature.
Make Gradual Temperature Adjustments
When correcting temperature issues, adjust settings in 2-3°F increments rather than dramatic changes. Digital panels typically use up/down buttons, while mechanical dials require careful rotation. Avoid leaving quick-freeze functions activated during normal operation—they temporarily lower temperatures but strain the system if left on continuously. Remember that temperature stabilization takes time after each adjustment.
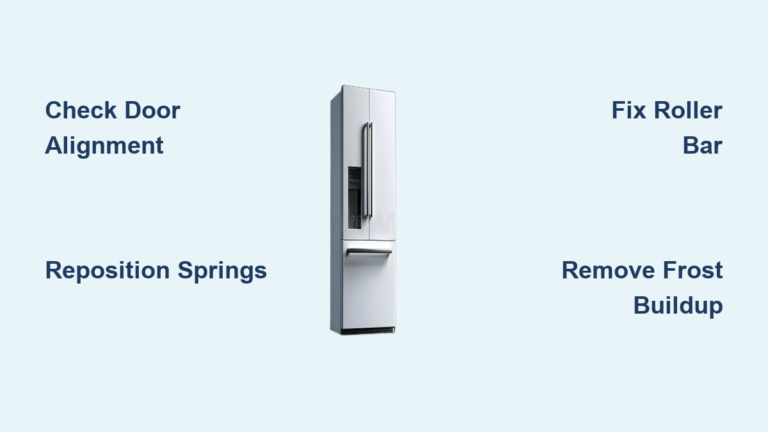
Diagnose and Repair Door Seal Problems
A compromised door seal lets warm, humid air infiltrate your freezer, forcing the compressor to work overtime while still failing to maintain proper temperatures.
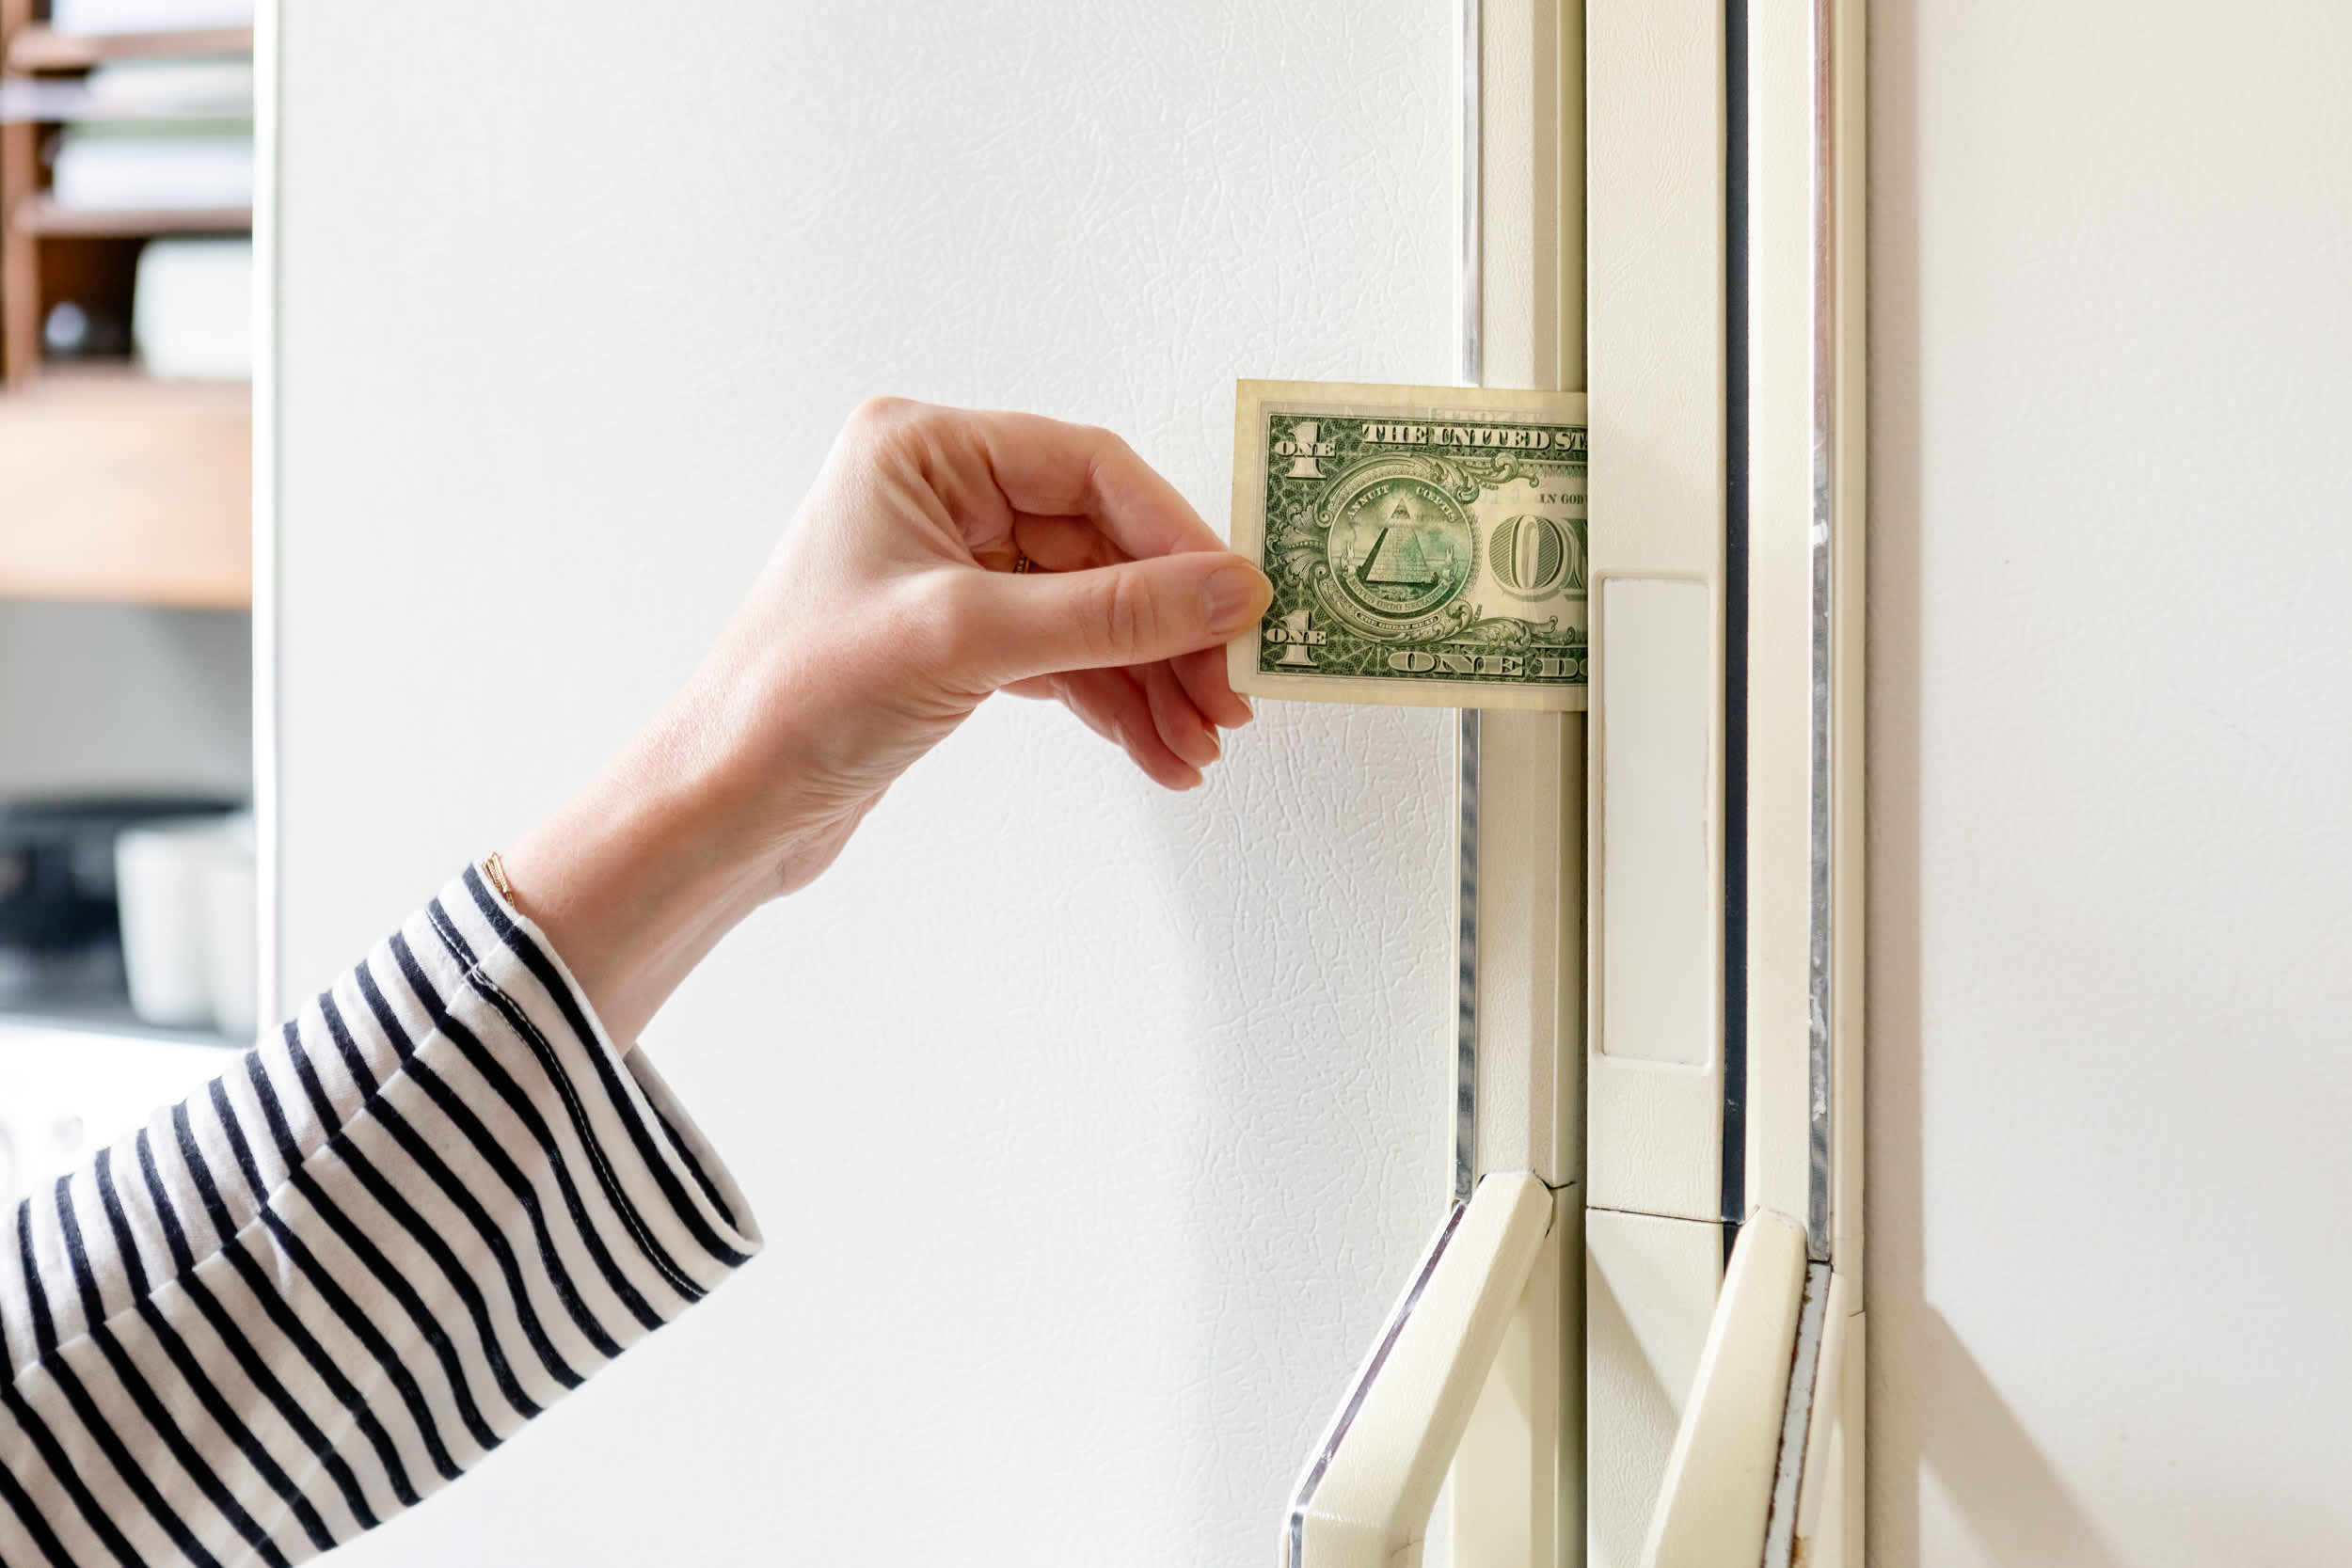
Perform the Dollar Bill Seal Test
Close the freezer door on a dollar bill positioned halfway into the seal gap. Properly functioning seals create noticeable resistance when pulling the bill out. If it slides out easily or falls to the floor, your gasket lacks necessary compression. Test the entire perimeter—seals often fail at corners and hinge points where constant flexing causes material fatigue.
Clean and Replace Damaged Seals
Clean gaskets monthly with warm soapy water and a soft cloth—avoid abrasive cleaners that damage the flexible material. Dry thoroughly before closing to prevent ice formation on the sealing surface. Inspect for tears, cracks, or permanent deformation; damaged sections require full gasket replacement. Replacement seals press into a groove around the door frame—no tools needed for most Frigidaire models. Also check door alignment; uneven gaps indicate hinge issues requiring adjustment.
Eliminate Airflow Restrictions Inside Freezer

Blocked vents prevent cold air circulation, creating warm spots where food fails to freeze properly despite the compressor running.
Locate and Unblock Critical Vents
Identify vent openings typically positioned on rear walls or ceilings of the compartment. Ensure at least one inch of clearance around all vents—food packages, ice buildup, or misplaced containers often block these critical airflow paths. Check vents weekly, especially after reorganizing contents. When restocking, arrange items to maintain space between packages for proper air circulation.
Optimize Food Organization for Maximum Cooling
Overpacking your freezer beyond capacity strains the cooling system. Remove several items if contents press tightly against walls or block vents. Never store items directly against rear walls where evaporator coils reside—this creates insulation barriers that prevent efficient heat transfer. When adding large quantities of unfrozen food, allow items to freeze completely before rearranging to maximize storage without compromising airflow.
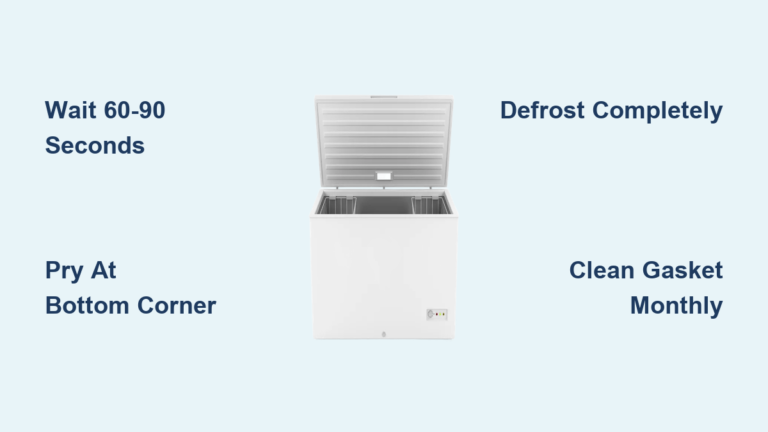
Address Excessive Frost Accumulation
Frost thicker than one-quarter inch indicates defrost system problems or seal failures—this ice buildup acts as insulation that blocks proper cooling.
Identify Frost Buildup Causes
Examine whether frost covers more than half the interior surfaces or creates physical barriers preventing door closure. This often stems from humid air entering through compromised door seals or frequent door openings in humid environments. Breaking the cycle requires both defrosting and fixing the underlying moisture entry issue.
Defrost Without Damaging Components
Turn off the freezer, remove all contents, and prop the door open with towels underneath to absorb meltwater. Never chip or pry at ice—this risks puncturing refrigerant lines. Speed melting with a hairdryer on low setting held at least 12 inches from surfaces, constantly moving to avoid heat damage. Once completely dry, restore power and allow 24 hours for temperature stabilization before restocking food.
Interpret Critical Operating Sounds
Your freezer communicates its health through specific sounds—learn which indicate normal operation and which signal trouble.
Recognize Normal Cooling System Operation
Listen for the compressor’s low hum, fan whooshing sounds, and refrigerant gurgling during normal operation. Intermittent cycling indicates proper temperature regulation. If you hear these sounds but the freezer still doesn’t cool, the problem likely involves refrigerant levels, compressor efficiency, or airflow restrictions rather than complete system failure.
Identify Warning Sounds Requiring Action
Continuous operation for more than 24 hours without reaching 0°F indicates serious trouble—the cooling system can’t keep up with thermal load. Clicking during startup attempts suggests failing start components, while grinding or loud knocking noises mean immediate professional attention is needed. Document unusual sounds when scheduling service—they help technicians diagnose problems faster.
Determine When Professional Service Is Necessary
After completing all DIY troubleshooting steps, know when it’s time to call a certified technician for your Frigidaire freezer.
Recognize Unfixable Component Failures
Schedule professional service if you notice continuous compressor operation beyond 24 hours, oily residues near the unit base (indicating refrigerant leaks), burning smells, or unusual mechanical noises from compressor areas. Error codes on digital displays also require technician interpretation—note exact codes before calling service.
Prepare for Efficient Service Calls
Document everything before the technician arrives: problem history, all troubleshooting steps attempted, associated sounds or smells, and installation details including circuit specifications. Provide unit age and any recent events like moves or power outages. This information helps technicians arrive with correct parts, potentially reducing service time and costs.
Implement Preventive Maintenance Routine
Regular care prevents most cooling problems before they develop and extends your freezer’s operational life.
Monthly Maintenance Checklist
Check door seals for damage and cleanliness, verify temperature settings, and ensure proper interior organization. Clean exterior surfaces including accessible condenser coils using a soft brush attachment on your vacuum—dust buildup reduces cooling efficiency. Avoid placing hot foods directly in the freezer; allow items to cool first to prevent temperature spikes and excess frost.
Seasonal Performance Optimization
Before winter, ensure your freezer isn’t installed in areas where ambient temperatures drop below 55°F—this confuses temperature regulation systems. In summer, maintain adequate clearance around the unit (several inches on sides, more at rear) for proper heat dissipation. Limit door opening frequency and duration, especially in humid conditions where each opening introduces moisture that becomes problematic frost.
Troubleshoot Methodically from Simple to Complex
When your Frigidaire freezer stops cooling, follow this logical progression: verify power supply first, confirm proper installation and settings, check door seals and airflow, then assess frost buildup and operational sounds. Only after exhausting these homeowner-addressable issues should you consider professional service. This systematic approach resolves most cooling problems without costly service calls while protecting your frozen food investment. Remember that temperature stabilization takes 24 hours after any adjustment—patience prevents unnecessary repairs. By understanding your freezer’s interconnected systems, you’ll maintain optimal performance and avoid replacing parts that aren’t actually faulty.