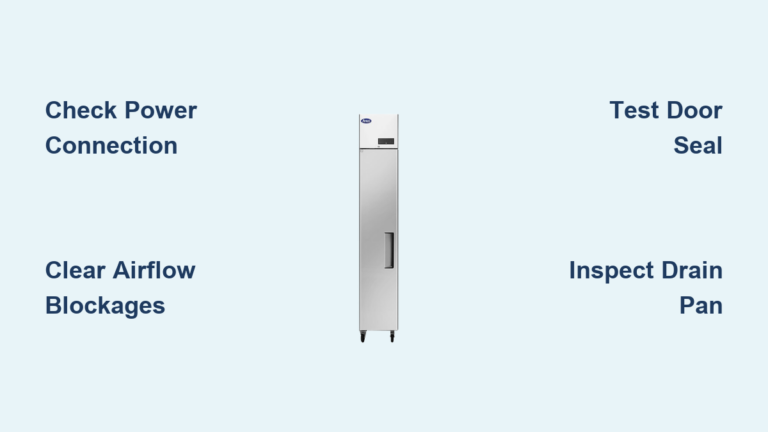
How to Fix a Noisy Freezer: Quick Steps
That persistent humming, rattling, or buzzing sound coming from your freezer isn’t just disruptive—it could signal serious mechanical issues needing immediate attention. A noisy freezer creates constant background disturbance in your kitchen, interrupts sleep when located in open-concept homes, and often indicates underlying problems that, if ignored, can lead to complete failure and costly replacements. The good news is that most freezer noise issues can be diagnosed and resolved with basic troubleshooting steps you can perform yourself, potentially saving hundreds in service calls.
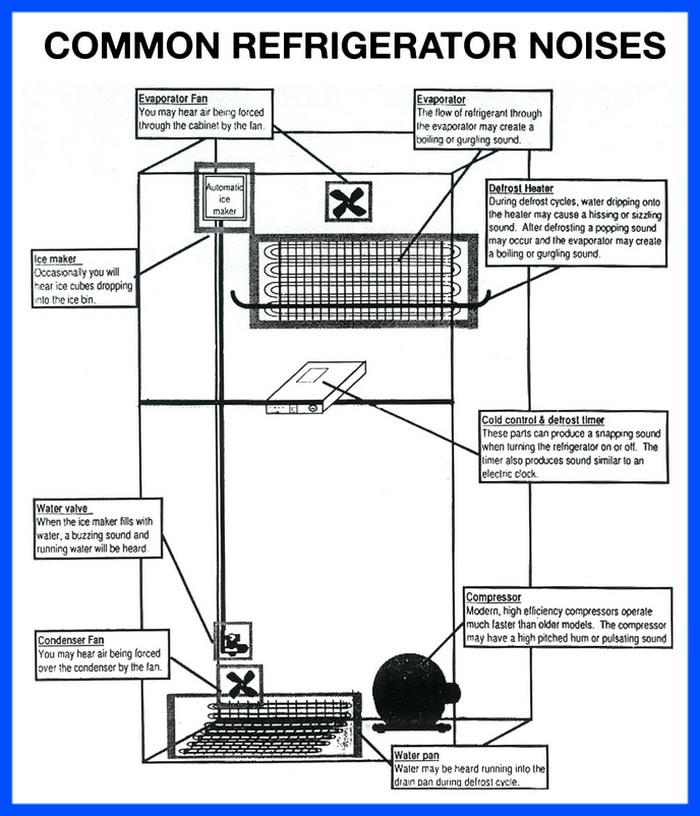
Freezers naturally produce various sounds during normal operation, including a gentle hum from the compressor cycling on and off, occasional clicking as the thermostat responds to temperature changes, and subtle whooshing from refrigerant flowing through the coils. These sounds are typically quiet and intermittent. When your freezer starts making loud, continuous, or unusual noises, it’s time to investigate. This guide will walk you through the most common causes of excessive freezer noise, provide step-by-step diagnostic procedures, and help you determine whether you need a simple DIY fix or professional repair service.
Diagnose Your Freezer’s Specific Noise Pattern
Before attempting repairs, accurately identify the type of noise your freezer makes. Different sounds indicate different problems:
- Loud humming or buzzing that continues for extended periods usually points to compressor issues, often related to the start relay or capacitor
- Rattling or vibrating sounds typically mean loose components, improper leveling, or items inside shifting
- Grinding or scraping noises often indicate evaporator fan problems or ice buildup on moving parts
- Clicking sounds that repeat rapidly may signal a failing relay or thermostat component
- Hissing or bubbling could indicate a refrigerant leak requiring professional attention
Pro Tip: Stand near your freezer for several minutes with the lights off to better hear subtle sounds. Note when the noise occurs—is it constant, only when the compressor runs, or during defrost cycles? This timing information is crucial for accurate diagnosis.
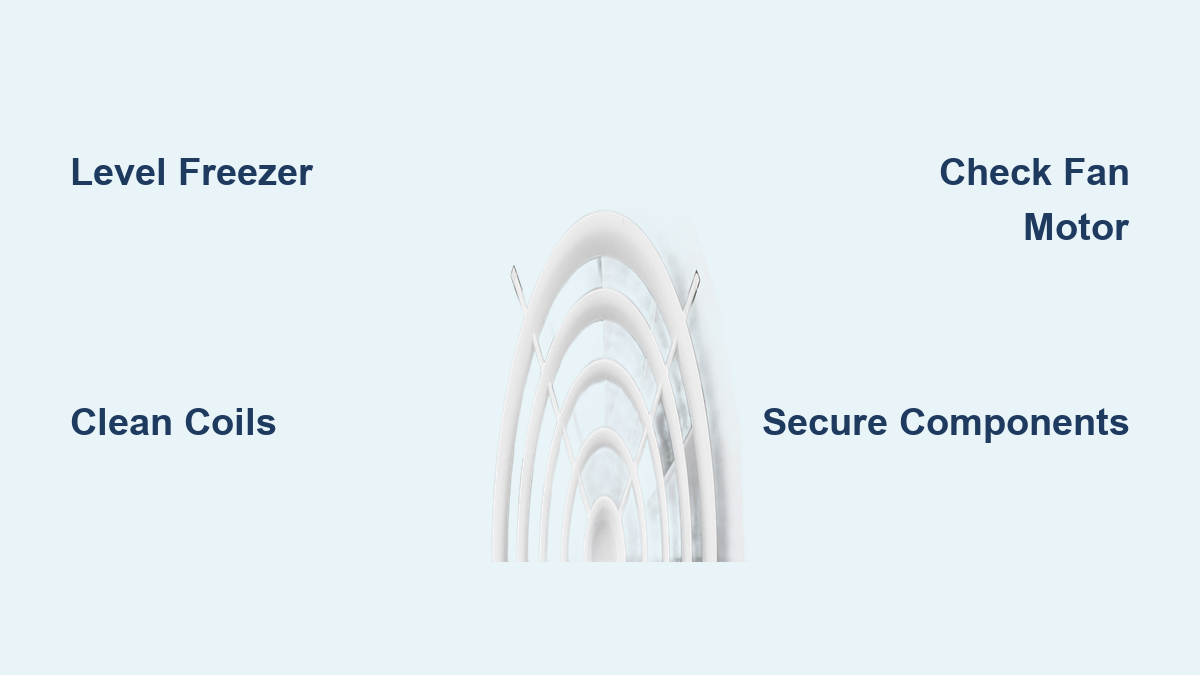
Level Your Freezer to Eliminate Vibration Noise

An unlevel freezer is one of the most common—and simplest to fix—causes of excessive noise. When your freezer sits unevenly, internal components shift, amplifying normal operational sounds into disruptive vibrations that resonate through your kitchen.
Grab a bubble level and check both front-to-back and side-to-side positioning. Most freezers have adjustable feet—typically threaded legs at the front corners that you can turn to raise or lower each corner. Turn these feet slowly while checking with your level until the bubble sits perfectly centered. Even a slight tilt (as little as 1/4 inch) can cause significant vibration noise.
Also check that your freezer has proper clearance—maintain at least 2-3 inches of space on all sides, particularly at the back where the compressor and condenser coils are located. Verify that the unit isn’t touching walls, cabinets, or other appliances, as vibration transfers through solid contact points. If your freezer sits on hard flooring, place anti-vibration pads (available at hardware stores for under $10) beneath the leveling feet to absorb operational vibrations.
Clean Condenser Coils to Reduce Compressor Strain
Dirty condenser coils force your freezer’s compressor to work harder, creating louder operational noise and reducing efficiency. When these coils become clogged with dust, pet hair, or household debris, the compressor runs longer and more frequently, resulting in a constant loud hum.
Unplug your freezer first for safety. For models with rear-mounted coils, remove the back panel (usually secured with perimeter screws). For bottom-mounted coils, remove the front kick plate. Use a dedicated coil cleaning brush (about $8 at hardware stores) to gently dislodge debris, working in the direction of the coil fins. Follow with a vacuum using a brush attachment to remove loosened particles.
How often should you clean these coils? At minimum, twice yearly—but if you have pets or live in a dusty environment, quarterly cleaning prevents noise problems before they develop. Clean coils not only reduce noise but also improve energy efficiency by up to 30%, potentially saving you money on electricity bills while extending your freezer’s operational life.
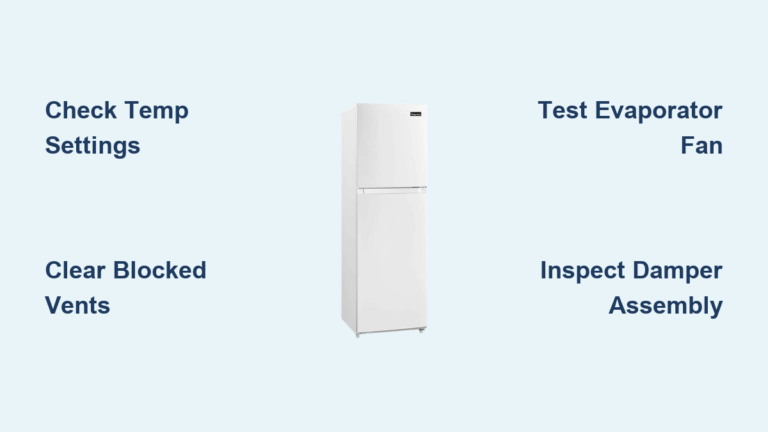
Fix Evaporator Fan Motor Issues Causing Grinding Sounds
The evaporator fan motor circulates cold air throughout your freezer compartment, and when it begins to fail, it typically produces distinctive grinding, whirring, or squealing noises. This component is often the culprit behind persistent freezer noise that seems to come from inside the unit.
First, unplug your freezer and locate the evaporator fan behind the rear panel inside the freezer section. Remove any ice buildup with a hair dryer on low heat—never use sharp tools that could damage the coils. Manually rotate the fan blades; they should spin freely with minimal resistance. If you feel grinding or hear scraping, the motor bearings are failing.
Test the motor with a multimeter set to resistance (ohms). Disconnect the motor wires and touch probes to the terminals. A reading of zero or infinity indicates a failed motor requiring replacement ($50-150 for the part). If you get a moderate reading (typically 10-100 ohms), the motor is functional and the noise may come from another source, such as ice obstructing the blades.
Secure Loose Internal Components Creating Rattling

Loose shelves, drawers, ice maker assemblies, or mounting hardware can create annoying rattling sounds that seem to come from anywhere in the freezer. Over time, normal operation vibration can loosen components that were previously silent.
Empty your freezer completely and inspect all interior components. Check shelves and drawers for cracks or warping that might cause noise as air circulates around them. Remove the ice maker assembly if present—the water inlet valve, motor, and dispensing mechanism can all produce noise when malfunctioning.
Examine the evaporator fan housing for loose mounting screws. Tighten any that have vibrated loose, and consider applying a small amount of thread-locking compound to prevent future loosening. Check that the drain pan beneath the freezer sits flat and secure—if loose, reposition it and secure any mounting clips. Some models include rubber dampeners beneath the pan; ensure these are present and in good condition.
Determine When Professional Help Is Necessary
While many freezer noise issues respond to DIY troubleshooting, certain situations require professional attention. If you’ve worked through the previous steps without resolving the problem, or if you encounter any of these warning signs, contact a qualified technician immediately:
- Burning smells accompanying the noise indicate electrical components overheating
- Visible sparks or scorch marks mean an electrical fault posing fire danger
- Loud knocking from the compressor area typically indicates internal compressor damage
- Hissing sounds with exterior frost suggest a refrigerant leak requiring specialized equipment
When calling a technician, provide specific details: when the noise occurs, what it sounds like, and any patterns you’ve observed. Mention troubleshooting steps you’ve already attempted. This information helps the technician arrive prepared with the right parts and tools, potentially reducing service call costs.
Prevent Future Noise Problems with Regular Maintenance
Stop freezer noise before it starts with these simple preventive measures:
- Schedule quarterly inspections checking that the unit remains level and components secure
- Clean condenser coils every six months (more often with pets or dusty conditions)
- Keep the interior organized to prevent items from shifting during normal operation
- Monitor your freezer’s sound profile when new to establish a baseline for normal operation
- Address unusual sounds promptly rather than ignoring them
Remember that a small problem left unattended often becomes a major repair, while early intervention typically means simple, inexpensive fixes. Most importantly, never ignore persistent or worsening noises—your freezer is communicating that something needs attention before a minor issue escalates into a costly breakdown.
By following these steps on how to fix a noisy freezer, you’ll not only restore peace to your kitchen but also potentially extend your appliance’s lifespan and improve its efficiency. The next time your freezer starts making unusual sounds, you’ll know exactly how to diagnose and address the problem before it disrupts your home or leads to expensive repairs.