How to Fix a Leaking Fridge Freezer – Quick & Easy Steps
Water pooling on your kitchen floor beneath your refrigerator isn’t just annoying—it’s a sign your appliance needs immediate attention. A leaking fridge freezer can waste hundreds of gallons of water annually while damaging your flooring and creating electrical hazards. When your refrigerator starts leaking, the problem typically stems from one of several common issues that you can diagnose and often fix yourself in under an hour. This guide walks you through the exact steps to identify and repair the source of your fridge’s leak, saving you costly service calls and preventing further damage to your kitchen.
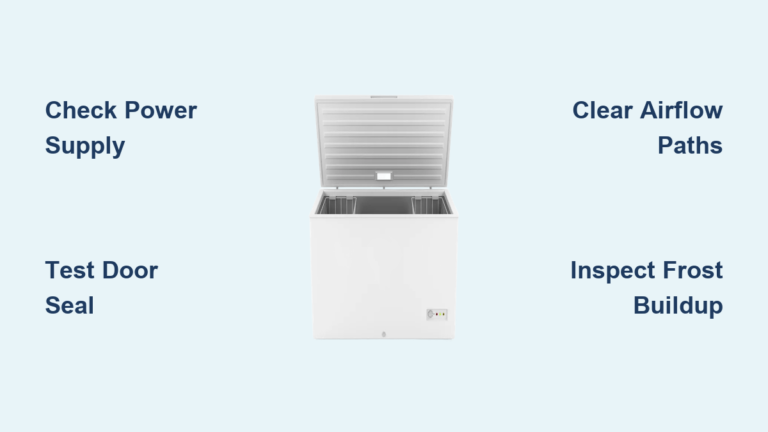
Locating Your Fridge’s Leak Source
Before attempting any repairs, you must pinpoint exactly where the water originates. Most leaks come from the defrost system, door seals, or water supply lines—but treating the wrong component wastes time and may worsen the problem. Start by unplugging your appliance for safety, then place colored paper towels under suspected leak areas to track water movement. Run your fingers along the door gaskets to feel for gaps, and inspect the floor beneath the fridge for pooled water patterns. Pay special attention to the back panel where condensation typically collects after defrost cycles.
How to Identify Defrost Drain Blockage Signs
The most common cause of fridge leaks involves the defrost drain system. When this narrow tube clogs with ice or debris, melted frost has nowhere to go except onto your kitchen floor. Look for these telltale signs:
– Water accumulating specifically under the crisper drawers
– Visible ice buildup around the drain hole inside the freezer
– A musty odor coming from the fresh food compartment
– Leaks occurring primarily after defrost cycles (usually every 8-12 hours)
What Water Color Tells You About the Leak Source
The color and clarity of leaked water provides crucial diagnostic clues:
– Clear water: Indicates normal condensation system failure
– Brown/tinted water: Suggests mold growth in the drip pan
– Milky appearance: Could signal lubricant mixing with water
– Salty residue: Points to freezer compartment leakage
Unclogging Your Fridge’s Defrost Drain Tube
A blocked defrost drain causes nearly 60% of all refrigerator leaks and is often the simplest fix. The drain tube connects your freezer’s evaporator coil to the external drip pan, allowing melted frost to safely evaporate. When food particles, ice, or mold obstruct this passage, water backs up and leaks into your fresh food compartment.
Step-by-Step Drain Unclogging Process
- Locate the drain hole behind the freezer’s rear panel (typically 1-2 inches wide)
- Remove any visible ice using a hairdryer on low heat—never sharp objects
- Prepare a solution of 1 tablespoon baking soda mixed with 1 cup warm water
- Use a turkey baster to gently flush the solution through the drain tube
- Follow with plain warm water to clear residue
- Verify flow by pouring colored water down the tube and checking the drip pan
Pro Tip: Insert a length of 1/4-inch diameter weed trimmer line through the drain tube to break up stubborn clogs without damaging plastic components.
How to Prevent Future Drain Blockages
Prevent recurring clogs with these simple maintenance steps:
– Clean the drain monthly using the baking soda solution
– Place a small amount of food-safe antifreeze in the drain pan during summer months
– Keep the freezer temperature between 0°F and 5°F to minimize excessive frost
– Replace the drain cap annually to prevent mold buildup
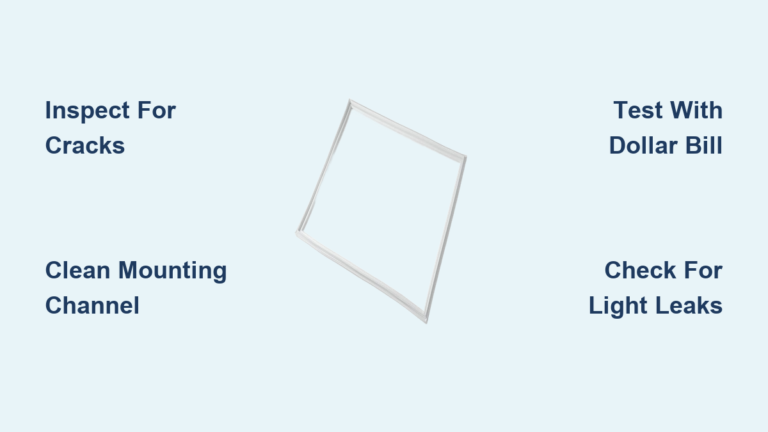
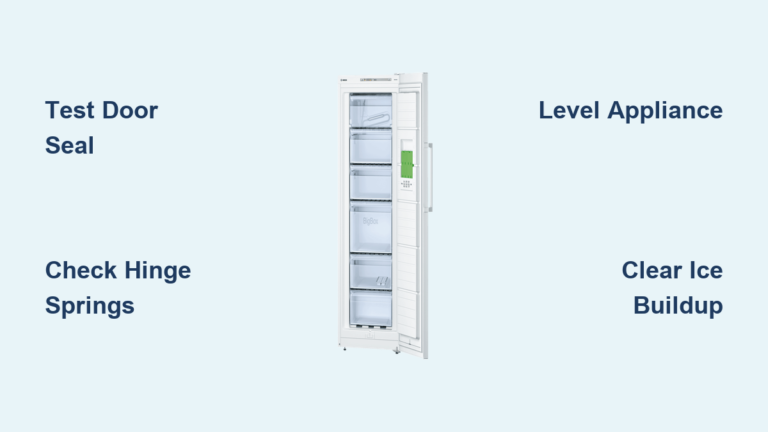
Repairing Faulty Door Seals and Gaskets
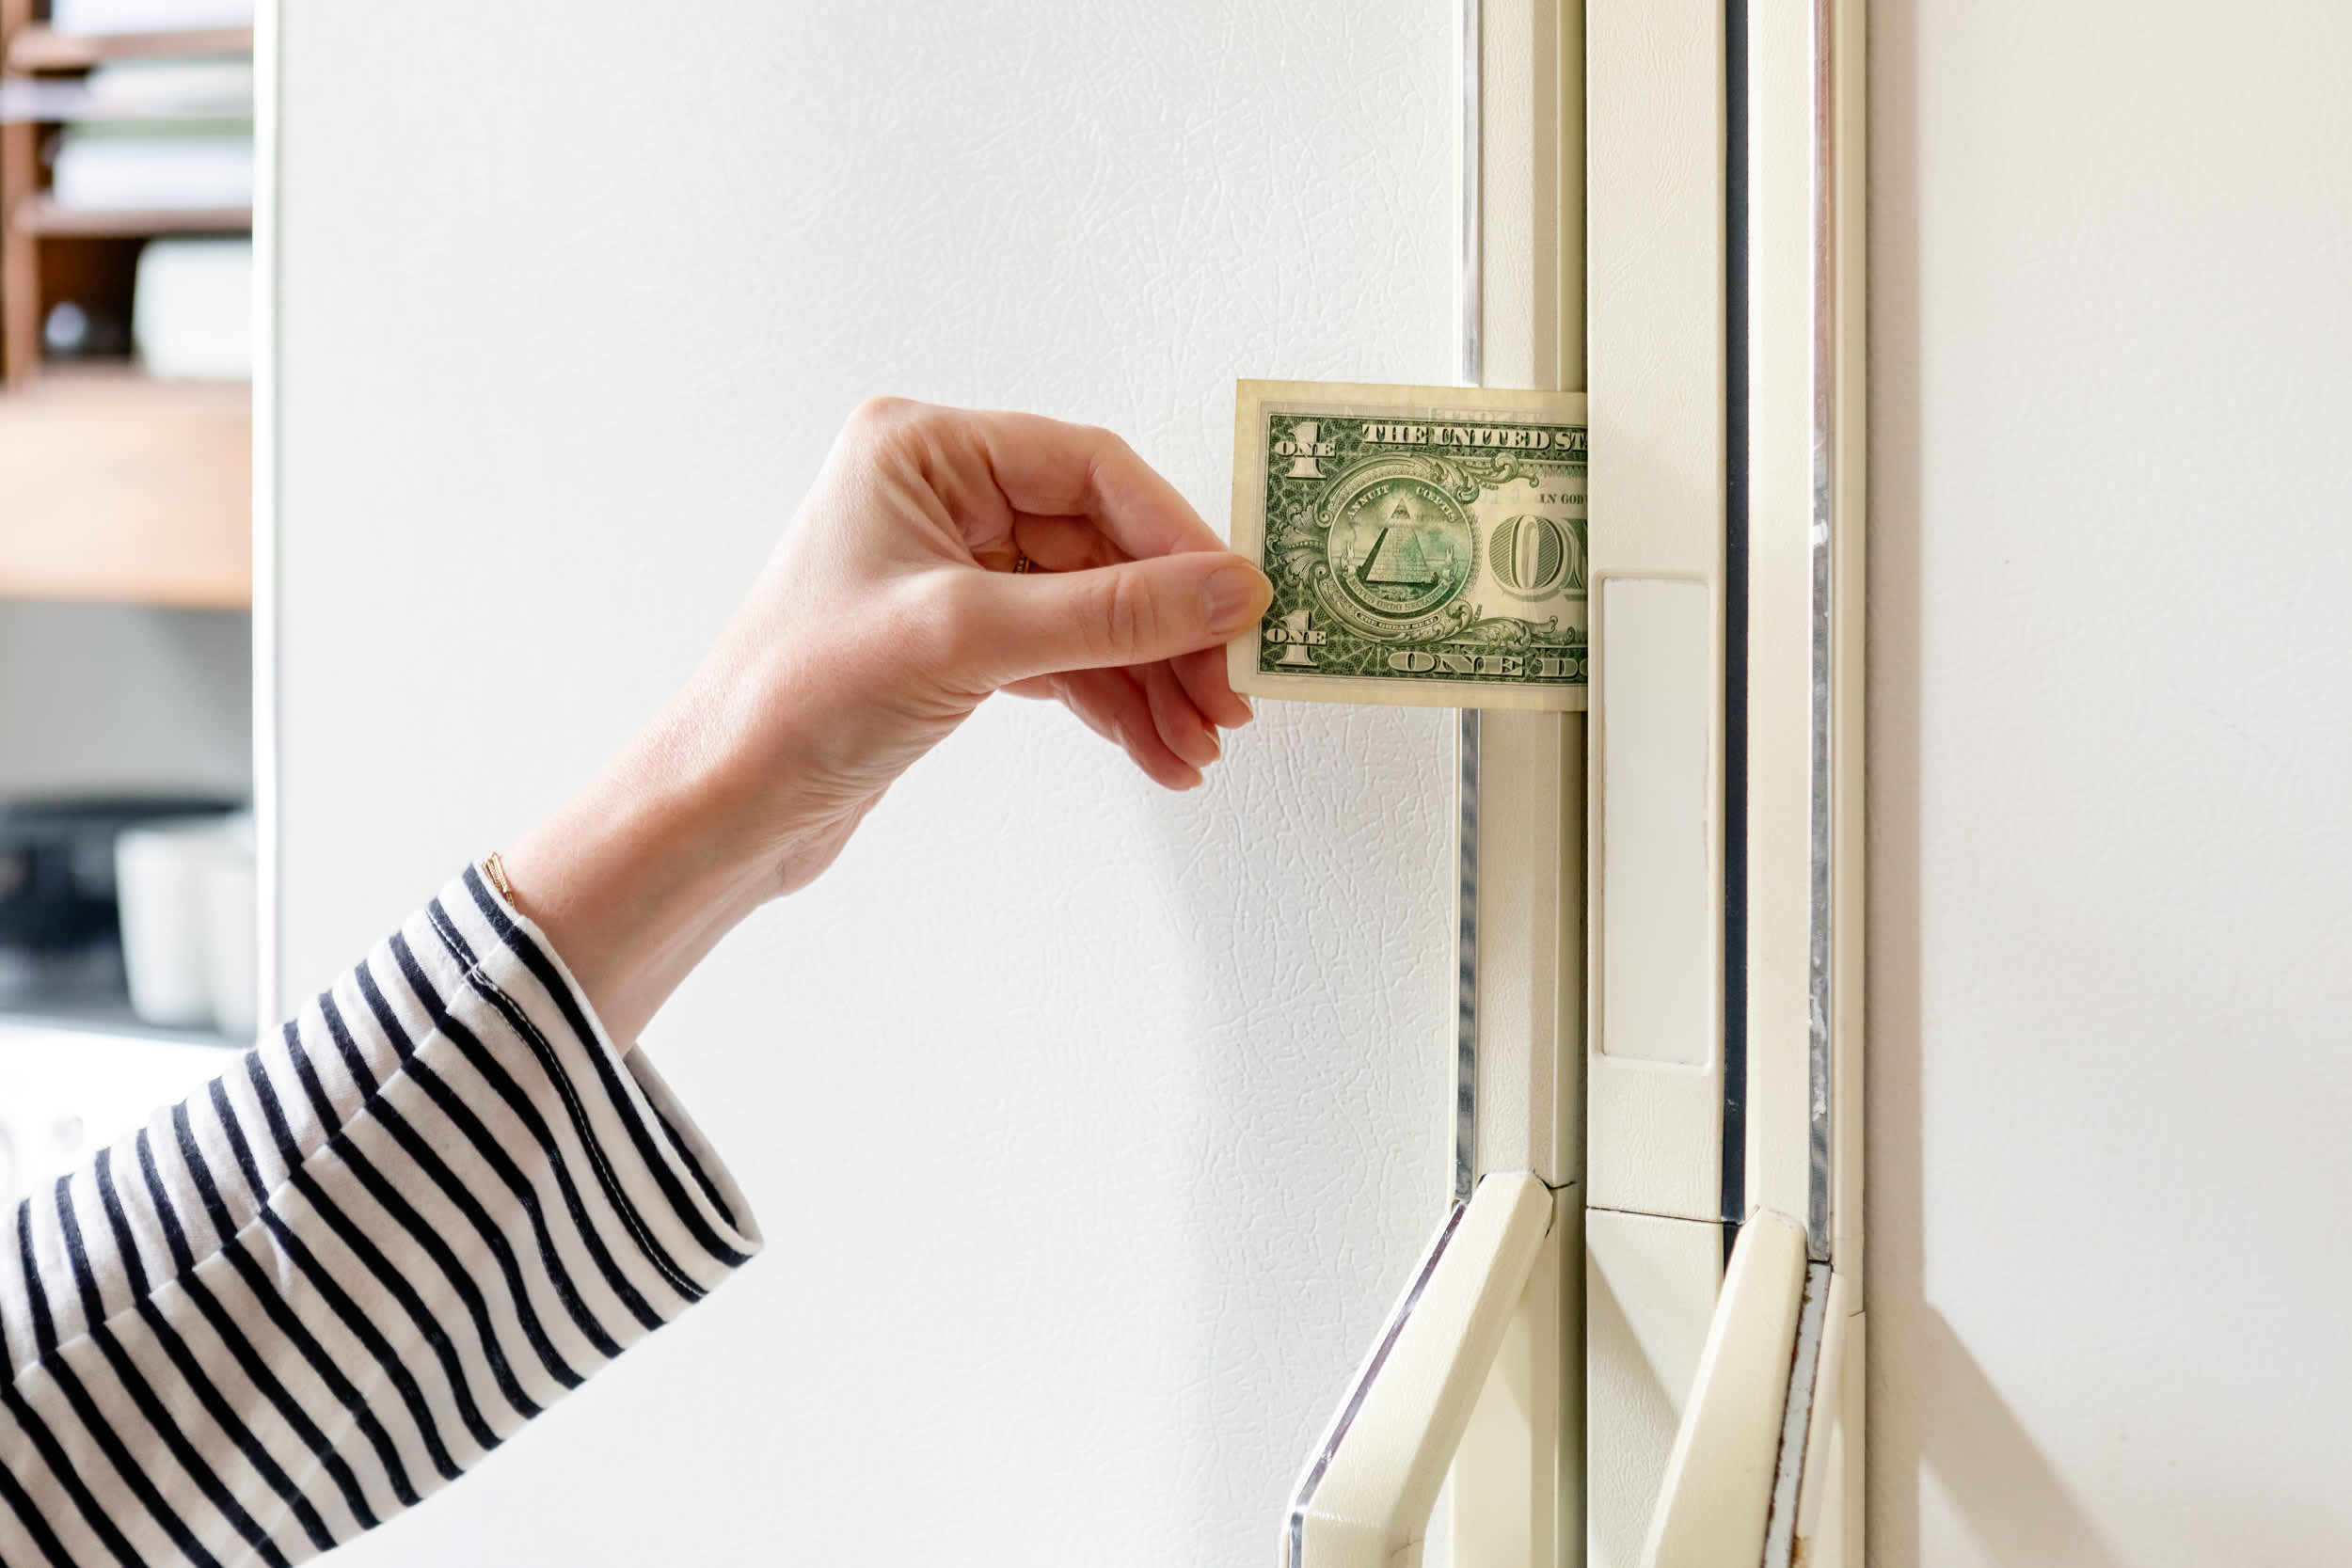
Worn door seals allow warm, humid air to enter your refrigerator, creating excess condensation that overwhelms the drainage system. Test your seals by closing a dollar bill in various door locations—if you can easily pull it out, the seal needs attention. Most gasket issues can be resolved without replacement through proper cleaning and conditioning.
Fixing Common Seal Problems Without Replacement
Hardened gaskets: Apply mineral oil with a soft cloth to restore flexibility. Wipe away excess after 15 minutes to prevent attracting dirt.
Misaligned doors: Adjust the leveling legs using a wrench—most models require counter-clockwise turns to raise the front slightly.
Cracked seals: For small tears (under 1 inch), apply food-safe silicone sealant after thoroughly cleaning and drying the area.
When to Replace Door Gaskets Completely
Replace seals entirely if you notice:
– Multiple cracks or tears exceeding 1 inch in length
– Permanent warping that prevents full closure
– Mold growth that won’t clean out
– Visible light gaps when door is closed
Time-Saving Shortcut: Warm replacement gaskets with a hairdryer before installation to make them more pliable and easier to seat properly.
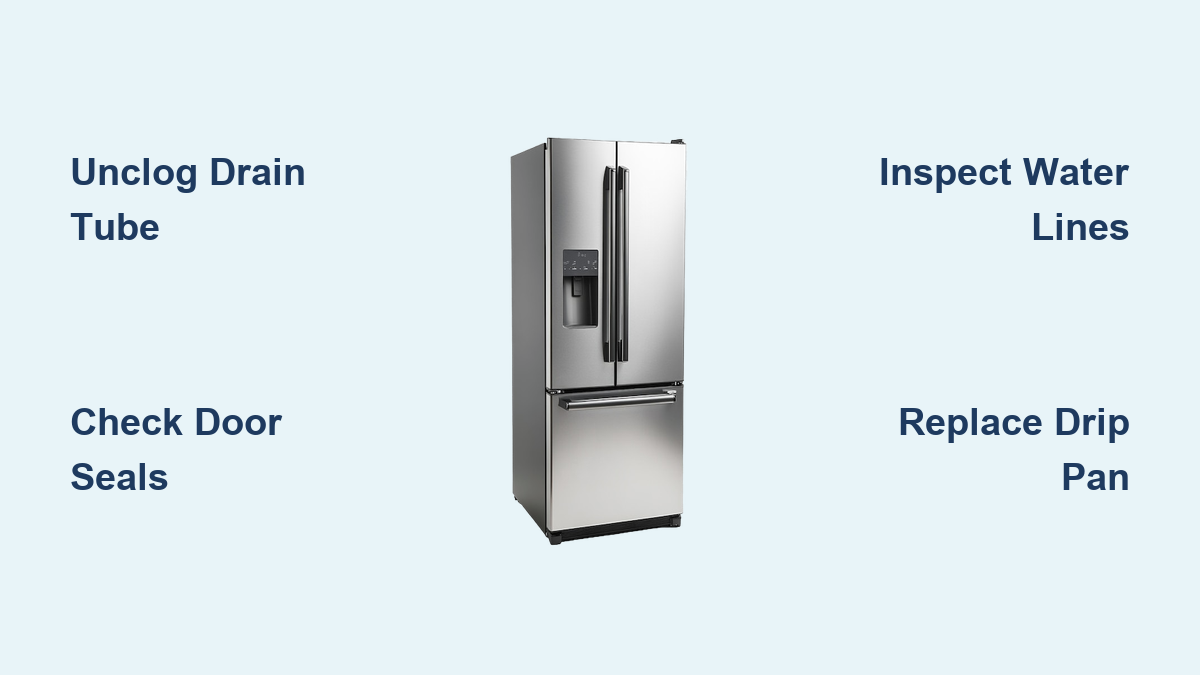
Addressing Water Supply Line Issues

For refrigerators with ice makers or water dispensers, leaks often originate from the supply line connections. These 1/4-inch plastic or copper tubes connect to your home’s water system and can develop cracks or loose fittings over time.
Quick Supply Line Leak Diagnosis
- Turn off water supply valve under the sink
- Disconnect the line from the fridge valve
- Place the end in a bucket and briefly turn water back on
- Check for leaks at both connection points and along the tube length
Securing Loose Water Line Connections
Tighten leaking connections using these steps:
– Wrap 3-4 layers of plumber’s tape around compression fittings
– Use two wrenches—one to hold the valve body, another to tighten the nut
– Replace cracked plastic lines with braided stainless steel alternatives
– Ensure lines have at least 1 inch of slack to prevent stress fractures
Critical Warning: Never overtighten plastic fittings—they crack easily under excessive pressure.
Fixing the Drip Pan and Defrost Heater
The drip pan collects defrost cycle water beneath your refrigerator, while the defrost heater melts accumulated frost. Damage to either component causes leaks that mimic other issues.
Replacing a Cracked Drip Pan
- Pull the refrigerator away from the wall and unplug it
- Remove the lower back panel to access the pan
- Slide out the old pan and clean the surrounding area
- Insert the new pan ensuring it’s level and properly positioned
- Reassemble components and test for leaks
Testing Defrost Heater Functionality
Use a multimeter to check heater continuity:
– Set to RX1 ohms setting
– Touch probes to heater terminals
– Reading near zero indicates proper function
– Infinite resistance means replacement is needed
When to Call a Professional Technician
Some fridge leaks require specialized tools and expertise beyond DIY repair. Contact a certified technician immediately if you encounter:
– Electrical components showing water damage
– Refrigerant leaks (oily residue with sweet odor)
– Compressor housing leaks
– Any issue requiring refrigerant system work
Cost Consideration: Professional service typically costs $150-$300, making it worthwhile for complex issues but potentially overkill for simple drain clogs.
Preventative Maintenance Schedule
Avoid future leaks with this simple monthly routine:
– Weekly: Clean door seals with vinegar solution
– Monthly: Flush defrost drain with baking soda solution
– Quarterly: Check water line connections for tightness
– Biannually: Vacuum condenser coils and inspect drip pan
Pro Tip: Keep a log of service dates—most manufacturers recommend professional maintenance every two years for optimal performance.
Final Leak Prevention Checklist
Before calling it a job, verify your repair success with these steps:
– Run the fridge for 24 hours with colored paper towels underneath
– Confirm no water appears near crisper drawers after defrost cycles
– Check door seals with the dollar bill test
– Ensure the drip pan isn’t overflowing during peak usage
A properly maintained refrigerator should never leak—addressing these common issues promptly keeps your appliance running efficiently while protecting your kitchen from water damage. By understanding where leaks originate and how to fix them, you’ve gained valuable skills that save money and extend your appliance’s lifespan. For persistent issues after completing these steps, consult your manufacturer’s warranty documentation before scheduling professional service.