How to Fill Freezer Bags with Soup
You’ve just finished making a big pot of homemade chicken noodle soup, and you’re ready to freeze portions for busy weeknights. But as you grab a freezer bag, you remember the last time—soup spilling everywhere as the flimsy plastic collapsed the moment hot liquid hit it. Filling freezer bags with soup shouldn’t be this messy or stressful. The struggle of trying to hold a floppy bag open with one hand while pouring with the other turns what should be simple food preservation into a kitchen disaster waiting to happen.
The good news is that with the right approach, filling freezer bags with soup becomes a quick, clean process that preserves your hard work without the frustration. Forget the days of sticky countertops and wasted soup—this guide reveals professional techniques that transform this chore into a seamless part of your meal prep routine. Whether you’re freezing a single serving of creamy tomato soup or batch-cooking broth for the freezer, these methods ensure your soup stays fresh and your kitchen stays clean.
By the end of this guide, you’ll know exactly how to fill freezer bags with soup efficiently, avoid common pitfalls that cause leaks, maximize your freezer space, and thaw your soup safely. Let’s turn your freezer into a well-organized treasure trove of ready-to-eat meals.
Gather Essential Tools First

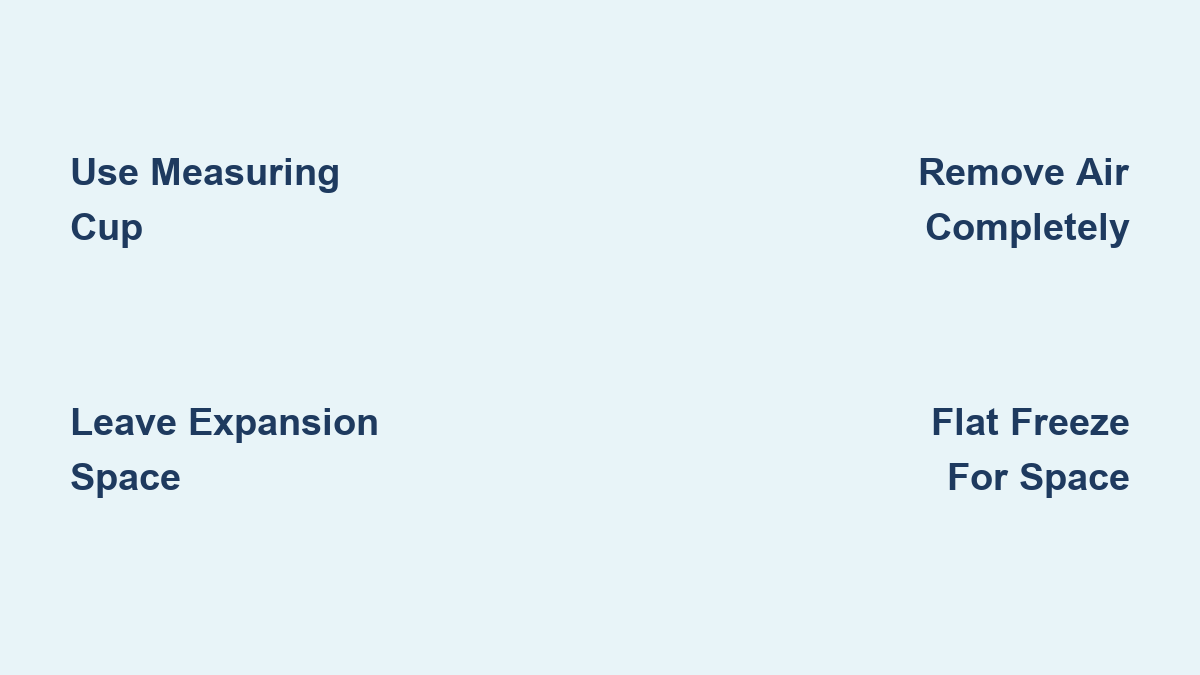
Before you start pouring soup into freezer bags, having the right equipment makes all the difference between success and soup-covered countertops. The most effective and accessible tool for filling freezer bags with soup is something you likely already own: a large measuring cup. A 4-cup or quart-sized fluid measuring cup works best because its tall, narrow profile provides stability while the built-in measurement lines help you track how much you’ve poured.
Measuring Cups as Reliable Bag Holders
To use this method, open your freezer bag and nestle it down inside the measuring cup, folding the edges of the bag over the rim to create a secure, hands-free container. This setup holds the bag open reliably while freeing up both hands for pouring. The measuring cup also catches any drips that occur during filling, keeping your workspace clean and preventing wasted soup. The stability it provides means you can pour without worrying about the bag tipping or collapsing mid-pour.
Canning Funnels for Spill-Free Pouring
A canning funnel is another valuable addition to your soup-freezing toolkit. The wide mouth fits securely into freezer bag openings, creating a smooth channel for pouring liquids without spills. If the funnel doesn’t stay put on its own, wrap a rubber band around the bag’s edges to hold it in place. This method gives you excellent control when pouring from heavy saucepans or working with large quantities of soup, reducing splashing and making the process more efficient.
Alternative Tools When You’re in a Pinch
If you don’t have a measuring cup or funnel available, a large ladle allows you to transfer soup in controlled batches. While this approach takes more time than a continuous pour, it gives you precise control over the amount going into each bag and minimizes the risk of overfilling. Simply ladle the soup gradually, letting each addition settle before adding more. This controlled approach prevents the bag from collapsing under the weight of liquid.
Choose Quality Freezer Bags
The type of bag you use matters more than you might think. Freezer bags are specifically designed with thicker, sturdier plastic than regular storage or sandwich bags, making them far more resistant to punctures, tears, and the expansion that occurs when liquids freeze. Always check that the box explicitly states “freezer” before purchasing—regular bags simply won’t provide the protection your soup needs.
Why Freezer Bags Outperform Regular Storage Bags
Investing in quality bags from trusted brands pays off in the long run. Cheaper alternatives might save you a few cents upfront, but they’re more likely to develop leaks or tears during freezing, thawing, or storage. A failed seal means lost soup and a messy freezer, so the small premium for reliable bags is well worth it. Ziploc freezer bags consistently receive recommendations from cooking experts for their consistent quality and availability.
Recommended Sizes for Different Soup Quantities
Size matters when selecting bags for your soup. Quart-sized bags hold approximately 2-3 cups of liquid, making them perfect for individual servings or small families. Gallon-sized bags accommodate about 3 quarts (12 cups), which works better for bulk freezing or larger quantities. Consider your typical serving needs when choosing sizes—freezing soup in portions that match how you’ll use it eliminates waste and makes meal preparation easier.
Master the Filling Technique
Proper preparation before pouring sets you up for success. Ensure your freezer bag is completely clean and dry inside—any residue can compromise the seal later. Fold the top of the open bag down like a cuff, which creates a stiffer rim that maintains its shape and makes pouring easier. Place the prepared bag in your measuring cup or other holder, draping the edges evenly over the rim for stability.
Preparing the Bag for Optimal Stability
With the bag secured, use your non-dominant hand to hold the bag open while your dominant hand handles the pouring vessel. If you’re using a funnel, position it securely in the bag opening before beginning to pour. Pour slowly and steadily, watching the level rise in the bag. Without a funnel, transfer the soup in small batches, allowing each addition to settle before adding more. This controlled approach prevents overfilling and gives you time to adjust if spills occur.
Critical Fill Level Guidelines for Leak Prevention
The most critical rule for filling freezer bags with soup is leaving adequate room for expansion. Liquids expand as they freeze, and an overfilled bag risks bursting or developing leaks. For quart-sized bags, fill with only 2-3 cups of soup, leaving the top quarter or more empty. For gallon-sized bags, fill to approximately three quarts (12 cups). As a general guideline, fill any freezer bag only about three-quarters full to accommodate expansion and provide a secure sealing area.
Seal Bags Without Leaks
:max_bytes(150000):strip_icc()/__opt__aboutcom__coeus__resources__content_migration__serious_eats__seriouseats.com__images__2016__08__20160801-water-displacement-method-01-491c9ca4dfe84e3f9318a857bc00329b.jpg)
After filling, removing air and creating a proper seal protects your soup during freezing and storage. Start by pressing out as much air as possible before sealing. Begin at the top of the bag and work your way down, squeezing gently but firmly to expel air pockets. For more thorough air removal, try the straw method: partially seal the bag, insert a straw into the opening, suck out the air through the straw, quickly remove the straw, and complete the seal.
Effective Air Removal Methods
The water displacement method offers another effective approach. Partially seal the bag, then submerge the open end in a bowl of water—avoid using the soup itself. Water pressure pushes air out of the bag as it submerges. Remove the bag from the water and complete the sealing process. This method works well for bags that are difficult to squeeze or for ensuring a complete seal with irregular contents.
Foolproof Sealing Techniques
Before closing, verify that the sealing strip is completely clean and dry. Any food residue compromises the seal and increases leak risk. Close the seal by pressing along the entire length of the strip, checking for gaps or incomplete closures. For extra security, especially when freezing liquids, double-bagging provides added protection against leaks. Simply place the sealed freezer bag inside another freezer bag for redundant protection.
Flat Freeze for Maximum Space
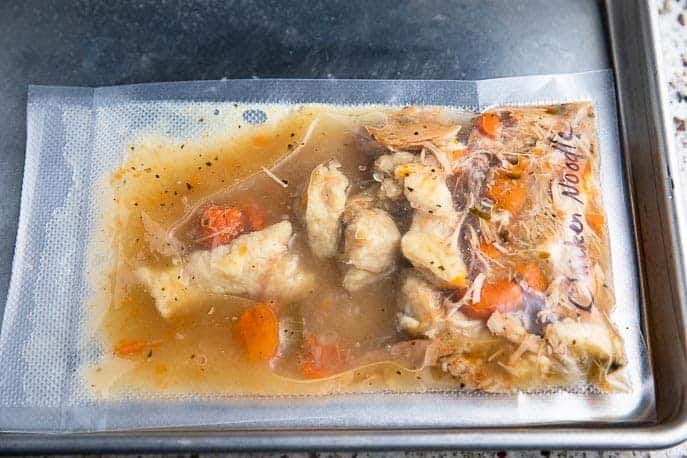
The flat freezing method offers significant advantages over other approaches and is widely recommended by cooking experts. After filling and sealing the bag, lay it flat on a baking sheet or cookie sheet, gently coaxing out any remaining air pockets to create an even layer. This position maximizes surface area, leading to faster and more even freezing. Flat frozen soups also thaw more quickly than those frozen in solid blocks or irregular shapes.
Why Flat Freezing Beats Other Methods
A jelly roll pan works particularly well for this process because its dimensions fit easily in most freezers while raised edges contain any potential leaks. Place the baking sheet on a flat surface in the freezer—the floor works well for maximum contact with the cold surface—and arrange filled bags in a single layer without overlapping. The baking sheet catches any leaks if a bag fails, making cleanup far easier than if soup spilled directly on the freezer floor.
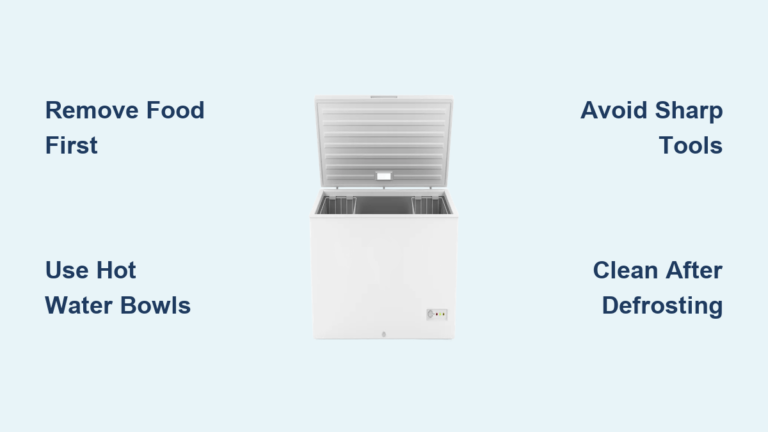
Thaw Soup Safely
For best results and food safety, thaw frozen soup in the refrigerator overnight or during the workday. Place the frozen bag inside another container—a Tupperware dish or large bowl—to contain the bag as it thaws. While freezer bags aren’t likely to leak, the thawing process causes food to lose its shape and the bag becomes soft and flexible, making containment important. The thin, flat shape ensures relatively quick thawing, typically 8-12 hours depending on thickness and your refrigerator’s temperature.
Microwave Thawing for Time-Crunched Cooks
When time is limited, the microwave provides a quick-thawing option. Place the sealed bag on a dinner plate to catch any drips and microwave in short bursts, checking and rotating between cycles. Once the soup is thawed enough to break into pieces or wiggle out of the bag, transfer the contents to a bowl or microwave-safe container to finish heating. This two-step process prevents hot spots and ensures even heating throughout.
Avoid Common Mistakes
Preventing problems is easier than fixing them. Leaks start with bag quality—invest in reputable freezer bags rather than choosing the cheapest option. Verify the sealing strip is completely clean and dry before closing, and press firmly along the entire seal to guarantee a tight closure. Double-bagging provides extra protection, particularly valuable for soups with pieces that might puncture the inner bag. Never overfill, as this puts pressure on the seal and increases leak likelihood.
Soup-Specific Freezing Considerations
Most soups freeze well, but some ingredients need special consideration. Cream-based soups may separate slightly upon thawing but typically reconstitute with stirring. Soups with potatoes may become slightly mealy but remain acceptable. Pasta and rice can become mushy—consider undercooking them slightly before freezing or adding fresh when reheating. Herbs and delicate vegetables are better added fresh when serving rather than frozen.
Troubleshooting Failed Freezes
If bags break or leak during freezing, the cause is almost always overfilling or inadequate sealing. Ensure sufficient room for expansion—typically 1-2 inches at the top—and check that seals are completely closed without food residue. Use stronger, thicker bags for soups with sharp bone pieces or vegetables that might puncture plastic. Uneven freezing occurs when bags aren’t laid flat or freezer temperature is inconsistent—always arrange bags in a single layer on a flat surface for initial freezing.
By following these techniques for how to fill freezer bags with soup, you’ll achieve leak-free storage, efficient use of freezer space, and delicious soup that tastes fresh when you’re ready to enjoy it. The initial investment in proper tools and methods pays off every time you reach into your freezer for a convenient, homemade meal. With these strategies mastered, you’ll wonder why you ever struggled with this simple kitchen task.