How to Defrost Insignia Freezer: Quick Steps
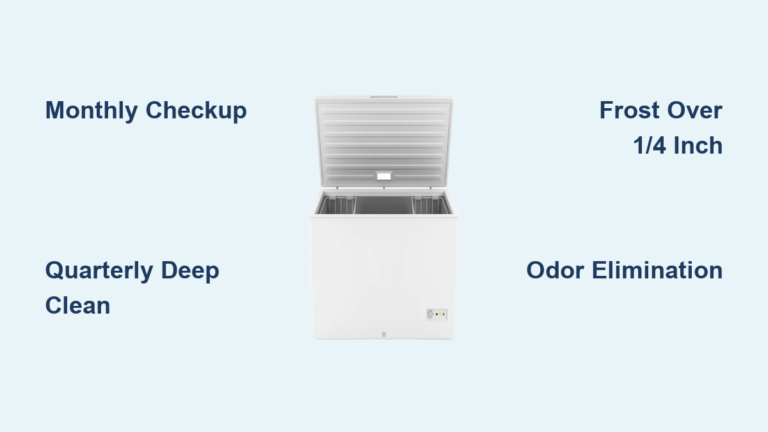
Nothing disrupts your kitchen routine like discovering thick frost coating your Insignia freezer’s interior walls. That icy buildup doesn’t just make accessing frozen goods difficult—it actively sabotages your appliance’s efficiency. When frost accumulates beyond the quarter-inch mark, your freezer works significantly harder while delivering less effective cooling. Knowing how to defrost Insignia freezer properly transforms this necessary chore into a straightforward maintenance task that extends your appliance’s lifespan and reduces energy consumption. Most users need to defrost when frost reaches 5-10mm thickness, though frequency varies based on humidity levels and how often you open the door. This comprehensive guide provides everything you need to safely and effectively eliminate frost buildup while protecting your frozen inventory and appliance components.
Recognize When Defrosting Is Needed
Timing your defrosting correctly prevents unnecessary work while addressing performance issues before they escalate. Your Insignia freezer requires defrosting when interior frost reaches 0.2 to 0.4 inches (5 to 10 mm). At this thickness, frost begins insulating the cooling system from the freezer compartment, forcing your compressor to run longer cycles while achieving less effective freezing. This hidden inefficiency translates to higher electricity bills and reduced food preservation quality over time.
Signs Your Freezer Needs Defrosting
Beyond measuring frost thickness, several practical indicators signal it’s time for defrosting. If you struggle to close the door properly because frost protrudes beyond the seal, this indicates significant buildup affecting performance. Listen for unusual compressor noises—when it runs constantly or makes louder-than-normal sounds, this often means it’s working overtime to compensate for frost insulation. Frost appearing on food packaging surfaces or items failing to stay properly frozen are direct signs that cooling efficiency has declined. You might also notice external condensation or ice forming outside the freezer, which points to internal frost causing operational strain.
Best Timing for Defrosting
Schedule defrosting when your frozen food inventory is naturally at its lowest point. This strategic timing minimizes the hassle of relocating items and reduces spoilage risk during the several hours required for complete defrosting. Most households benefit from defrosting every six to twelve months, though those in humid climates or with high freezer usage may need more frequent attention. Planning ahead ensures you won’t rush the process—never attempt to skip steps to save time, as this risks damaging your appliance or compromising food safety.
Gather Essential Supplies Before Starting
Collecting all necessary materials before beginning prevents mid-process interruptions and protects your kitchen from water damage. Proper preparation transforms what could be a messy chore into a controlled operation that safeguards your flooring and surrounding cabinetry.
Items You Will Need
You’ll require a shallow pan or container to catch defrost water beneath the drain outlet—this simple item prevents floor flooding as ice melts. Several absorbent towels handle moisture throughout the process, as you’ll need to mop up water regularly. Warm water (approximately 100-120°F) in a spray bottle accelerates defrosting if time is limited, though natural melting works effectively too. A small bucket serves as a backup for emptying the drain pan when it fills. Having your Insignia freezer manual nearby helps confirm model-specific details, though the general process applies across most designs.
Remove and Protect Frozen Food Properly
Moving frozen items to appropriate temporary storage prevents spoilage and maintains food safety during the defrosting cycle. This critical step requires careful planning since the process typically takes several hours depending on frost thickness.
Proper Food Storage During Defrosting
Transfer all frozen food to your refrigerator, which maintains temperatures above freezing but preserves cold enough to keep items safe for several hours. Alternatively, use a well-insulated cooler with sufficient ice packs to maintain frozen temperatures throughout the defrosting period. Group items together in the refrigerator or cooler to help them retain cold longer—this thermal mass effect extends preservation time. Prioritize moving temperature-sensitive items like ice cream first, as they’ll soften quickly if not properly protected. Never leave food at room temperature during defrosting, as this creates food safety hazards and potential waste.
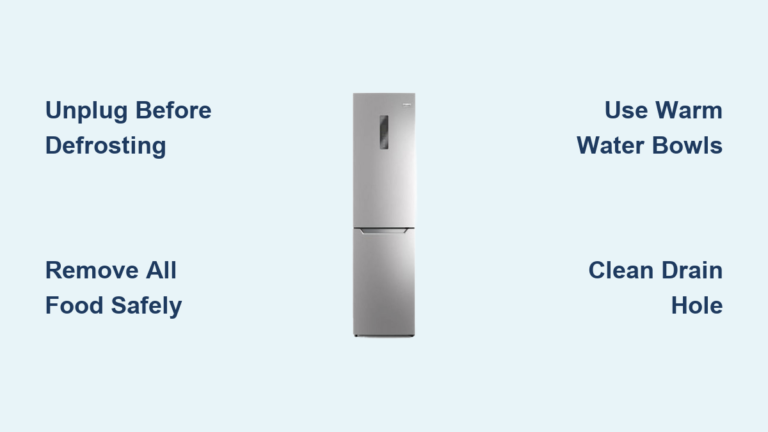
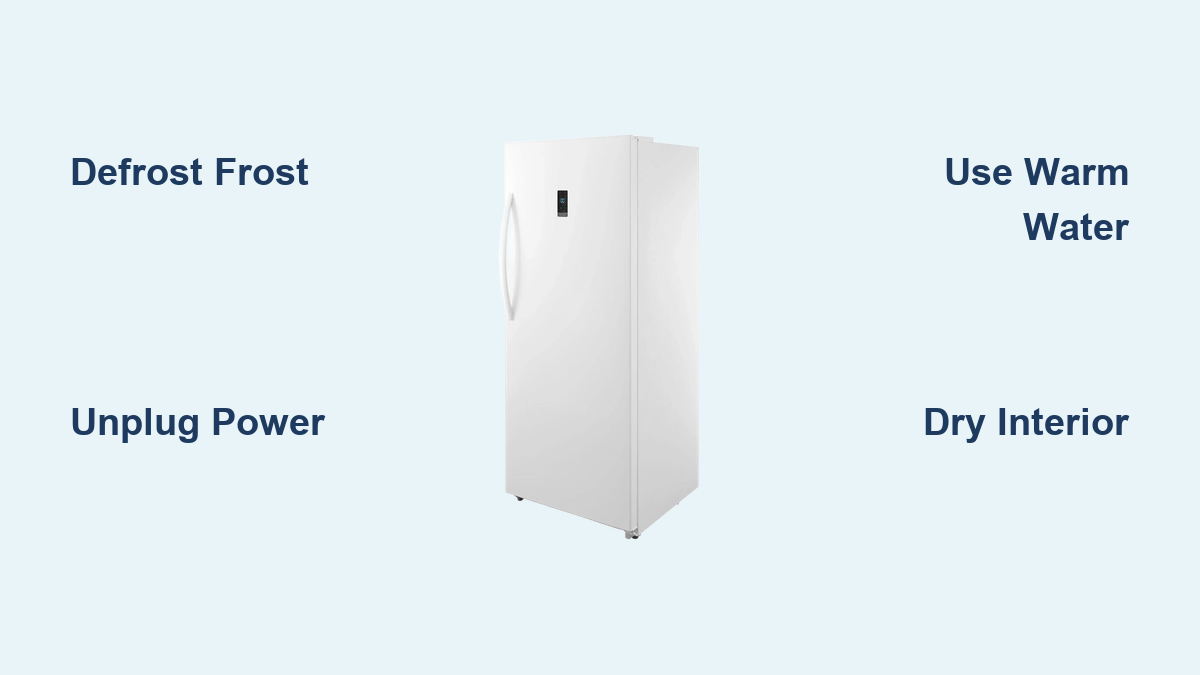
Disconnect Power Safely Before Defrosting
Electrical safety must be your top priority before introducing water into any appliance. Following the correct power-down sequence protects you from shock hazards while preparing your freezer for maintenance.
Complete Power Termination

Turn the thermostat knob to the OFF position, then unplug the freezer from the wall outlet—this two-step process ensures complete electrical isolation. Simply turning the temperature control to OFF stops the cooling cycle on most models, but residual power may remain in control circuits. Unplugging eliminates any risk of electrical shock while you work with water inside the compartment. Never attempt defrosting while the freezer remains connected to power—water and electricity create dangerous hazards that could damage your appliance or cause personal injury.
Why the 3-5 Minute Restart Rule Matters
After disconnecting power, you must wait three to five minutes before restarting your Insignia freezer. This delay allows refrigerant pressure throughout the sealed system to equalize naturally. If you restart too soon, the compressor attempts to start against unbalanced pressure, which can cause mechanical damage and lead to premature failure. This protection applies whether you deliberately unplugged the freezer, experienced a power outage, or turned the unit off for any reason. Patience here prevents costly repairs and extends your appliance’s operational life.
Set Up Drainage System to Prevent Messes

Melting ice creates significant water volume that must be captured properly to avoid creating slip hazards and damaging surrounding surfaces.
Locate and Prepare the Drain
Find the drain plug inside your Insignia freezer—typically positioned on the interior floor near the front (check your manual for model-specific location). Remove this plug carefully and set it aside in a safe place where it won’t get lost. Position your shallow pan directly beneath the drain outlet to catch all melting water. The pan must be large enough to hold several cups of liquid, as thick frost accumulations produce surprising amounts of runoff. Place towels around the pan base as an extra precaution against overflow—this simple step prevents water from spreading across your kitchen floor.
Monitor Throughout the Process
Check the drainage pan every 30-60 minutes throughout defrosting, as water flow rate depends on ice thickness and room temperature. If the pan approaches full, empty it into a sink and return it promptly to continue catching water. Replace saturated towels around the drainage area with dry ones to maintain good water management. Staying attentive prevents messy overflows that create slip hazards and damage surrounding flooring—this monitoring takes minimal effort but avoids significant cleanup later.
Speed Up Ice Melting Without Damaging Your Freezer
While natural defrosting works well with patience, you can safely accelerate the process when time constraints exist—without risking damage to your appliance.
Warm Water Method for Faster Results
Use warm water—comfortable to the touch at approximately 100-120°F—to speed ice release without component damage. Soak cloths in warm water and apply them to frost-covered surfaces, or carefully place shallow containers of warm water inside the freezer. This method significantly reduces defrosting time compared to relying solely on room-temperature air. Never use boiling water, as extreme temperatures can damage plastic components, warp door seals, or cause stress fractures in the cabinet material. The warmth should be pleasant to hold, not scalding—think “warm bath” temperature.
What to Avoid When Accelerating Defrosting
Never use sharp or metallic instruments to chip away ice, regardless of how tempting it may be to speed the process. Scraping with knives, screwdrivers, ice picks, or metal spatulas risks puncturing hidden refrigerant lines, damaging thermal insulation, or scratching interior surfaces. More critically, you could pierce the evaporator coils hidden behind interior panels. Such damage voids your warranty, potentially releases refrigerant into the environment, and requires expensive professional repair. Patience with warm water and cloths achieves the same result safely—your freezer’s longevity depends on this careful approach.
Clean and Restart Your Freezer Correctly
Once all ice has melted and water drainage is complete, proper finishing ensures your freezer operates optimally and prevents immediate frost reformation.
Dry the Interior Completely
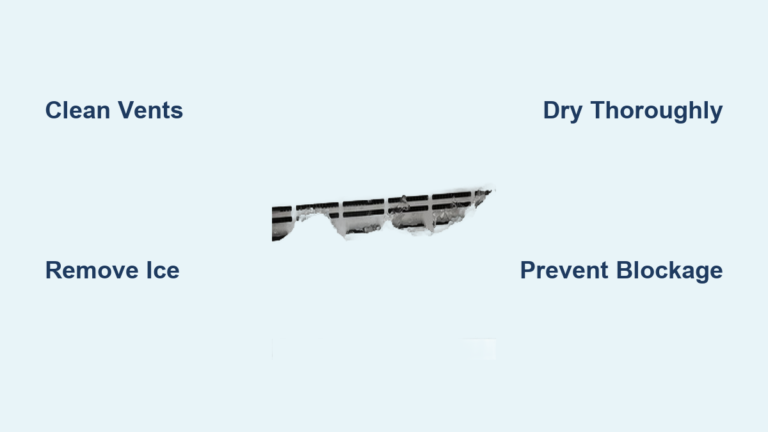
Before replacing the drain plug, verify that all ice has completely melted and all moisture has been removed from interior surfaces. Wipe down walls, floor, and shelves thoroughly with dry towels to eliminate any remaining water. Pay special attention to corners and crevices where water might pool unseen. The interior must be fully dry to prevent immediate new frost formation when you restart the unit. Any remaining moisture will freeze quickly, starting the buildup cycle over again—this final drying step is crucial for long-term efficiency.
Secure Drain Plug and Restart
Replace the drain plug firmly, ensuring it creates a proper seal to prevent future leaks. Plug the freezer back into the electrical outlet and wait the required three to five minutes before turning the thermostat back on. This delay protects the compressor as explained earlier. When you restart, set the thermostat to your normal operating position, but remember that temperature adjustment should be gradual—make one increment change, then wait several hours for the internal temperature to stabilize before assessing whether further adjustment is needed.
Avoid Costly Mistakes That Damage Your Warranty

Understanding what not to do protects your freezer from damage and preserves your warranty coverage—preventing expensive repair bills down the line.
Tools and Methods That Damage Your Freezer
Sharp objects of any kind—metal spatulas, knives, ice picks, or screwdrivers—should never contact frost inside your freezer. These tools may seem effective for prying loose ice, but they pose serious risks to internal components. Puncturing refrigerant lines requires expensive professional repair and may render the unit non-functional. Even superficial scratches to interior surfaces create areas where frost can accumulate more readily in future. Additionally, using boiling water instead of warm water risks warping plastic components and degrading door seals, which compromises the airtight closure your freezer needs to operate efficiently.
Warranty Protection Tips
Damage caused by improper defrosting methods typically voids manufacturer warranty coverage. Keep your warranty intact by using only approved techniques: plastic or wooden implements for any ice removal, warm (not hot) water for acceleration, and patient natural melting when time permits. Document your maintenance activities in case warranty claims arise later. Most Insignia freezers carry limited warranties that exclude damage from misuse or improper maintenance—following these guidelines protects your investment.
Maintain Peak Freezer Efficiency Through Regular Care
Incorporating proper defrosting into your maintenance routine keeps your Insignia freezer running optimally and reduces energy costs over the appliance’s lifespan.
Prevention Through Proper Usage
Minimize frost buildup by ensuring the door closes completely and seals properly each time you use the freezer. Check door gaskets monthly for cracks, warping, or debris that might prevent a tight seal. Avoid leaving the door open longer than necessary—each minute with the door open adds significant moisture that eventually becomes frost. Never place warm food directly in the freezer without allowing it to cool first; large quantities of room-temperature food added simultaneously lower cooling efficiency and extend stabilization time. When loading significant new amounts of frozen items, expect temporary decreased performance until the freezer recovers.
Defrosting Schedule Recommendations
Mark your calendar to check frost thickness every three months. Depending on your climate and usage frequency, defrosting every six to twelve months typically maintains optimal efficiency. Households in humid environments or those with high freezer usage may benefit from more frequent checks and potential defrosting. Regular maintenance before frost exceeds the 5-10mm threshold prevents the insulation effect that forces your compressor into inefficient operation. This simple habit reduces energy consumption by up to 30%, extends appliance lifespan, and maintains consistent freezing performance for all your stored items—turning what seems like a chore into a valuable investment in your kitchen’s functionality.