How to Defrost Frigidaire Freezer: Quick Steps
That thick layer of ice taking over your Frigidaire freezer isn’t just an eyesore—it’s costing you money and space. When frost accumulates beyond a quarter-inch, your appliance works harder, energy bills climb, and food safety becomes compromised. Learning how to defrost a Frigidaire freezer properly is essential maintenance that restores efficiency and extends your appliance’s lifespan. Whether you’re battling minor frost or a complete ice fortress, this guide provides everything you need to safely and effectively tackle the problem in under four hours with basic household items.
Most Frigidaire freezers require defrosting when ice buildup exceeds that critical quarter-inch threshold. This typically happens due to door seal issues, excessive door openings, or high humidity levels in your kitchen. Left unaddressed, heavy frost can reduce cooling efficiency by up to 30%, forcing your compressor to run constantly. The good news is that defrosting your Frigidaire freezer is straightforward if you know the right techniques—no special tools required, just patience and these proven methods.
Spot Frost Buildup Before It Becomes a Problem

Catching frost accumulation early prevents the need for lengthy, messy defrosting sessions. Several unmistakable signs indicate your Frigidaire freezer needs immediate attention.
Thick ice coating interior walls and shelves is the most obvious indicator. When you can no longer see the freezer’s original surface through the ice layer, defrosting is overdue. While a light dusting of frost under 1/4 inch is normal operation, anything thicker significantly impacts performance. If your frozen items are completely encased in ice or difficult to remove from shelves, the situation has progressed too far.
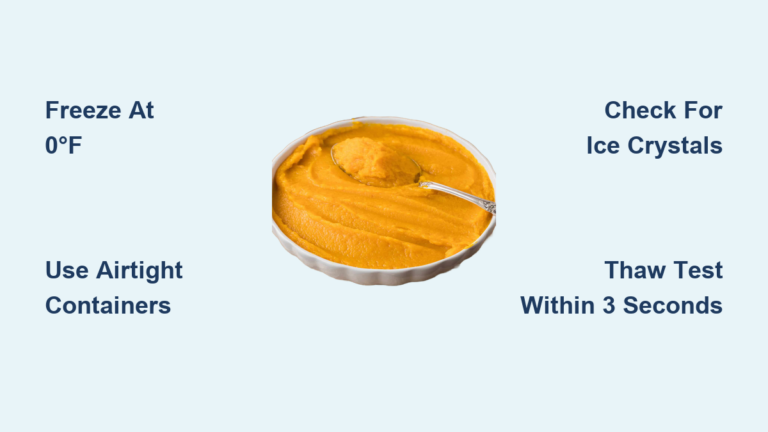
Food packages with excessive ice crystals signal moisture infiltration. These crystals form when humid air enters the freezer and condenses on cold surfaces. Even properly wrapped items develop frost pockets when the door seal fails or the freezer is opened too frequently. Foods that appear freezer-burned despite recent storage often indicate serious frost problems.
Door seal failure is a common culprit behind excessive frost. Test your gasket’s integrity by closing a dollar bill in the door seam—if you can pull it out easily without resistance, the seal needs replacement. Inspect the rubber gasket for cracks, tears, or stiffness that prevents proper closure. A compromised seal allows warm, moist air to enter every time the door opens, accelerating frost formation.
Unusual compressor behavior provides mechanical clues. If your freezer runs continuously without cycling off, or makes strained humming sounds, ice buildup is likely insulating the evaporator coils. Your freezer should operate in regular cycles—constant running indicates it’s struggling against frost obstruction.
Assemble These Defrosting Essentials Before You Begin

Gathering the right supplies beforehand prevents interruptions and protects your home during the messy defrosting process. Having everything ready saves time and minimizes water damage risks.
Absorbent materials form your first line of defense against flooding. Collect 6-8 large bath towels to place around the freezer base and on the floor. Position shallow pans or baking sheets at the lowest points to catch melting water. For models with drain plugs (typically located at the bottom front), place a container underneath to collect runoff—this can save you hours of mopping.
Safe ice removal tools prevent accidental damage to your appliance. A plastic spatula or wooden spoon gently pries loose ice without risking punctures to refrigerant lines. Never use metal knives, screwdrivers, or other sharp implements that could cause catastrophic damage. A hair dryer on low setting accelerates melting when used carefully from at least 6 inches away.
Food protection supplies keep your frozen items safe during the process. Prepare coolers with ice packs or dry ice for temporary food storage. Group similar items together to maximize cold retention—they’ll stay frozen longer when packed tightly. A thermometer helps monitor food temperatures to ensure they remain below the 40°F safety threshold.
Execute These Defrosting Steps Without Damage
Following the proper sequence protects your appliance while efficiently removing ice buildup. Skipping preparation steps risks electrical hazards, water damage, or permanent appliance damage.
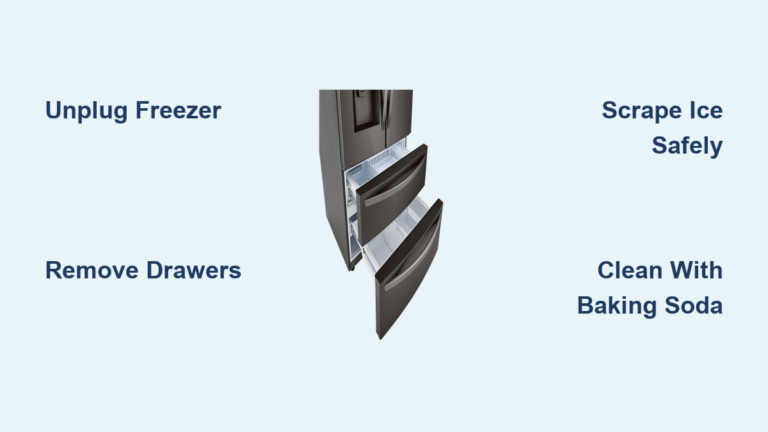
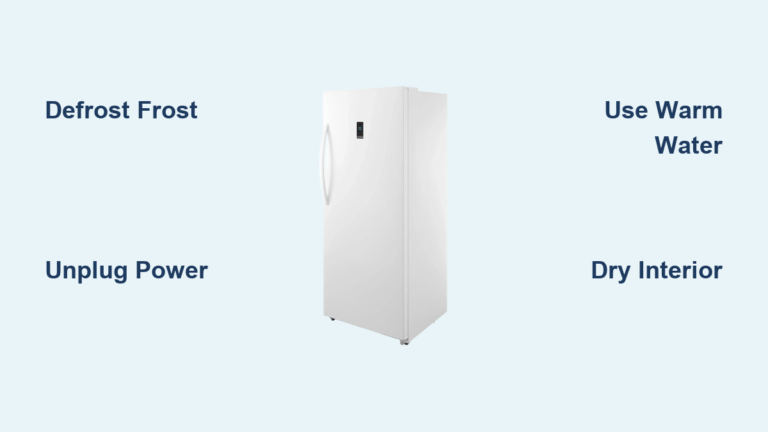
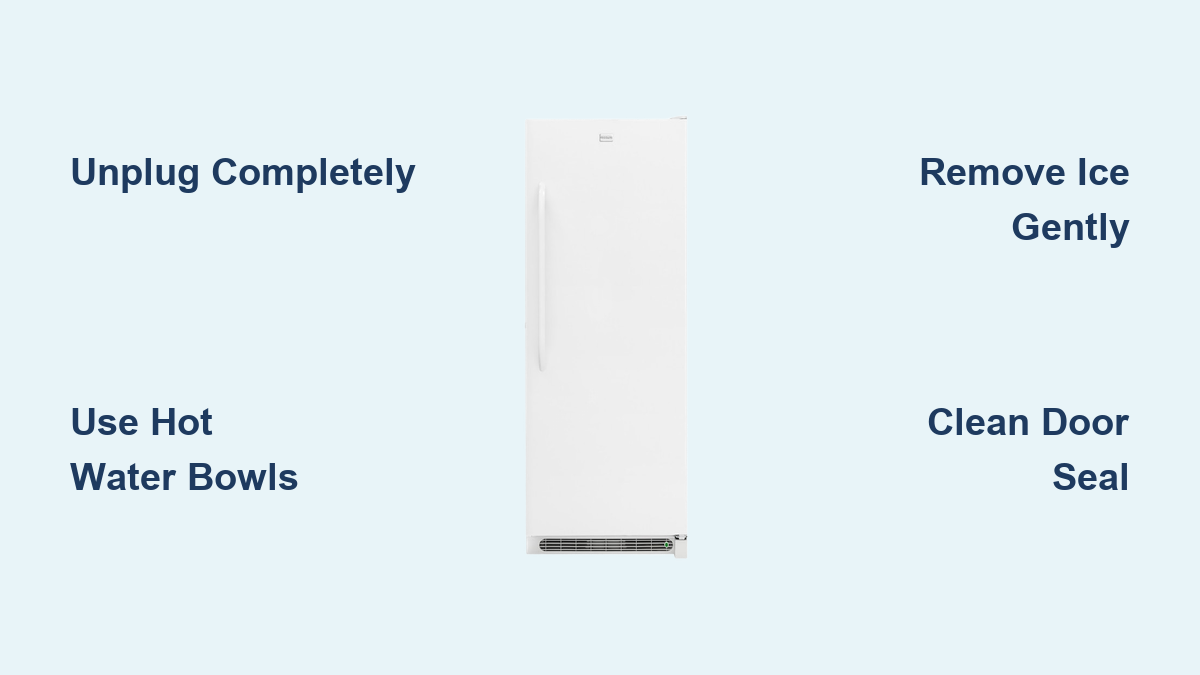
Unplug completely before starting—this critical safety step prevents electrical shock and allows ice to melt naturally. For built-in models, switch off the dedicated circuit breaker. Never attempt to defrost while the unit remains powered. Remove all food items and store them in coolers with ice packs. Empty removable shelves and drawers for separate cleaning.
Accelerate melting with these proven techniques: Place bowls of hot (not boiling) water inside the freezer with the door closed. The steam created naturally loosens ice from walls and shelves. Replace the water every 15-20 minutes as it cools. For stubborn areas, direct a hair dryer on low setting at ice edges from a safe distance, then use a plastic tool to gently remove loosened sections. Never force ice that hasn’t naturally separated from surfaces.
Monitor melting progress every 30 minutes. As ice releases, immediately remove large chunks to prevent them from blocking drainage paths. Keep towels nearby to absorb water and prevent floor damage. For freezers with drain plugs, periodically check that water is flowing freely to your collection container. If water pools inside the compartment, use a sponge to transfer it to your drainage system.
Clean Thoroughly to Prevent Future Frost

Proper cleaning after defrosting extends the time until your next maintenance session and eliminates odors from trapped moisture. Rushing this step wastes your defrosting effort.
Use a baking soda solution (2 tablespoons per quart of warm water) to wipe all interior surfaces. This gentle cleaner removes residue without harsh chemicals that could contaminate food. Pay special attention to door seals, corners, and the drain area where debris accumulates. For stubborn spots, let the solution sit for 5 minutes before wiping.
Clean all removable components separately in warm soapy water. Inspect shelves and drawers for cracks that could harbor moisture. Dry everything completely before reinstalling—any remaining moisture contributes to faster frost reformation.
Inspect and clean door seals meticulously. Remove debris from the seal groove using a soft brush. Check for flexibility and proper closure—seals should create immediate resistance when closing the door. Replace cracked or hardened gaskets promptly to prevent recurring frost issues.
Restore Functionality and Prevent Recurrence
The final steps ensure your Frigidaire freezer returns to optimal performance and stays frost-free longer. Proper restart procedures protect your appliance and food safety.
Allow 30 minutes of stabilization time before restocking. Plug in your freezer and let it run empty until it reaches 0°F. Use an appliance thermometer to verify temperature—most Frigidaire models achieve freezing temperatures within 4-6 hours. Avoid overloading with warm food immediately after defrosting.
Implement these frost prevention strategies to extend time between defrosting sessions:
– Perform the dollar bill test monthly to check seal integrity
– Minimize door opening frequency and duration during regular use
– Allow hot foods to cool completely before freezing
– Keep freezer at least 70% full to maintain stable temperatures
– Store items in airtight containers to reduce moisture release
Address recurring frost issues promptly. If your freezer requires defrosting more than twice yearly despite proper use, investigate potential problems with the defrost timer, thermostat, or heater assembly. Persistent water pooling indicates a clogged drain that requires clearing with a pipe cleaner or turkey baster.
Regular defrosting maintains your Frigidaire freezer’s efficiency and prevents costly repairs down the line. By following these steps and implementing smart usage habits, you’ll keep your appliance running smoothly for years while maximizing storage space and minimizing energy waste. Remember that consistent maintenance takes far less time than dealing with a completely frozen-over unit—schedule defrosting sessions before frost exceeds that critical quarter-inch threshold for easiest removal. Your wallet and your frozen pizza supply will thank you.