How to Convert Freezer to Ice Bath
Transforming an outdated or budget-friendly freezer into a dedicated ice bath is one of the smartest investments you can make for consistent cold therapy. Instead of spending $3,000-$7,000 on commercial cold plunge tanks, you can repurpose a standard chest freezer into a reliable cold therapy system that maintains precise temperatures for extended recovery sessions. This conversion delivers professional-grade cold exposure at a fraction of the cost, with the added benefit of complete customization to match your specific needs and space constraints.
The growing popularity of cold therapy among athletes, biohackers, and wellness enthusiasts has created demand for affordable solutions that don’t sacrifice performance. A properly converted freezer ice bath maintains temperatures between 50°F and 60°F consistently—unlike traditional ice baths that warm significantly during use—providing sustained therapeutic benefits throughout your entire session. Whether you’re recovering from intense training, managing inflammation, or seeking mental clarity through cold exposure, this DIY project puts effective cold therapy within reach of any budget.
Why Your Standard Ice Bath Falls Short
Traditional ice baths warm rapidly during use, compromising therapeutic effectiveness within minutes of your first immersion. While you might start at 50°F, water temperature can climb to 65°F or higher as ice melts, reducing the physiological benefits of consistent cold exposure. A converted freezer solves this fundamental problem by providing active cooling that maintains your target temperature for hours, regardless of how frequently you use it or how long you soak.
Commercial cold plunge systems deliver this temperature stability but at a steep price point starting around $3,000. In contrast, a basic chest freezer conversion costs $150-$450 total—including the freezer itself—making professional-grade cold therapy accessible to virtually anyone. Beyond the immediate cost savings, your converted system offers customization options commercial units can’t match: choose your exact capacity based on space availability, select premium temperature controllers, and modify your setup as your cold therapy practice evolves.
Essential Components for Reliable Conversion

Temperature Controller: The Brain of Your System
Your temperature controller determines whether your ice bath delivers consistent results or constant frustration. Digital controllers with probe sensors allow precise temperature maintenance between 30°F and 70°F—critical for effective cold therapy. The Inkbird ITC-308 stands out as the most reliable option for DIY conversions, featuring dual temperature probes, adjustable differential settings, and automatic restart after power outages. Budget alternatives like the AUKE 12V Temperature Controller work adequately for basic setups but lack the precision and durability of premium models.
Waterproof Temperature Probe: Accuracy Matters
Standard thermometers fail quickly in constant water immersion, leading to inaccurate readings and temperature instability. Invest in a waterproof probe specifically designed for continuous submersion, ideally paired with a stainless steel thermowell that protects the sensor while ensuring accurate water temperature monitoring. Position your probe near the bottom of the freezer where water naturally pools, but avoid direct contact with the freezer walls which may register artificially low temperatures.
Relay System: The Critical Connection
Your relay connects the temperature controller to the freezer’s compressor, acting as the electrical switch that turns cooling on and off based on temperature readings. A solid-state relay (SSR) delivers silent, reliable operation with no moving parts to wear out, though a high-quality mechanical relay works acceptably for most conversions. Ensure your relay handles at least 30 amps to accommodate the freezer’s startup current, which typically exceeds its running current by 20-30%.
Prepare Your Freezer for Conversion
Thorough preparation prevents costly mistakes and ensures long-term reliability. Begin by deep cleaning your freezer with a baking soda solution (2 tablespoons per quart of water), scrubbing all interior surfaces including door seals and corners. Rinse thoroughly and allow complete drying to eliminate any residual odors that could transfer to your water.
Test your door seals using the paper test: close the door on a sheet of paper and attempt to pull it out. If it slides out easily, replace the gasket before proceeding—compromised seals waste energy and prevent temperature stability. Remove all interior shelves, baskets, and dividers that would obstruct water flow or create cleaning challenges during maintenance.
Inspect the exterior for rust spots, particularly around the base and door hinges. Sand affected areas, apply rust-inhibiting primer, and finish with exterior paint to prevent moisture damage during long-term use. Check the power cord for cracks or damage near the plug and where it enters the freezer body—any issues require professional repair before continuing.
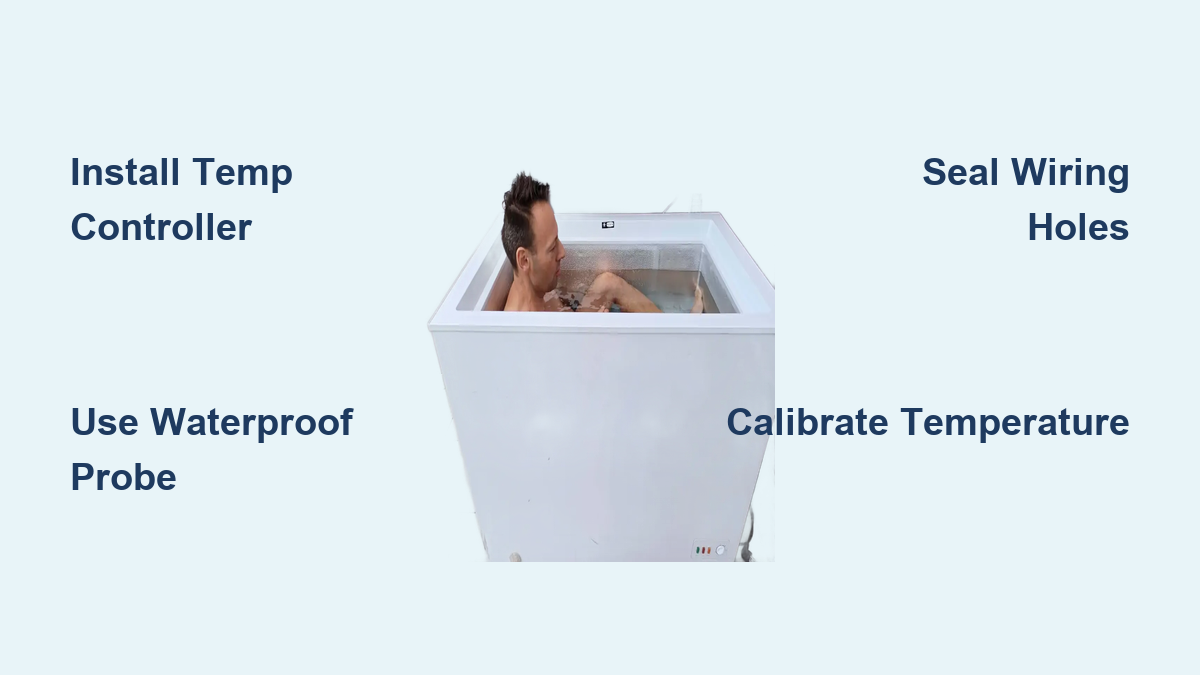
Install Temperature Control System Correctly
Position your temperature controller externally where it remains accessible but protected from water spray, typically on the side or top of the freezer. Create a mounting panel from plywood or plastic board to provide stable attachment and organized wire routing.
Drill a 3/8-inch hole near the bottom of the freezer for your temperature probe cable, applying waterproof silicone sealant inside and outside the hole before feeding the cable through. This moisture barrier prevents water intrusion that could damage electrical components or create safety hazards.
Route control wires toward the compressor compartment using rubber grommets in all drilled holes to protect wires from sharp metal edges. Secure cables with cable ties to prevent movement that could eventually cause connection failures. Connect the controller to your relay according to the manufacturer’s wiring diagram, double-checking all connections before applying power.
Mount your thermowell inside the freezer near the top edge where it remains visible and accessible, ensuring it extends into the water space for accurate temperature monitoring. Insert your temperature probe into the thermowell, verifying good contact with the well’s interior surface for precise readings.
Initial Water Fill and Temperature Calibration
Fill your converted freezer with 12-24 inches of water depending on your height and desired submersion level. Use filtered or distilled water if your tap water has high mineral content to reduce scaling on the temperature probe and interior surfaces.
Add 20-40 pounds of ice to accelerate initial cooling and test system performance under load. Set your temperature controller to your target range (50°F-60°F for most therapeutic applications) with a 2°F-5°F differential setting. Monitor system performance during the first 24 hours, noting compressor run times and temperature stability as the water reaches equilibrium.
Calibrate your temperature controller against a reliable reference thermometer by submerging both probes in ice water. Compare readings after several minutes of stabilization and adjust your controller’s calibration setting if necessary—this critical step ensures displayed temperatures match actual water conditions.
Safety Protocols for Responsible Use
Never use your ice bath alone—always have someone nearby who can assist if you experience cold shock or difficulty exiting. Limit initial sessions to 1-3 minutes, gradually increasing duration as your body adapts to cold exposure. Individuals with cardiovascular conditions, hypertension, or certain neurological disorders should consult physicians before beginning cold therapy.
Ensure all electrical components remain sealed from moisture and install your system on a GFCI-protected circuit to prevent electrocution risks. Keep the area secured when not in use, especially if children or pets are present—cold water immersion affects small bodies more rapidly and severely than adults.
Troubleshooting Temperature Instability

If your ice bath runs warmer than your set point, first check seal integrity using the paper test described earlier. Next, inspect your temperature probe for mineral deposits that might insulate the sensor—clean with vinegar if necessary. Verify that your relay engages properly and the compressor runs when called for, as relay failure prevents cooling despite correct temperature readings.
Excessive compressor cycling typically indicates a differential setting that’s too narrow—increase to 4°F-5°F to reduce wear while maintaining therapeutic temperature control. Unusual noises from the compressor or relay warrant immediate investigation, as they often precede complete component failure.
Water quality issues like cloudiness or odor indicate insufficient water changes—increase frequency and clean the interior thoroughly during each change. Adding small amounts of hydrogen peroxide between changes can help maintain clarity without harsh chemicals.
Maintenance Schedule for Longevity

Replace water weekly or biweekly depending on usage intensity, cleaning the interior with baking soda solution during each change. Pay special attention to the thermowell and probe area where mineral deposits accumulate most rapidly. Inspect door seals monthly for cracks or deformation, cleaning with mild soap and water to maintain flexibility.
Check electrical connections annually for tightness and signs of heat damage. Monitor temperature controller performance regularly, verifying displayed temperatures match actual conditions. Replace temperature probes at the first sign of reading inconsistencies—probes typically last 1-3 years depending on water chemistry and usage frequency.
Final Thoughts
Your converted freezer ice bath represents a powerful investment in recovery, performance, and overall wellness that pays dividends for years with minimal maintenance. The initial effort of conversion delivers consistent cold therapy that adapts to your evolving practice—unlike commercial units with fixed features and price tags that strain most budgets.
Start with conservative temperatures and brief exposure times, prioritizing safety over pushing limits. Maintain your system diligently with regular water changes and component inspections to ensure reliable performance. As you experience the transformative benefits of regular cold exposure—from reduced inflammation to improved mental resilience—you’ll appreciate the smart decision to build your own professional-grade ice bath rather than settling for temporary solutions or overspending on pre-built systems.
With your freezer conversion complete, you’ve joined a growing community of athletes and wellness enthusiasts who’ve discovered that effective cold therapy doesn’t require expensive equipment—just smart solutions that work with what you already have.