How to Clean Freezer Fan: Quick Steps
Your freezer relies on a small but critical component to keep your food frozen: the evaporator fan. This fan circulates cold air throughout the compartment, ensuring consistent temperatures from the top shelf to the bottom drawer. When dust, ice, or debris accumulates on the fan blades or motor, your freezer struggles to maintain the right temperature, your energy bills climb, and your food quality suffers. Learning how to clean freezer fan components is a straightforward maintenance task that takes under two hours and prevents costly repairs down the road.
Over time, the evaporator fan collects frost during normal defrost cycles, dust from the surrounding environment, and occasionally bits of packaging material or debris that make their way into the airflow. This buildup creates resistance for the fan motor, causes strange noises, and restricts air circulation. Regular cleaning—every six to twelve months—keeps your freezer running efficiently and extends the lifespan of the entire refrigeration system. In this guide, you’ll discover exactly how to clean freezer fan assemblies safely, what tools you need, and how to prevent future buildup so your freezer performs at its best.
Identify Freezer Fan Problems Before They Worsen

Recognizing early warning signs of fan issues saves you from food spoilage and expensive repairs. Performance symptoms often appear first. You might notice frost building up on walls or shelves—something that shouldn’t happen in a properly functioning freezer with automatic defrost. Temperature inconsistencies between different freezer areas indicate poor air circulation, with some sections staying too warm while others develop excessive ice. Your freezer may struggle to maintain its set temperature, causing ice cream to soften or frozen items to develop freezer burn. Watch for unexplained increases in energy bills, as a struggling fan forces the compressor to work harder.
Audio symptoms provide equally important clues. Grinding or rattling sounds typically mean debris has become caught in the fan blades. A loud humming suggests the motor is straining against resistance. Clicking sounds may indicate ice obstructing the blade movement or motor bearing failure. Complete silence when the freezer should be running points to potential fan failure that cleaning alone won’t fix.
Visual and olfactory signs complete the picture. If you can see dust or debris around the access panel, or if you notice a moldy or mildew smell when opening the freezer, buildup has likely reached problematic levels. Any of these indicators mean it’s time to learn how to clean freezer fan components before the problem worsens.
Prepare Safely Before Cleaning Your Freezer Fan
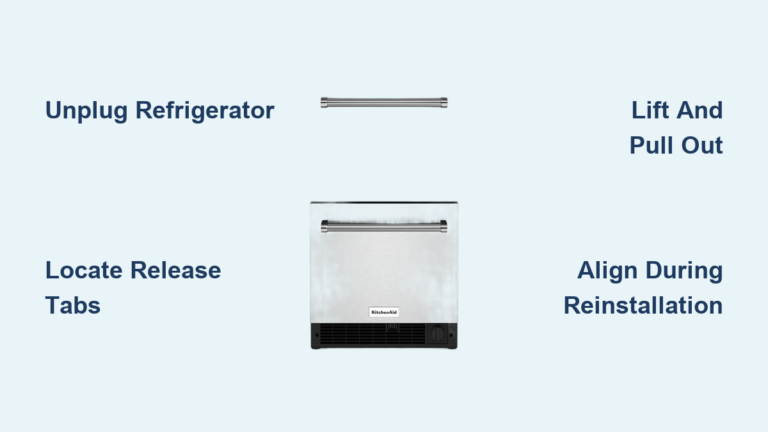
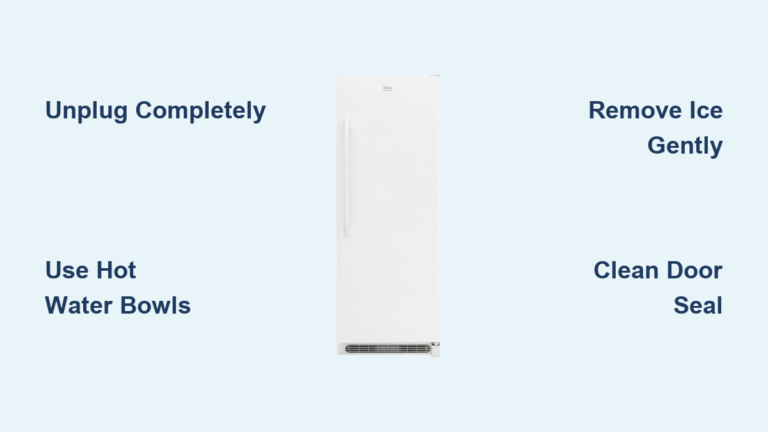
Working with appliance components requires proper safety measures. Electrical safety comes first—always unplug your refrigerator completely before accessing internal components. If your outlet is difficult to reach, turn off the dedicated circuit breaker instead. Wait at least ten to fifteen minutes after disconnecting power before starting; this brief wait allows any surface ice to soften slightly and makes removal easier.
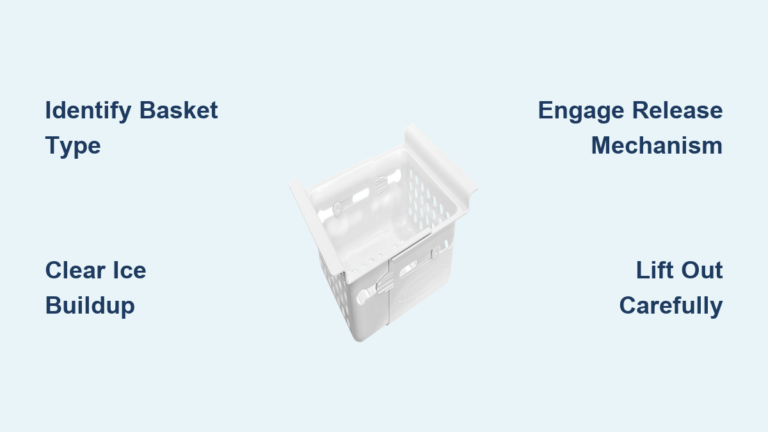
Prepare your workspace by removing all food items and placing them in coolers with ice packs. Transfer perishables to a neighbor’s freezer if available. Remove all shelves, drawers, and storage bins to create clear access to the fan assembly. Lay towels or newspapers around the base of the unit to catch water drips during the defrosting process. Have your cleaning supplies ready nearby so you can work efficiently with the freezer door open.
Personal protection matters—wear rubber gloves to protect your hands from cold surfaces and cleaning solutions. If you plan to use any spray cleaners, safety glasses offer eye protection. Plan for one to two hours for a complete cleaning session, and schedule this task when your food inventory is low to minimize disruption.
Gather Essential Tools for Freezer Fan Cleaning

Gathering the right tools before you start makes the process smoother and faster. For accessing and removing the fan cover, you’ll need a Phillips or hex head screwdriver (depending on your model) to remove the access panel screws. Keep these screws in a small container so they don’t get lost during cleaning.
Cleaning tools include:
– A soft-bristled brush—a new paint brush works perfectly—to dust fan blades and coils without damaging delicate components
– Microfiber cloths or lint-free towels to wipe surfaces clean without leaving residue
– A plastic or wooden spatula to scrape away loose ice without risking punctures to refrigerant lines
– A hair dryer on low setting to speed stubborn ice removal (keep it at least six inches from any surface)
For cleaning solutions, baking soda mixed with warm water (two tablespoons per quart) handles general cleaning and odor removal safely on all surfaces. White vinegar diluted equally with water disinfects and removes mineral deposits. Mild dish soap works for sticky residue but requires thorough rinsing. A turkey baster or wet/dry vacuum helps remove water from the defrost drain.
Locate Your Freezer’s Evaporator Fan Assembly
The evaporator fan sits behind an access panel in the freezer compartment, but its exact position varies by refrigerator design. Understanding your model’s configuration helps you find it quickly.
In top-freezer models, the access panel typically resides in the back wall of the freezer section, near the top. Side-by-side models usually place the fan behind a panel in the upper or lower back of the freezer section. French door refrigerators often locate the fan behind a panel in the bottom drawer or upper freezer compartment. Compact or freezer-only units may expose the fan without any panel removal at all.
Once you’ve located the panel, examine it for screws—usually one to four Phillips or hex head screws securing it in place. Remove these screws carefully and store them in a safe location. The panel may be frozen to the surrounding surface; if it resists removal, use a hair dryer on low setting to gently warm the edges until it releases. Pull the panel away slowly and set it aside with its hardware for reinstallation later.
Remove Ice Buildup Without Damaging Components
With the access panel removed, you’ll likely encounter ice on and around the fan assembly. This ice comes from normal defrost cycles that didn’t complete properly, often due to a clogged drain or malfunctioning defrost heater.
Start by removing any loose ice chunks with your plastic spatula. Work gently—never use metal tools that could puncture refrigerant lines or damage sensitive components. Place towels around the base to absorb meltwater as the ice softens.
For stubborn ice, accelerate the melting process safely. Set a fan to blow room-temperature air into the freezer compartment, or use your hair dryer on the lowest heat setting. Keep the dryer moving constantly and maintain at least six inches distance from ice surfaces. Never pour hot water directly on ice, as thermal shock can crack plastic components. Expect thirty to sixty minutes for complete defrosting depending on ice thickness.
Once the ice melts, remove all water with towels, a turkey baster, or a wet/dry vacuum. Ensure the area is completely dry before proceeding to cleaning—residual moisture will simply refreeze and create the same problem you’re trying to solve.
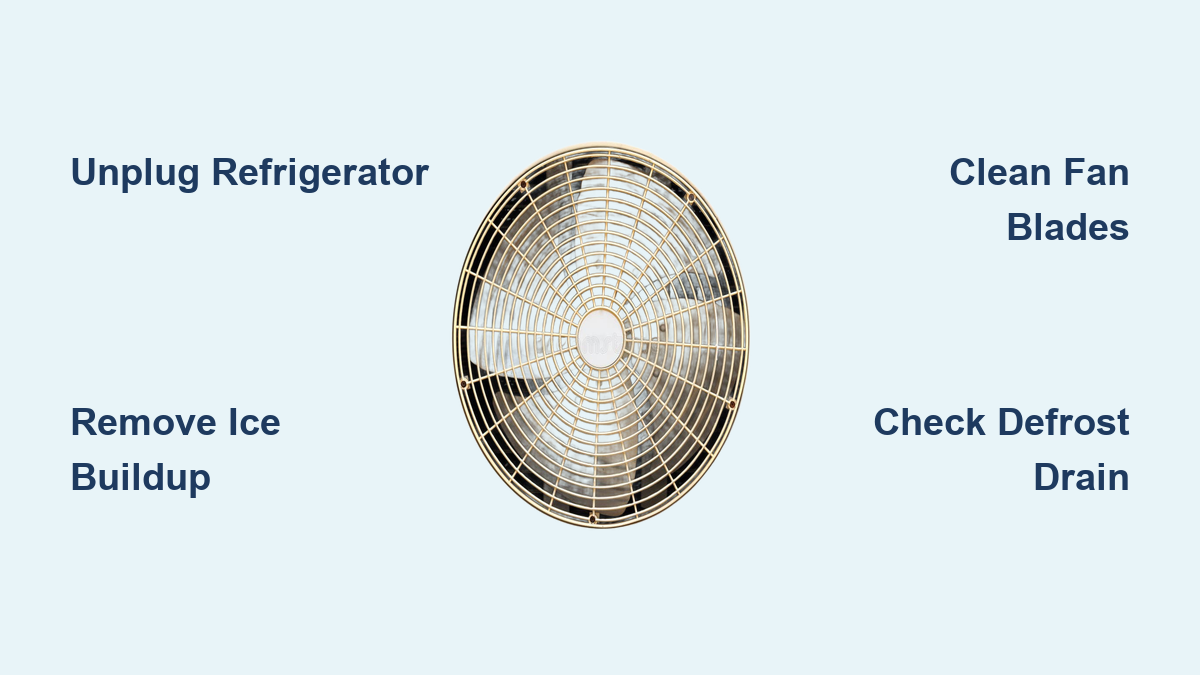
Clean Fan Blades and Motor Housing Properly
With ice removed, the fan assembly is exposed and ready for cleaning. Begin by inspecting the fan blades carefully. Look for damage, warping, or excessive wear that might indicate a failing motor. Dust the blades thoroughly with your soft-bristled brush, working from the center outward.
For sticky residue or stubborn grime, dampen a microfiber cloth with mild soapy water and wipe the blades gently. Ensure the blades are completely dry before reassembly by wiping with a dry cloth and allowing a few minutes of air drying. Test blade movement by spinning them by hand—they should rotate smoothly without any resistance or grinding sensation.
The motor housing requires careful attention as well. Wipe down the exterior surfaces with a dry or slightly damp cloth. Remove any visible dust or debris from motor surfaces, but never apply liquids directly to the motor itself. Check that ventilation slots on the motor are clear of obstruction. Examine the motor mountings for rust or corrosion, which may indicate a moisture problem requiring further investigation.
Maintain Coils and Airway for Optimal Performance
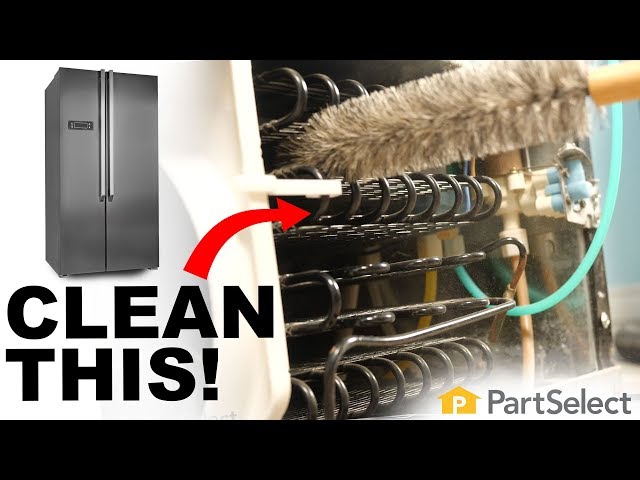
The evaporator coils work directly with the fan to cool your freezer. Located near the fan, these serpentine tubes with fins accumulate dust just like the condenser coils on the back of your refrigerator. Clean them gently to maintain efficiency.
Brush the coils with your soft-bristled brush, always working in the direction of the fins to avoid bending or damaging them. Vacuum coils carefully using a brush attachment to remove loosened dust. Never press hard on the coils or attempt to bend them back into shape if they’ve been damaged.
Air ducts and vents throughout the freezer compartment require attention as well. Locate all vents and ensure they’re free from blockages or obstructions. Remove vent covers and clean them with mild soap and water. Check that the door seals are clean and flexible, as damaged seals allow warm air to enter and create the exact conditions that lead to excessive frost buildup.
The defrost drain deserves special attention. This small hole in the bottom of the freezer allows meltwater to exit during defrost cycles. When it becomes clogged, water accumulates and freezes, eventually affecting the fan. Clear any ice or debris from the drain opening, then use a turkey baster with warm water to flush the drain line. If the drain remains clogged, a thin flexible wire can clear the blockage. Pour a mixture of baking soda and warm water down the drain to deodorize and ensure clear flow.
Prevent Future Freezer Fan Problems
Regular maintenance prevents the problems you just addressed from returning. Develop a cleaning schedule that fits your household needs—every six to twelve months works for most homes, but every three months if you have pets, live in a dusty environment, or frequently open the freezer door.
Keep the freezer at least seventy percent full for optimal efficiency, as the thermal mass of frozen items helps maintain temperature. Avoid leaving the door open longer than necessary, and ensure it closes completely each time. Allow hot foods to cool before placing them in the freezer.
Check door seals monthly using the dollar bill test—close a dollar bill in the door and try to pull it out. If it slides out easily, your seal needs attention. Clean seals regularly and replace them if damaged. Keep the area around your refrigerator clear, maintaining one to two inches of clearance for proper ventilation.
Monitor the drain system periodically by checking that water flows freely during defrost cycles. A small amount of baking soda in the drain monthly prevents odor buildup and keeps the line clear. By following these preventive measures, you’ll extend the time between cleanings and keep your freezer running at peak efficiency.
Troubleshoot Common Post-Cleaning Issues
After cleaning and reassembly, your freezer should return to normal operation within four to six hours as it reaches its operating temperature. Some issues may require additional attention.
If the fan doesn’t run after cleaning, verify that power is restored to the outlet or breaker. Check that the access panel reinstalled correctly and that no obstructions prevent blade movement. Listen for clicking sounds that might indicate the motor attempting to start. Allow fifteen to thirty minutes for the system to reset before concluding the motor has failed.
Excessive frost returning quickly suggests a door seal problem, a clogged drain, or a malfunctioning defrost system. Verify seals are clean and closing properly. Ensure the drain is clear. Monitor temperature with a thermometer for twenty-four hours to confirm the system stabilizes correctly.
Strange noises after cleaning usually mean something is contacting the fan blades or a screw has come loose. Check that all packaging and debris are removed from the compartment. Verify panel screws are tightened—loose screws often cause rattling. Some noise during initial restart is normal and should decrease within the first few hours of operation.
Temperature problems may require patience. Wait four to six hours for the freezer to reach operating temperature before adjusting settings. Don’t over-pack the unit, as this restricts air circulation. Avoid placing warm items in the freezer, which forces the system to work harder.
A clean freezer fan keeps your appliance running efficiently, your energy bills lower, and your food properly preserved. By following this guide to clean freezer fan components safely and thoroughly, you’ve taken an important step in maintaining your refrigerator investment. Mark your calendar for the next cleaning in six months, and enjoy the confidence that comes from knowing exactly how to care for this essential appliance.