How to Clean a Moldy Freezer Safely
Finding mold growing inside your freezer can be alarming, but the good news is that most mold problems are entirely fixable with the right approach. Mold thrives in dark, moist environments—making your freezer an unexpected but ideal habitat when conditions align. Whether you’ve discovered fuzzy black patches behind frozen food packages, noticed a musty smell that won’t go away, or are dealing with persistent moisture issues, this guide will walk you through every step of safely and effectively eliminating mold from your freezer and preventing its return.
A moldy freezer doesn’t necessarily mean you need to replace the appliance. In most cases, thorough cleaning, proper drying, and adjusted storage habits will restore your freezer to a healthy, odor-free condition. The key is acting quickly once you spot the problem and following a systematic approach that addresses both the visible mold and the underlying conditions that allowed it to grow. This article covers everything from immediate safety precautions to deep cleaning techniques, helping you restore your freezer in under an hour and keep mold from coming back.
Immediate Safety Precautions for Mold Removal
Before you begin scrubbing, understanding the health risks and taking proper precautions is essential. Mold spores can trigger allergic reactions, respiratory issues, and other health problems, particularly for those with asthma, allergies, or weakened immune systems. When cleaning a moldy freezer, you’re disturbing these spores, which can become airborne and spread throughout your kitchen.
Wear disposable gloves made of nitrile or rubber to protect your skin from direct mold contact and cleaning solutions. A face mask rated N95 or higher will prevent you from inhaling spores during the cleaning process. Eye protection, such as safety goggles, shields your eyes from splashes when using cleaning solutions. Additionally, keep the area well-ventilated by opening windows or turning on exhaust fans to help disperse airborne spores.
Remove all food items from the freezer immediately. Check expiration dates and inspect anything that was stored near visible mold growth. The USDA recommends discarding any food that has come into direct contact with mold, as even apparently unaffected items may have invisible contamination. Freezer-burned food should also be discarded, as its compromised texture indicates moisture loss that may have contributed to the mold problem. When disposing of moldy items, seal them in plastic bags before placing them in outdoor garbage containers to prevent spore spread.
Essential Supplies for Effective Mold Elimination
Having all necessary materials ready before you begin will make the cleaning process smoother and more efficient. You’ll need several cleaning solutions, tools, and protective equipment to tackle mold effectively.
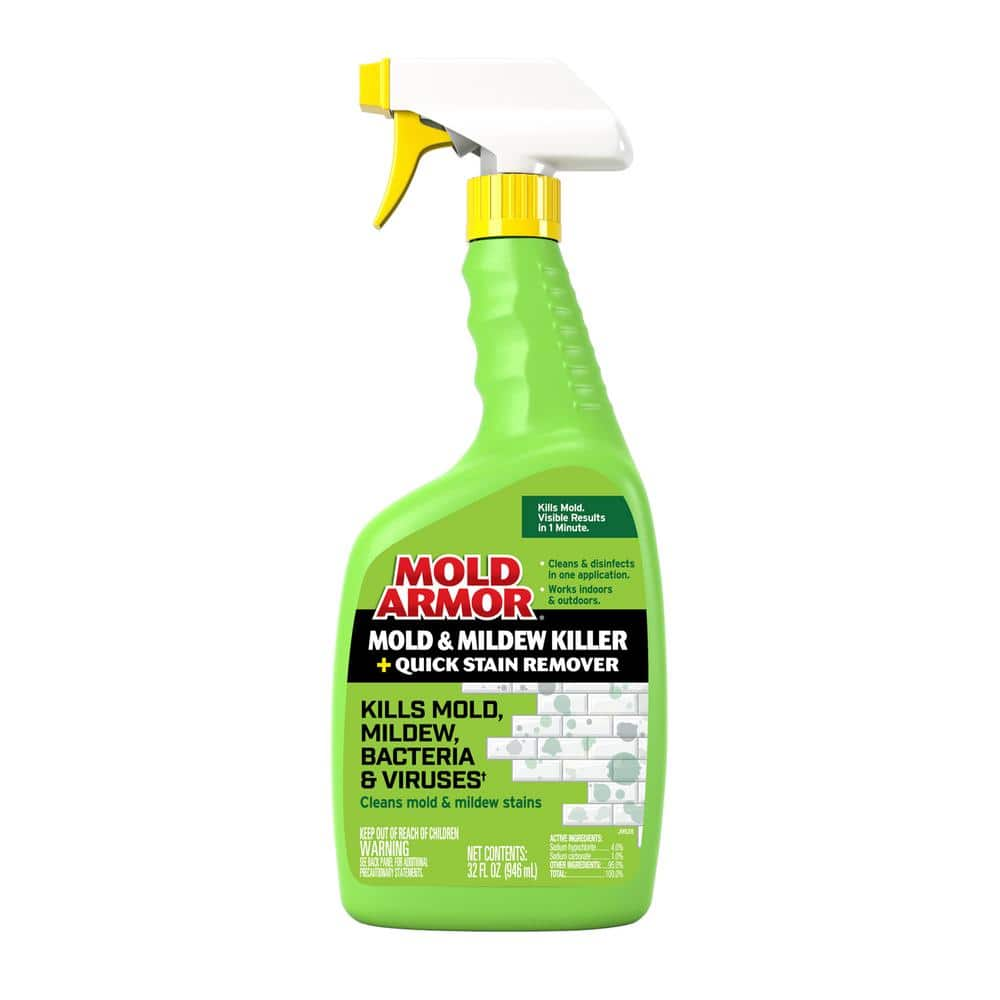
For the cleaning solution, white distilled vinegar serves as a natural, effective mold killer that is safe for food preparation surfaces. Mix equal parts vinegar and warm water in a spray bottle for optimal results. Baking soda provides gentle abrasion for scrubbing and helps neutralize odors. Hydrogen peroxide (3% concentration) offers stronger antifungal properties for stubborn growth. Dish soap helps cut through grease and grime that may have accumulated. For severe cases, a commercial mold remover rated for food contact surfaces may be necessary, though natural solutions work for most situations.
Essential tools include:
– Scrub brushes with stiff bristles for removing stubborn growth
– Microfiber cloths for general cleaning (they trap mold spores better than regular towels)
– A spray bottle for applying solutions evenly
– A small bucket for rinse water
– Absorbent towels for drying
– A flashlight to spot mold hiding in corners and seals
– Wooden or plastic scraping tools to remove caked-on debris without scratching surfaces
Complete Freezer Emptying and Inspection Protocol
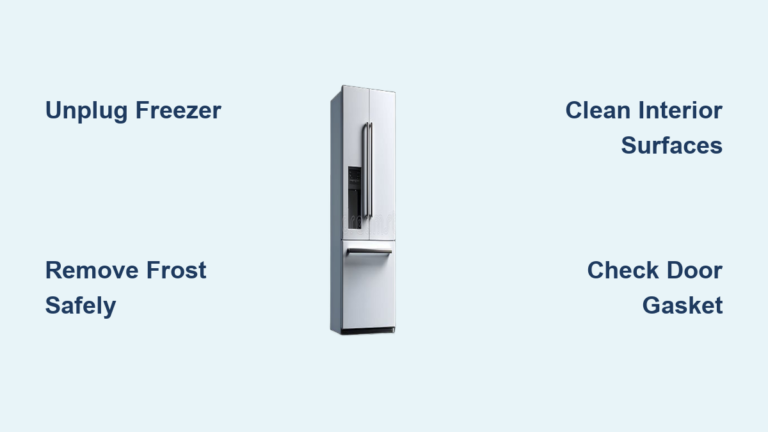
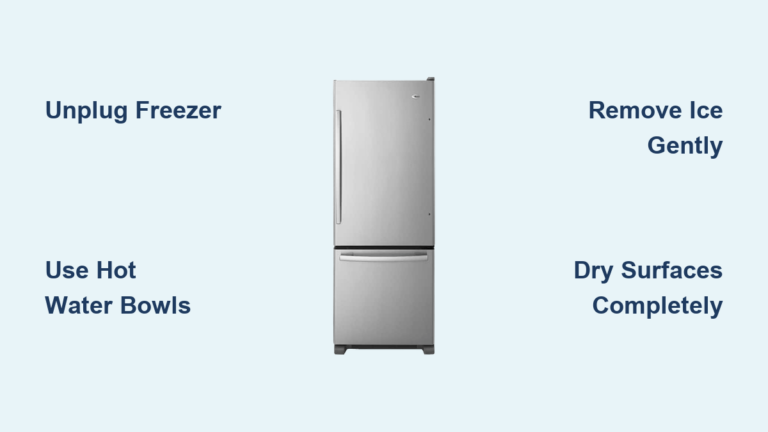
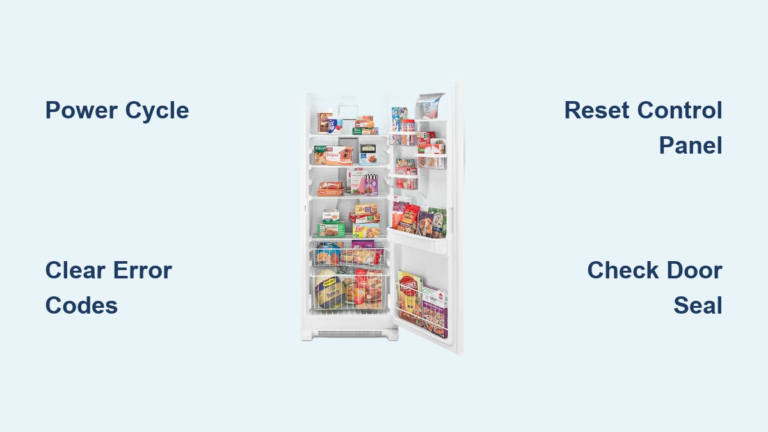
Turning off and unplugging your freezer is the critical first step before any cleaning begins. This ensures electrical safety and allows the interior to warm slightly, making mold removal easier. For manual-defrost freezers, this step also begins the defrosting process if ice has built up.
Remove all shelves, drawers, and removable components from the freezer. These pieces often harbor mold in their crevices, gaskets, and hard-to-reach areas. Take them to a sink or tub filled with hot water and dish soap for separate cleaning. Use your spray bottle or a cloth to apply cleaning solution to all interior surfaces, paying special attention to corners, seams, and the freezer ceiling where condensation tends to collect.
Conduct a thorough inspection of the empty interior. Look for mold growth on all surfaces, including behind components and in drainage holes. Check the freezer gasket (the rubber seal around the door) carefully, as mold often accumulates in the folds and grooves of this frequently-neglected component. Note the extent and location of growth, as this will help determine your cleaning approach and whether any surfaces need special treatment.
How to Identify Hidden Mold Growth Areas
Mold often hides in places you might overlook during a casual inspection. Use your flashlight to check:
- The channel where the door gasket sits
- Behind the temperature control panel
- Around the edges of interior lighting fixtures
- In the crevices between panels
- Behind the evaporator fan cover (if accessible)
- The bottom corners where water drainage occurs
These hidden spots require extra attention during cleaning to prevent mold from returning quickly after your initial cleanup.
Deep Cleaning Solutions for Mold Elimination
With the freezer empty and components removed, you’re ready to tackle the mold directly. For light to moderate mold growth, a solution of white vinegar and water works effectively. Mix equal parts white distilled vinegar and warm water in a spray bottle, shaking gently to combine. Spray this solution generously on all interior surfaces, ensuring complete coverage of affected areas. Allow it to sit for 10 to 15 minutes, giving the acetic acid time to penetrate and kill mold roots.
Hydrogen Peroxide Treatment for Stubborn Mold
For more stubborn infestations, hydrogen peroxide offers stronger antifungal action. Apply 3% hydrogen peroxide directly to moldy areas using a spray bottle or soaked cloth. Let it bubble and work for approximately 10 minutes before scrubbing. Some users prefer a paste made from baking soda and water for abrasive cleaning—apply the paste to affected areas and scrub vigorously with a stiff brush. The combination of physical agitation and chemical action removes both visible mold and microscopic spores.
Scrub all surfaces systematically, working from top to bottom to prevent recontaminating cleaned areas. Pay extra attention to corners, seams, and the gasket channel where mold often hides. For stubborn growth, allow your cleaning solution to soak longer or reapply and scrub again. Rinse surfaces with clean water after scrubbing, using a cloth dampened with plain water to remove residue. Wipe dry with a clean towel immediately to prevent moisture from supporting new mold growth.
Component-Specific Cleaning Techniques
Shelves, drawers, and other removable parts often harbor mold in their tracks, hinges, and crevices. These components need thorough individual attention to ensure no mold escapes your cleaning efforts.
Cleaning Plastic Shelves and Drawers
Wash each component in hot, soapy water using dish soap that cuts through grease. For plastic parts, a soak in a solution of one cup bleach per gallon of water for 15 to 20 minutes kills residual mold, but only use this approach if the parts are white or colorfast—bleach can discolor colored plastics. After soaking, scrub with a brush to remove any remaining residue, then rinse thoroughly with clean water. Dry completely with a towel before returning them to the freezer.
Gasket Cleaning Protocol
Gaskets require special attention: remove them if possible (checking your owner’s manual for removal instructions) and soak in hot, soapy water, scrubbing with a toothbrush to clean the folds and grooves where mold accumulates. If removal isn’t possible, use an old toothbrush dipped in cleaning solution to work into every crevice of the gasket. Pay particular attention to the bottom of the gasket channel where moisture collects.
Complete Exterior and Surrounding Area Treatment
Mold doesn’t confine itself to the interior of your freezer. The exterior surfaces, particularly around the door seal and in the motor compartment, can also harbor growth that may recontaminate your cleaned interior.
Wipe down the exterior surfaces with your chosen cleaning solution, paying attention to the door handle and seal. Clean the gasket thoroughly on both its interior and exterior surfaces, as this is a common reinfestation point. For stainless steel exteriors, clean with a vinegar solution followed by a stainless steel cleaner to prevent water spots.
Inspect the area surrounding your freezer. Check the wall behind the unit, the floor underneath, and nearby cabinets for signs of moisture or mold that could be contributing to the problem. Ensure the freezer is level, as an unlevel unit can cause improper door closing and condensation issues. Clean the condenser coils (typically accessible from the rear or bottom) if they’re dirty, as poor cooling performance can lead to excess moisture inside.
Complete Drying Procedures to Prevent Recurrence
Eliminating all moisture is perhaps the most critical step in preventing mold from returning. Mold requires moisture to grow, and any residual dampness will undermine your cleaning efforts.
After cleaning and rinsing, wipe all interior surfaces with dry towels, going over each area multiple times to absorb moisture. Leave the freezer door open and allow it to air dry completely. This typically takes 30 to 60 minutes, though allowing extra drying time ensures all moisture evaporates. A fan blowing into the interior can speed the process significantly, particularly in humid environments.
Use a hair dryer on a low, cool setting to dry hard-to-reach areas, seams, and gasket channels. Check for condensation on surfaces as the freezer cools—if you see moisture forming, continue drying. Place bowls of baking soda inside the freezer to absorb residual moisture and odors during the drying period. Once everything feels completely dry to the touch and no moisture is visible, you can proceed to replace shelves and components.
Long-Term Prevention Strategies for Mold-Free Operation
With the freezer clean and dry, it’s time to reassemble everything and establish habits that will prevent mold from returning. Proper organization and storage practices are just as important as the cleaning itself.
Before restocking, place an open box of baking soda on each shelf to absorb odors and excess moisture. Replace it monthly for ongoing protection. Ensure all food items are completely wrapped or sealed in airtight containers before placing them in the freezer—uncovered items release moisture that creates the humid environment mold needs. Avoid overpacking the freezer, as good air circulation helps maintain consistent temperatures and reduces condensation.
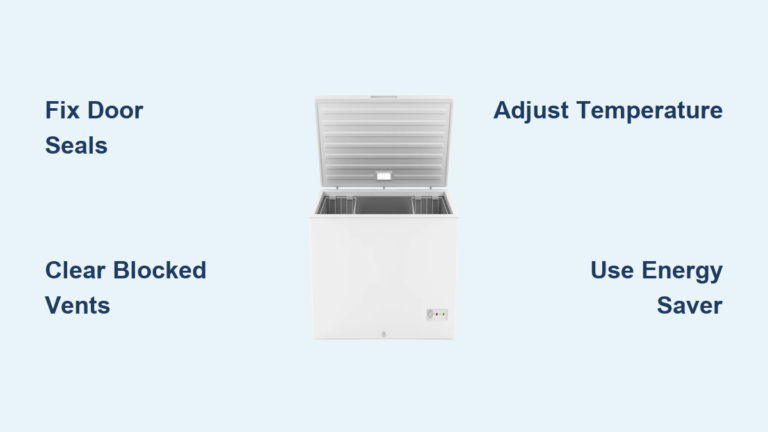
Check the door seal regularly for damage or wear that could cause air leaks. A damaged gasket allows warm, humid air to enter, which condenses inside and feeds mold growth. Clean gaskets monthly with a mild soap solution and inspect them for cracks or gaps. Keep the freezer at the manufacturer’s recommended temperature—typically 0°F (-18°C) for freezers—and avoid leaving the door open for extended periods. Defrost manual-defrost freezers when ice buildup exceeds one-quarter inch, as thick ice creates cold spots and moisture issues.
When to Call a Professional for Mold Remediation
Most moldy freezer situations are DIY-fixable, but certain circumstances warrant professional intervention. If mold growth has penetrated behind interior panels or into the insulation, you may need appliance repair service to access and treat these hidden areas. Signs of hidden mold include persistent musty odors after cleaning, visible growth returning quickly despite thorough cleaning, or condensation issues that suggest seal problems requiring component replacement.
Extensive mold covering more than 10 square feet typically requires professional remediation, according to EPA guidelines. If you or household members experience respiratory symptoms when near the freezer, this also suggests the problem may be more severe than surface mold. A professional appliance technician can assess whether the freezer can be salvaged or if replacement is more cost-effective, particularly for older units with potential refrigerant issues.
Monthly Maintenance Routine for Mold Prevention
Prevention is far easier than remediation. Once you’ve successfully cleaned your moldy freezer, establishing regular maintenance habits will keep the problem from recurring.
Perform a monthly visual inspection by opening the freezer and checking for any signs of moisture, frost buildup, or early mold growth. Clean up any spills immediately, as even small amounts of moisture can support mold colonies. Quarterly, remove all items and give the interior a quick wipe-down with a vinegar solution, paying particular attention to corners and seals. Replace the baking soda boxes monthly to maintain odor and moisture control.
Monitor your freezer’s performance by checking that it maintains the proper temperature and that the door closes securely. Listen for unusual sounds that might indicate compressor issues, and address any cooling problems promptly—temperature fluctuations create condensation that feeds mold. Keep the area around the freezer clean and dry, wiping up any water pooling beneath or around the unit. With consistent attention, your freezer will remain mold-free and your food will stay fresh and safe to eat.