How to Change Kenmore Freezer Light Bulb
Finding yourself fumbling in the dark every time you open your Kenmore freezer isn’t just inconvenient—it’s a safety hazard. Without proper lighting, you might accidentally knock over containers, struggle to identify expired items, or even risk frostbite from prolonged exposure to freezing temperatures while searching for something. The good news is that replacing a burnt-out light bulb in your Kenmore freezer is a simple DIY task that takes less than 15 minutes and requires no special tools. This guide provides step-by-step instructions for safely accessing, removing, and replacing your Kenmore freezer light bulb while avoiding common mistakes that could lead to electrical issues or damage to your appliance.
Locate Your Kenmore Freezer Light Assembly
Your Kenmore freezer’s light assembly sits prominently on the ceiling toward the front interior panel, designed for optimal illumination of the storage space. Unlike refrigerator compartments where lights might be positioned differently, freezer models consistently place the light housing in this location to prevent obstruction from stacked items. The cover protecting the bulb typically measures 2-3 inches in diameter and appears as a white or translucent plastic dome that blends with the freezer’s interior finish.
Before attempting to access the bulb, clear a working space by removing shelves, baskets, or food containers directly beneath the light assembly. For upright freezers, fully open the door and prop it securely with a towel to prevent accidental closure during your repair. Chest freezer owners should lift the lid completely and use a sturdy object to hold it in place—never rely on the hinge mechanism alone as it could suddenly close on your hands. This preparation prevents accidental spills, gives you unobstructed access, and reduces the time your freezer remains open, minimizing temperature fluctuations that could affect frozen food quality.
Identify the Exact Bulb Specifications for Your Model

Selecting the wrong bulb type is the most common mistake homeowners make when replacing freezer lights. While most Kenmore freezers use standard 40-watt appliance bulbs with medium E26 bases, newer ENERGY STAR models increasingly incorporate LED alternatives that operate at lower wattages while providing brighter illumination. Your specific model number—typically found on a sticker inside the freezer door frame or on the back panel—determines the exact bulb requirements.
Before removing the old bulb, examine it carefully for manufacturer markings that indicate wattage, voltage, and base type. Appliance bulbs differ from standard household bulbs in their ability to withstand extreme temperature fluctuations and vibration. Using a regular incandescent bulb not rated for freezer use will likely result in premature failure due to thermal shock when the freezer cycles. When shopping for replacements, look for bulbs specifically labeled “appliance bulb,” “freezer bulb,” or “refrigerator bulb” that mention cold temperature operation. These bulbs feature reinforced filaments and special glass formulations that resist cracking in sub-zero environments.
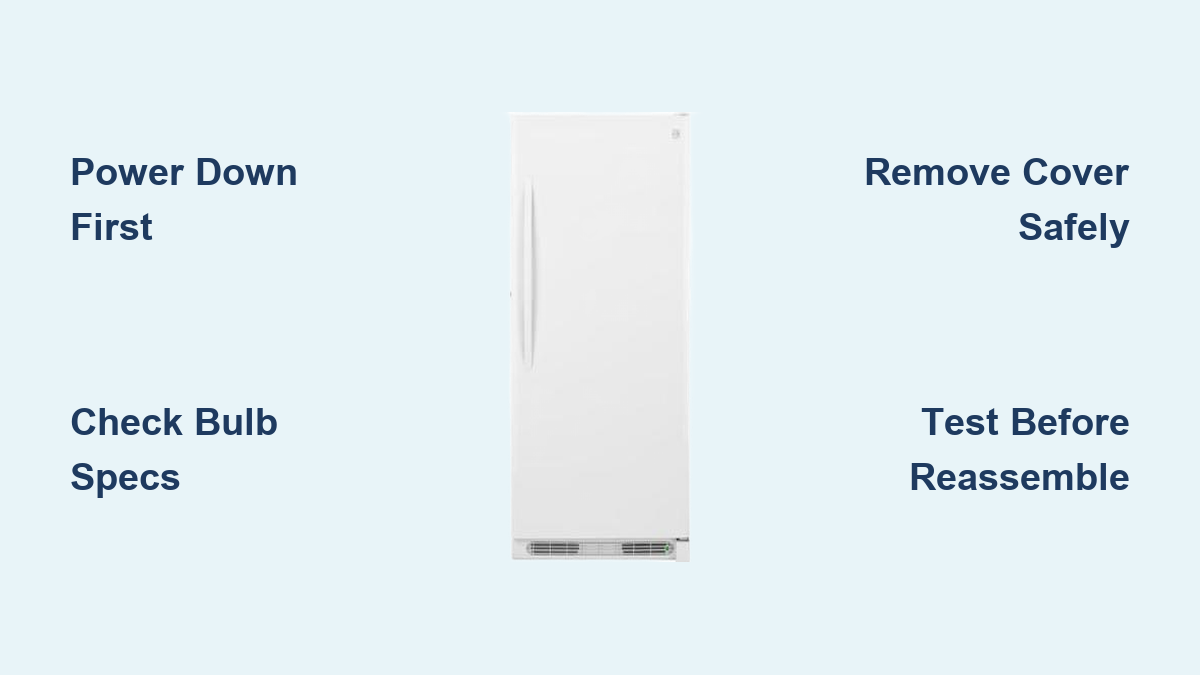
Power Down Your Freezer Properly Before Starting
Electrical safety must be your top priority when working with any appliance component. Simply turning off the freezer via its control panel isn’t sufficient—your light socket remains energized until you physically disconnect power at the source. Locate your home’s circuit breaker panel and switch off the dedicated circuit powering your freezer, or unplug the unit directly from the wall outlet. For built-in units where the plug isn’t easily accessible, turning off the circuit breaker is your only safe option.
Wait at least five minutes after disconnecting power before proceeding. This waiting period allows residual electricity in the freezer’s control board to dissipate completely, eliminating any risk of electrical shock. During this time, place a non-slip mat beneath your work area to prevent slipping on cold surfaces, and gather your replacement bulb and any tools you might need. Never attempt this repair while wearing wet gloves or with damp hands, as moisture significantly increases electrical conductivity and shock risk—even with the power disconnected.
How to Verify Power Is Completely Off
Before touching any electrical components, verify that power is fully disconnected by testing the freezer’s interior light switch. Open and close the door several times to confirm the light doesn’t illuminate. You can also use a non-contact voltage tester near the light socket area—these inexpensive tools beep or light up when detecting live electricity. If your tester indicates power is still present, double-check that you’ve turned off the correct circuit breaker. This verification step is crucial because some freezers have separate circuits for cooling and lighting systems, meaning the compressor might be off while the light circuit remains energized.
Remove the Protective Light Cover Safely
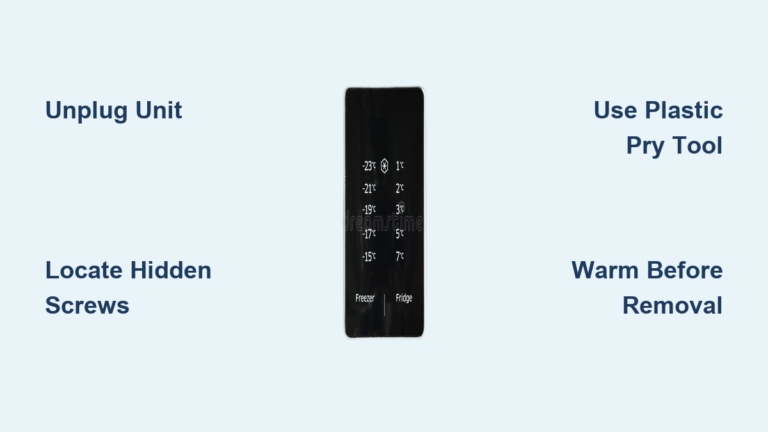
Kenmore freezer light covers attach using either snap-fit mechanisms or small retaining screws, depending on the model year. Snap-fit covers feature flexible plastic tabs that secure into corresponding slots in the housing. To remove these, insert your fingernails or a plastic spudger tool (never metal) along the seam between the cover and housing, then gently twist to release the clips. Apply even pressure around the entire perimeter—forcing one side can crack the brittle plastic, especially in cold temperatures.
Screw-mounted covers typically use one or two small Phillips-head screws (usually 5-8mm long) positioned at the bottom edge of the housing. Use a properly sized screwdriver to avoid stripping the screw heads, and place a magnetic tray beneath your work area to catch screws when they loosen. If screws feel stubborn due to plastic shrinkage from cold temperatures, gently warm them with a hairdryer for 15-20 seconds before attempting removal. Once free, carefully set the cover aside on a soft surface to prevent scratches or cracks that could compromise its seal when reinstalled.
Replace the Burnt-Out Bulb Correctly

With the cover removed, grasp the old bulb firmly near its base—not the glass portion—and turn it counterclockwise approximately 1/4 to 1/2 turn until it releases from the socket. If the bulb resists turning, don’t force it; instead, apply gentle back-and-forth pressure while turning to break any corrosion that may have developed between the bulb base and socket. Never use pliers or tools that could damage the socket threads—your bare fingers provide the best grip and tactile feedback.
Before installing the new bulb, inspect the socket for signs of corrosion, melting, or loose connections that could indicate underlying electrical issues. Clean any minor corrosion with a cotton swab dipped in white vinegar, then dry thoroughly with a lint-free cloth. When inserting the replacement bulb, align the base pins with the socket slots and turn clockwise until snug—stop immediately when you feel resistance to avoid over-tightening, which can strip the socket threads. A properly installed bulb should sit flush with the socket without wobbling.
Testing Before Final Assembly
Don’t reinstall the cover immediately after bulb replacement. Instead, restore power temporarily to test your work before reassembling everything. Plug in the freezer or flip the circuit breaker back on, then open and close the door to activate the light switch. If the new bulb illuminates properly, immediately disconnect power again before proceeding with reassembly. If the light fails to turn on, double-check that the bulb is fully seated and that the door switch activates when the door opens. This test-before-completion approach saves you from having to repeat the entire disassembly process if something isn’t working correctly.
Reinstall Components and Restore Freezer Functionality
After confirming your new bulb works, carefully reattach the light cover using the same method you employed for removal. For snap-fit covers, align the tabs with their slots and press evenly around the perimeter until you hear distinct clicks indicating proper seating. Screw-mounted covers require you to hand-start screws before tightening them just enough to hold the cover securely—over-tightening can crack the plastic housing, especially in cold conditions where plastics become more brittle.
Once the light assembly is secure, replace any shelves, baskets, or food items you removed earlier. Take this opportunity to organize your freezer contents by grouping similar items together and placing frequently used products toward the front. Check for excessive frost buildup that could indicate a door seal problem, and wipe down any interior surfaces with a soft cloth to remove lingering condensation. Before closing the freezer door completely, verify that all components sit properly and nothing obstructs the door’s closing path, which could prevent the light switch from activating correctly.
Troubleshoot Persistent Lighting Problems

If your new bulb still doesn’t illuminate despite proper installation, investigate these common issues systematically. First, confirm that your freezer door closes completely by checking for obstructions like oversized containers or ice buildup along the door seal. A door that doesn’t fully close prevents the door switch from activating the light circuit. Next, test the door switch manually by pressing it with your finger while the door is open—if the light turns on, your door alignment needs adjustment.
Examine the light socket for visible damage such as blackened contacts or melted insulation that would indicate electrical arcing. In some cases, the problem lies with the freezer’s main control board rather than the light circuit itself. If you’ve verified the bulb works in another appliance and the socket shows no damage, the issue likely requires professional diagnosis. Never attempt to bypass or repair internal wiring unless you’re qualified—improper modifications can create fire hazards or void your appliance warranty.
Extend Your Freezer Light’s Operational Lifespan
Maximize your new bulb’s longevity by selecting LED replacements specifically designed for freezer use. These consume up to 80% less energy than incandescent bulbs while providing brighter, more consistent illumination. LED freezer bulbs also generate less heat, reducing the slight temperature fluctuations that occur each time the light turns on. When shopping, look for bulbs rated for temperatures down to -20°F and labeled as “vibration-resistant” to withstand compressor operation.
Establish a simple maintenance routine by checking the light cover and socket area during your monthly freezer defrost cycle. Remove any frost accumulation with a plastic scraper rather than metal tools that could damage electrical components. Keep the door gasket clean and flexible by wiping it regularly with a vinegar-water solution, as compromised seals allow warm, moist air into the freezer that can cause condensation around electrical connections. By following these practices, you’ll enjoy reliable freezer lighting for years between replacements.