How to Change GE Freezer Light Bulb
Your GE freezer light suddenly burns out in the middle of the night just as you’re searching for that midnight snack. You reach for your phone to look up how to change light bulb in ge freezer, only to find confusing instructions or incomplete guides that don’t match your specific model. This common frustration affects thousands of GE appliance owners each year who struggle with what should be a simple 5-minute fix. Without proper guidance, many people either give up and operate with no interior lighting or risk damaging their appliance by using incorrect methods. In this comprehensive guide, you’ll discover the exact process for replacing your GE freezer light bulb safely and correctly—regardless of your specific model—with professional tips that prevent common mistakes most DIYers make.
Essential Safety Precautions Before Starting
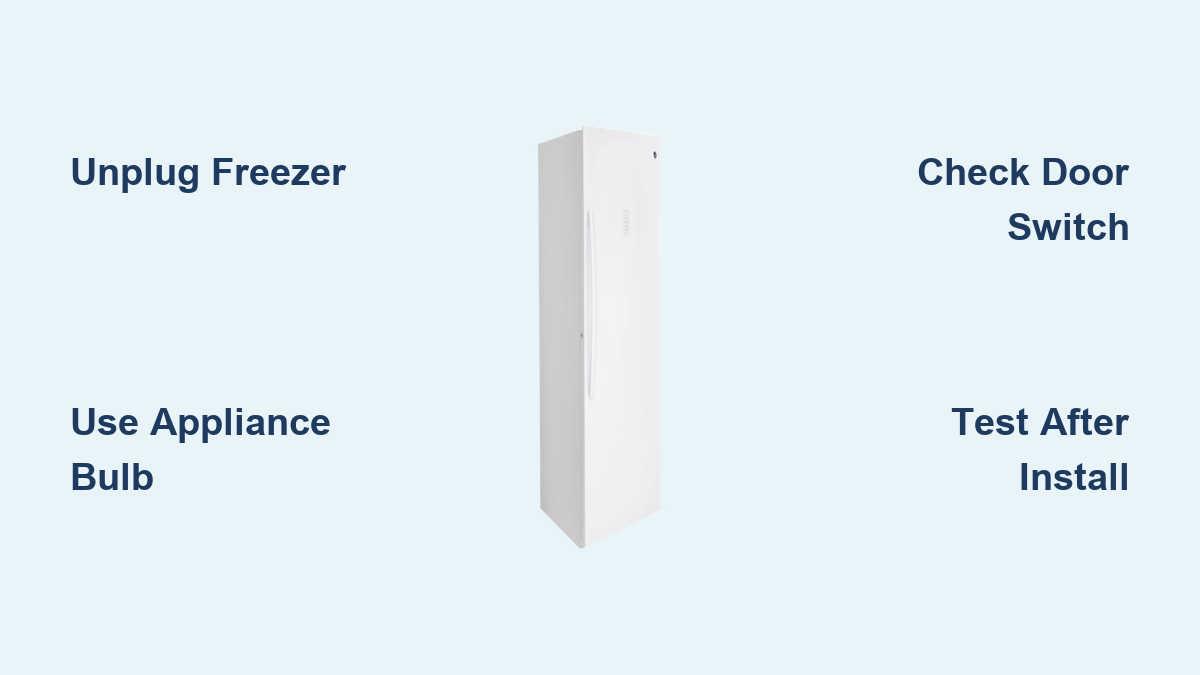
Before you attempt to change light bulb in ge freezer, protecting yourself and your appliance must come first. Disconnect your freezer from the electrical outlet completely—simply turning off the power at the wall isn’t sufficient as residual current could still pose risks. Allow your freezer to warm up slightly for 15-20 minutes if it’s been running continuously, as sudden temperature changes could cause glass components to shatter. Gather rubber-soled shoes and dry gloves to prevent electrical hazards, especially important since freezer interiors are naturally damp environments. Never attempt this repair while the freezer is running or partially defrosted, as moisture increases electrical risks significantly.
Critical Warning: GE Freezer Light Safety Hazards
Never use household light bulbs in your GE freezer—they’re not designed for cold environments and can shatter when exposed to freezing temperatures. GE specifically manufactures appliance-rated bulbs that withstand extreme temperature fluctuations. Using incorrect bulbs voids your warranty and creates serious safety hazards. Always verify the bulb’s temperature rating matches freezer conditions (-15°F to 32°F). If you notice any moisture around the light socket before starting, delay the replacement until the area is completely dry to avoid short-circuiting.
Required Tools and Replacement Bulb Specifications
For most GE freezer models, you’ll need these specific items:
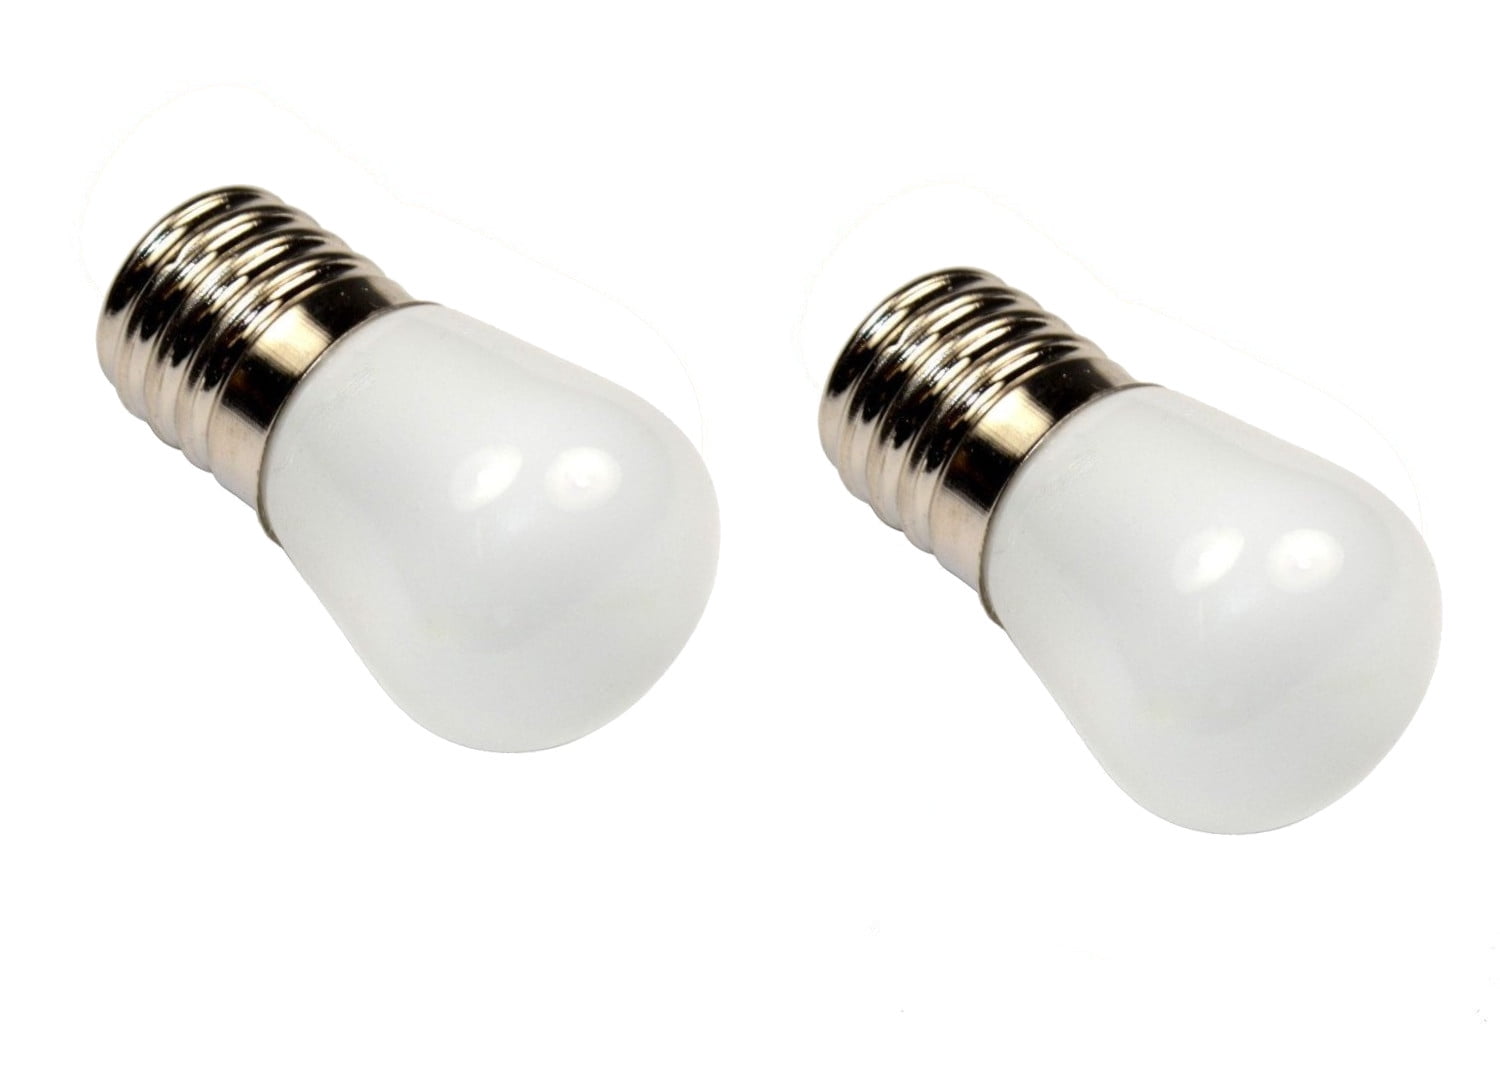
– 15-watt or 40-watt appliance-rated bulb (check your manual for exact wattage)
– Clean microfiber cloth (no fibers left behind)
– Small suction cup or soft rubber gloves for grip
– Flashlight for better visibility
– Optional: Multimeter to test socket functionality
The exact bulb type varies by model year—newer GE freezers typically use E17 base bulbs while older models may require E14. Never force a bulb that doesn’t fit perfectly, as this damages the socket threads. Your freezer’s model number (found on the interior wall or back panel) determines the exact replacement part—search “GE [your model number] light bulb” for precise specifications.
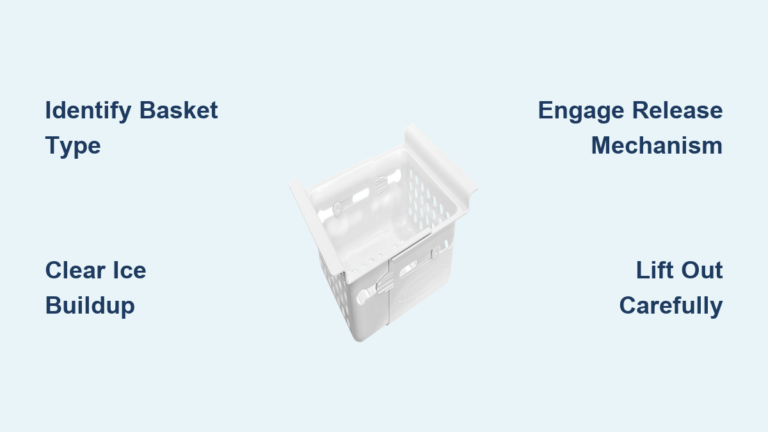
Locating and Accessing the Light Bulb Compartment

Unlike refrigerators where lights are immediately visible, GE freezer bulbs are often hidden behind protective covers that vary significantly by model. On upright freezers, check along the top interior wall for a small plastic panel that either snaps out or requires a quarter-turn counterclockwise. Chest freezers typically house the bulb in the lid’s inner lining, accessible by removing a decorative trim piece around the light fixture. Some newer GE models feature LED lighting integrated into the control panel that doesn’t require traditional bulb replacement.
How to Remove Different GE Freezer Light Covers
Twist-style covers: Place your thumb and forefinger on the marked arrows and rotate counterclockwise 1/4 turn until the cover releases. These often have small tabs that catch when twisted back into place.
Snap-in covers: Insert a plastic pry tool (or credit card edge) into the small gap near the bottom and gently twist to release the clips. Never use metal tools that could scratch or crack the plastic.
Screw-mounted covers: Use a Phillips #1 screwdriver to remove 2-4 small screws around the perimeter. Keep these screws organized—they’re often non-standard sizes specific to your model.
If you encounter resistance during removal, stop immediately—forcing components causes expensive damage. Consult GE’s online support portal using your model number for exploded diagrams showing your specific cover mechanism.
Proper Light Bulb Replacement Technique
With the cover removed, you’ll see the bulb socket—typically white ceramic with brass contacts. Before touching anything, visually inspect for moisture, corrosion, or melted plastic that would indicate electrical problems requiring professional service. If everything appears normal, wrap your microfiber cloth around the old bulb to protect your fingers (glass can become extremely brittle in cold conditions) and turn counterclockwise to loosen. Never pull straight down—this breaks the bulb base inside the socket, creating a dangerous situation requiring socket replacement.
Step-by-Step Bulb Installation Process
- Clean the socket: Use a dry cotton swab to remove any dust or debris from the socket contacts
- Align the new bulb: Match the bulb’s base tabs with socket grooves before inserting
- Hand-tighten only: Turn clockwise until snug—over-tightening cracks the bulb base
- Test before reassembly: Plug in the freezer briefly to verify operation (keep hands clear)
- Reinstall the cover: Ensure all tabs click securely into place
Pro Tip: Apply a tiny amount of dielectric grease to the bulb base threads before installation—this prevents future corrosion and makes removal easier. GE technicians use this trick on service calls but rarely mention it to customers.
Troubleshooting Common Post-Replacement Issues

If your new bulb doesn’t illuminate after replacement, don’t panic—most issues have simple solutions. First, verify the freezer is properly plugged in and the circuit breaker hasn’t tripped. Next, check if the bulb feels loose in the socket (it should be snug but not tight). Some GE models have a door switch that must be depressed for the light to activate—close the door firmly and reopen to test.
Why Your GE Freezer Light Won’t Stay On
Flickering lights typically indicate poor electrical contact—remove and reinstall the bulb, ensuring proper alignment. If the problem persists, the socket contacts may be worn and need replacement. Continuous burning after door closure suggests a faulty door switch that requires professional adjustment—don’t ignore this as it causes compressor overload. No power to socket (verified with multimeter) means you need to check wiring connections behind the control panel—a job best left to certified technicians due to complex wiring configurations.
Preventing Future Light Bulb Failures
GE freezer lights typically last 1-2 years with normal use, but proper maintenance extends their lifespan significantly. Always close the freezer door gently—slamming creates vibrations that loosen filament connections. During quarterly cleaning, remove the bulb cover and wipe the socket area with a dry cloth to prevent dust buildup. Never store items that block the light fixture, as this creates heat pockets that shorten bulb life.
When to Call a GE Technician Instead
While changing light bulb in ge freezer is usually straightforward, certain situations require professional help:
– Visible burn marks or melted plastic around the socket
– Burning smell when attempting to power on
– Water leakage near the light compartment
– LED models where the entire lighting assembly needs replacement
– Any situation where you feel uncomfortable proceeding
GE’s official policy states that improper bulb replacement causing electrical damage voids your warranty—so when in doubt, contact their service department. Most authorized technicians can complete this service for under $100, often less than the cost of replacing a damaged socket you attempted to fix yourself.
Final Verification and Testing
After completing how to change light bulb in ge freezer process, perform these critical checks before considering the job done. Run the freezer for 15 minutes with the door closed, then open to verify consistent illumination without flickering. Gently shake the freezer door—properly installed bulbs shouldn’t vibrate loose. Finally, wipe down the interior to remove any fingerprints or debris introduced during the repair process.
Your properly functioning freezer light isn’t just about convenience—it’s a safety feature that helps you spot spoiled food and prevents accidents when reaching for items. By following these precise steps for how to change light bulb in ge freezer, you’ve not only fixed the immediate problem but also gained valuable knowledge for maintaining your appliance’s electrical components. Bookmark this guide for future reference, and remember that when appliance repairs feel beyond your comfort level, GE’s customer service team is always available to connect you with factory-trained technicians who understand your specific model’s requirements.