GE Profile Bottom Freezer Not Freezing? Fix It Fast
Your GE Profile refrigerator’s freezer compartment refuses to freeze while the upper section stays perfectly cold—a frustrating split-system failure that leaves ice cream soupy and frozen food at risk. When your freezer displays 23°F despite being set to 0°F with no error codes or unusual sounds, you’re dealing with a targeted malfunction specific to the freezer’s cooling system. This isn’t a complete breakdown but rather a failure in one of several critical components that work together to maintain sub-zero temperatures. Understanding why this happens—and whether you can fix it yourself—saves money and prevents costly food spoilage while you determine the best course of action.
The good news is that most GE Profile bottom freezer cooling failures share common causes with predictable solutions. Your dual-evaporator design means the refrigerator and freezer operate independently, explaining why one section can fail while the other continues working normally. This guide walks you through recognizing symptoms, performing basic diagnostics, attempting temporary fixes, and deciding when professional service makes the most sense—helping you get your freezer back to optimal performance.
Why Your GE Profile Freezer Warms While Fridge Stays Cold
Temperature Discrepancy Warning Signs
When your freezer shows 23°F despite being set to 0°F, that’s not a display glitch—it’s the actual internal temperature. Your ice cream stays soft, frozen items feel only cool, and you notice condensation on food packaging that should be rock solid. This persistent temperature gap, typically 15-25 degrees above the target, means the cooling system can’t extract heat effectively from the freezer compartment.
Pay attention to how quickly the problem developed. A gradual decline over weeks often indicates a refrigerant leak or slowly failing component. A sudden overnight failure typically points to a complete component failure like a burned-out defrost heater or a compressor that’s stopped running entirely. This timeline matters because it helps narrow down potential causes before detailed diagnostics.
Listen for Critical Operational Sounds
The sounds from your refrigerator provide valuable diagnostic clues, even without error codes. A properly functioning compressor produces a steady hum with subtle vibration, and the compressor body should feel warm but not scorching hot during operation. The condenser fan near the compressor typically runs continuously, creating a low whooshing sound as it moves air across the coils.
If you hear a buzzing sound from the compressor area without the characteristic steady hum, the compressor may be trying to start but failing to achieve operating speed. This starting system failure prevents the refrigeration cycle from beginning, leaving your freezer warm despite the unit appearing to run. Conversely, a unit that runs continuously without achieving target temperatures may have a compressor that spins but no longer compresses refrigerant effectively.
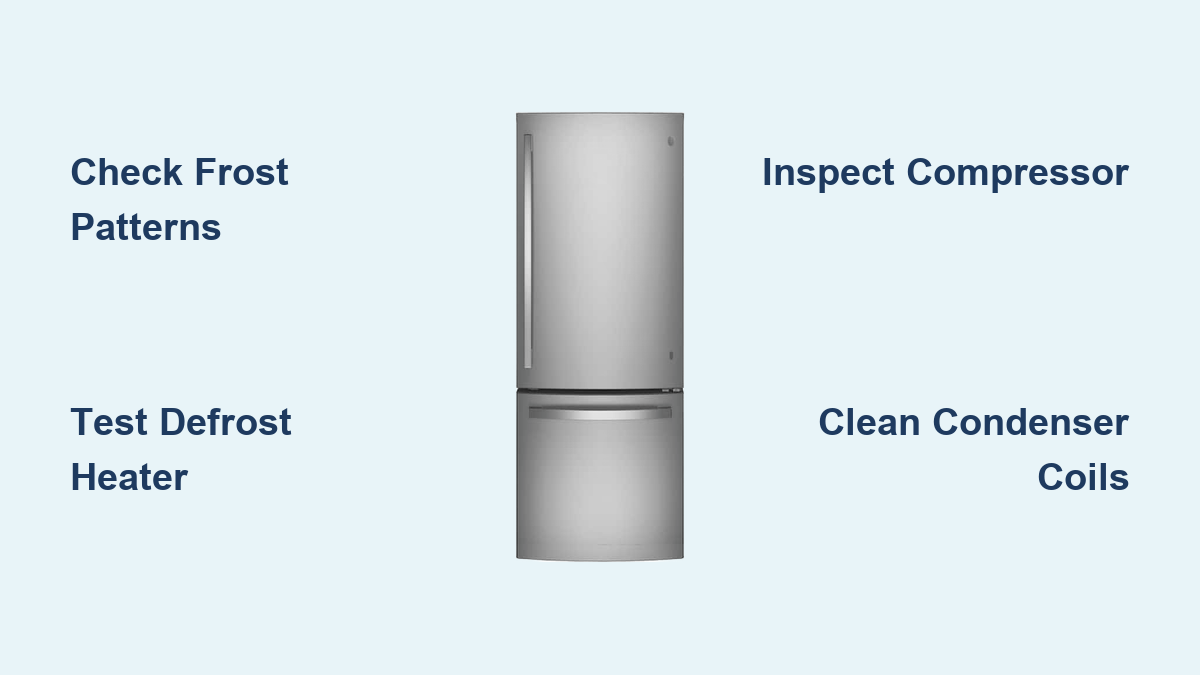
Check Frost Patterns for Diagnostic Clues

The frost pattern inside your freezer provides the clearest visual indicator of what’s failed. Remove items from the freezer floor and examine the rear panel carefully. Heavy frost covering the entire rear panel surface, particularly with a thick, icy texture, strongly suggests a defrost system failure. This accumulated frost acts as insulation, progressively reducing the evaporator’s ability to absorb heat until the freezer can no longer maintain freezing temperatures.
A completely frost-free rear panel in a non-cooling freezer tells a different story—it suggests the evaporator coils may be empty of refrigerant entirely, or the compressor has failed and stopped circulating refrigerant through the system. This distinction matters because it points toward completely different failure modes: a $200 defrost system repair versus an $800 sealed system problem.
Fix Your GE Profile Freezer’s Cooling Failure
Examine the Hidden Components
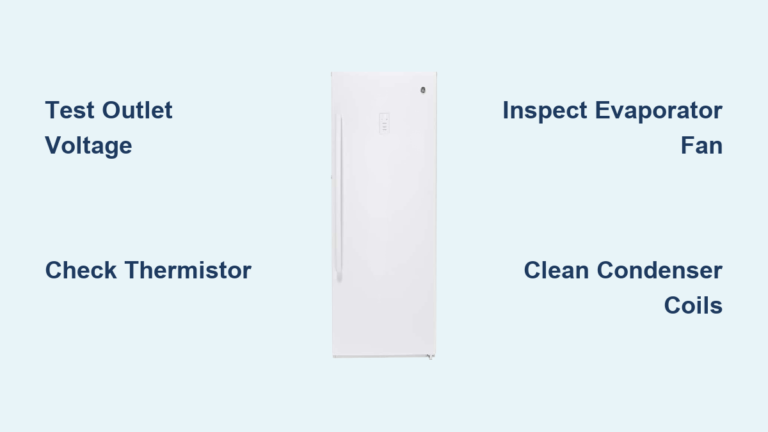
Before calling a technician, perform a visual inspection that takes only minutes but provides immediate diagnostic information. Start by removing the lower rear panel near the refrigerator’s floor—this gives access to the condenser coils, fan, and compressor area. The condenser coils should appear clean and free of dust, as excessive dirt reduces cooling efficiency and makes the system work harder.
Inside the freezer compartment, examine the rear panel for frost accumulation patterns. Visible frost covering the entire panel indicates defrost system failure, while a completely clean panel with no frost in a non-cooling freezer suggests refrigerant or compressor problems. Note whether frost covers the whole panel or appears in specific patterns, as these details help identify which specific defrost component has failed.
Test the Compressor and Fan Operation
Place your hand on the compressor body—it should feel warm during operation with a steady hum and subtle vibration. If it feels extremely hot, the unit may be overworking due to dirty coils or another failing component. A buzzing sound without the characteristic hum suggests the compressor attempts to start but fails to achieve operating speed, indicating a starting system problem.
The condenser fan should run continuously while the compressor operates, drawing air across the coils to dissipate heat. Listen for steady airflow without obstruction. If the fan runs but the coils don’t feel warm despite the compressor running, refrigerant may not be flowing properly through the system. These observations, combined with your temperature readings and frost patterns, help pinpoint whether you’re dealing with a defrost system issue or a more serious sealed system failure.
Manual Defrost: Your Emergency Fix
Step-by-Step Defrosting Process
When frost accumulation causes your cooling failure, a manual defrost can restore temporary functionality. Turn the unit completely off at the circuit breaker—simply switching to “defrost” mode isn’t sufficient for heavy frost. Remove all food items from both sections, storing them in coolers with ice packs. Place towels around the base and a shallow pan beneath the defrost drain to catch melting water.
The process takes 12-24 hours depending on frost severity. As frost melts, water drains through the system into a pan above the compressor where heat evaporates it. Once all visible ice has melted and surfaces are dry, replace panels, restore power, and allow several hours before returning food. Monitor temperature closely during the first 24 hours to confirm the freezer reaches and maintains the set point.
Expected Performance After Defrost
Following a successful manual defrost, your freezer should function normally for 5-7 days before frost accumulation returns and cooling problems recur. This temporary restoration confirms defrost system failure and identifies the specific problem. The 5-7 day timeframe represents the interval between automatic defrost cycles—meaning frost accumulates to problematic levels within one missed cycle.
If your freezer fails to cool properly immediately after defrosting or can’t maintain temperatures for more than a week, additional component failures may exist beyond the defrost system. Monitor temperature daily after defrosting and note exactly when symptoms return. This information helps technicians identify which specific defrost component has failed—the heater, thermostat, timer, or control board—enabling them to arrive with the correct replacement parts.
Professional Repair Assessment: Cost vs. Value
What Technicians Actually Do

Professional repair of your GE Profile bottom freezer cooling failure requires accurate diagnosis and component replacement. A technician will test each defrost system component with a multimeter to check electrical continuity. The defrost heater commonly fails by burning out, while the defrost thermostat can become stuck in the open position, preventing heater activation.
For sealed system failures involving the compressor or refrigerant, repairs become significantly more complex. Technicians must evacuate the system, locate leaks, repair them, recharge with precise refrigerant amounts, and verify proper operation. This requires specialized equipment and EPA certification due to environmental regulations governing refrigerant handling.
Cost Considerations for Bottom Freezer Repairs

Defrost system repairs typically range from $200-$400 depending on the specific component and local service rates. This relatively straightforward repair involves accessing the evaporator assembly through the freezer rear panel and testing individual components. For units between five and ten years old with no prior repair history, this cost makes economic sense.
Sealed system repairs involving the compressor or refrigerant recharge carry substantially higher costs, ranging from $650-$850. This reflects the complexity of sealed system work, compressor replacement expenses, and specialized equipment required. Many appliance professionals recommend evaluating your unit’s age against repair costs, as refrigerators approaching or exceeding ten years old may not justify major repairs when replacement costs often fall within a similar range.
Prevent Future GE Profile Freezer Failures
Post-Repair Operation Monitoring
After professional repair of the defrost system, your freezer should return to normal operation without manual intervention. Monitor temperature during the first few weeks to confirm proper function, as recurring problems may indicate additional component failures. The refrigerator section should maintain 35°F-40°F while the freezer achieves and holds 0°F or below.
Following compressor replacement or refrigerant service, the unit may require 24-48 hours to stabilize at optimal temperatures as the system equalizes. Avoid overfilling the freezer immediately after repair, as good air circulation supports consistent temperature maintenance.
Essential Preventive Maintenance Steps
Clean the condenser coils at least twice annually using a coil brush to remove dust and debris. This simple maintenance reduces compressor workload and energy consumption while preventing premature component wear. In homes with pets or dusty environments, consider quarterly cleaning.
Check the freezer periodically for unusual frost patterns, catching defrost system problems early before they progress to complete cooling failure. Keep the defrost drain clear to prevent water accumulation in the refrigerator section and ensure proper drainage during defrost cycles. By staying vigilant and addressing small issues promptly, you maximize your GE Profile refrigerator’s reliability and minimize unexpected repair costs.