Freezer Vent Blocked: Quick Fix Guide
Your refrigerator’s freezer vent blocked is more than just a minor inconvenience—it’s a critical failure that disrupts your entire cooling system. When airflow between compartments gets restricted, your appliance works overtime while delivering inconsistent temperatures that spoil food and waste energy. You’ve probably noticed puzzling symptoms like frozen lettuce in the crisper drawer while milk spoils prematurely on the middle shelf. This guide reveals exactly how to diagnose, clear, and prevent freezer vent blockages so you can restore proper cooling throughout your refrigerator without calling a technician.
Why Your Freezer Vent Blockage Causes Temperature Chaos
Blocked vents create the paradoxical problem where some areas freeze while others warm—this isn’t random failure but direct evidence of airflow obstruction. When cool air can’t circulate properly from freezer to refrigerator compartments, temperature zones break down completely. You’ll notice items near vent openings freezing solid (including liquids that may burst) while food just inches away sits at unsafe temperatures. This inconsistent cooling accelerates spoilage across all compartments, turning your refrigerator into an unreliable food storage environment.
Excessive moisture accumulation provides another unmistakable sign of your freezer vent blocked. Watch for unusual frost developing inside the freezer, particularly around vent openings and along back walls. Water droplets appearing on refrigerator walls or shelves indicate warm humid air can’t circulate properly and instead condenses on cold surfaces. As this frost layer thickens around vent openings, airflow diminishes further, creating a worsening cycle that progressively degrades performance until your entire cooling system struggles.
How Blocked Vents Ruin Food Preservation
When your freezer vent blocked, dairy products spoil faster than expected while fresh produce wilts prematurely. Items you’ve safely stored for weeks suddenly freeze or rot—this isn’t bad luck but direct consequence of disrupted airflow. Temperature-sensitive foods like eggs and beverages freeze when positioned in unblocked airflow paths, while inadequate cooling elsewhere creates perfect conditions for bacterial growth. The resulting temperature fluctuations make proper food storage impossible until you restore proper airflow through those critical vents.
What Actually Blocks Your Freezer Vents

Improper loading practices cause 90% of vent blockages in home refrigerators. When you push large containers flush against back walls or stuff shelves to maximum capacity, you unknowingly obstruct the carefully designed airflow passages. That gallon of milk positioned directly in front of the vent, the overstuffed crisper drawer, or the plastic bag hanging over the edge—all create partial or complete blockages that disrupt your refrigerator’s cooling capacity. Many homeowners maximize every inch of storage space without realizing air needs room to circulate between compartments.
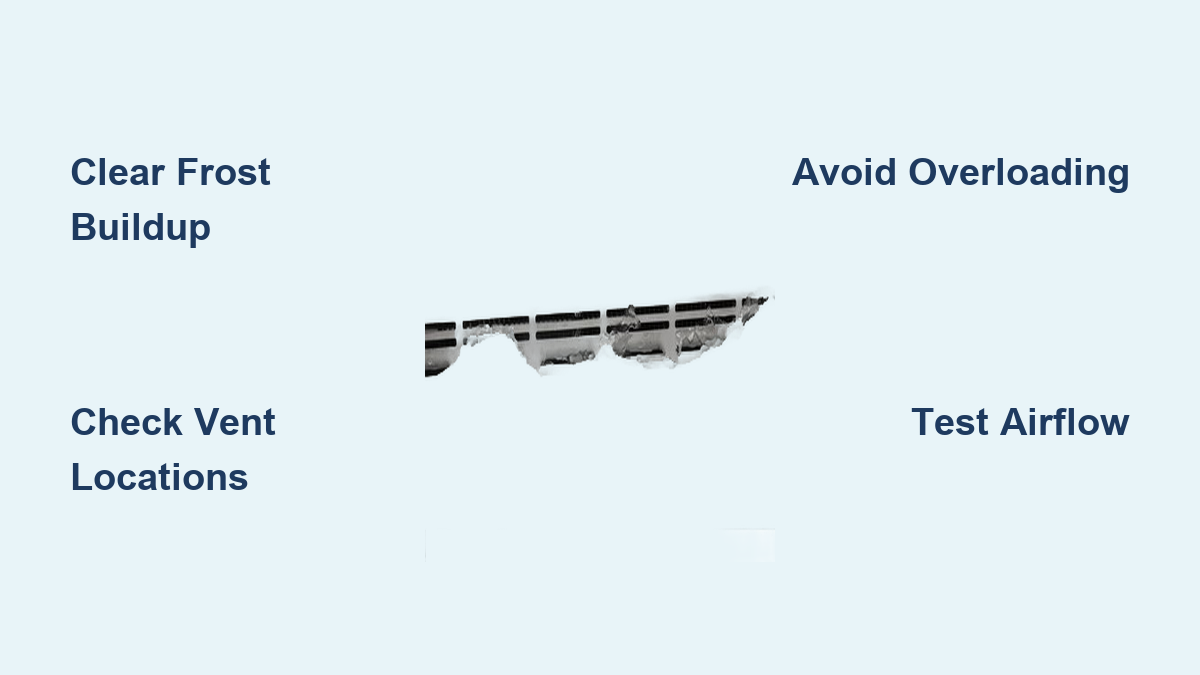
Frost Buildup Seals Vent Openings Completely
Ice accumulation progressively narrows and eventually seals vent openings over time. This frost typically starts forming when humid air enters through damaged door seals or frequent door openings. Each layer reduces available airflow space until, eventually, no air can pass through at all. The cycle worsens itself as reduced airflow causes more moisture to condense and freeze, further sealing the vents. You’ll notice this frost first appearing around vent edges before spreading across larger freezer surfaces.
Hidden Objects You Never Noticed
Foreign objects like plastic bags, packaging materials, or loose paper can directly seal vent openings if they fall into position. In older units, accumulated dust and debris may partially obstruct airflow passages—particularly in homes with pets or high airborne particle counts. During routine cleaning, check for forgotten items that might have shifted into airflow paths since your last inspection. Even small obstructions significantly reduce the air volume moving between compartments.
Locate Your Refrigerator’s Critical Vent Openings
Finding all vent locations is essential before attempting blockage clearance. Vent positions vary dramatically depending on your refrigerator’s design—some models position vents on back walls, others on ceiling surfaces between compartments, and many incorporate multiple vents serving different airflow pathways. Top-mounted freezer designs typically direct airflow downward, while side-by-side and French door configurations employ entirely different vent positioning strategies.
How to Find Hidden Vents in Minutes
Begin by checking your Owner’s Manual for specific vent locations—most include diagrams showing exact vent positions and recommended clearance zones. If you can’t find your manual, perform a systematic inspection: run your hand along back walls in both compartments, check ceiling surfaces, and examine the divider between freezer and refrigerator sections. Vent openings often appear as slotted grilles, mesh-covered openings, or visible passages connecting the compartments. Take note of which vents feel cool to the touch—these are typically the intake openings delivering cold air from the freezer.
Mapping Airflow Pathways Prevents Future Blockages
Once identified, mentally map how air travels between vent locations. Understanding which vents intake air and which exhaust helps you recognize which areas require the most clearance during loading. Some refrigerators use directional vents that channel air along specific paths—blocking these particular openings causes more severe problems than obstructing less critical passages. This knowledge transforms how you organize your refrigerator to maintain proper airflow while maximizing storage.
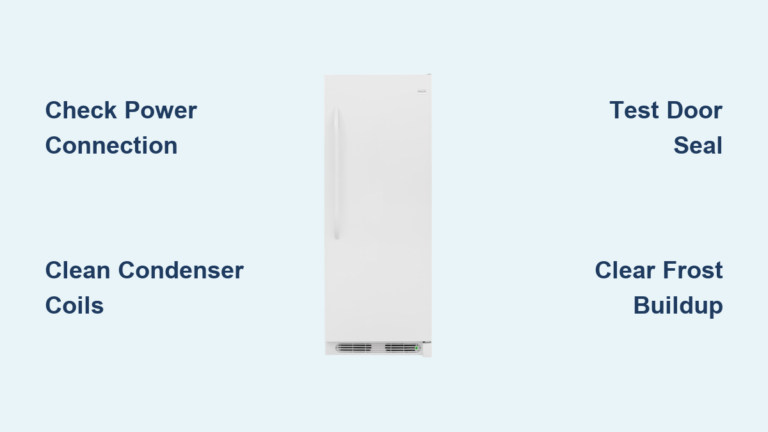
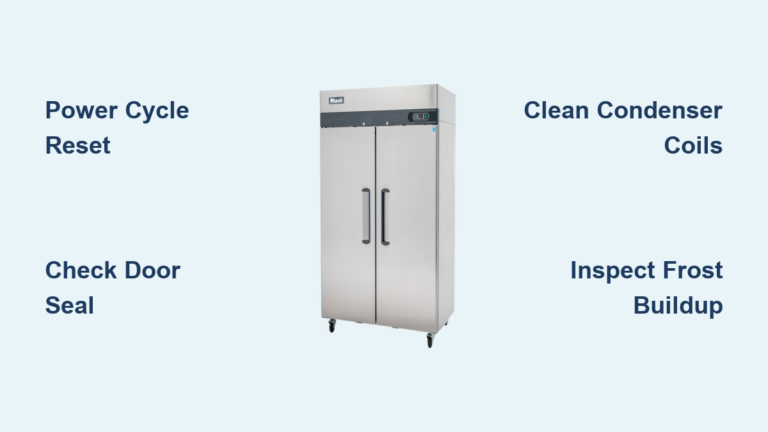
Clear Your Blocked Freezer Vent in 3 Critical Steps
Begin blockage removal by completely emptying both compartments. This gives you full access to vent locations and reveals which items contributed to the obstruction. As you remove food, check for containers positioned directly in front of, on top of, or inside vent openings. Large containers pushed against back walls are common culprits that must be relocated to create adequate clearance—typically 2-3 inches minimum around all vent openings.
Safely Remove Frost Blockages Without Damage
If frost accumulation surrounds vent openings, disconnect power and allow ice to melt completely—never use sharp objects to chip away ice, as you risk puncturing interior walls or damaging the sealed refrigeration system. Unplug the unit, leave doors open, and place towels to absorb melting water. For faster results, use a hair dryer on low heat held at least 12 inches from surfaces. Once all frost has melted and surfaces are dry, inspect vent openings to confirm complete clearance before restoring power.
Verify Airflow Restoration Immediately
After clearing obstructions, test airflow restoration by feeling for air movement at vent openings. In the refrigerator compartment, you should detect cool air entering from the freezer section at intake vents. In the freezer, warmth should be noticeable near exhaust vents as the system expels air that completed its cooling cycle. If no airflow is detectable, a deeper blockage exists within hidden ductwork requiring professional service—don’t continue troubleshooting as this risks compressor damage.
Prevent Recurring Freezer Vent Blockages for Good
Adopt proper loading techniques that maintain visible gaps around all vent locations. Avoid pushing items flush against back walls or into designated airflow pathways, even when maximizing storage space tempts you to fill every available inch. Position large containers away from vent openings, with smaller, easily moved items near critical airflow passages. This simple adjustment preserves cooling efficiency without sacrificing significant storage capacity.
Essential Monthly Maintenance Routine
Perform visual inspections of vent areas during routine cleaning sessions—this 2-minute habit prevents 80% of recurring blockage problems. Verify that items haven’t shifted into airflow paths and that no debris has accumulated around vent openings. This quick check catches developing problems before they cause significant temperature inconsistencies and energy waste. Pair this with door seal maintenance—clean seals with mild detergent and check for cracks—to reduce frost-related blockages by limiting humid air entry.
Warning Signs You Need Professional Repair
Persistent frost accumulation that returns within days after clearing indicates a serious underlying issue beyond simple blockage. This problem often stems from door seal failures, temperature control malfunctions, or defrost system issues requiring component replacement. If you’ve cleared all visible obstructions but airflow remains undetectable, the blockage likely exists within hidden ductwork—you’ll need specialized tools and knowledge to access these areas safely.
When Blockages Damage Critical Components
Unusual sounds like loud compressor cycling, grinding, or clicking combined with temperature problems suggest your freezer vent blocked has overstressed system components. Extended blockage periods force the compressor and fan motors to operate under dangerous load conditions, potentially causing irreparable damage. Don’t risk further harm—schedule professional service when you notice these warning signs alongside airflow issues.
How Clear Vents Slash Your Energy Bills

Blocked vents force your refrigerator to run 30-50% longer to achieve target temperatures, directly increasing your electricity costs. The compressor activates more frequently and operates extended cycles to compensate for restricted airflow—a relationship where blockage severity directly correlates with energy penalty. This increased runtime not only elevates utility bills but also accelerates component wear across the entire system.
Restoring proper airflow preserves both energy efficiency and equipment longevity. The minimal time investment required to clear obstructions and maintain proper loading practices pays immediate dividends through lower utility bills and delayed replacement costs. Regular attention to vent areas represents one of the most cost-effective maintenance tasks for any refrigerator owner.
Reset Temperatures After Clearing Your Blocked Vent
After resolving your freezer vent blocked issue, allow 24 hours for the system to stabilize before evaluating temperature settings. The cooling system needs time to reach equilibrium temperatures throughout both compartments—premature adjustments based on readings taken before stabilization lead to over-correction. Patience during this settling period produces reliable results and prevents accidental overcooling.
If adjustments become necessary after stabilization, make single-increment changes and wait another 24 hours before assessing results. Move the temperature control one setting colder, then monitor performance. Repeat this methodical approach until desired temperatures are achieved—dramatic shifts create their own problems including excessive frost formation and frozen food in the refrigerator compartment. Most units function perfectly with factory preset settings once airflow is restored.