Freezer Side Not Working: Quick Fix Tips
Your refrigerator’s freezer side not working properly sends immediate panic—especially when you open the door to find thawing food after just 10 hours of failure. That unsettling warmth inside what should be a frozen environment means potential hundreds of dollars in spoiled groceries if you don’t act quickly. The good news? Most freezer side not working issues stem from simple, fixable problems rather than catastrophic failures. This guide shows you exactly how to diagnose and potentially repair your malfunctioning freezer without calling a technician immediately.
Before you start disassembling components, understand that your side-by-side refrigerator relies on precise airflow and temperature control. Cold air generated by the evaporator coils gets distributed through vents, typically located at the top of the freezer compartment. When this system breaks down, the freezer warms even if the compressor appears to be running normally. Whether you own a Whirlpool WRS325SDHZ01 or another side-by-side model, these targeted troubleshooting steps will help you identify the root cause efficiently.
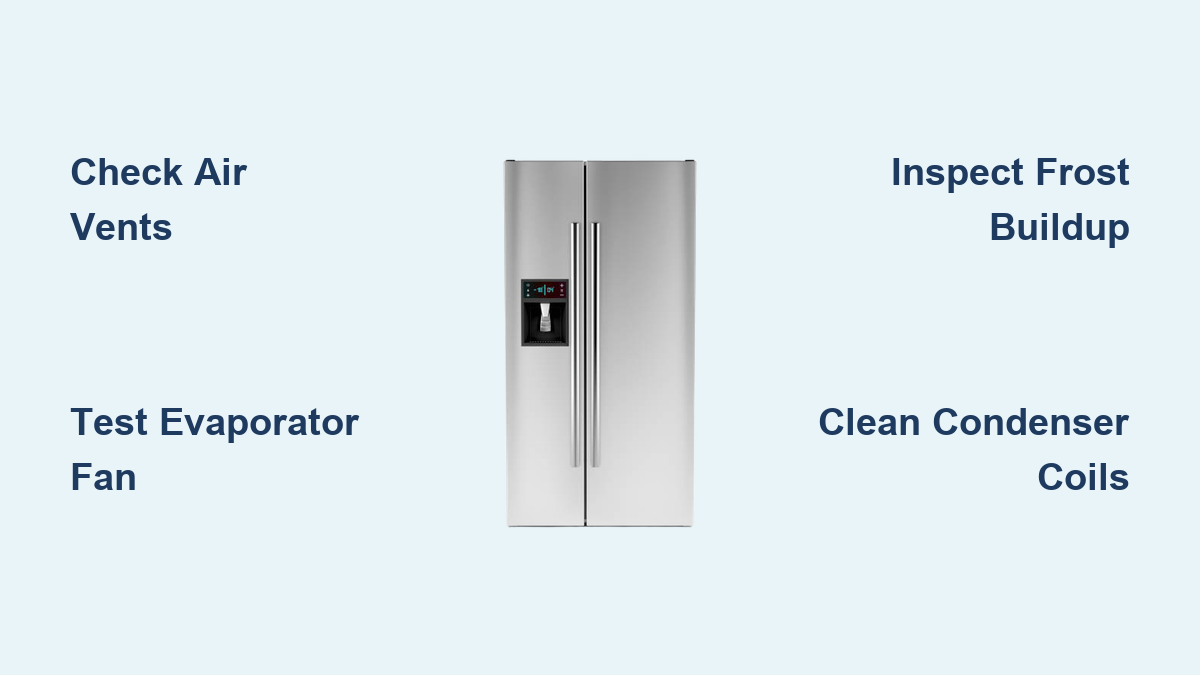
Locate and Test Your Freezer’s Air Vents Immediately

Your freezer side not working symptoms often begin with blocked or malfunctioning air vents. These critical pathways, usually positioned at the very top of the freezer wall, direct cold air toward the ice maker before circulating it throughout the compartment. Without proper airflow, even a functioning refrigeration system can’t maintain freezing temperatures.
Identify the Correct Vent Location in Your Freezer
Many homeowners waste time checking the wrong areas when diagnosing freezer side not working issues. The primary air vents in side-by-side models like the Whirlpool WRS325SDHZ01 sit flush against the upper freezer wall, often partially obscured by stored items. Rearrange your freezer contents to expose the entire back wall and upper corners—this reveals whether cold air is actually flowing from these critical outlets.
If you’re unsure whether you’re feeling air from the proper vent, press your palm against the upper wall for 10-15 seconds. You should detect consistent cold airflow. No sensation of moving air indicates either a failed evaporator fan or complete system failure, requiring immediate further investigation.
Activate the Evaporator Fan Manually
When you don’t feel adequate airflow, try this quick diagnostic trick: press and hold the freezer door switch for 30 seconds. This simulates a closed door condition, forcing the evaporator fan to run continuously. You’ll hear the fan motor engage if this component is functional. If you suddenly feel cold air during this test, your door switch likely needs replacement—a $15 part that takes minutes to install.
Pro Tip: If severe weather recently affected your area, power surges may have disrupted electronic controls. Unplug your refrigerator for 5 minutes to reset the system before proceeding with other tests.
Check Compressor Operation Before Panicking
The compressor—easily identified as a black steel ball at the rear bottom of your unit—powers your entire refrigeration system. When your freezer side not working persists despite the compressor running, you face different issues than when the compressor remains silent. This critical distinction determines your next troubleshooting steps.
Verify Compressor Activity Safely
Pull your refrigerator away from the wall (unplugging first for safety) and locate the compressor. Place your hand near—but not directly on—the unit to feel for vibration. A functioning compressor emits a steady hum and noticeable vibration. If you detect neither sound nor movement, your problem likely involves the starting relay or power supply rather than refrigerant issues.
Warning: Never touch the compressor directly when diagnosing freezer side not working problems. If operational, it becomes extremely hot—potentially causing serious burns. Use the back of your hand to feel for heat from a safe distance.
Test the Starting Relay Component
The small black relay attached to the compressor’s side represents the most common failure point when your freezer side not working but the unit still powers on. This inexpensive component ($10-$20) often fails before the compressor itself. Carefully remove the relay (it snaps off) and take it to an appliance parts store for testing or immediate replacement.
Note: If replacing the relay restores cooling, you’ve saved yourself a costly service call. If the compressor still won’t start, professional diagnosis becomes necessary as the compressor itself may have failed.
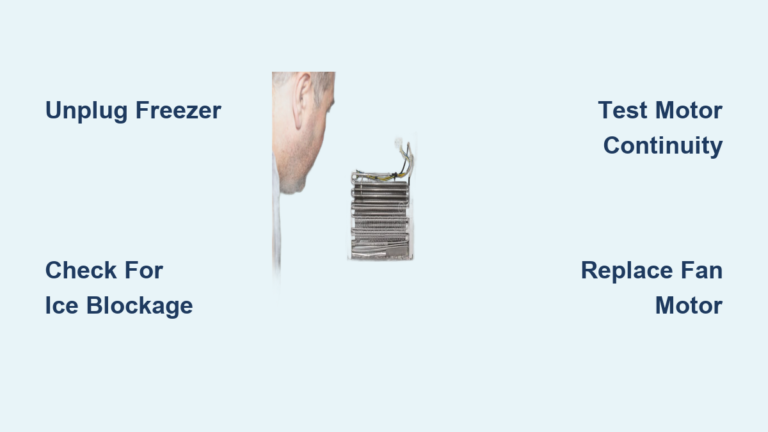
Diagnose Frost Buildup Blocking Critical Airflow

Excessive frost accumulation on your freezer’s back wall frequently causes freezer side not working symptoms by insulating the evaporator coils. This ice barrier prevents proper heat exchange, rendering even a running system ineffective at maintaining freezing temperatures.
Inspect Evaporator Coils for Ice Blockage
Remove all freezer contents and shelves to expose the entire back wall. Look for frost covering more than 25% of the surface—this indicates defrost system failure. In Whirlpool WRS325SDHZ01 models, this typically means either the defrost heater or thermostat has failed, preventing automatic ice melt during normal operation cycles.
If you discover significant frost, unplug the unit and allow it to defrost completely (this may take 24-48 hours). If cooling resumes temporarily after defrosting but fails again within days, you’ve confirmed a defrost system problem requiring component replacement.
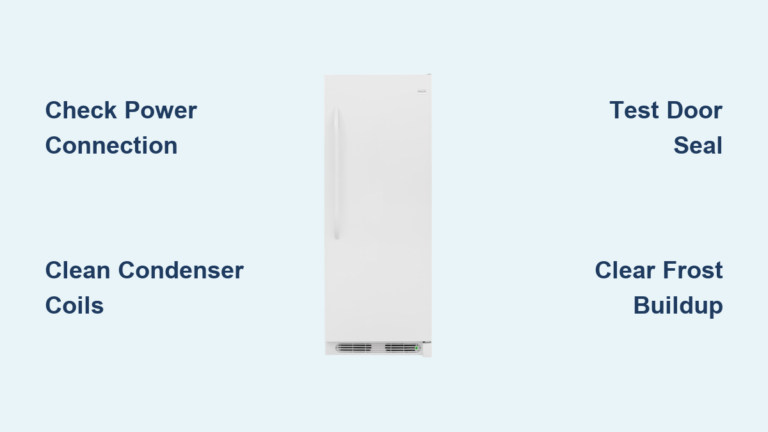
Clean Condenser Coils to Restore Efficiency
Dirty condenser coils force your refrigerator to work harder, eventually causing cooling failure in the freezer compartment. These coils, usually visible at the bottom rear of your unit, release heat from the refrigeration system. When clogged with dust and pet hair, they can’t dissipate heat properly.
Use a specialized coil brush (available at hardware stores) to gently clean these coils. For models with rear access panels, remove the cover before cleaning. This 15-minute maintenance task resolves gradual cooling degradation in 30% of freezer side not working cases.
Determine If Refrigerant Loss Is Causing Failure

When your compressor runs but the freezer side not working continues, refrigerant leakage represents the most serious potential cause. This sealed system problem requires professional repair but can be preliminarily diagnosed through specific observations.
Identify Refrigerant Leak Symptoms
Listen for hissing sounds near the compressor area—this may indicate escaping refrigerant gas. Check if the compressor runs continuously without achieving proper temperatures, or if certain cabinet areas feel unusually warm. These signs suggest insufficient refrigerant levels due to system breach.
Important: Never attempt DIY refrigerant repairs. Handling refrigerants requires EPA certification due to environmental regulations and safety hazards. If you suspect a leak, contact a professional immediately.
Differentiate Between Refrigerant and Electronic Failures
Recent power surges from storms frequently damage electronic control boards, mimicking refrigerant problems. If your freezer stopped working during or immediately after severe weather, unplug the unit for 10 minutes to reset the electronics. If cooling doesn’t resume, examine the control panel for error codes or blank displays indicating board failure.
Whirlpool WRS325SDHZ01 owners should note that electronic thermostat failures often present identical symptoms to refrigerant issues—only professional diagnostics can confirm the actual problem.
Execute These Critical Checks Before Calling for Service
Before spending $150+ on a technician visit, complete these final verification steps that address 80% of freezer side not working scenarios:
Confirm Proper Temperature Settings
- Verify freezer control is set to 0°F (-18°C)
- Reset temperature controls to default settings
- Check for accidental activation of ” vacation mode” or similar features
Inspect Door Seals and Switches
- Test door seals by closing them on dollar bills—if you pull the bill out easily, replace the gasket
- Ensure door switches aren’t obstructed by food containers
- Clean switch contacts with isopropyl alcohol if sticky
Evaluate Power Supply Stability
- Plug refrigerator directly into wall outlet (no extension cords)
- Test outlet with another appliance to confirm proper voltage
- Install a surge protector if your area experiences frequent power fluctuations
When Professional Service Becomes Necessary
Certain freezer side not working scenarios require certified technicians. Call for professional help if:
– You’ve replaced the starting relay but compressor still won’t run
– Frost reappears within 48 hours after manual defrosting
– You hear refrigerant hissing or notice oil streaks near tubing
– Control board displays error codes or remains completely blank
Pro Tip: When scheduling service, provide your exact model number (WRS325SDHZ01 for Whirlpool owners) and document all troubleshooting steps you’ve already completed. This information helps technicians arrive prepared with correct parts, potentially reducing your service call duration and cost.
Prevent Future Freezer Failures With These Maintenance Habits
Keep your freezer running reliably by implementing these simple preventative measures:
– Clean condenser coils every 6 months using a specialized brush
– Leave 2 inches of space between freezer walls and stored items for proper airflow
– Check door seals quarterly by performing the dollar bill test
– Monitor internal temperature weekly with an independent thermometer
Critical Reminder: Never ignore early warning signs like unusual noises, inconsistent cooling, or excessive frost. Addressing minor issues promptly prevents most catastrophic freezer side not working failures. By following these steps, you’ll extend your refrigerator’s lifespan and avoid costly replacements or spoiled food emergencies.