Freezer Not Freezing Meat? Here’s How to Fix It
You open your freezer to store tonight’s dinner only to find your meat isn’t freezing properly—perhaps it’s soft, partially thawed, or covered in frost. This common household headache can ruin your groceries and create food safety concerns overnight. When your freezer isn’t freezing meat as it should, it’s not just inconvenient; it’s potentially costly and risky for your family’s health. The good news is that most cooling problems have straightforward solutions you can tackle yourself before calling for expensive repairs.
This guide provides actionable steps to diagnose why your freezer isn’t freezing meat effectively and restore proper cooling function. Whether your freezer stopped working suddenly or has been gradually losing power, you’ll learn how to identify the culprit and implement practical fixes that could save your food and extend your appliance’s lifespan.
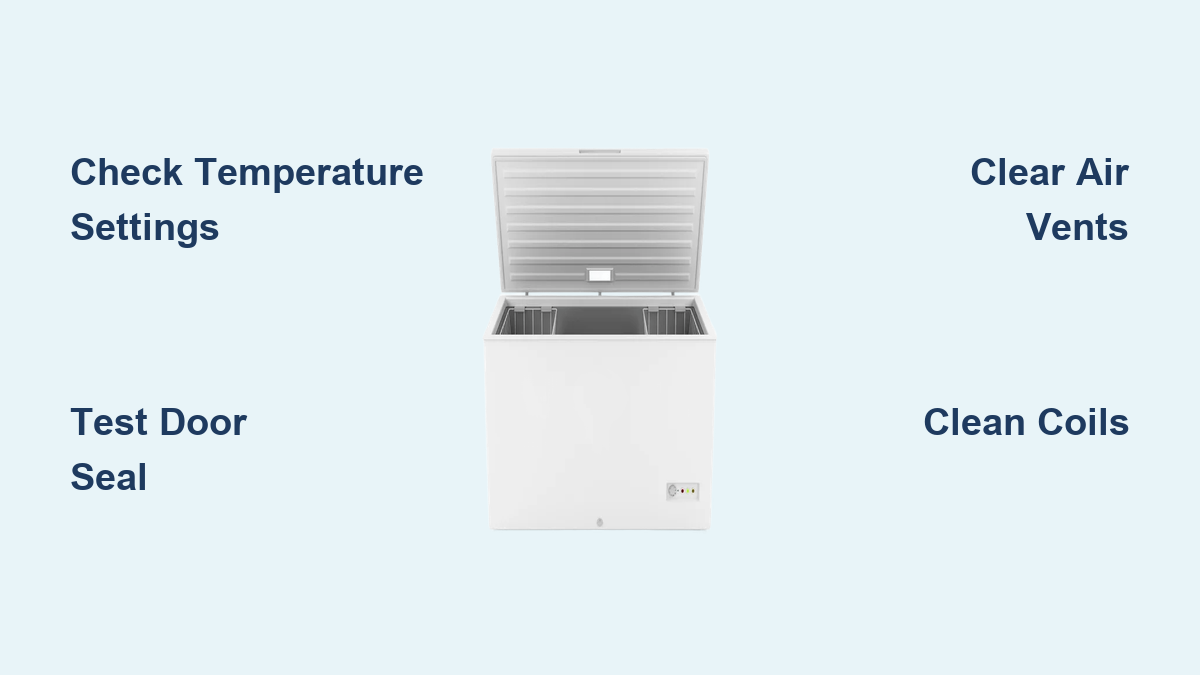
Confirm Your Freezer’s Temperature Settings Are Correct
Before assuming mechanical failure, verify your freezer’s temperature control hasn’t been accidentally adjusted. Many freezers come with dials marked from 1-7 or 1-9, where higher numbers indicate colder settings. Others feature digital displays showing exact temperatures. The ideal temperature for freezing meat safely is 0°F (-18°C) or below.
Check your control panel immediately—someone may have bumped the dial during cleaning or while organizing. If using a numbered dial, set it to the middle position (typically 4 or 5) and wait 24 hours before rechecking. For digital models, ensure the display shows 0°F or lower. Remember that temperature changes take time to stabilize; rushing to judgment after just a few hours leads many homeowners to unnecessary service calls.
Pro Tip: Place an independent thermometer in a glass of water inside your freezer. Built-in thermometers often malfunction, giving false readings that make you think your freezer isn’t freezing meat when it actually is. Check this thermometer after 24 hours to verify actual internal temperature.
Test Your Freezer Door Seal for Air Leaks
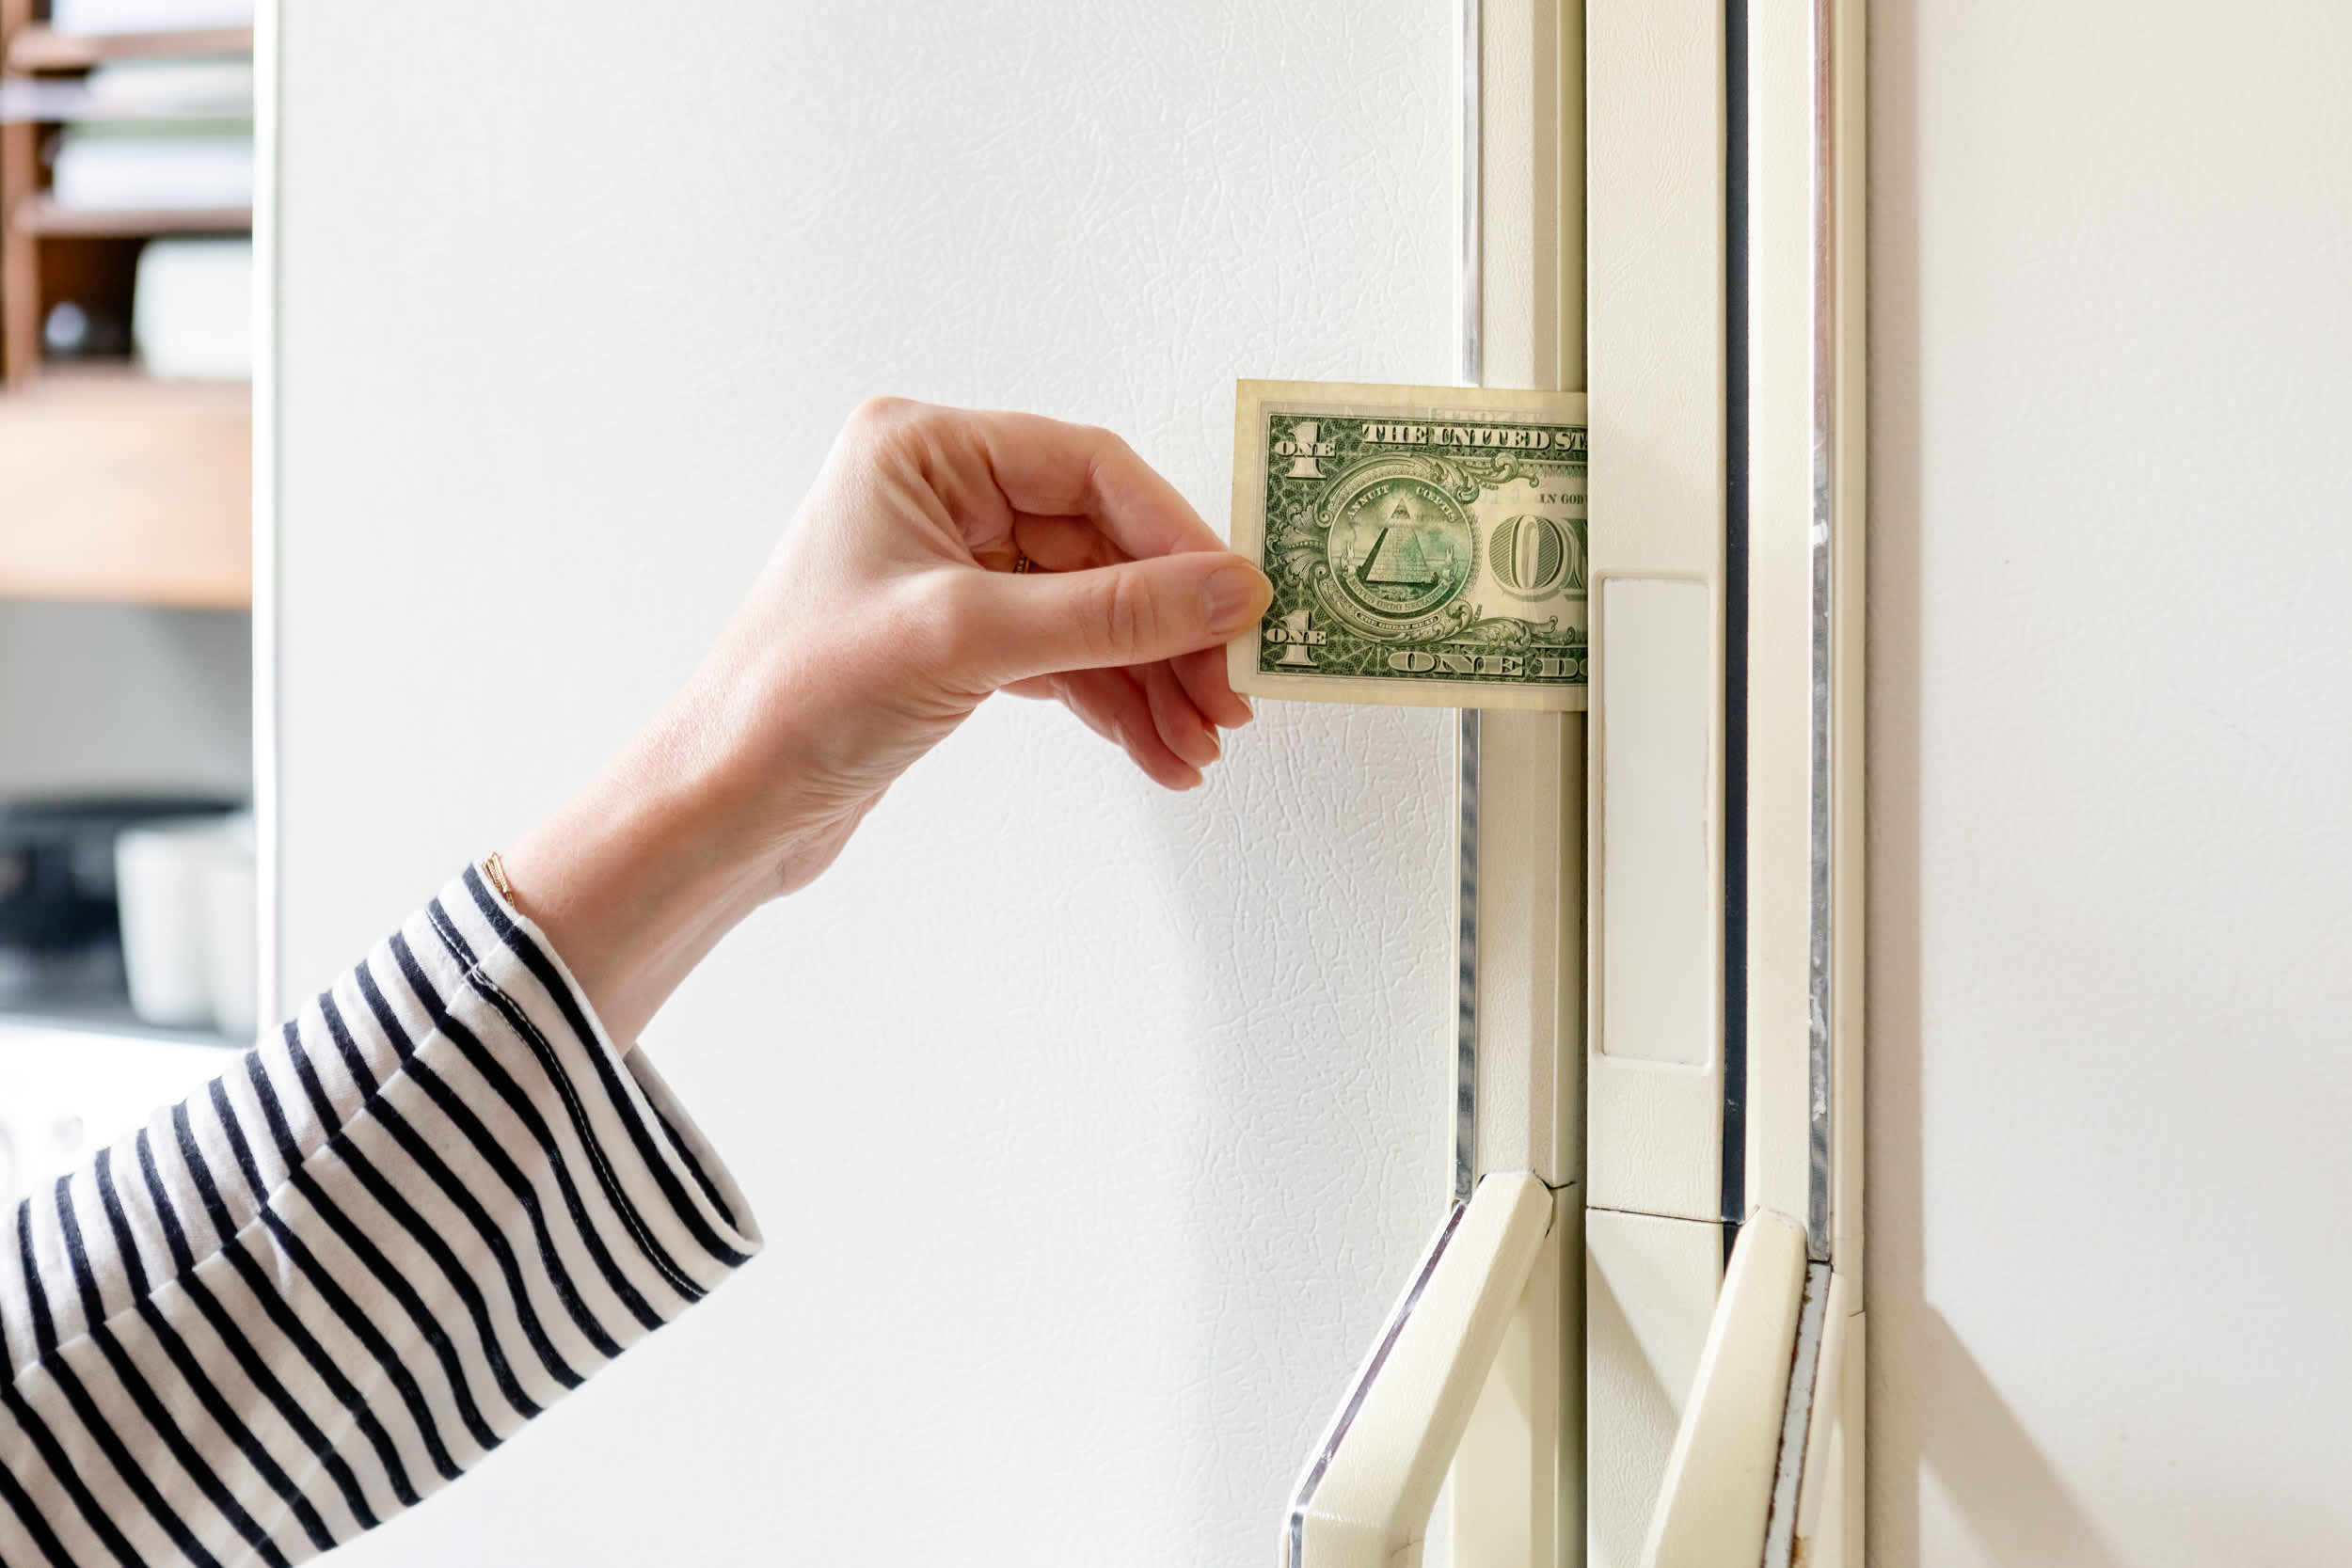
A compromised door seal lets warm, humid air enter your freezer, preventing it from maintaining freezing temperatures. This common issue causes uneven cooling where some areas freeze while others—particularly near the door—fail to freeze meat properly.
Perform the dollar bill test: Close a bill in the door seal at various points around the perimeter. If you can pull it out easily without resistance, the seal isn’t tight enough. Pay special attention to corners where seals often fail first. Also look for visible cracks, tears, or gaps in the rubber gasket material.
Critical Fix: Clean the seal with warm, soapy water and a soft cloth, removing any food debris or ice buildup preventing proper closure. For stubborn residue, use a vinegar-water solution. If cleaning doesn’t restore the seal, replace the gasket—most cost under $50 and install in 30 minutes with basic tools. A proper seal should require noticeable effort to pull the dollar bill free.
Clear Blocked Air Vents to Restore Proper Circulation
Your freezer relies on strategic airflow to maintain consistent temperatures throughout. When vents become blocked by food packages or excessive frost buildup, cold spots develop while other areas—particularly where you store meat—fail to freeze properly.
Locate your freezer’s air vents—they’re typically positioned on the back wall or ceiling of the compartment. Check for obstructions like frozen packages pressed against vents or frost accumulation restricting airflow. Rearrange items to maintain at least 2 inches of clearance around all vents.
Quick Solution: During your next defrost cycle, use a soft brush to gently clear any frost buildup from vent openings. Avoid using sharp objects that could damage the vent system. Properly spaced items allow cold air to circulate freely, ensuring even freezing throughout the compartment.
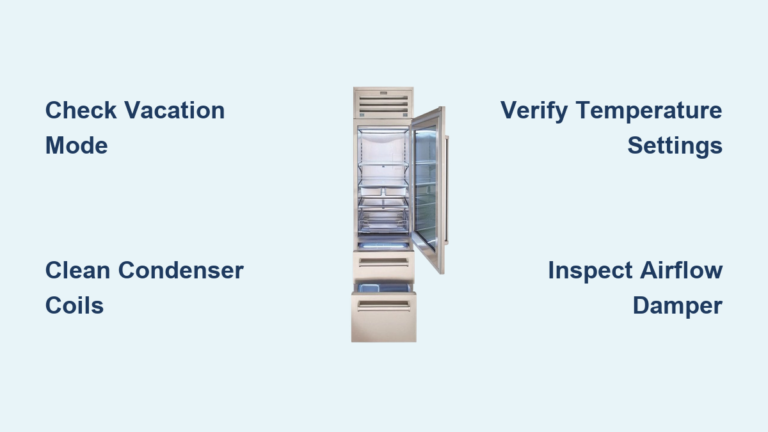
Clean Dirty Condenser Coils for Better Cooling Performance

Condenser coils release heat absorbed from inside your freezer. When covered in dust, pet hair, or debris, they can’t dissipate heat efficiently, causing your freezer to work harder while failing to freeze meat properly.
Find your condenser coils—they’re usually located either on the back of the unit or behind the front kickplate. For rear coils, carefully pull the freezer away from the wall (get help if needed). For bottom coils, remove the kickplate by unscrewing or unclipping it.
Step-by-Step Cleaning:
1. Unplug your freezer completely
2. Use a coil cleaning brush (available at hardware stores) to gently remove debris
3. For stubborn buildup, use a vacuum with brush attachment
4. Be extremely gentle—bent coil fins reduce efficiency
5. Plug back in and monitor temperature over 24 hours
Warning: Dirty coils force your compressor to run longer cycles, potentially causing permanent damage. Clean coils every 6-12 months—more often if you have pets.
Check Your Evaporator Fan for Proper Operation
The evaporator fan circulates cold air throughout your freezer compartment. If it fails, temperatures become uneven—your freezer might feel cold near the coils but fail to freeze meat in other areas.
Listen for the fan when you close the door—it should run continuously. No sound or intermittent operation indicates potential failure. Access typically requires removing the back interior panel (unplug first for safety).
Diagnostic Steps:
– Check for ice buildup blocking fan blades
– Manually spin the fan—if it doesn’t turn freely, replace it
– Look for frost patterns indicating poor airflow
– Verify fan operation matches compressor cycles
Expert Note: A failing fan often produces unusual noises—grinding, squealing, or clicking. Replacement costs $80-$150 for parts and labor, making it one of the more affordable repairs when your freezer isn’t freezing meat.
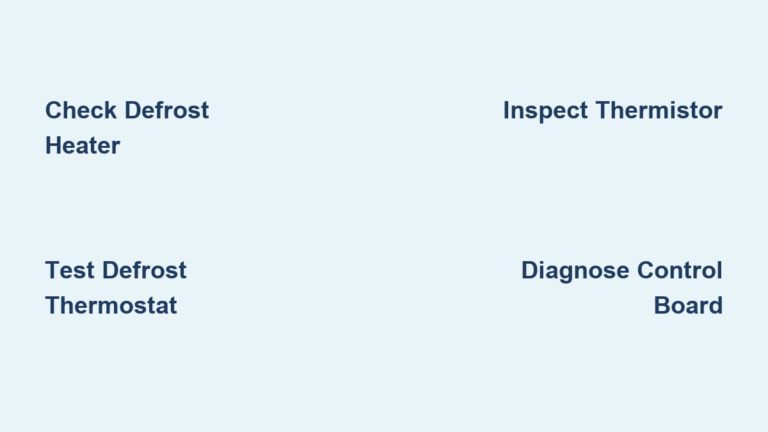
Investigate Defrost System Malfunctions

A faulty defrost system causes excessive frost buildup on evaporator coils, insulating them from the freezer air. This common problem makes your freezer work harder while failing to maintain proper freezing temperatures.
Signs of defrost system failure include:
– More than 1/4 inch of frost on interior walls
– Water pooling beneath the freezer
– Constant compressor operation without adequate cooling
– Visible ice “blanketing” the evaporator coils
Troubleshooting Approach:
1. Manually initiate a defrost cycle if your model allows
2. Check for continuity in the defrost heater with a multimeter
3. Test the defrost thermostat’s operation
4. Verify the defrost timer is advancing properly
Important: Defrost system repairs require electrical knowledge. If uncomfortable working with components, call a professional—incorrect handling can create safety hazards.
Verify Power Supply Issues Before Assuming Mechanical Failure
Sometimes the simplest explanation solves the problem: your freezer isn’t receiving proper power. Before diagnosing complex cooling issues, eliminate basic electrical problems.
Power Check Protocol:
– Plug a working lamp into the same outlet
– Check for tripped circuit breakers
– Inspect the power cord for damage or loose connections
– Test GFCI outlets that may have tripped
– Verify any reset buttons on the plug are engaged
Critical Safety Note: Never use extension cords with freezers—they can’t handle the required power load and create fire hazards. Always plug directly into a dedicated circuit.
Evaluate Freezer Placement and Ambient Temperature
Where you position your freezer significantly impacts its ability to maintain freezing temperatures. Many homeowners unknowingly place freezers in environments outside their operational range.
Optimal Placement Guidelines:
– Maintain 3 inches clearance around sides and back
– Avoid direct sunlight or proximity to heat sources
– Never place near ovens, dishwashers, or heating vents
– Ensure ambient room temperature stays between 50-110°F
Garage Warning: Standard freezers struggle in unheated garages during winter (below 50°F) because the compressor doesn’t cycle enough to maintain freezing temperatures. Consider a garage-ready model if temperature extremes are unavoidable.
Recognize When to Call a Professional Repair Service
While many freezer issues are DIY-friendly, some situations require professional expertise. Knowing when to call for help prevents further damage and ensures safety.
Call a Technician When:
– You suspect refrigerant leaks (hissing sounds, oil residue)
– Compressor shows signs of failure (overheating, unusual noises)
– Electrical components show burn marks or damage
– Digital control boards malfunction
– Repairs exceed 50% of replacement cost
Smart Hiring Tips:
– Get multiple quotes before authorizing repairs
– Verify technician certifications and insurance
– Ask about warranty coverage on parts and labor
– Consider age of appliance—repair rarely makes sense for units over 10 years old
Implement Preventive Maintenance to Avoid Future Failures
Regular maintenance prevents most causes of a freezer not freezing meat. A few simple habits extend your appliance’s life and ensure consistent performance.
Monthly Maintenance Routine:
– Wipe door seals with vinegar solution to maintain flexibility
– Check temperature with external thermometer
– Remove excess frost before it builds up
– Organize contents to maintain proper airflow
Seasonal Tasks:
– Clean condenser coils thoroughly
– Inspect door gasket for early signs of wear
– Verify proper leveling (affects door seal)
– Check drain hole for blockages (if applicable)
Proven Prevention Strategy: Keep your freezer at least 70% full—items help maintain stable temperatures during door openings. Use water jugs to fill empty space when needed.
When your freezer isn’t freezing meat properly, systematic troubleshooting saves both food and money. Most cooling problems stem from simple issues like incorrect settings, blocked airflow, or compromised door seals—problems you can fix in under an hour with basic tools. By following these diagnostic steps and implementing regular maintenance, you’ll keep your freezer operating efficiently for years to come, ensuring your meat stays safely frozen and ready for mealtime. Remember that when in doubt about electrical or refrigerant components, professional assistance is always the safest choice.