Freezer Freezing Over: Quick Fix Guide
Opening your freezer only to discover thick layers of ice coating every surface transforms a simple chore into a frustrating battle. That solid sheet of ice on the floor, frost creeping up the walls, and frozen packages welded together signal more than just inconvenience—it means your appliance is working overtime while wasting energy. Most freezer freezing over issues stem from identifiable causes that you can often resolve without calling a repair technician. Understanding why frost accumulates faster than your “frost-free” system can handle empowers you to take immediate action and restore your freezer’s efficiency.
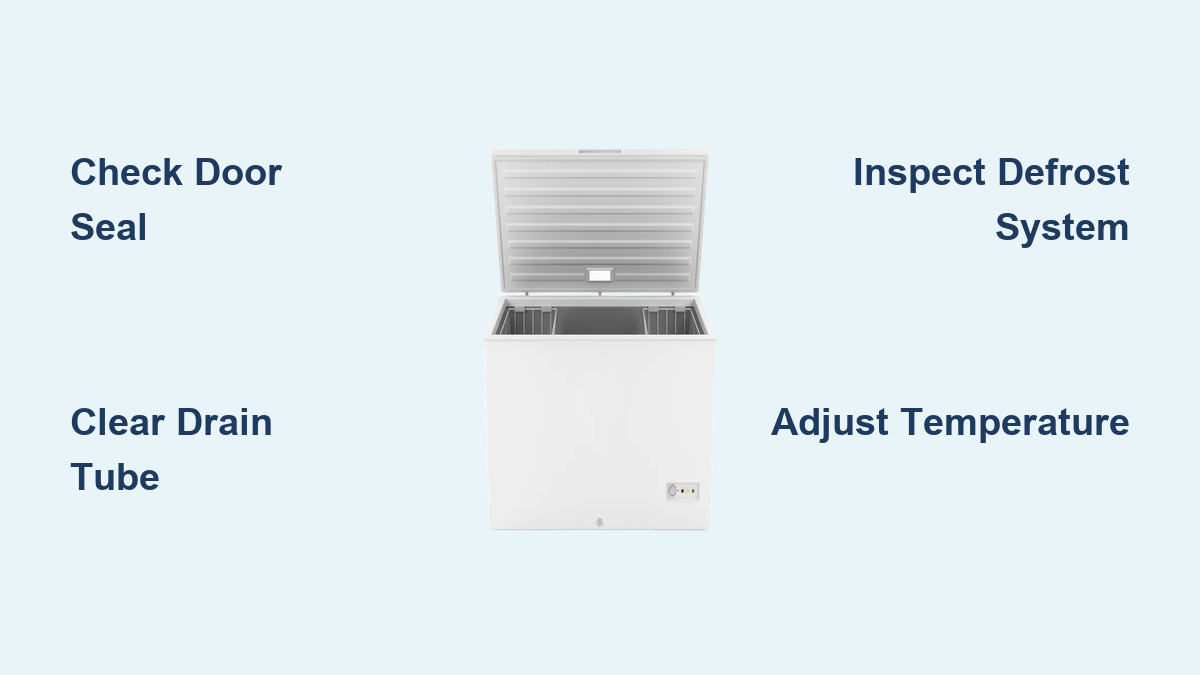
This guide delivers targeted solutions for the most common reasons freezers develop excessive ice buildup. You’ll learn how to diagnose whether the problem stems from your door seal, defrost system, or drain tube—and get step-by-step instructions to fix it. Whether you’re dealing with a thin layer of frost or a solid ice block, these practical fixes will have your freezer functioning properly again within hours.
Why Your Frost-Free Freezer Forms Ice Buildup
Modern freezers labeled “frost-free” still experience frost formation—it’s how they manage this frost that makes the difference. When your freezer starts freezing over, it means the defrost system can’t keep up with moisture entering the compartment.
How Your Freezer’s Defrost System Fails
Your freezer’s evaporator coils—the hidden cooling elements behind the back wall—naturally attract moisture from humid air that enters when you open the door. In proper operation, these coils periodically warm up just enough to melt accumulated frost. The resulting water flows through a drain tube to an evaporation pan beneath the unit. When any component in this cycle fails—defrost heater, thermostat, or control board—frost accumulates faster than it can melt, leading to that familiar ice buildup.
Early Warning Signs of Defrost Failure
Frost first forms on the hidden evaporator coils before becoming visible on your freezer’s back wall. A clicking sound from your circulation fan indicates frost has thickened enough to interfere with the blades—a clear signal your defrost system needs attention. Don’t wait until ice completely blocks airflow; these early symptoms mean frost has already insulated your cooling coils, forcing your compressor to work harder and increasing your energy bill.
Door Seal Problems Causing Ice Accumulation
Your freezer’s door gasket forms the critical barrier against warm, moist air. Even minor seal failures introduce enough humidity to trigger significant frost formation.
Spotting Seal Failure Before Ice Takes Over
Ice forming along the door’s edges, sides, or top signals air infiltration past a compromised seal. Water droplets on the inside of the door frame or near the freezer opening confirm this problem. These moisture patterns reveal exactly where warm air enters your freezer—typically where the rubber gasket has cracked, torn, or become misaligned.
Quick Seal Maintenance That Prevents Freezing
Test your seal by closing the door on a dollar bill at various points around the perimeter. If you can pull the bill out easily without resistance, your seal needs attention. Clean both the gasket and its mating surface with mild detergent to remove crumbs and spills that prevent a tight closure. Check for obstructions inside the freezer—like plastic bags lying across the seal or containers blocking full closure—that compromise the seal’s effectiveness.
Defrost System Diagnosis and Repair

When your freezer’s automatic defrost cycle fails, frost accumulates relentlessly. Identifying which component has failed saves you time and unnecessary repairs.
Critical Components That Fail Most Often
The defrost heater, thermostat, and temperature sensors work together to melt frost at regular intervals. In many models, the defrost thermostat shares wiring with the circulation fan, meaning one failed component can disable multiple functions. Modern freezers use electronic control boards instead of mechanical timers, making diagnosis more complex but the symptoms equally obvious through visible frost patterns.
Simple Test to Confirm Defrost System Failure
Hold your freezer door switch (the button that turns on the light when you open the door) while the compressor runs. Listen carefully to the circulation fan—it should stop when you hold the switch. If the fan runs continuously or makes clicking noises, frost has likely built up enough to interfere with the blades. Visible frost on the back wall—not just on food packaging—confirms your defrost system isn’t keeping up with normal operation.
Fix a Clogged Drain Tube Causing Floor Ice
That solid sheet of ice on your freezer floor typically stems from a blocked drain tube preventing melted frost from escaping.
Identifying Drain Tube Blockage
A thick layer of ice forming specifically on the freezer floor—especially near the door—points directly to a clogged drain. You might also notice water dripping onto your kitchen floor as the ice sheet expands toward the front. The blockage is often just a small piece of debris or a bit of ice that has formed in the tube.
Clearing the Drain Without Professional Help
Locate the drain hole inside your freezer (usually on the floor near the back wall). Use a pipe cleaner or soft brush to gently remove visible obstructions, then flush with warm water to melt any ice blockages. For stubborn clogs, a mixture of warm water and baking soda clears residue while neutralizing odors. Some models require accessing the drain tube from the back of the appliance, so consult your manual for specific location details.
Optimize Temperature Settings to Prevent Frost
Incorrect temperature control creates conditions where moisture condenses and freezes more readily inside your freezer compartment.
Setting the Right Temperature
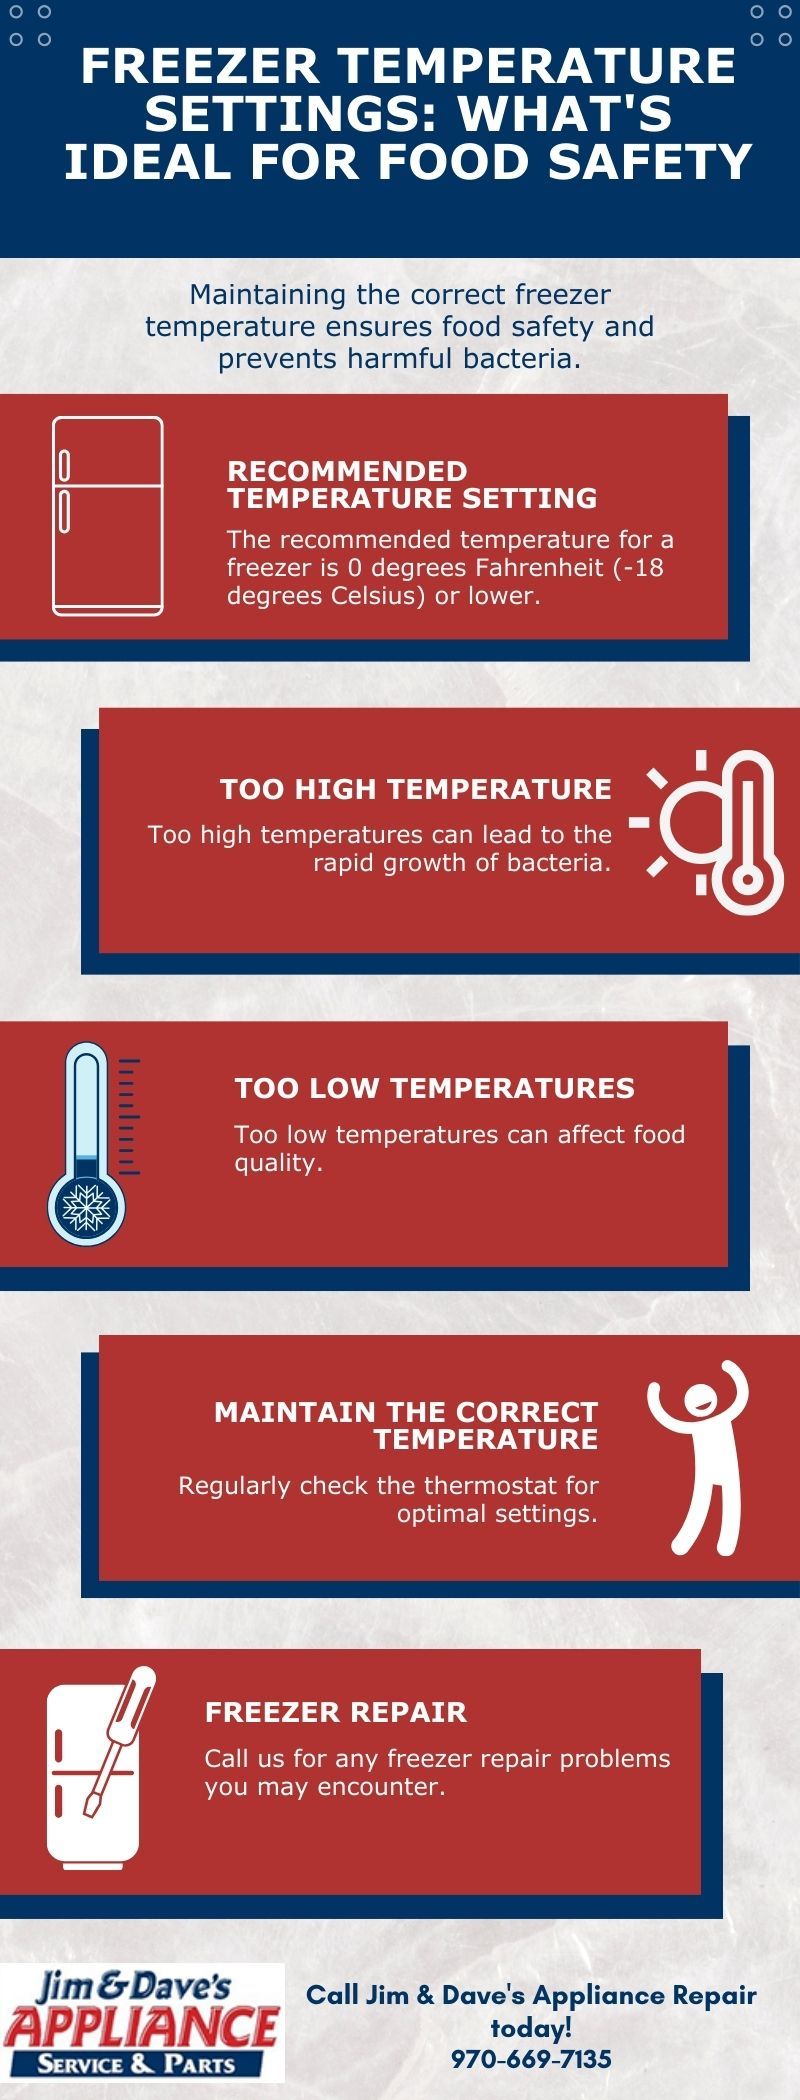
For electronic controls, set your freezer to 0°F—the ideal balance between food safety and frost prevention. If your freezer uses a dial (typically numbered 1-10), set it between 4 and 6, where 1 is warmest and 10 is coldest. Setting it too warm allows unfrozen moisture to circulate, while extremely cold settings accelerate frost formation without improving food preservation.
Verifying Actual Temperature
After adjusting settings, wait 24 hours before evaluating results. Place an appliance thermometer in the center of your freezer to verify the actual temperature matches your setting. Temperature fluctuations often occur when doors open frequently or when freezers become overloaded, so consider these factors before making further adjustments.
Improve Airflow to Stop Uneven Frost Formation
Proper air circulation prevents cold spots where frost accumulates rapidly while other areas remain too warm.
Organizing for Maximum Efficiency
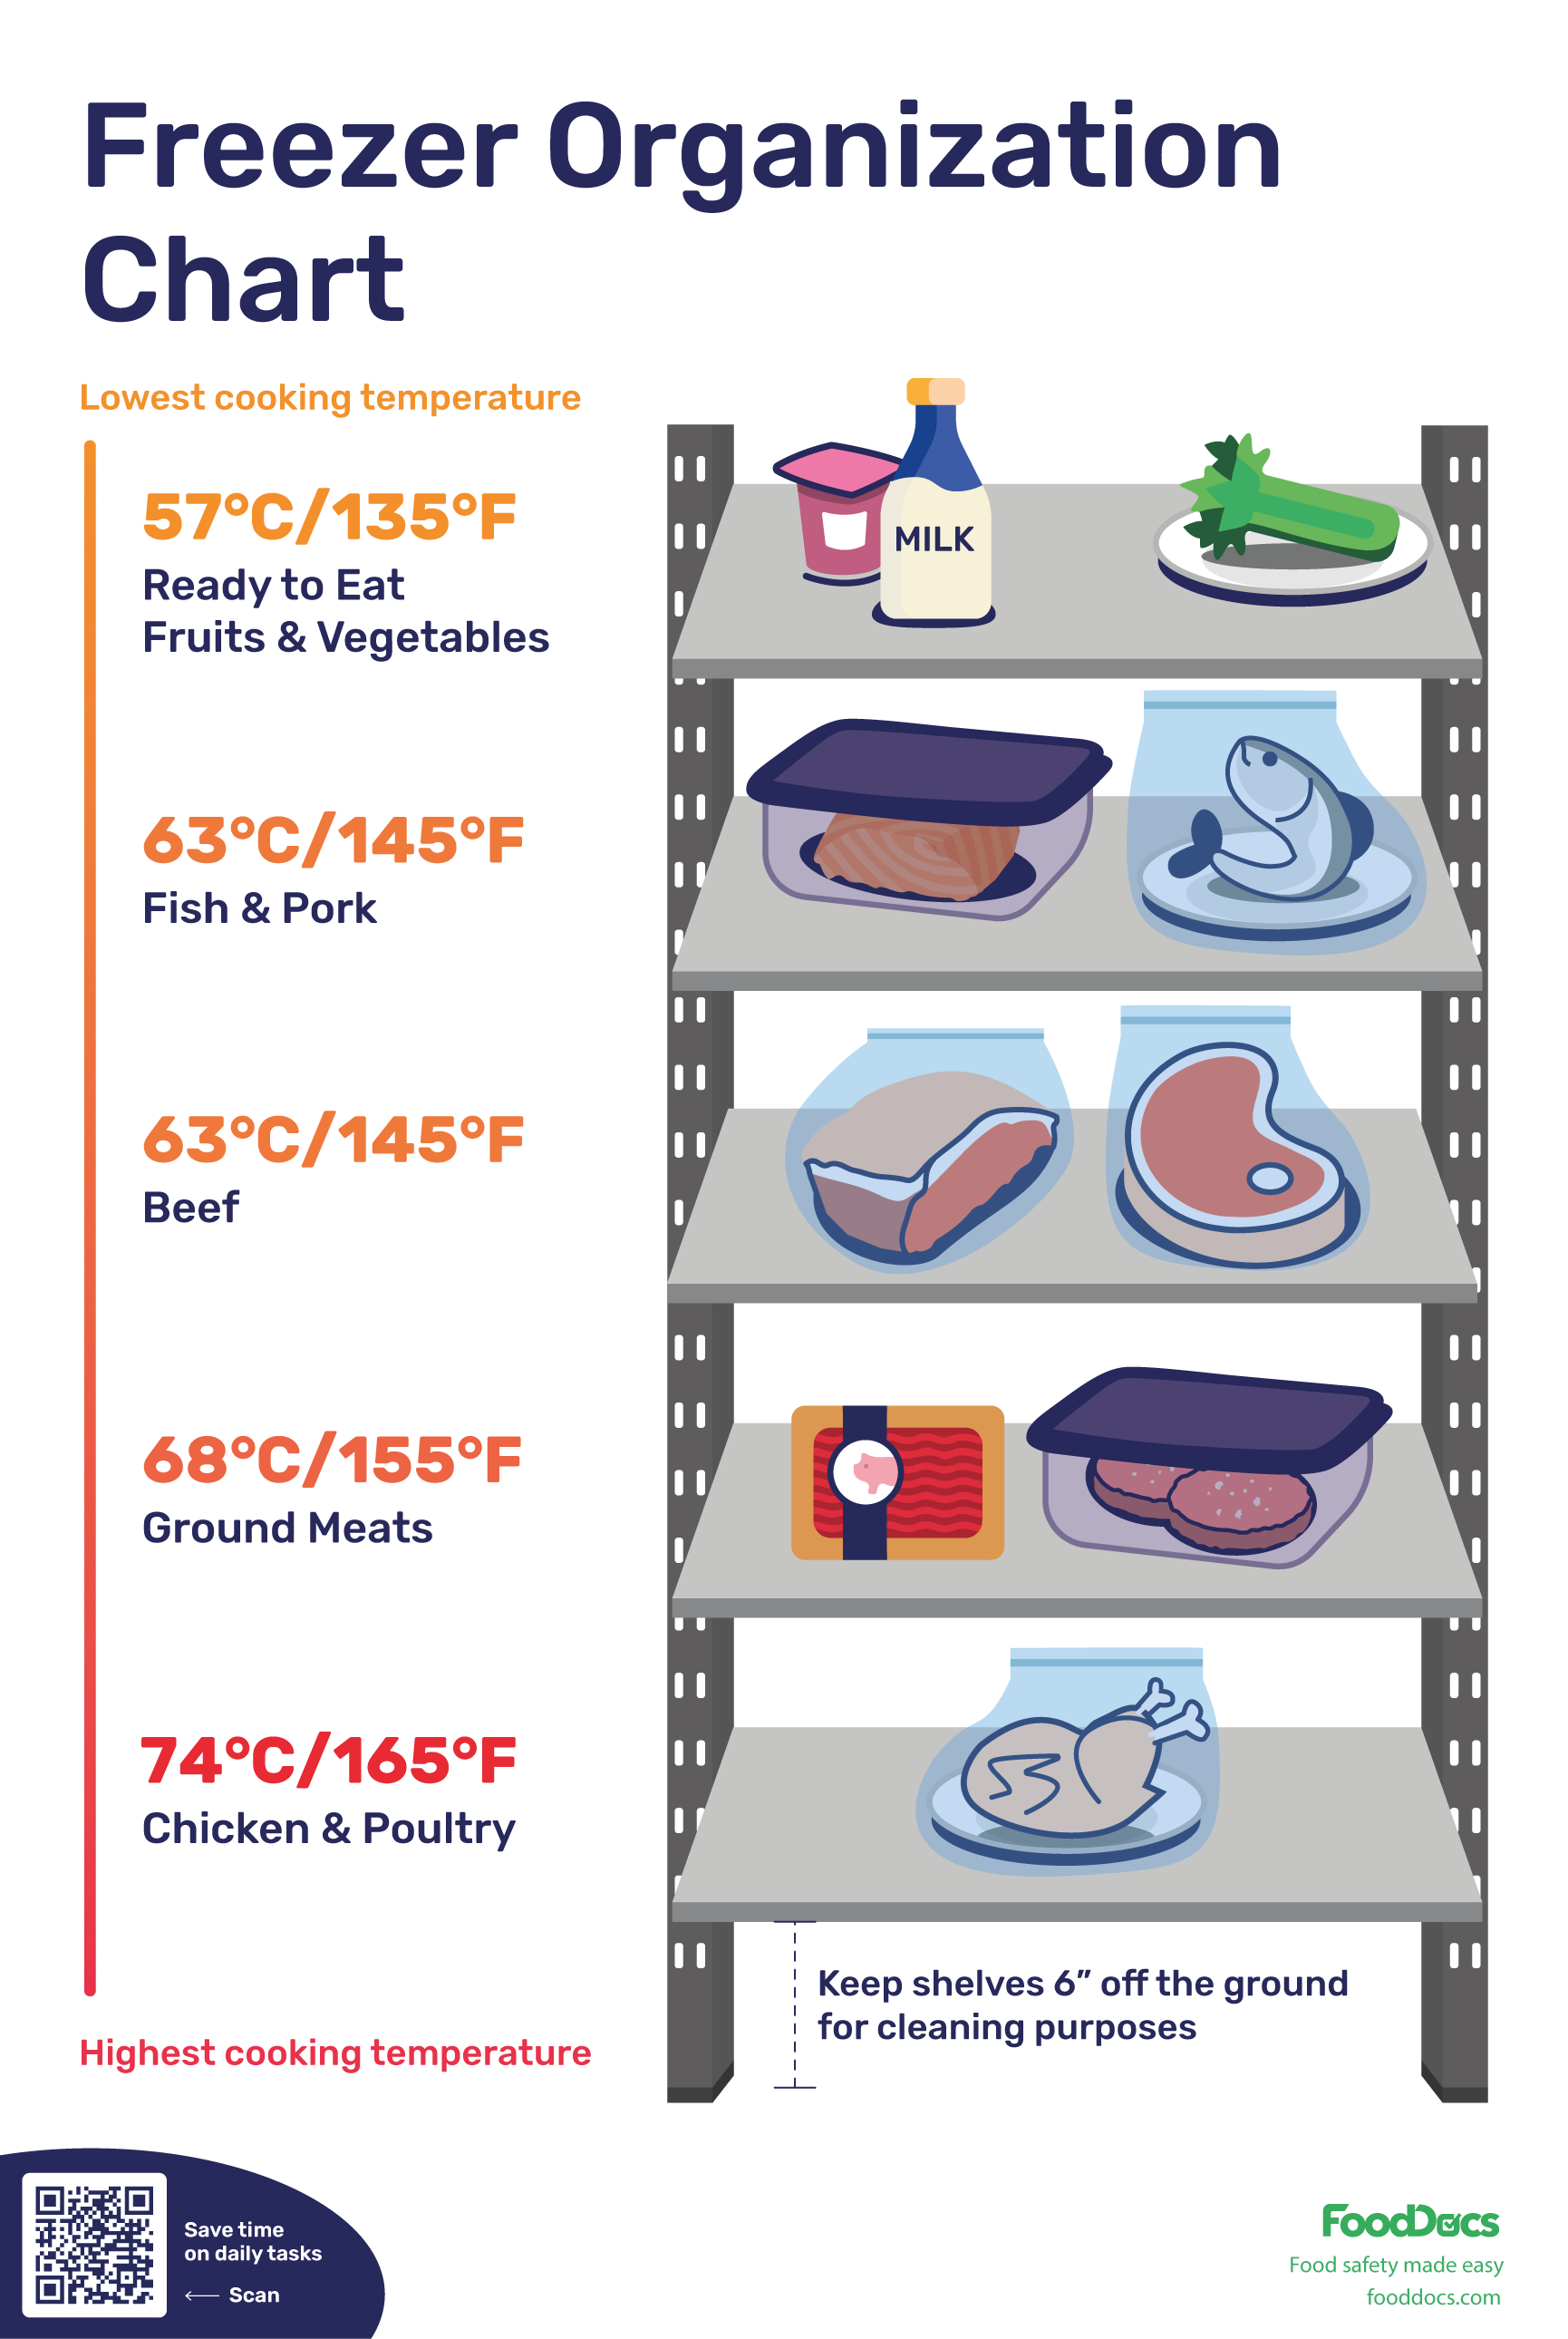
Store items loosely with space between packages to allow cold air to circulate freely. Never block internal vents—these critical pathways distribute cold air throughout the compartment. When your freezer is nearly full, create intentional gaps between items rather than packing everything tightly against the walls.
Smart Door Habits That Reduce Frost
Each door opening introduces warm, humid air that condenses into frost. Plan your freezer access to minimize open time—know what you need before opening the door, retrieve items efficiently, and close it promptly. In humid climates or during summer months, this becomes even more critical for preventing excessive frost buildup.
Prevent Future Freezer Freezing Over
Regular maintenance prevents most frost problems before they start, saving you time, energy, and frustration.
Essential Monthly Maintenance Tasks
Inspect door seals monthly for cracks, tears, or debris. Clean condenser coils every three months using a brush attachment on your vacuum. Empty and clean your ice bin monthly to prevent ice particle accumulation. These simple steps take minutes but significantly extend your freezer’s efficiency and lifespan.
Smart Food Storage Practices
Always let hot food cool to room temperature before placing it in the freezer—adding warm items introduces excess moisture that quickly freezes. Cover all containers securely to prevent moisture release into the compartment. Store items away from the back wall to maintain proper airflow around critical cooling components.
When to Call a Professional Repair Service
Some freezer freezing over issues require expert diagnosis and replacement of internal components.
Signs You Need Professional Help
If frost continues accumulating after checking your door seal, clearing the drain, and verifying temperature settings, your defrost system likely needs professional attention. Internal component failures—defrost heaters, thermostats, or control boards—require technical expertise to diagnose and repair correctly. If your freezer is under warranty, contact the manufacturer’s certified service provider to avoid voiding coverage.
Cost-Effective Repair Decisions
For older freezers, weigh repair costs against replacement value. Most modern freezers operate more efficiently than decade-old models, potentially saving you money in energy costs. When scheduling service, have your model number ready to ensure technicians bring the correct replacement parts for your specific unit.
By addressing door seals, drain tubes, and defrost system issues promptly, you’ll prevent most freezer freezing over problems. Implement these maintenance habits and smart usage practices to keep your freezer functioning efficiently for years. When internal component failure occurs, professional repair restores your appliance’s frost management system, eliminating the ice buildup that wastes energy and compromises food storage.