Freezer Fan Not Turning On? Fix It Fast
Your freezer is humming along, then suddenly you notice something’s wrong—the temperature’s creeping up, frost is building unusually, and that familiar whir of the fan is completely silent. When your freezer fan stops turning, your entire frozen food inventory is at risk. This critical component circulates cold air throughout your appliance, and without it functioning properly, your freezer can’t maintain the consistent temperatures needed to keep food safe. Whether you’re facing a minor obstruction or a more serious electrical issue, this guide will walk you through diagnosing and resolving why your freezer fan isn’t turning on—potentially saving you hundreds in replacement costs and preventing food spoilage.
Most homeowners don’t realize that a non-functioning freezer fan often presents with subtle warning signs before complete failure. You might notice increased frost buildup in certain areas, unusual temperature fluctuations, or longer running cycles as the compressor works overtime to compensate. Understanding these early indicators can help you address the problem before it escalates. In this comprehensive guide, you’ll learn how to safely diagnose the exact cause of your freezer fan failure, determine whether it’s a DIY fix or requires professional help, and implement solutions that restore proper cooling function to your appliance.
Critical Safety Precautions Before Inspection
Disconnecting Power Properly to Avoid Electrical Hazards
Before you touch a single component, unplug your freezer from the wall outlet—don’t just turn off the circuit breaker. Modern freezers contain capacitors that can store dangerous electrical charges even when switched off. Wait at least 15 minutes after disconnecting power to allow these components to discharge completely. If your freezer is hardwired, you’ll need to shut off the dedicated circuit at your main electrical panel and verify power is off using a non-contact voltage tester. Never work on appliance electrical components while wearing metal jewelry or with wet hands.
Essential Protective Gear for Safe Diagnosis
Wear insulated rubber-soled shoes and non-conductive work gloves when examining electrical components. Keep a fire extinguisher rated for electrical fires within immediate reach. Freezer interiors can have sharp edges from ice buildup, so eye protection is crucial when removing panels. If you detect any burning smells or visible damage to wiring, do not proceed—contact a professional immediately. Remember that refrigerant leaks from damaged cooling systems require specialized handling equipment you likely don’t have at home.
Identifying Why Your Freezer Fan Stopped Working
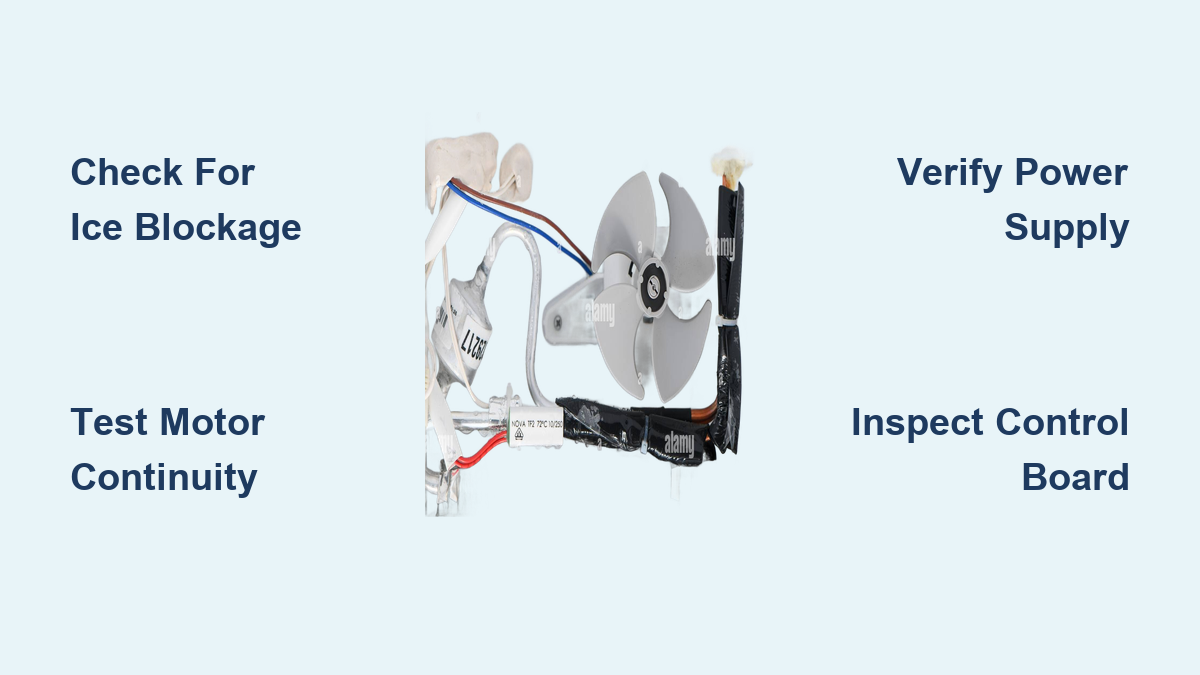
Checking for Simple Obstructions Blocking Fan Rotation
Locate your freezer’s evaporator fan, typically found behind the rear panel inside the freezer compartment. Remove any food items blocking access. Look for ice buildup, food debris, or packaging materials physically preventing the fan blades from rotating. Use a soft brush or compressed air to gently clear obstructions—never use sharp tools that could damage the delicate blades. Many freezer models develop recurring ice blockages due to defrost system issues, so note if this is a recurring problem requiring further investigation.
Testing Fan Motor Operation Manually
With power disconnected, try spinning the fan blades gently with your finger. They should rotate freely with minimal resistance. If they’re frozen in place, you likely have an ice blockage that needs thawing. If they spin freely but don’t operate when powered, the problem lies elsewhere. Some technicians use a small screwdriver to manually rotate the fan while powering up the freezer (with extreme caution) to determine if the motor attempts to engage—a technique only recommended for experienced individuals due to electrical risks.
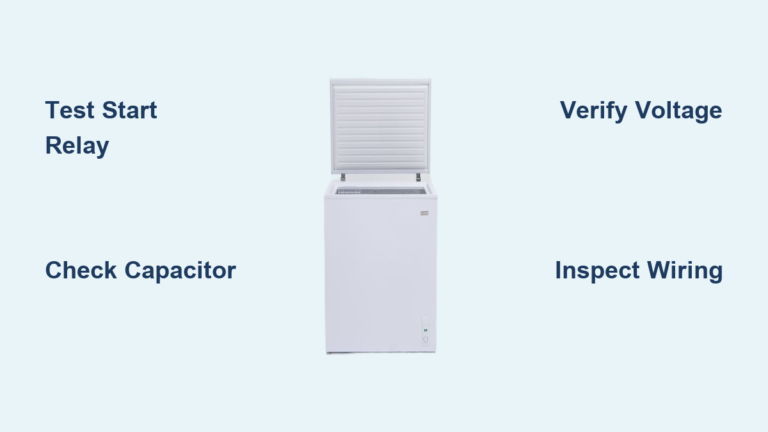
Diagnosing Electrical Issues Causing Fan Failure

Verifying Power Delivery to the Fan Motor
Using a multimeter set to AC voltage, carefully test for power at the fan motor terminals when the freezer should be running. First confirm power reaches the freezer’s main connection point, then trace through the wiring harness. Most freezer fans operate on 120V AC, but some models use lower voltage DC systems. If you detect power at the connection but the fan doesn’t run, the motor has likely failed. If no power reaches the fan, the problem exists upstream in the control system.
Testing Continuity in Fan Motor Windings
With power disconnected, set your multimeter to resistance mode and test across the fan motor terminals. A healthy motor typically shows 50-200 ohms of resistance. Infinite resistance indicates an open winding—a definitive sign the motor needs replacement. Some motors have internal thermal overload protectors that may temporarily cut power during overheating; these usually reset automatically once cooled. If your readings fluctuate dramatically, the motor windings may be deteriorating and require replacement soon.
Troubleshooting Control System Components
Checking the Thermostat and Temperature Sensors
Modern freezers use electronic temperature sensors rather than mechanical thermostats. Locate the temperature sensor (usually near the evaporator coil) and check for proper seating and visible damage. Use your multimeter to test resistance across the sensor terminals—values should change predictably as temperature changes. Compare readings to manufacturer specifications if available. A faulty sensor often sends incorrect signals to the control board, preventing the fan from activating even when cooling is needed.
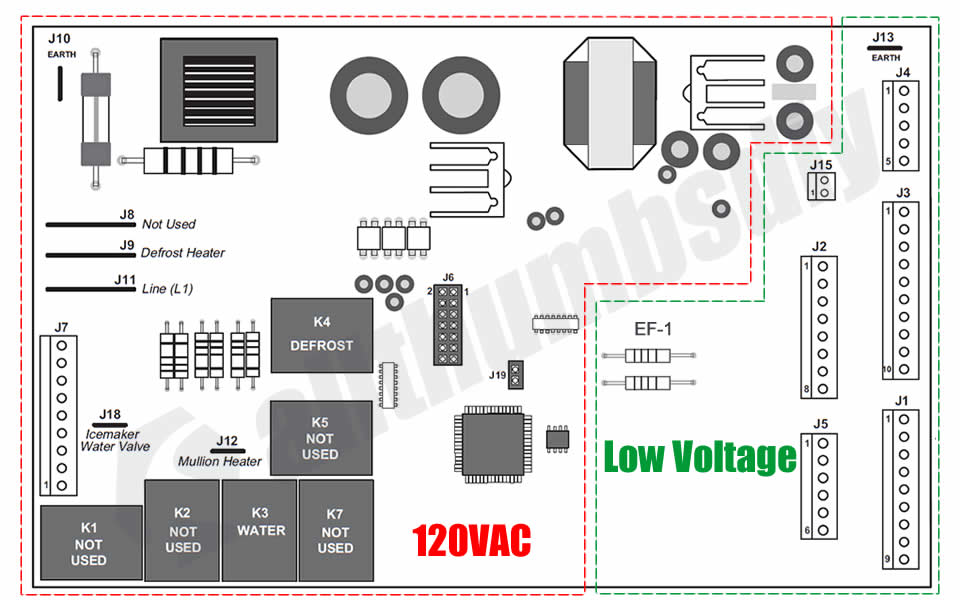
Testing the Main Control Board for Fan Circuit Issues
The control board manages all freezer operations, including fan activation. Look for visible signs of damage like burned components or bulging capacitors. Some models have diagnostic modes that display error codes through LED patterns—consult your manual for specific procedures. If other components test good but the fan still won’t run, the control board’s fan output circuit may have failed. Professional repair is often more cost-effective than board replacement for older units.
Step-by-Step Fan Replacement Procedure
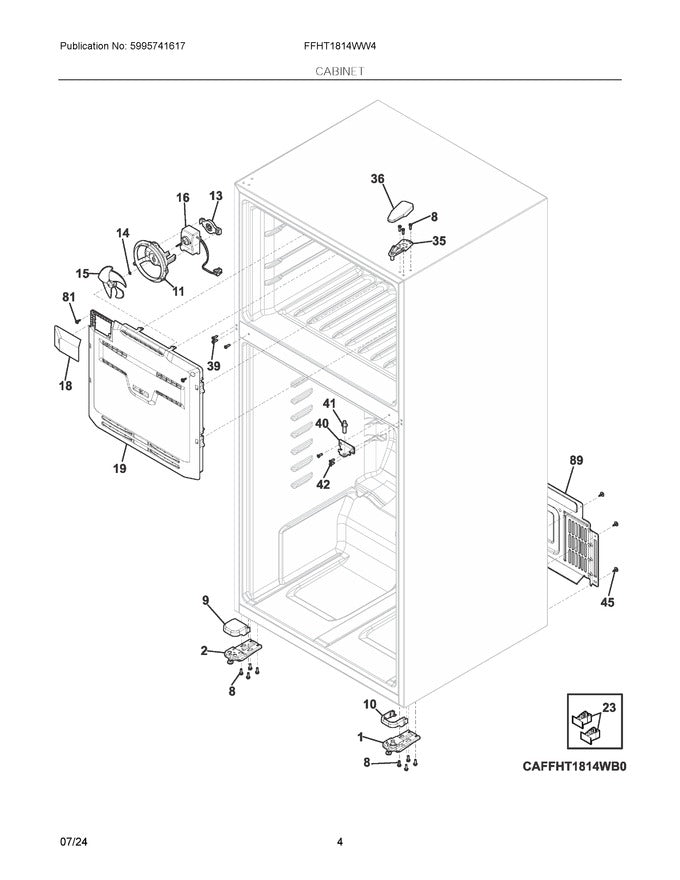
Removing the Old Fan Motor Safely
After disconnecting power and allowing time for defrosting, remove the rear interior panel to access the fan assembly. Take photos of wiring connections before disconnecting any wires. Most fans are secured with 1-4 mounting screws—note their positions as some are different lengths. Gently wiggle the fan housing to release it from any adhesive sealant. Before removing completely, check if the fan motor is integrated with the evaporator coil assembly, which would complicate replacement.
Installing the Correct Replacement Fan Motor
Match your old fan’s specifications exactly: voltage, RPM rating, blade size, and mounting configuration. Most home freezers use standard 120V AC motors running at 1500-3000 RPM. Apply a small amount of dielectric grease to electrical connections before reattaching wires. When securing the new fan, don’t overtighten mounting screws as this can crack plastic housings. Before restoring power, manually spin the new fan to ensure it rotates freely without contacting surrounding components.
Preventing Future Freezer Fan Failures
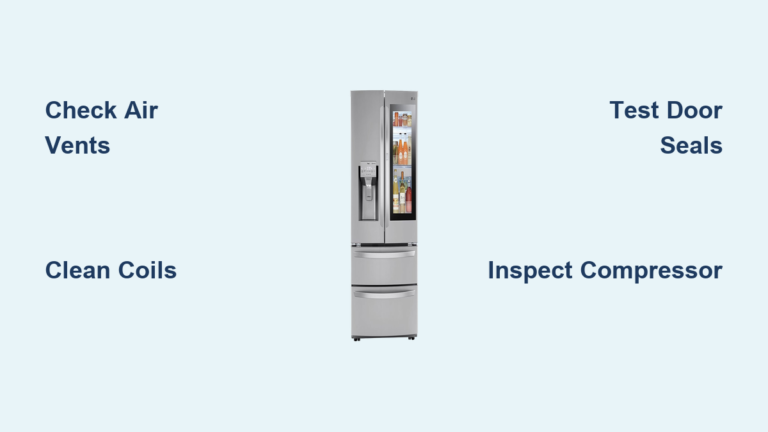
Implementing Regular Maintenance Schedule
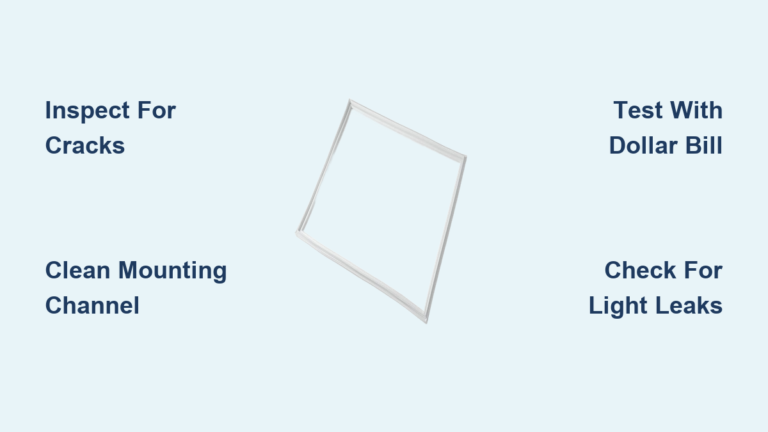
Clean your freezer’s interior every 3-4 months to prevent frost buildup that strains the fan system. Vacuum dust from the condenser coils at the back or bottom of the unit every six months. Check door seals regularly for proper closure—leaky seals force the fan to work harder. Keep the freezer at least one-third full for optimal air circulation, but avoid overpacking which restricts airflow. Monitor temperature consistency with an independent thermometer to catch developing issues early.
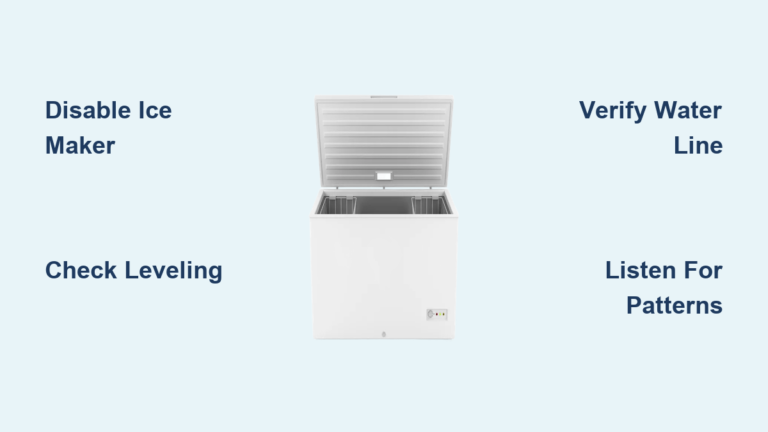
Recognizing Early Warning Signs of Fan Problems
Pay attention to unusual sounds like grinding, squealing, or inconsistent speed variations. Note if your freezer runs longer cycles than normal or develops uneven cooling patterns. Increased frost in specific areas often indicates restricted airflow from a struggling fan. If the fan starts and stops erratically, this suggests either a failing motor or control system issue needing attention before complete failure occurs.
When to Call a Professional Repair Service
Situations Requiring Expert Intervention
Contact a certified technician if you detect burning smells, visible electrical damage, or refrigerant leaks (indicated by oily residue near copper lines). If you’ve replaced the fan motor but the problem persists, the issue likely involves complex control systems beyond DIY capabilities. Freezers under warranty should always be serviced by authorized professionals to avoid voiding coverage. Models less than five years old often justify professional repair costs, while older units may be better replaced.
Cost-Benefit Analysis for Repair vs. Replacement
Compare repair costs against your freezer’s age and value. A new fan motor typically costs $30-$80 with professional installation running $150-$300. If your freezer is over 10 years old, repair costs exceeding 50% of a new unit’s price usually indicate replacement is more economical. Consider energy efficiency improvements in new models that could save significant electricity costs over time. Factor in the value of your frozen food inventory when making your decision—preventing further spoilage might justify immediate action.
Final Note: A non-functioning freezer fan requires prompt attention to prevent food spoilage and additional damage to your appliance. By systematically checking for obstructions, verifying electrical connections, and testing components, most homeowners can identify the root cause and determine whether a DIY fix is feasible. Remember that safety should always come first when working with electrical appliances—when in doubt, call a professional. Implementing regular maintenance can prevent most fan-related issues, extending your freezer’s lifespan and ensuring your frozen foods stay safely preserved. Consider keeping a backup thermometer in your freezer to provide early warning of cooling problems before they become critical emergencies.