Freezer Fan Making Loud Humming Noise? Fix It Fast
That persistent humming noise from your freezer transforms your quiet kitchen into a constant reminder that something’s wrong. Unlike the gentle background hum of normal operation, a problematic freezer fan making loud humming noise demands attention before it escalates into complete cooling failure. The good news? Most humming issues come from fixable components you can diagnose and repair yourself with basic tools and some patience. This guide walks you through identifying the exact source of the noise, performing targeted repairs, and implementing preventive measures to restore quiet operation.
Understanding what creates that disruptive sound is your first step toward resolution. Freezers contain multiple fans and mechanical components, each capable of producing similar humming sounds when malfunctioning. The evaporator fan inside the freezer compartment, the condenser fan at the rear, and the compressor itself can all generate abnormal noise that manifests as humming. By learning to distinguish between these sources through careful observation, you can skip unnecessary repairs and address the actual problem immediately—saving both time and money on your freezer repair journey.
Pinpoint Exactly Where Your Freezer Humming Originates
Before grabbing any tools, spend five minutes listening carefully to identify where the humming comes from and when it occurs. These observations provide crucial diagnostic clues that guide your repair strategy effectively—potentially saving you from replacing the wrong component.
Time your freezer’s humming pattern to determine which component is failing. If the noise runs continuously regardless of cooling cycles, your evaporator fan inside the freezer compartment is most likely the culprit since this fan often operates whenever temperature maintenance is needed. If the humming correlates specifically with compressor startup and cycling, the issue likely involves compressor components rather than fans. Humming that only happens when the compressor kicks on suggests condenser fan problems, as this fan typically operates only during compressor activation.
Locate the sound source by pressing your ear against different freezer surfaces while it operates. Evaporator fan noise sounds like it’s coming from inside the freezer compartment itself, so place your ear near the door seal with the interior light off to isolate this source. Compressor and condenser sounds originate from the rear bottom or exterior of the unit. If the sound seems to come from multiple locations simultaneously, you may have more than one issue developing—common in older units approaching the end of their lifespan.
Assess intensity patterns to determine the progression of mechanical wear. Bearing-related hums typically begin subtly and worsen gradually over weeks or months, while electrical issues may appear suddenly at full intensity. Note whether the sound changes pitch or volume as the freezer cycles through different operational phases—this variation often indicates specific component behaviors that narrow your diagnostic field considerably. If the humming intensifies when the freezer door opens, you likely have a door seal issue allowing excessive frost buildup on fan components.
Diagnose Evaporator Fan Motor Failure
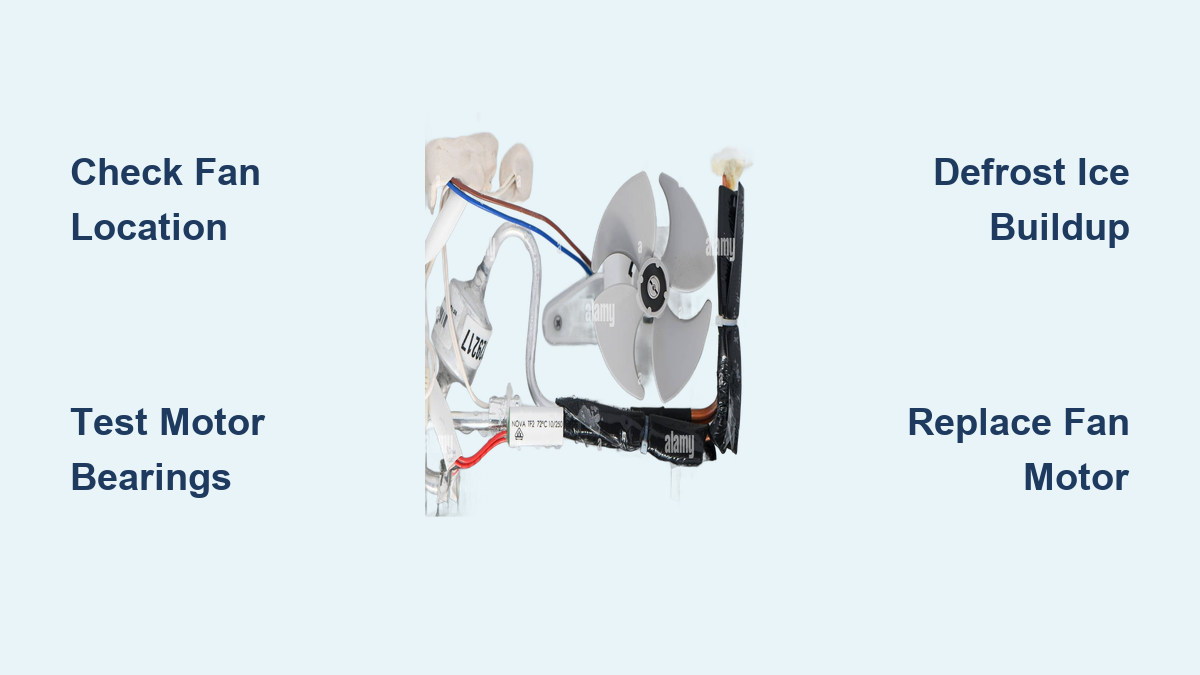
The evaporator fan ranks as the primary suspect when your freezer fan making loud humming noise becomes a persistent problem. This critical component circulates cold air over the evaporator coils and throughout your freezer compartment, running frequently during normal operation. When its motor begins to fail, the resulting hum is often continuous and most audible from inside the freezer.
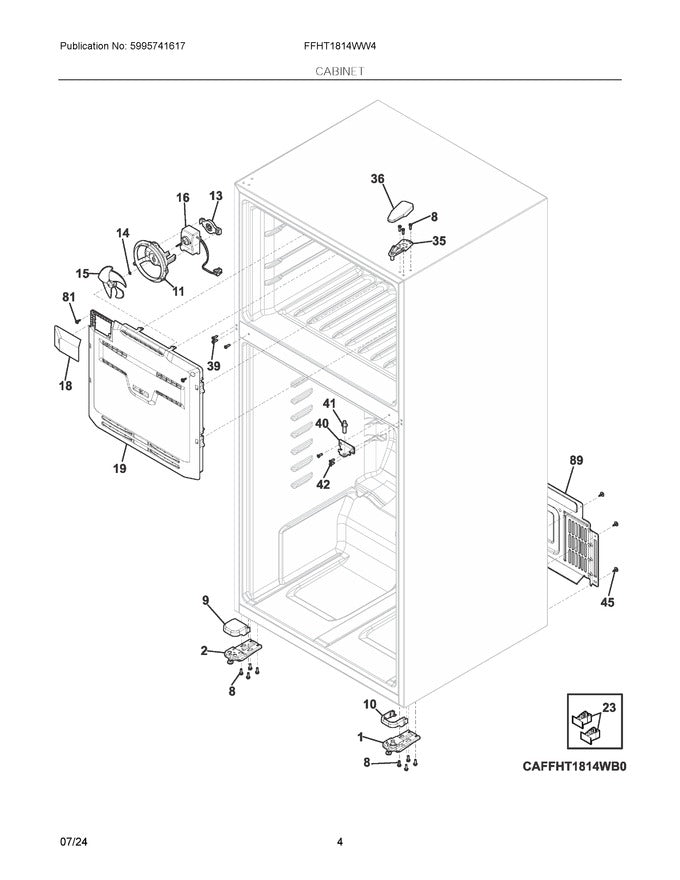
Access the evaporator fan by removing the rear interior panel of the freezer compartment. In manual-defrost models, this panel covers both the evaporator coils and fan assembly. Unscrew the fasteners securing the panel (typically Phillips-head screws at the corners) and set the panel aside carefully. Be prepared for some frost accumulation on cold surfaces, especially if the freezer has been running recently—wear gloves to protect your hands from the extreme cold.
Inspect the fan blades visually before testing for movement. Look for ice accumulation on the blades, which throws rotation off balance and creates rhythmic thumping or humming. Check for visible damage such as cracks, warping, or bent edges that disrupt smooth rotation. Remove any debris, frost, or foreign objects that may have accumulated on or near the blades using a soft brush—never use sharp objects that could damage the fan or surrounding components.
Test the motor bearings by manually spinning the fan blade. A healthy bearing produces smooth, friction-free rotation that continues spinning briefly after you release the blade. If the blade resists movement, makes grinding or scraping sounds during rotation, or wobbles noticeably, the bearings have failed and the motor requires replacement. A high-pitched squeal during rotation indicates insufficient lubrication or bearing surface damage, both of which necessitate motor replacement. Pro tip: If you hear clicking sounds when manually spinning the fan, you likely have ice buildup behind the fan housing that requires complete defrosting.
Troubleshoot Compressor-Related Humming
.jpg)
When the humming correlates with compressor startup cycles rather than continuous operation, the compressor or its electrical starting components are likely responsible. The compressor sits at the rear or bottom of your freezer and pumps refrigerant through the cooling system. While compressors produce natural operational sound, abnormal humming during startup indicates developing problems that require attention.
Identify problematic startup behavior by observing compressor activation. During normal operation, the compressor produces a brief humming that transitions to smooth running sound within three to five seconds. However, if humming persists for ten to fifteen seconds or longer during startup attempts, the start relay or capacitor has likely weakened and cannot provide sufficient starting current. This prolonged humming indicates the compressor is attempting to start but failing, which stresses the motor and eventually causes complete failure.
Locate the start relay and capacitor on the side of the compressor. These components are typically enclosed in a plastic housing or mounted directly on the compressor terminals. The start relay appears as a small rectangular or square device, while the start capacitor is a cylindrical unit with two or three terminals on top. Both components can be tested with a multimeter, but replacing them as a pair often proves more economical than testing, especially on units older than five years.
Safety first: Before testing or replacing any electrical components, unplug the freezer and discharge the capacitor to prevent electrical shock. Capacitors store electrical energy even when unplugged and can deliver dangerous shocks. Discharge by touching an insulated screwdriver across the capacitor terminals, which safely releases stored energy. Always verify the capacitor is discharged before touching terminals—a critical safety step many DIYers overlook.
Address Condenser Fan Assembly Issues
The condenser fan works alongside the compressor to release heat absorbed from your freezer interior. Located at the rear of the unit near the compressor, this fan draws air across the condenser coils to facilitate heat dissipation. Problems with this fan generate hums that are typically most audible from the rear or sides of your freezer.
Access the condenser fan by unplugging the unit and removing the rear access panel or protective shroud. Some models have a rear grille that unclips or unscrews, while others require removing a bottom panel to reach the fan assembly. Once exposed, inspect the fan blades for ice accumulation, damage, or debris that might impede rotation—dust and pet hair commonly accumulate here, especially in households with shedding pets.
Test the fan operation by manually spinning the condenser fan blade to assess bearing condition. The blade should rotate freely with no grinding, wobbling, or resistance. Check that the blade doesn’t strike any surrounding components during rotation, as clearance issues can develop from mounting shifts or physical damage. Verify that the condenser fan operates when the compressor runs—some units have condenser fans that cycle on only when the compressor activates, while others run continuously.
Common mistake to avoid: Many homeowners confuse condenser fan noise with compressor noise since both originate from the rear of the unit. The key difference is that condenser fan noise stops when you manually stop the fan blade with a non-conductive tool (like a wooden chopstick), while compressor noise continues regardless of fan operation. If stopping the condenser fan silences the humming, you’ve found your problem component.
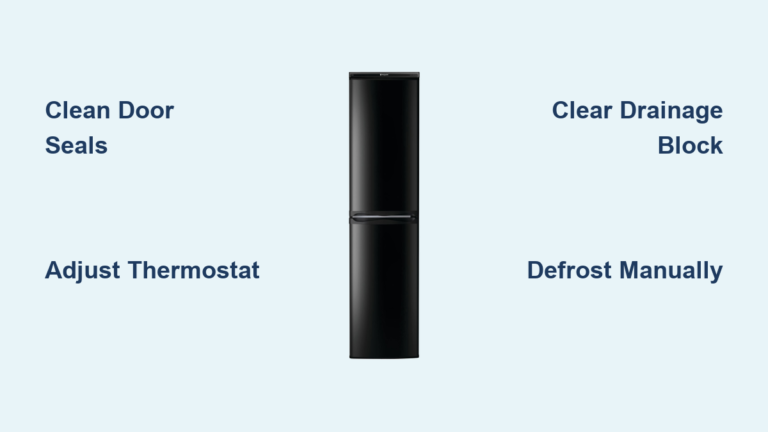
Eliminate Ice Buildup Causing Humming Noises
Excessive frost accumulation creates multiple problems that manifest as humming or thumping noises. When door seals fail or the freezer is opened frequently, warm humid air enters and condenses on cold surfaces. This frost builds up on fan blades, sensor components, and evaporator coils, eventually disrupting normal operation and creating noise.
Inspect for problematic frost accumulation by examining your freezer interior for frost on walls, shelves, and especially around the evaporator fan area. Frost more than one-quarter inch thick indicates a defrost system problem or excessive moisture intrusion requiring attention. Ice on fan blades specifically causes imbalance that produces rhythmic humming or thumping that often changes character as more ice accumulates.
Perform manual defrosting to resolve immediate ice accumulation issues. Unplug the freezer and leave the door open, allowing interior temperatures to rise and ice to melt naturally. This process typically takes two to four hours depending on ice thickness. Place towels around the base to absorb melting water. Never use sharp objects to chip ice, as this can puncture refrigerant lines or damage interior surfaces—a common DIY mistake that turns a simple repair into an expensive disaster.
Address the underlying cause of excessive frost to prevent recurrence. Inspect door seals for cracks, tears, or compressed areas that allow warm air infiltration. Clean seals with mild detergent to remove debris preventing proper sealing. Check that the freezer door closes completely and that the seal makes continuous contact around the entire perimeter. Replace worn seals if they no longer compress properly when the door closes—this relatively simple $20 repair often solves recurring ice buildup problems.
Replace Faulty Fan Motors with Confidence
When diagnosis confirms motor bearing failure or electrical malfunction, replacement becomes necessary. Evaporator and condenser fan motors are available from appliance parts suppliers, typically costing between thirty and one hundred dollars depending on the model and application.
Prepare for motor replacement by disconnecting power to the freezer. Remove any panels or components blocking access to the fan assembly. Document the wiring connections with photographs or notes before disconnecting—proper reconnection is essential for safe operation. Most fan motors have two or three wire connections: a ground wire (green or bare copper), a neutral wire (white or light blue), and a live wire (black or red).
Install the new motor by comparing it to the old one to ensure identical specifications including voltage, mounting pattern, shaft size, and blade attachment method. Even slight differences can prevent proper fit or cause operational issues. Securely fasten all mounting hardware, reconnect wires matching your documentation, and ensure the fan blade spins freely without striking surrounding components. Before reassembling access panels, briefly restore power and verify the fan operates smoothly without abnormal noise.
Critical safety check: After installing a new fan motor, listen carefully for the first few minutes of operation. A properly functioning replacement motor should produce only a quiet, consistent hum—not the loud, irregular noise you were trying to fix. If the new motor creates similar humming sounds, double-check your installation and verify you haven’t accidentally created a clearance issue with surrounding components.
Prevent Future Freezer Noise Problems Proactively
Implementing regular maintenance habits significantly extends component life and prevents recurring noise issues. A proactive approach saves money on repairs and preserves the peaceful operation of your appliance.
Monthly inspections should include listening for any changes in operational sounds that might indicate developing bearing wear or mechanical issues. Check door seal condition and cleanliness, as compromised seals allow moisture intrusion that causes frost accumulation. Ensure the freezer sits level and stable, as vibration from an unbalanced unit accelerates component wear—use a carpenter’s level to verify.
Quarterly maintenance involves cleaning condenser coils to maintain efficient heat dissipation. Access coils through the rear grille or front panel depending on your model. Vacuum dust and debris gently without bending coil fins. Remove any items stored near the rear of the unit that might restrict airflow. Verify interior air vents remain unobstructed by frozen food items or containers—a surprisingly common cause of unnecessary strain on fan motors.
Annual professional inspection provides comprehensive assessment of developing issues. Technicians can identify bearing wear before complete failure, test electrical components, check refrigerant levels, and perform cleaning that reaches internal components not accessible during routine maintenance. This investment often prevents unexpected failures and extends overall unit lifespan significantly—typically costing less than emergency repair calls.
Cost Summary Table
| Issue Type | DIY Repair Cost | Professional Repair Cost | Replacement Consideration |
|---|---|---|---|
| Evaporator Fan Motor | $30-100 | $150-300 | Consider if unit over 10 years |
| Condenser Fan Motor | $30-100 | $150-300 | Consider if unit over 10 years |
| Door Seal Replacement | $20-80 | $100-200 | DIY relatively straightforward |
| Start Relay/Capacitor | $15-50 | $100-200 | DIY possible with precautions |
| Compressor Replacement | N/A | $400-800 | Often exceeds replacement cost |
| Control Board | $50-200 | $150-350 | Verify diagnosis before replacement |
A freezer fan making loud humming noise doesn’t have to disrupt your household indefinitely. By systematically diagnosing the source through timing, location, and intensity observation, you can identify whether the evaporator fan, condenser fan, compressor, or ice accumulation causes the problem. Most issues resolve through straightforward DIY repairs involving fan motor replacement, startup component replacement, or door seal maintenance. When problems exceed DIY capability or repair costs become excessive, professional service provides expert diagnosis and resolution. Whatever approach you take, addressing the issue promptly prevents minor component wear from escalating into complete system failure and preserves your freezer’s reliable, quiet operation for years to come.