Freezer Drawer Not Freezing? Quick Fix Tips
Opening your freezer drawer to find soft ice cream and thawing meat sends panic through any homeowner. When your freezer drawer not freezing properly, food safety becomes an immediate concern as temperatures rise above the critical 0°F (-18°C) threshold required for safe frozen food storage. This frustrating problem affects bottom-drawer freezer models most frequently, where cooling system components face unique challenges compared to traditional upright freezers. The good news is that most freezer drawer temperature issues stem from common, fixable problems rather than catastrophic failures requiring expensive replacement.
Many homeowners report the refrigerator section functioning normally while the freezer drawer not freezing properly—a clear sign of compartment-specific issues rather than complete system failure. Understanding the interconnected cooling components in modern refrigerators helps you systematically diagnose whether the problem requires simple maintenance or professional repair. By following these targeted troubleshooting steps, you can identify the root cause and restore proper freezing function to your appliance, potentially saving hundreds in unnecessary service calls.
Confirm Actual Temperature Problems Before Troubleshooting
Don’t assume your freezer drawer not freezing based on appearance alone—verify with a reliable thermometer first. Appliance-integrated temperature displays frequently malfunction or drift out of calibration, misleading homeowners into unnecessary repairs. Place a standalone freezer thermometer in the center of your drawer (away from walls where temperatures vary) and wait 4-6 hours for an accurate reading.
If the thermometer confirms temperatures above 0°F, you’ve verified a genuine cooling problem. Note whether the issue developed suddenly or gradually—sudden failures typically indicate electrical or component problems, while gradual degradation suggests dirty coils, failing seals, or slow deterioration. Also consider recent defrost cycles, as cooling capacity temporarily diminishes immediately after manual defrosting before returning to normal operation within 24 hours.
Critical mistake to avoid: Jumping into complex repairs without confirming an actual temperature problem first. Many “freezer drawer not freezing” complaints resolve once users verify proper temperatures with an accurate thermometer.
Fix Compromised Door Seals in 5 Minutes
Your freezer drawer’s rubber gasket creates the essential seal that traps cold air inside while blocking warm household air. When this seal fails through wear, damage, or food residue buildup, cold air constantly escapes, forcing the cooling system to work overtime while still failing to maintain freezing temperatures. Test your seal integrity with the dollar bill test: close the drawer on a dollar bill at multiple points around the perimeter and try to pull it out. If it slides out easily, your gasket needs attention.
Inspect the entire gasket for cracks, tears, warping, or sections pulled away from the frame. Run your fingers along the seal to detect hard spots or brittleness invisible to the eye. Clean the gasket monthly with warm, soapy water to remove residue and identify developing damage early. Most modern freezer models feature tool-free gasket replacement—simply unclip the old gasket and snap the new one into place. Older models require screw removal but still qualify as a 30-minute DIY project with basic tools.
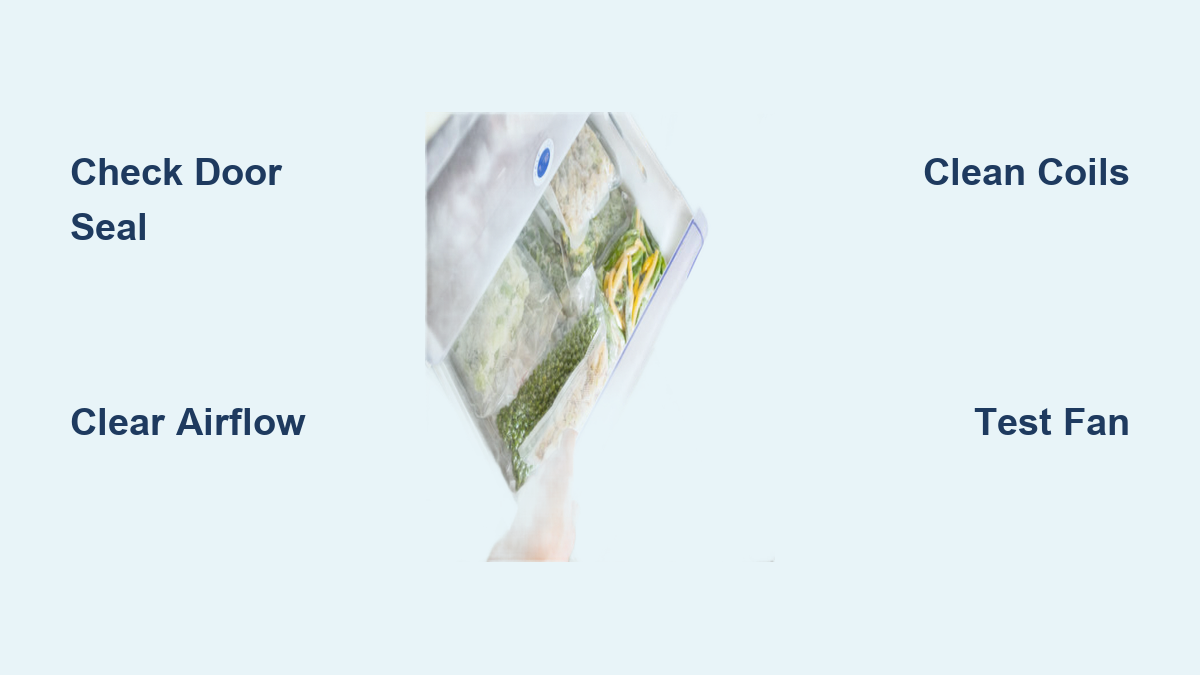
Eliminate Airflow Blockages Causing Uneven Freezing
Overpacking your freezer drawer represents the single most common cause of “freezer drawer not freezing” complaints. Stacked food packages block the evaporator fan on the back wall, preventing cold air circulation throughout the compartment. Reorganize stored items to maintain 2-3 inches of clearance around the fan cover and avoid placing anything directly under air vents or against the back wall.
Frost buildup on interior walls also obstructs airflow pathways. When ice accumulates on evaporator coils or fan blades, the cooling system works harder while cold air circulation suffers. For manual-defrost models, carefully break down ice using a plastic scraper (never metal tools that can damage coils). Auto-defrost models experiencing rapid frost accumulation typically indicate defrost system failure requiring professional evaluation.
Visual cue: Items at the bottom of your freezer remain frozen while those in upper locations soften—this classic pattern confirms airflow blockage rather than complete cooling failure.
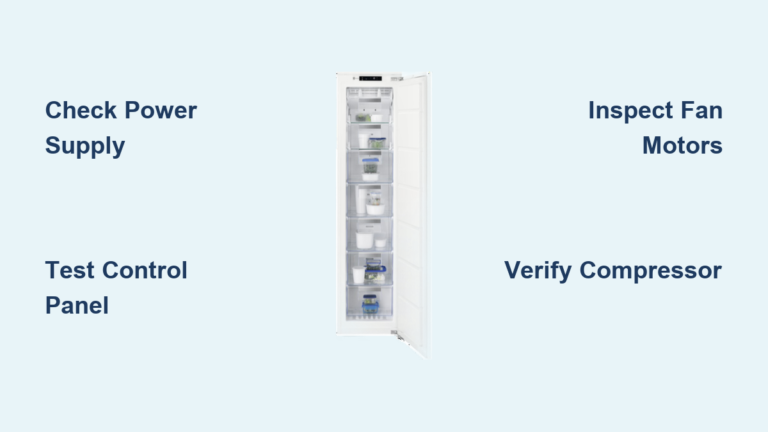
Diagnose Evaporator Fan Failure Within Minutes
The evaporator fan motor circulates cold air throughout your freezer drawer, and when it fails, temperature distribution becomes uneven. To test fan operation, unplug the refrigerator for safety, then open the freezer drawer and manually depress the door switch (simulating a closed door). Listen for the fan running—if silent, or if fan blades don’t spin freely when turned manually, you’ve identified the problem.
Ice accumulation on fan blades commonly causes operational failure—this points to defrost system problems rather than fan motor failure itself. While clearing the ice provides temporary relief, you’ll need to address the underlying defrost system issue to prevent recurrence. Replacing evaporator fan motors generally requires professional service due to integrated control wiring and electrical hazards, though simple ice clearance qualifies as a DIY fix.
Clear Condenser Coils for Immediate Cooling Improvement
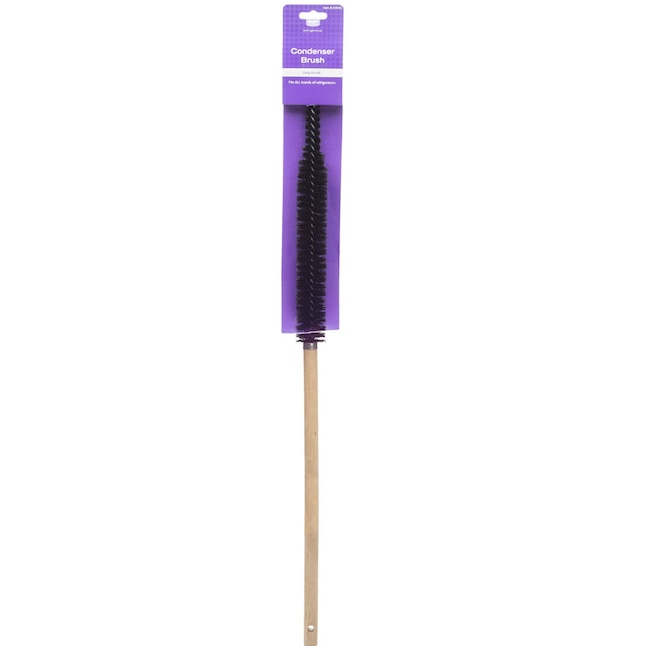
Dirty condenser coils dramatically reduce your freezer’s cooling efficiency—this simple fix often resolves “freezer drawer not freezing” issues within hours. Unplug the refrigerator, locate coils (typically behind a rear panel or beneath the unit), and use a refrigerator coil brush to loosen debris followed by a vacuum with crevice attachment to remove dislodged material.
Time estimate: Thorough coil cleaning takes 15-20 minutes and should be performed every 2-3 months. Homes with pets or high dust levels benefit from monthly cleaning. Well-maintained coils contribute to lower energy bills and more consistent freezer temperatures—neglecting this maintenance task gradually degrades cooling performance until the freezer drawer stops freezing properly.
Test Defrost System Components with a Multimeter

Frost-free freezers rely on an automated defrost system comprising the heater, thermostat, timer, and drain tube. When any component fails, frost builds up on coils, blocking airflow and preventing adequate freezing. Visual inspection for heavy frost on interior walls or ice under drawers confirms defrost system failure.
Test components using a multimeter for continuity: disconnect power, access evaporator area, and check defrost heater (should show continuity), thermostat (opens when warm, closes when cold), and timer (advances through cycles). Frozen defrost drain tubes cause water pooling beneath the refrigerator—clear with warm water using a turkey baster. Due to electrical complexity, professional diagnosis is recommended if you’re uncomfortable with these tests.
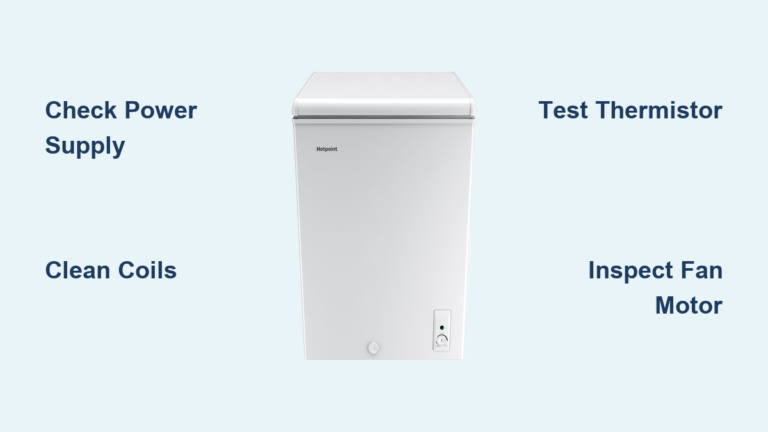
Verify Temperature Sensor Accuracy Before Replacing Parts
The freezer temperature sensor (thermistor) monitors compartment temperature and signals the control board to activate cooling cycles. When faulty, it sends inaccurate readings that disrupt freezing performance. Test the sensor by disconnecting it from the wiring harness and measuring resistance with a multimeter while comparing to manufacturer specifications.
For LG bottom-drawer freezers (notorious for sensor failures), locate the sensor near the evaporator assembly and check for visible damage or disconnection. A sensor that doesn’t show expected resistance changes as temperature changes requires replacement. If you lack multimeter testing skills, professional service technicians can quickly diagnose sensor-related problems.
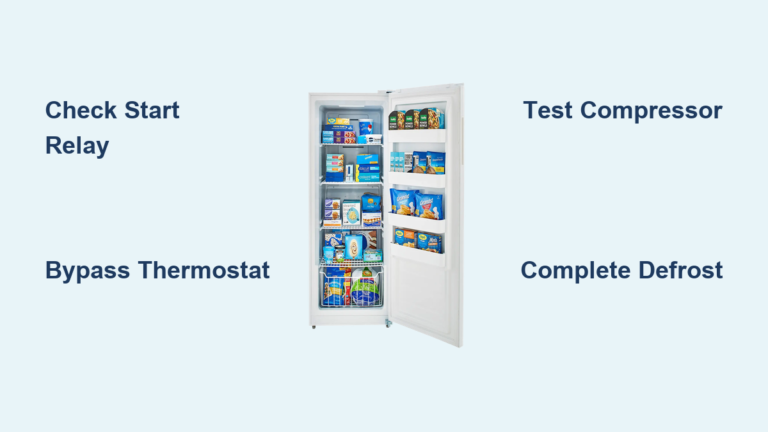
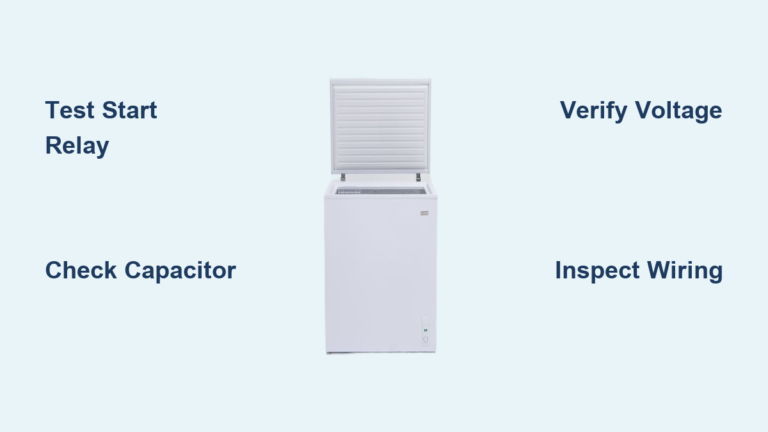
Check Start Relay and Compressor Operation
The start relay provides power to the compressor during cooling cycles—when faulty, the compressor cannot start, resulting in no freezing at all. Test the relay by removing it from the compressor and shaking it; a rattling sound indicates internal failure requiring replacement. This relatively simple DIY repair takes 20 minutes with basic tools.
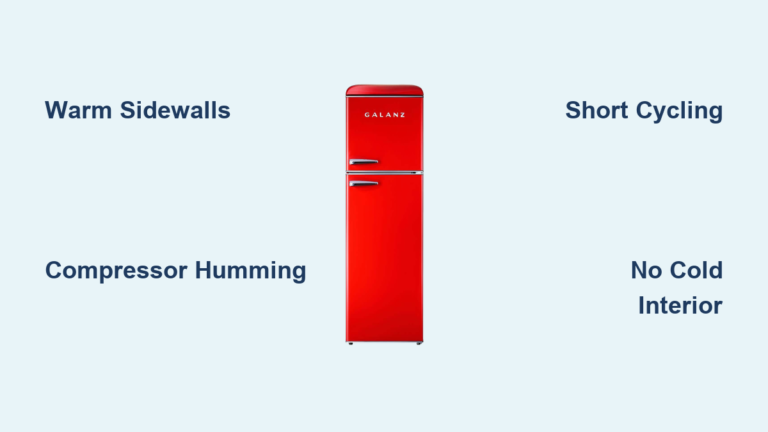
Listen for the compressor humming sound within 30 minutes of cycle initiation—if absent, suspect relay or compressor failure. While relay replacement qualifies as DIY, compressor issues require professional service due to EPA certification needs for refrigerant handling and specialized tools. A failing compressor may run but produce insufficient cooling pressure, particularly affecting the freezer drawer while refrigerator section appears functional.
When to Call a Professional Repair Service
Seek professional help when:
– Basic troubleshooting doesn’t identify the problem
– Repairs involve sealed system components (compressor, refrigerant)
– Multiple components fail simultaneously
– Error codes appear on digital displays
– You’re uncomfortable working with electrical components
Verify warranty coverage before service—many manufacturers provide extended coverage on sealed system components for 5-10 years. Locate your model and serial number (typically inside the refrigerator compartment) to check warranty status. LG models, for example, often include seven-year sealed system coverage.
Prevent Future Freezing Failures with Simple Maintenance
Establish these preventive measures to avoid “freezer drawer not freezing” problems:
– Monthly gasket inspections for developing cracks or warping
– Quarterly temperature verification with standalone thermometer
– Regular coil cleaning every 2-3 months (monthly with pets)
– Annual defrost drain tube clearing with warm water
– Proper loading practices maintaining airflow clearance
– Minimizing door open frequency and duration
Ensure your appliance has adequate ventilation according to manufacturer specifications—restricted airflow around the unit reduces cooling efficiency. Install garage-ready models if placing the refrigerator in unheated spaces, as standard units struggle in extreme temperatures. Level installation prevents door seal issues and ensures proper defrost water drainage.
By implementing these actionable fixes and maintenance practices, you’ll restore reliable freezing performance to your appliance and prevent most common causes of freezer drawer temperature failures. When in doubt about your ability to safely perform repairs, consult a professional—preserving your frozen food stock is worth the service call.