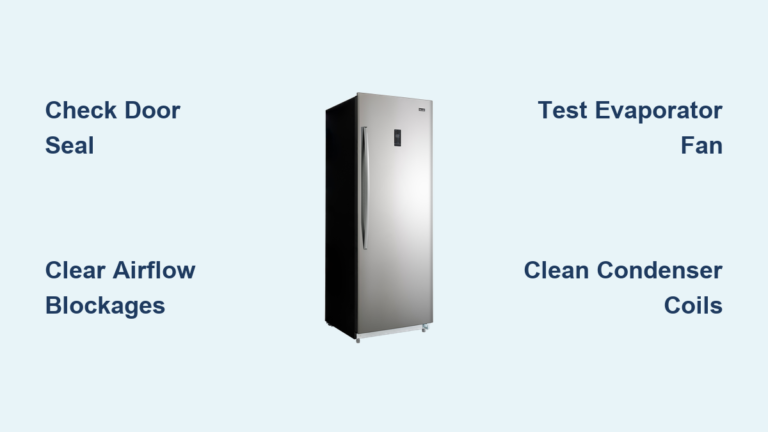
Fix Freezer Door Leak: Quick Solutions
Water pooling around your freezer isn’t just messy—it’s a warning sign that can lead to damaged floors, mold growth, and costly repairs if ignored. When your freezer door leaks, it typically means warm air is sneaking into the cold compartment, causing excessive frost buildup that eventually melts into standing water. This common household headache affects nearly every refrigerator owner at some point, with the average repair costing homeowners $150-$300 when professional help is needed. You’ll learn exactly why this happens and how to diagnose and fix it yourself in under an hour—no special tools required. Most solutions take less than 30 minutes and cost under $20, saving you both time and money while preventing further damage to your kitchen.
How to Diagnose a Leaking Freezer Door in Under 5 Minutes

Before grabbing tools, identify the exact leak source with this quick diagnostic method. First, wipe away all standing water and dry the area completely. Place folded paper towels along the base of your freezer door overnight. In the morning, check where moisture appears—this reveals the leak’s origin point. Simultaneously, inspect for visible frost buildup inside the freezer compartment, especially near the door seals. Excessive frost indicates air infiltration, while water only at the bottom suggests drainage issues. Pay special attention to whether leaks occur during defrost cycles (typically every 8-12 hours) or continuously, as this distinction points to different underlying problems.
Is Your Freezer Door Gasket the Culprit?
The rubber door seal (gasket) is responsible for 80% of freezer leaks. To test its effectiveness, perform the dollar bill test: close the door on a single bill at multiple points around the seal. If you can pull the bill out without resistance, the gasket isn’t sealing properly. Look for these critical warning signs:
– Cracks or tears in the rubber (especially near corners)
– Gasket lifting away from the door frame
– Hardened, brittle material that won’t compress
– Visible gaps when door is closed
Pro Tip: Warm the gasket with a hair dryer for 30 seconds before testing—it becomes more pliable and gives a more accurate seal check. If the gasket passes the dollar bill test but leaks persist, move to drainage system checks.
Why Leveling Your Refrigerator Stops Freezer Leaks
An unlevel refrigerator is a silent leak generator many homeowners overlook. When your appliance tilts forward even slightly, gravity pulls the door open microscopically during operation cycles. Use a carpenter’s level on the freezer door top edge—any deviation beyond 1/8 inch front-to-back indicates misalignment. Here’s how to fix it:
- Unplug the refrigerator and remove all contents
- Locate adjustable front legs (usually hex-shaped)
- Turn legs clockwise to raise, counterclockwise to lower
- Aim for 1/4 inch backward tilt (back slightly higher than front)
- Recheck level after each adjustment
Critical Warning: Never adjust rear legs—they support the compressor. Improper leveling can cause compressor damage costing $400+ to replace.
Fixing a Worn Freezer Door Gasket Without Replacement
Before replacing the seal, try reviving dried rubber with this professional technique. Remove the gasket by gently prying the retaining clip with a flathead screwdriver—work slowly around the entire door. Soak the removed gasket in warm water with 2 tablespoons of baking soda for 20 minutes. Massage the solution into cracks using an old toothbrush, then apply petroleum jelly to all contact surfaces. Reinstall the gasket by snapping it back into the channel starting at the top center. This simple treatment often extends gasket life by 6-12 months for minor wear.
When Replacement Becomes Necessary
Replace the gasket immediately if you see:
– Deep cracks exposing inner metal
– Sections torn more than 1 inch long
– Permanent warping that prevents flat contact
– Mold growing inside the seal channel
Time-Saver: Take a photo of your current gasket and visit appliance parts websites—most have visual match tools. Order by model number (found inside the fridge compartment) for perfect fit. Universal gaskets rarely work correctly on modern freezers.
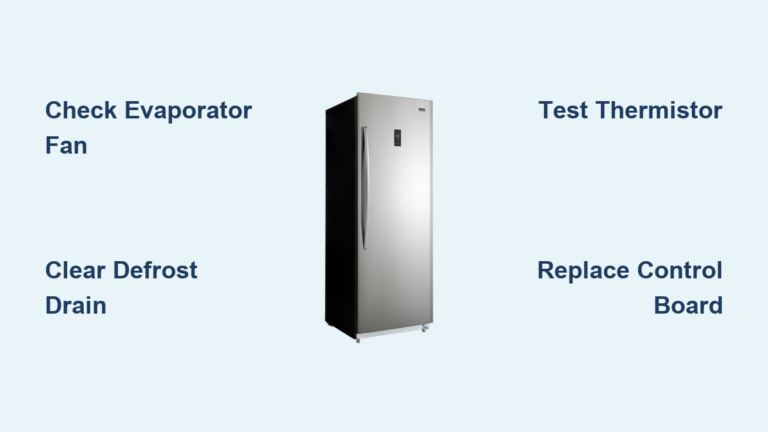
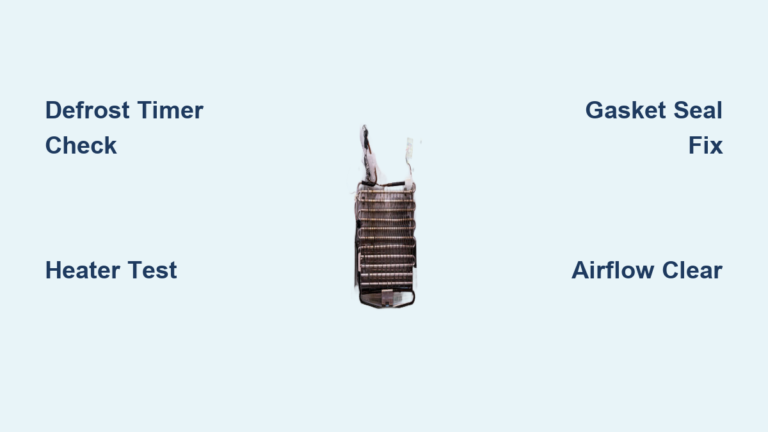
Unclogging the Defrost Drain: The Hidden Leak Source
Most homeowners never realize freezers have drainage systems. During defrost cycles, melted frost flows through a tube (defrost drain) into an evaporator pan under the unit. When this clogs, water backs up and leaks into your kitchen. Locate the drain hole inside the freezer (usually at the bottom rear behind panels). Clear it using:
- A ¼-inch bottle brush to dislodge debris
- A turkey baster filled with warm vinegar solution
- Flexible plumbing snake for stubborn clogs
Critical Checkpoint: After clearing, pour ½ cup water down the drain to verify proper flow. If water pools inside, the drain tube is still blocked deeper in the system—requires professional help.
Preventing Future Drain Clogs
Install this $5 fix during your cleaning:
– Cut plastic straw to 2-inch length
– Insert vertically into drain hole
– Acts as permanent conduit for water flow
– Replace annually during maintenance
Pro Tip: Run a vinegar solution through the drain monthly to prevent ice buildup—especially crucial in humid climates where mineral deposits form faster.
Adjusting Freezer Door Alignment to Prevent Leaks

Misaligned doors create uneven pressure on gaskets. Check alignment by observing how the door closes—does it drift open slightly? Does it require extra force at certain points? Here’s the adjustment sequence:
- Locate hinge mounting screws (top and bottom)
- Loosen top hinge screws slightly with 5/16″ socket
- Gently push door upward while retightening
- Test closure—if still uneven, adjust bottom hinge
- Never loosen more than ¼ turn at a time
Warning: Over-tightening strips hinge threads—common in plastic housings. If screws spin freely, you’ll need thread repair kits before proceeding.
Preventing Future Freezer Door Leaks With Simple Habits
Stop leaks before they start with these daily practices:
– Wipe door seals weekly with damp cloth (removes food debris)
– Never overload freezer—items pressing against door prevent sealing
– Keep ambient kitchen temperature below 80°F (reduces condensation)
– Check gasket integrity monthly using dollar bill test
Maintenance Schedule:
| Task | Frequency | Time Required |
|——|———–|————–|
| Gasket cleaning | Weekly | 2 minutes |
| Level check | Quarterly | 5 minutes |
| Drain inspection | Semi-annually | 10 minutes |
| Full gasket replacement | As needed | 30 minutes |
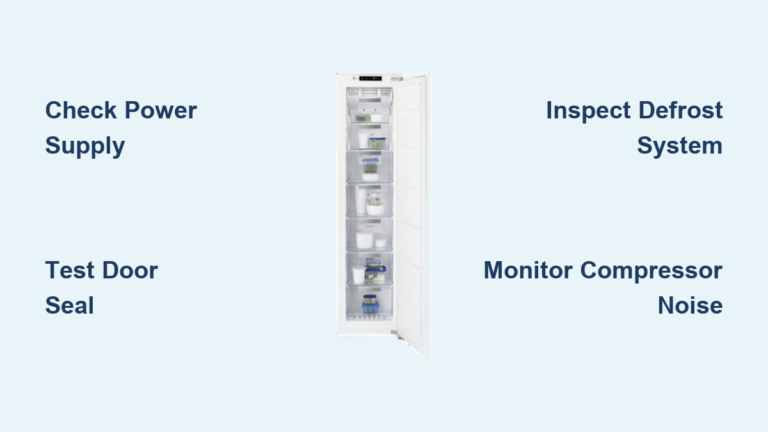
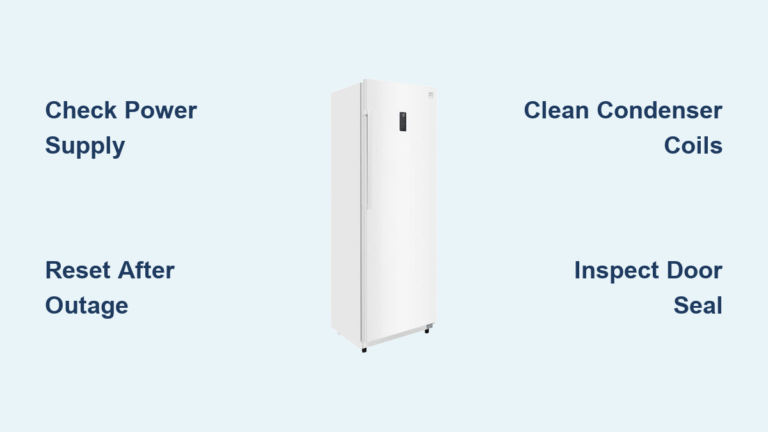
When to Call a Professional for Freezer Door Leaks
Attempt DIY fixes only if:
– You’re comfortable with basic appliance maintenance
– Leak started recently (within 2 weeks)
– No electrical issues present (sparks, burning smells)
– Model is less than 10 years old
Call a technician immediately if:
– Water leaks during compressor operation (indicates refrigerant issue)
– You smell burning plastic near electrical components
– The freezer won’t maintain below 10°F despite settings
– Drain tube is inaccessible behind sealed panels
Professional diagnosis typically costs $75-$150 but prevents $500+ mistakes from improper repairs. Reputable technicians will provide written estimates before starting work—always get this in writing.
Final Leak-Proof Checklist Before You Finish
Before considering the job done, run this verification sequence:
1. Close door on dollar bill at 8 points (all must resist pull)
2. Confirm backward tilt with level (1/4 inch difference)
3. Pour 1 cup water down drain—watch for proper flow
4. Operate for 24 hours with moisture indicator cards inside
5. Check floor area after next defrost cycle
Most freezer door leaks originate from just three preventable issues: degraded gaskets, clogged drains, or improper leveling. By addressing these core problems with the techniques above, you’ll stop 95% of leaks permanently. Remember that regular 10-minute maintenance sessions save hundreds in potential water damage—make gasket checks part of your monthly cleaning routine. If leaks persist after trying these solutions, your defrost system thermostat may need replacement, which requires professional servicing due to refrigerant handling regulations. Keep your repair receipts; many components have 1-year warranties that could cover future issues.