Freezer Works but Fridge Not Cooling? Fix It Fast
Your freezer keeps ice solid and frozen foods perfectly preserved, but the refrigerator section feels suspiciously warm—milk is on the verge of spoiling and leftovers are developing an unpleasant odor. This frustrating scenario—where your freezer works perfectly while your refrigerator fails to cool—is one of the most common refrigerator problems homeowners face. The good news is that this specific symptom pattern usually indicates a repairable issue rather than a complete system failure. Unlike compressor problems that affect both compartments equally, a working freezer alongside a warm refrigerator almost always points to an air distribution problem, a stuck damper, or a failing defrost system that you can often fix yourself.
This asymmetric cooling failure occurs because most modern refrigerators use a shared cooling system where cold air generated in the freezer gets distributed to the fresh food section through ducts, fans, and dampers. When any part of this distribution network malfunctions, the freezer continues functioning while the refrigerator starves for cold air. Understanding this relationship helps you diagnose the issue efficiently and decide whether it’s a simple DIY fix or requires professional service. This guide walks you through the diagnostic process, identifies the most common causes, and provides step-by-step repair instructions to restore proper cooling to both compartments.
Why Your Freezer Works While Your Refrigerator Warms Up
The symptom of a functioning freezer with a non-cooling refrigerator narrows your troubleshooting significantly. Rather than examining the entire refrigeration system, focus on three specific areas: the air distribution system moving cold air between compartments, the damper control regulating flow into the refrigerator, and the defrost system preventing ice from blocking air passages.
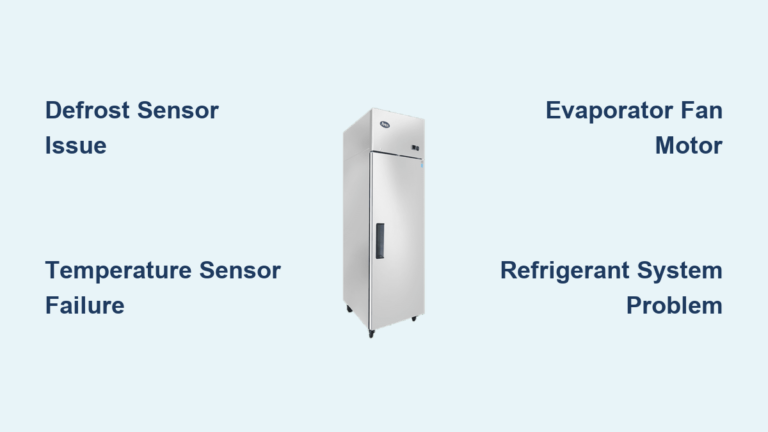
Air flow problems account for the majority of these failures. The evaporator fan draws air across the cold coils in the freezer and circulates it throughout both compartments. When this fan operates at reduced speed, fails intermittently, or stops completely, the freezer may still receive some cooling through natural convection while the refrigerator loses its primary air supply. Similarly, if the air ducts connecting the two compartments become blocked by ice buildup or debris, cold air simply cannot reach the refrigerator section regardless of how well the freezer is functioning.
How to Check for Immediate Air Flow Issues
Place your hand near the air vents inside your refrigerator compartment with the freezer door closed. If you feel no cold air movement, you’ve confirmed an air distribution problem. Open the freezer door and listen carefully for the evaporator fan operating—it should run continuously when the compressor cycles on. No fan sound suggests motor failure, while unusual clicking or buzzing indicates bearing problems or physical obstruction.
For models with removable evaporator covers, carefully remove the cover (check your owner’s manual for access instructions) and inspect the evaporator coil surface. Light frost covering less than half the coil indicates normal operation, while heavy frost accumulation across the entire coil suggests defrost system failure. The pattern of frost provides additional diagnostic clues—uniform frost suggests proper cycling while patchy accumulation points to air flow or sensor problems.
Diagnosing Damper Control Failures in 3 Simple Steps
The air damper, sometimes called the temperature damper or air inlet valve, controls how much cold air flows into the refrigerator section. Located typically at the top of the fresh food compartment or at the interface between freezer and refrigerator sections, this vent opens and closes based on temperature readings from sensors inside the refrigerator.
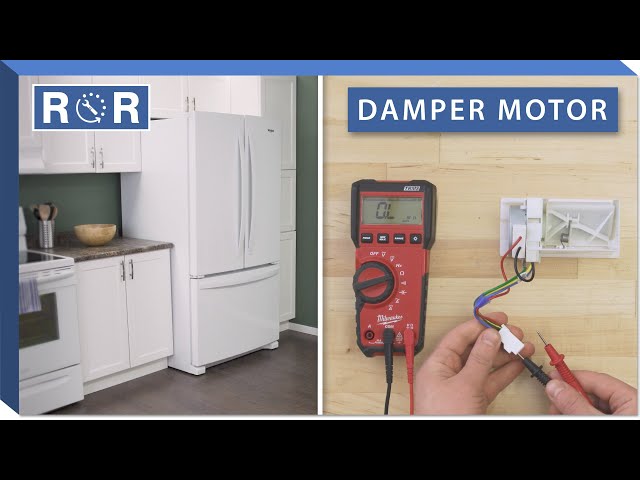
When the damper motor fails, it typically defaults to the closed position, completely blocking cold air from entering the refrigerator. You might notice the refrigerator warming while freezer items remain properly frozen. Some units use mechanical damper systems with bimetallic strips that can warp, stick, or become jammed by debris over time.
Step-by-Step Damper Diagnostic Test
- Check for air flow with freezer door open: Leave the freezer door open for 15-20 minutes. If you still feel no cold air entering the refrigerator, the damper is likely stuck closed.
- Listen for damper operation: During normal cooling cycles, the damper should click or whir as it opens and closes. No sound suggests motor failure.
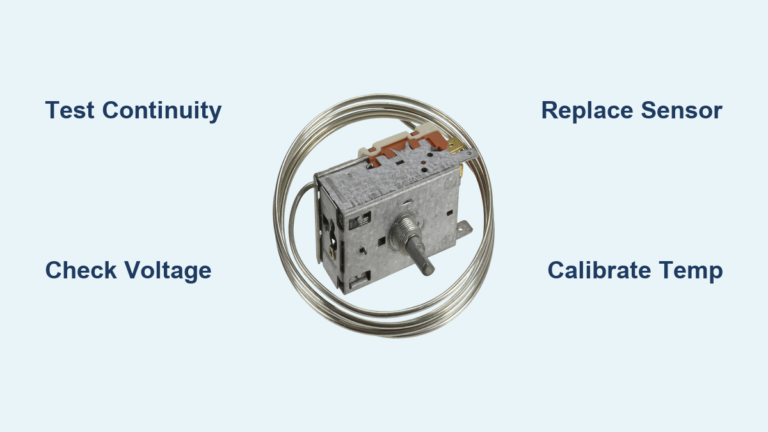
- Test electrical continuity: With power disconnected, use a multimeter to check for continuity across the damper motor terminals. No continuity means the motor needs replacement.
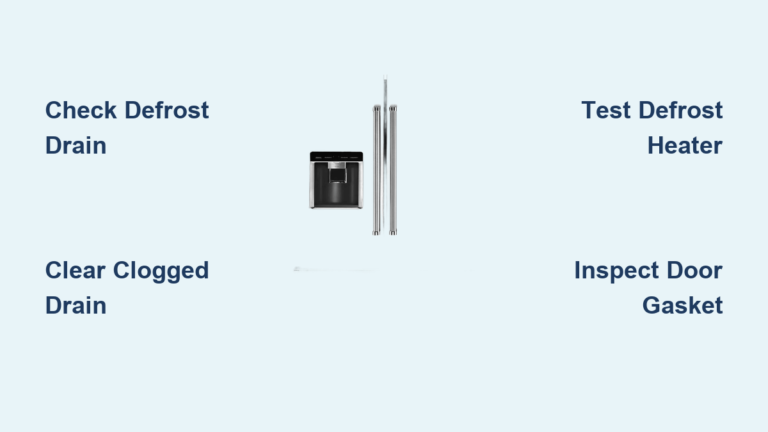
Spotting Defrost System Malfunctions Before Damage Spreads
The defrost system prevents ice from accumulating on the evaporator coils by periodically heating the coils just enough to melt any frost buildup. This system includes the defrost timer or control board, the defrost heater element, and the defrost thermostat or sensor.
When any component in this system fails, progressive ice buildup occurs. Initially, the freezer may function adequately while the refrigerator suffers because the reduced cooling capacity cannot maintain both compartments. As ice accumulates thicker, even freezer performance degrades. The key diagnostic indicator is frost patterns inside the freezer—excessive ice on the walls or floor, or heavy frost covering more than half of the evaporator coil surface, suggests defrost system failure.
Critical Defrost System Warning Signs
- Frost on refrigerator ceiling or floor: Indicates ice buildup blocking air passages
- Water accumulation under crisper drawers: Melted ice draining improperly
- Increased frost after defrost cycle: Heater isn’t working properly
- Clicking sounds without temperature drop: Timer cycling but heater not activating
Step-by-Step: Restoring Airflow to Your Warm Refrigerator

Clearing Air Duct Blockages in 30 Minutes
1. Activate manual defrost cycle: If your model has one, run a manual defrost cycle to melt ice buildup. For models without this feature, unplug the refrigerator and leave both doors open.
2. Accelerate melting process: Place bowls of hot water in the freezer compartment to speed melting. Never use sharp objects to chip ice—this can damage evaporator coils.
3. Dry thoroughly before restoring power: Use towels to absorb standing water, then allow 30 minutes for surfaces to dry completely. Moisture left behind will refreeze immediately when power returns.
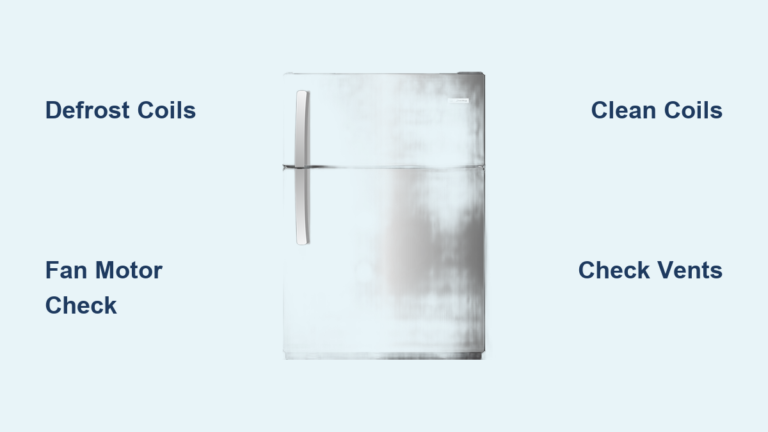
Cleaning Condenser Coils for Maximum Efficiency
- Locate coils: Find coils on the rear of the unit or behind a kickplate panel at the bottom front
- Disconnect power: Always unplug before cleaning
- Remove debris: Use a coil brush or vacuum with brush attachment to remove all dust and pet hair
- Check airflow: Ensure nothing blocks the area around your refrigerator—maintain at least 2 inches clearance on all sides
This simple maintenance task should be performed every 3-6 months, especially in homes with pets, and can resolve up to 30% of cooling problems where the freezer works but the fridge doesn’t.
When to Call a Professional vs. DIY Repair Savings
Certain symptoms indicate conditions requiring licensed technician intervention. Refrigerant recharge, recovery, or leak repair requires EPA certification and specialized equipment not available to consumers. Electrical repairs involving direct line voltage connections, control board replacements, or complex wiring diagnostics benefit from professional expertise and safety training.
Warning Signs Requiring Professional Service
- Visible refrigerant oil accumulation (indicating leaks in the sealed system)
- Compressor clicking without starting (suggesting motor or starting system failure)
- Burning smells or electrical sparking
- Symptoms persisting after recommended DIY corrections
Self-repair eliminates labor costs, which typically represent 60-80% of total appliance repair expenses. Evaporator fan motor replacement parts cost $30-80, damper assembly replacement runs $25-60, and defrost heater replacement typically costs $15-40. Professional diagnosis fees range from $75-150, with total repair bills commonly reaching $150-400.
Pro Tip: Before calling a technician, always check if your refrigerator is still under warranty—many manufacturers cover sealed system components for up to 5 years.
Model-Specific Troubleshooting Techniques

Different refrigerator designs exhibit characteristic failure patterns. Top-mount refrigerators (freezer above fridge) naturally provide good air flow to the fresh food section through gravity-assisted convection. Common failure points include evaporator fan location (requiring freezer access) and damper positioning at the top of the refrigerator section.
Side-by-side refrigerators experience higher rates of damper failure and air duct obstruction due to extended ductwork paths. French-door models with bottom-freezer configurations feature complex air management systems often incorporating multiple dampers and sensors, requiring more precise diagnostic approaches.
Quick Fix for French-Door Models: Check if the upper damper control is obstructed by food items in the top shelf area—a common oversight that blocks cold air flow to the entire refrigerator section.
Preventive Maintenance Checklist
Implement these simple steps to prevent future cooling failures:
- Clean condenser coils quarterly—this single task prevents 40% of cooling problems
- Test door seals monthly using the dollar bill closure test
- Verify proper leveling—use a bubble level on interior shelves
- Avoid overfilling compartments which restricts essential air circulation
- Allow hot foods to cool before refrigerating to prevent moisture buildup
Regular maintenance extends your refrigerator’s service life by 3-5 years and prevents the frustrating scenario of a freezer cooling but fridge not cooling. Most importantly, it keeps your food safely stored at proper temperatures—35-38°F for the refrigerator section and 0°F or below for the freezer.
When your refrigerator shows this specific symptom pattern, remember that the problem is likely isolated to the air distribution system rather than the entire cooling mechanism. With proper diagnosis and these targeted repair approaches, you can often restore full functionality without expensive service calls—keeping both your freezer and refrigerator operating at peak performance.