Fix Fisher Paykel Freezer Not Making Ice
Your Fisher Paykel freezer should begin producing ice within 6-24 hours after installation or power restoration. When your Fisher Paykel freezer not making ice becomes a persistent issue, it disrupts your daily routine and indicates a specific system failure requiring attention. This guide provides step-by-step solutions to diagnose and fix the most common causes of ice production failure in Fisher Paykel freezers, from simple DIY fixes to more complex component replacements.
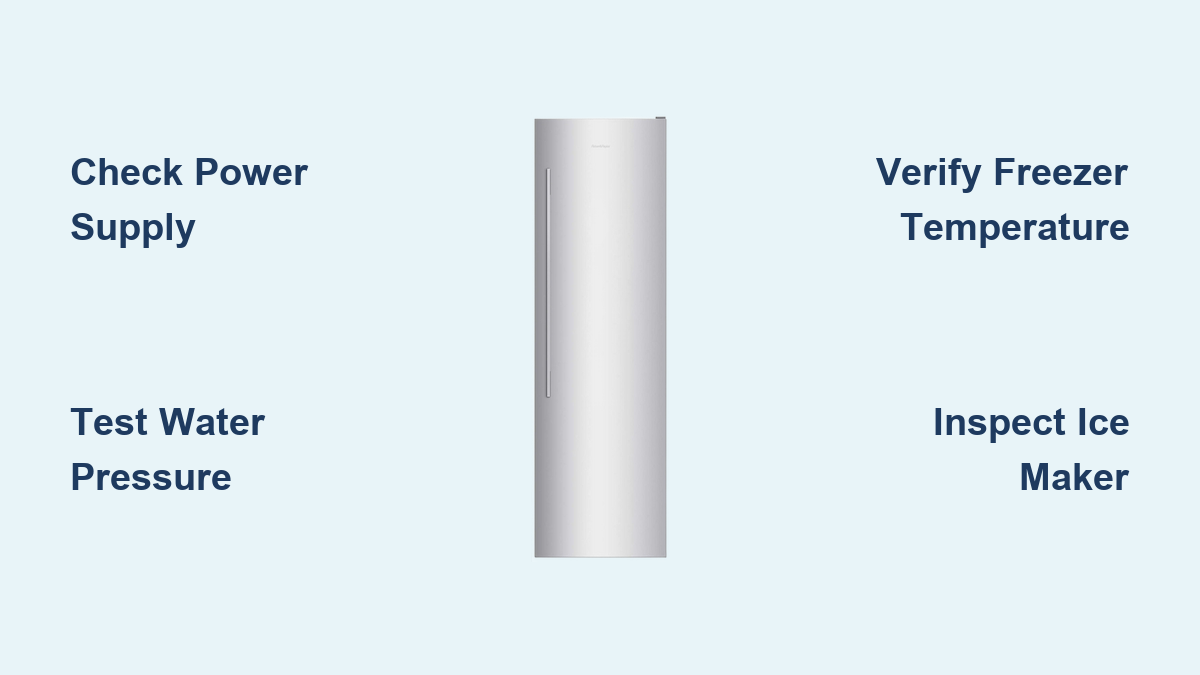
Most ice maker failures stem from one of three critical systems: inadequate water supply, improper freezer temperature, or electrical component failure. Understanding how these systems interact helps you pinpoint the exact cause without unnecessary part replacements. By following this systematic approach, you can restore your ice production within hours rather than days—and often avoid costly service calls.
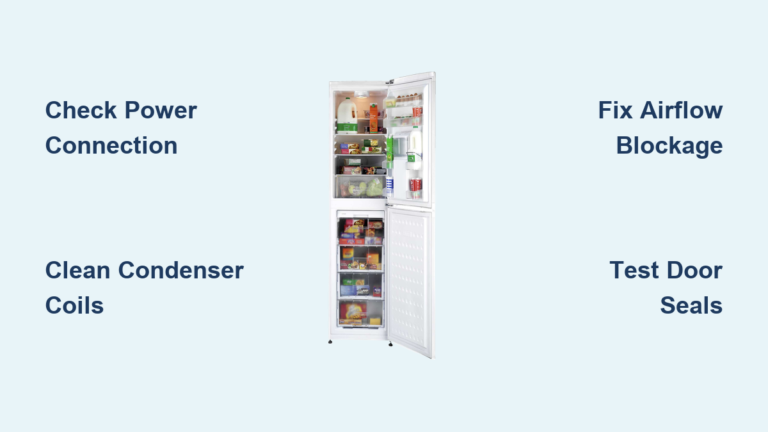
Confirm Power Supply and Electrical Connections
Before dismantling components, verify your freezer has proper electrical power—many “ice maker failures” are simply power interruptions that take minutes to diagnose.
Test Outlet and Circuit Breaker First
Plug a working lamp or phone charger into the same outlet to confirm power delivery. If no other device operates, check your circuit breaker panel for a tripped switch labeled “refrigerator” or “kitchen.” Fisher Paykel models require a dedicated 15-amp circuit, and shared circuits often cause intermittent power issues that stop ice production. After resetting any tripped breakers, wait 30 minutes for the freezer to stabilize before checking ice production.
Check Door Switch Functionality
A malfunctioning door switch sending false “door open” signals prevents ice production entirely. Close the freezer door and listen for the interior light turning off—persistent lighting indicates a faulty switch. Locate the switch in the door frame near the hinge, press the actuator button manually, and verify the light turns off. Replace any switch that fails to change state using a multimeter to confirm continuity (closed circuit when pressed).
Diagnose Water Supply System Failures

Inadequate water pressure or flow accounts for nearly 40% of Fisher Paykel ice maker failures. Your system requires 30-100 psi water pressure to fill the ice mold properly.
Verify Water Pressure and Inlet Valve Operation
Connect a pressure gauge to your household supply line near the refrigerator connection point. Pressure below 30 psi causes small or hollow ice cubes, while readings above 100 psi can damage the valve. With power disconnected, locate the water inlet valve at the refrigerator’s rear and test resistance across terminals using a multimeter—proper readings fall between 200-400 ohms. Infinite resistance indicates a failed valve requiring replacement. Pro Tip: Clean the valve’s screen filter monthly to prevent sediment buildup that restricts flow.
Inspect Fill Tube for Ice Blockages
The fill tube delivering water to the ice mold frequently freezes when warm air enters the freezer compartment. Look for visible ice accumulation in the tube, particularly at bends or connection points. Use a hair dryer on low heat to melt blockages—never use sharp objects that could damage the tube. After clearing ice, investigate the underlying cause: check door seals for gaps and verify freezer temperature stays below 9°F (-13°C) consistently.
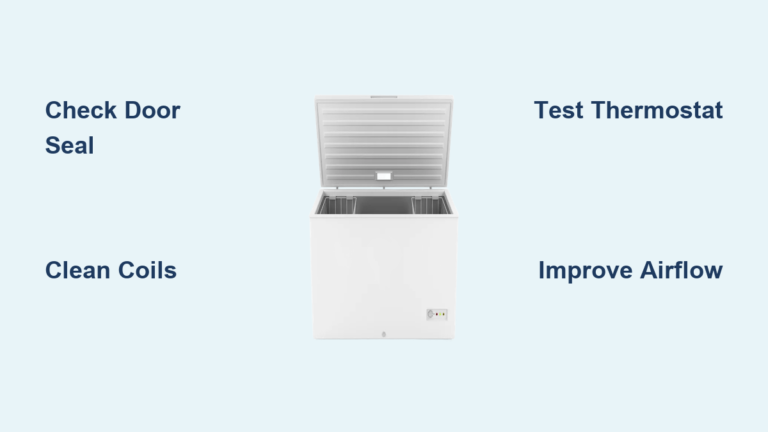
Fix Freezer Temperature Problems Preventing Ice Formation
Your Fisher Paykel freezer must maintain temperatures between 0°F and 5°F (-18°C to -15°C) for reliable ice production. Temperatures above 9°F (-13°C) prevent the ice maker’s thermostat from initiating the harvest cycle.
Validate Actual Freezer Temperature
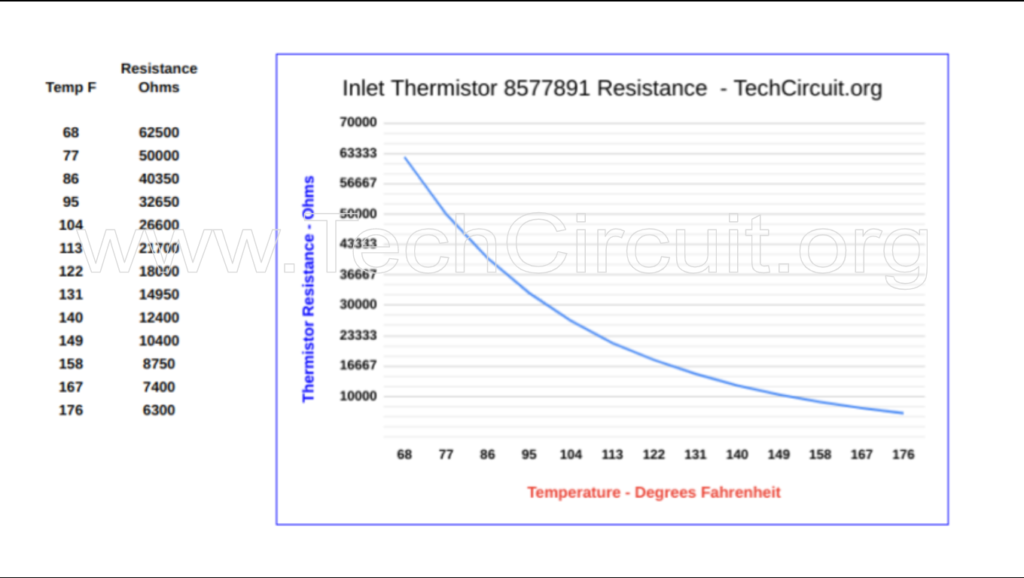
Place an accurate thermometer in a glass of vegetable oil (which won’t freeze) in the center of the freezer. Allow 24 hours for stabilization before reading—this provides a more reliable measurement than the digital display. If actual temperature exceeds 9°F (-13°C) while the display shows lower readings, a failed thermistor is likely causing your Fisher Paykel freezer not making ice issue. Test the thermistor’s resistance at 0°F (-18°C)—proper readings should be approximately 65 kilo-ohms.
Test Evaporator Fan and Airflow
The evaporator fan circulates cold air essential for consistent freezing. Listen for the fan’s hum when the compressor runs—if silent, check for ice buildup on blades or a failed motor. Remove any obstructing ice using a hair dryer on low setting. Verify unobstructed airflow between compartments by ensuring food packages aren’t blocking vents. Restricted airflow causes uneven cooling that specifically impacts ice maker performance while other freezer areas remain adequately cold.
Resolve Ice Maker Assembly Component Failures
When power, water, and temperature systems function properly, focus on the ice maker assembly itself—several internal components commonly fail and stop production.
Test Harvest Mechanism and Ejector Blades
Listen for the motor running during expected harvest times (every 1-3 hours). If the motor runs but ice remains stuck, inspect the ejector blades for cracks or binding. Remove any jammed ice cubes preventing proper movement. Verify the feeler arm moves freely—ice buildup around the arm falsely signals a “full bin” condition that halts production. Clean debris from arm pivots using a soft brush and food-safe lubricant.
Diagnose Heater Assembly Malfunctions
Stuck ice cubes often indicate a failed heating element that won’t release frozen cubes during harvest. Access the heater at the ice maker’s rear and test resistance with a multimeter—proper readings range from 40-80 ohms depending on model. Infinite resistance confirms a failed heater requiring replacement. Critical Warning: Never operate the ice maker with a damaged heater element, as this creates electrical hazards and can melt plastic components.
Implement Preventive Maintenance to Avoid Future Failures

Regular maintenance prevents most ice production issues and extends component life. These simple tasks take minutes but save hours of troubleshooting later.
Monthly Water System Checks
Inspect the water supply line for kinks or UV damage (especially in under-sink installations). Clean the inlet valve screen filter by disconnecting the water line and removing accumulated sediment. Verify proper water pressure remains between 30-100 psi—install a pressure regulator if your household pressure exceeds 100 psi. Replace water filters every six months or 500 gallons to prevent mineral buildup that clouds ice or restricts flow.
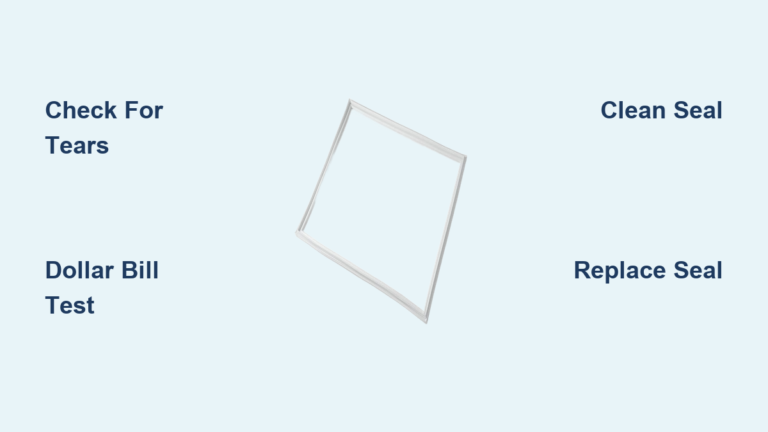
Quarterly Freezer Temperature Verification
Use an independent thermometer to validate freezer temperatures quarterly. Check door gaskets for tears by closing the door on a dollar bill—if you can pull it out easily, replace the gasket. Inspect the fill tube for early ice buildup that indicates door seal issues. Proper maintenance ensures your Fisher Paykel freezer making ice consistently without unexpected interruptions.
When to Call a Professional Technician
Contact an authorized Fisher Paykel service provider when you encounter persistent error codes like “IF” (ice maker fault) or “dF” (defrost system issue) that won’t clear after reset procedures. Seek professional help if you suspect refrigerant leaks, compressor problems, or electrical issues beyond basic component testing. Most Fisher Paykel refrigerators carry a five-year compressor warranty and one-year ice maker coverage—keep proof of purchase to validate warranty claims.
By methodically checking each system—power, water supply, temperature, and mechanical components—you can resolve most Fisher Paykel freezer not making ice issues without professional assistance. Start with the simplest checks first, document your findings, and replace only confirmed faulty components. With proper maintenance, your Fisher Paykel ice maker will provide reliable service for years, keeping your freezer making ice consistently for all your chilling needs.