Freezer Defrosting Tips: Quick & Easy Steps
Your freezer door groans as you force it open, revealing thick glaciers clinging to shelves that barely move. That familiar frustration hits when ice buildup steals precious storage space and forces your appliance to work twice as hard. Ignoring this problem doesn’t just waste energy—it can permanently damage seals and compressors. In this guide, you’ll discover exactly when to defrost, how to melt ice safely in under 2 hours, and daily habits that prevent future buildup. These actionable strategies restore efficiency while protecting your appliance, turning a dreaded chore into a 90-minute maintenance win.
Most modern freezers develop problematic ice when door seals fail or temperature settings drift. That quarter-inch layer of frost might seem harmless, but it forces your compressor to run 30% longer to maintain freezing temperatures. The good news? With the right techniques, you can eliminate ice buildup without risking electrical damage or food spoilage. Follow these proven methods to reclaim storage space, slash energy costs, and extend your freezer’s lifespan through proper defrosting practices.
Signs Your Freezer Needs Immediate Defrosting
Don’t wait for complete ice entombment—act when you spot these critical warning signs. Visible frost exceeding ¼ inch thickness on walls or shelves means your freezer is already losing efficiency. Listen for unusual humming or clicking sounds from the compressor working overtime to compensate for insulation loss. Check if stored items feel warmer than normal or if ice cream softens despite correct temperature settings. Most critically, examine the door seal: light leaking through gaps or frost forming along the gasket edge indicates compromised insulation requiring urgent attention.
How to Check Ice Thickness Without Opening the Door
Use a simple ruler through the air vent to measure buildup depth before fully opening the freezer. Slide the ruler carefully into the vent opening until it contacts the back wall, then note where the ice layer ends. If your measurement exceeds 6mm (¼ inch), schedule defrosting immediately. For chest freezers, insert the ruler vertically between stored items near the wall. This non-invasive check prevents unnecessary cold air loss while confirming when action is needed.
Why Delaying Defrosting Costs You Money
Every additional ⅛ inch of ice increases energy consumption by 15% as the compressor struggles to maintain temperatures. Unchecked buildup can double your freezer’s electricity costs within months. More critically, excessive ice strains the evaporator coil, potentially causing permanent damage requiring $200+ repairs. That “I’ll do it next week” attitude directly impacts your wallet through higher bills and shortened appliance lifespan.
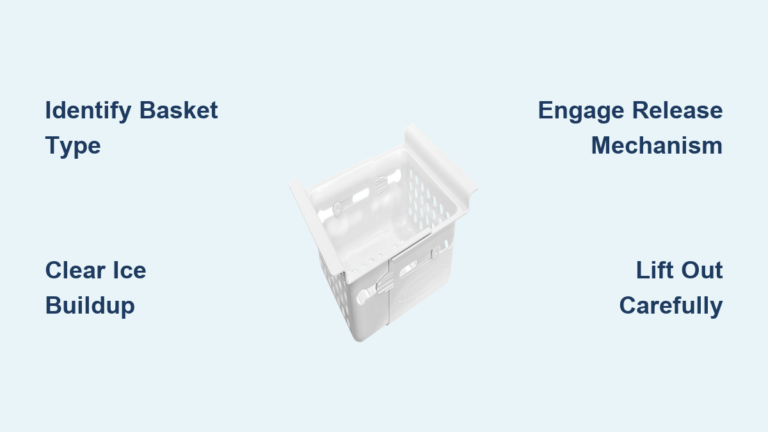
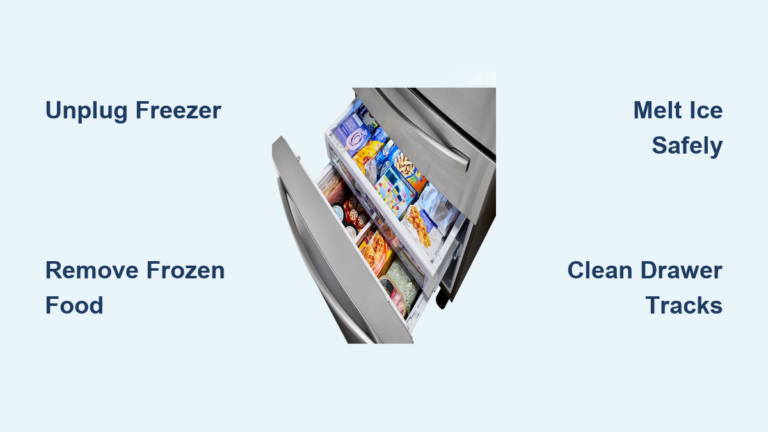
Step-by-Step Guide to Defrosting Without Damaging Your Freezer

Complete this process in 90 minutes with minimal food spoilage using the appliance-safe method professionals recommend. First, remove all food and pack perishables into coolers with ice packs—keep the freezer door closed until ready to start. Unplug the unit completely and remove drain plugs if accessible (check your manual). Place towels inside to catch initial meltwater and position shallow pans beneath the front edge to collect runoff. Never use sharp tools or heat guns that could puncture coolant lines.
The Saltwater Acceleration Technique
Boost melting speed by 40% with this safe chemical method. Mix 2 tablespoons of table salt into 1 quart of lukewarm water and pour into spray bottles. Lightly mist thick ice sections—avoiding electrical components—and wait 5 minutes. The saline solution lowers water’s freezing point, creating channels for faster melting. Reapply every 10 minutes to stubborn areas, always wiping runoff immediately with absorbent towels. This method prevents thermal shock that hairdryers cause while being safer than chiseling.
Critical Mistakes That Cause Permanent Damage
Never use metal scrapers, screwdrivers, or knives to break ice—these can puncture evaporator coils requiring full replacement. Avoid pointing hairdryers within 12 inches of walls as concentrated heat warps plastic components. Most dangerously, don’t pour boiling water directly onto ice; rapid temperature changes crack freezer liners. If water pools near the compressor area, stop immediately and tilt the unit slightly backward to redirect drainage.
Essential Safety Steps Before Starting Defrosting
Protect yourself and your appliance with these non-negotiable precautions. Unplug the freezer at least 15 minutes before starting to ensure all electrical components are de-energized. Wear slip-resistant shoes and thick rubber gloves to handle melting ice safely. Disconnect any smart sensors or Wi-Fi modules per your manual’s instructions. Most crucially, locate your home’s circuit breaker for the freezer and flip it off—this double safety measure prevents accidental restarts during the process.
How to Safely Handle Meltwater Runoff
Prevent electrical hazards by placing 3-inch-high barriers of rolled towels along the front lip before starting. For chest freezers, position a shallow plastic tray (not metal) directly under the drain hole. Check every 20 minutes for standing water near the compressor compartment—immediate towel-drying prevents short circuits. Never use a wet/dry vacuum on melting ice; the suction can dislodge internal components. Instead, use absorbent cellulose sponges designed for appliance use.
Tools You Must Have for Quick Freezer Defrosting

Skip ineffective hacks with these purpose-built tools that cut defrosting time in half. A flexible silicone scraper with rounded edges safely removes ice without scratching surfaces. Battery-powered mini-fans (like those used for electronics cooling) accelerate evaporation when placed strategically inside. Keep a dedicated turkey baster for injecting warm water behind stubborn ice sheets—its curved tip reaches problem areas safely. Most valuable? A digital hygrometer to monitor internal humidity during re-cooling, preventing immediate refreezing.
The $5 Tool That Prevents Food Spoilage
A calibrated refrigerator thermometer is essential for verifying cooler temperatures during defrosting. Place two units—one in the food compartment, one in the door bin—to ensure perishables stay below 40°F (4°C). This simple device prevents $100+ in food waste by confirming your ice pack strategy works. Check temperatures hourly and add frozen gel packs if readings approach danger zones.
Preventing Ice Buildup: Daily Habits That Save Hours
Stop recurring defrosting cycles with these effortless maintenance habits. Always dry containers before storage—just 2 teaspoons of residual moisture creates 1.5 inches of ice monthly. Keep the freezer 70% full for optimal air circulation; use water-filled bottles in empty spaces as thermal buffers. Most importantly, limit door openings to 15 seconds and never leave it ajar while organizing. These small changes reduce ice formation by 80% when consistently applied.
How to Test and Fix Faulty Door Seals
Perform this 2-minute seal check monthly: Close the door on a dollar bill at multiple points around the gasket. If you can pull the bill out without resistance, the seal has failed. Clean sticky residue with vinegar-dampened cloths, then warm the gasket with a hairdryer on low for 30 seconds before closing the door with towels inside overnight. For persistent gaps, apply food-safe silicone grease to rejuvenate the rubber. Replace cracked seals immediately using manufacturer-specified parts.
Troubleshooting Common Defrosting Problems
Solve these frequent issues without professional help. If ice reforms within days after defrosting, check the defrost timer—most units cycle every 6-12 hours. Locate it near the temperature control (often behind a panel) and manually advance it to trigger the next cycle. For persistent frost in one corner, verify food isn’t blocking internal vents. When water pools under drawers, clear the drain tube with a pipe cleaner soaked in baking soda solution—never use chemical drain openers.
Why Your Freezer Won’t Stay Cold After Defrosting
This usually indicates incomplete re-cooling before restocking. Wait until internal temperature reaches 0°F (-18°C) for 24 hours before adding food. If the compressor runs constantly, check that you’ve replaced all drain plugs securely—air leaks cause temperature fluctuations. For units with manual defrost controls, ensure the dial hasn’t accidentally reset to “off.” Never force the process; rushing causes immediate refreezing that requires restarting the entire defrost cycle.
Final Note: Regular defrosting every 3-6 months (or when ice exceeds ¼ inch) saves up to $50 annually in energy costs while preventing catastrophic failures. Implement the saltwater acceleration method for fastest results, and always verify door seal integrity monthly. Before closing this guide, take 60 seconds to check your freezer’s current ice thickness—those few minutes now could save 2 hours of emergency defrosting later. For persistent icing issues, consult your appliance manual’s troubleshooting section for model-specific solutions that address underlying thermostat or sensor problems.