Dacor Freezer Not Making Ice? Fix It Fast
Your Dacor freezer suddenly stops producing ice, disrupting daily routines and raising concerns about food preservation. This comprehensive guide walks you through systematic troubleshooting procedures to identify and resolve the underlying issue—whether your ice maker has stopped completely, produces hollow cubes, or leaks water. Understanding the interconnected systems—temperature regulation, water supply, mechanical components, and electronic controls—enables accurate diagnosis and effective repair.
The ice production process depends on multiple components working in harmony. Your Dacor freezer must maintain temperatures between 0°F and 5°F, receive adequate water pressure through an unobstructed supply line, and execute precise mechanical and thermal cycles to form and release ice cubes. When any single element fails, the entire production chain breaks down. Most issues fall into four categories: temperature problems, water supply failures, mechanical malfunctions, or electronic control faults. By methodically eliminating each possibility, you can pinpoint the exact cause.
This guide covers diagnostic procedures you can perform at home, component-specific repairs for confident DIYers, preventive maintenance strategies, and cost considerations for professional service. Each section provides actionable steps with clear indicators of success or failure, helping you make informed decisions about how to proceed when your Dacor freezer not making ice.
Verify Ice Maker Activation and Basic Requirements
Before investigating complex failures, confirm your Dacor ice maker is properly activated and receiving basic operational requirements.
Check Ice Maker Switch Position
Locate the ice maker switch or toggle mechanism on your specific Dacor model—typically found on the ice maker faceplate or control panel. Some models use a wire arm that must be lowered into the “on” position. If your ice maker recently stopped working after being bumped during cleaning, this simple setting may be the culprit. Consult your owner’s manual for the exact location and operation method for your model series. A common mistake is accidentally switching the ice maker to “off” while organizing freezer contents.
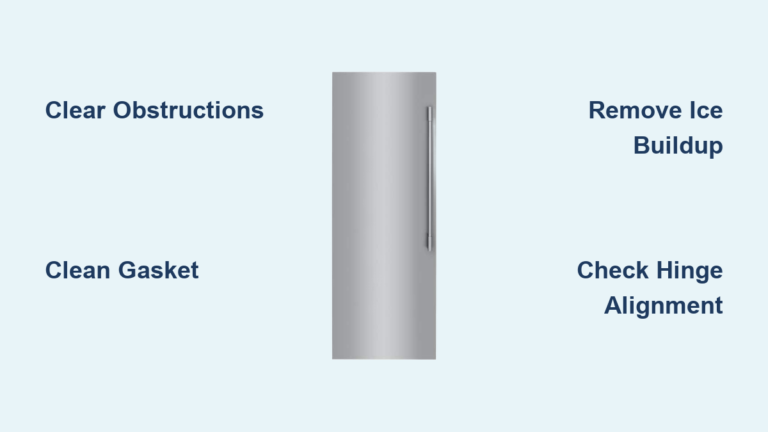
Confirm Freezer Door Closure Integrity
Inspect door seals for tears, gaps, or debris accumulation that prevents a complete seal. Close the door firmly and listen for the characteristic click indicating the door switch has engaged. Test seal integrity by closing a dollar bill in the door and attempting to pull it out—easy extraction indicates worn seals requiring replacement. Warm air infiltration from improper door closure raises freezer temperatures and halts ice production regardless of the ice maker’s operational status.
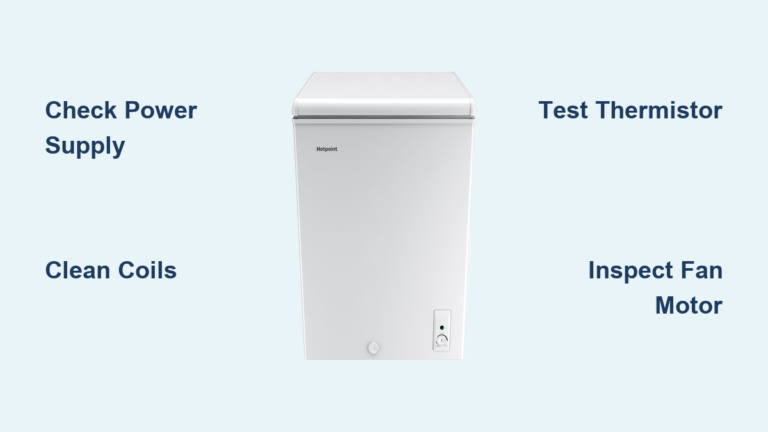
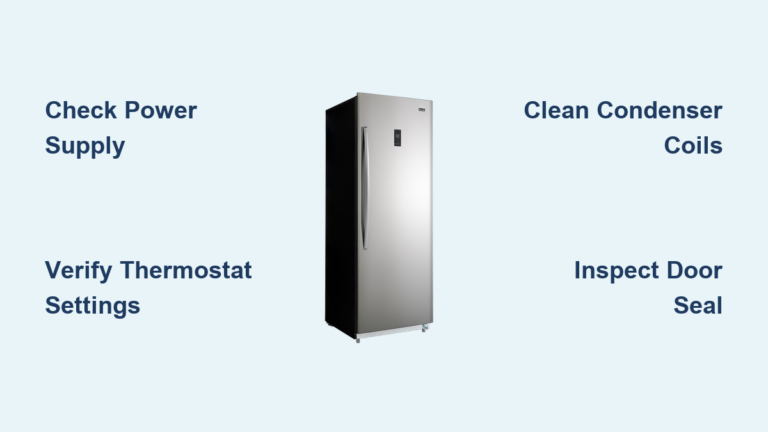
Check Power Supply and Circuit Status
Verify the refrigerator is receiving power by checking that interior lights illuminate when the door opens. Test the wall outlet using a lamp or multimeter to confirm electrical supply. Inspect the rear access panel for blown fuses or tripped circuit breakers, particularly if other refrigerator functions also failed. Some Dacor models have a dedicated fuse for the ice maker circuit that may require replacement. A complete power interruption disables ice makers without triggering obvious symptoms.
Diagnose Temperature-Related Ice Production Failures
When your Dacor freezer fails to maintain the optimal 0°F to 5°F range, the ice maker won’t initiate its harvest cycle regardless of other system functionality.
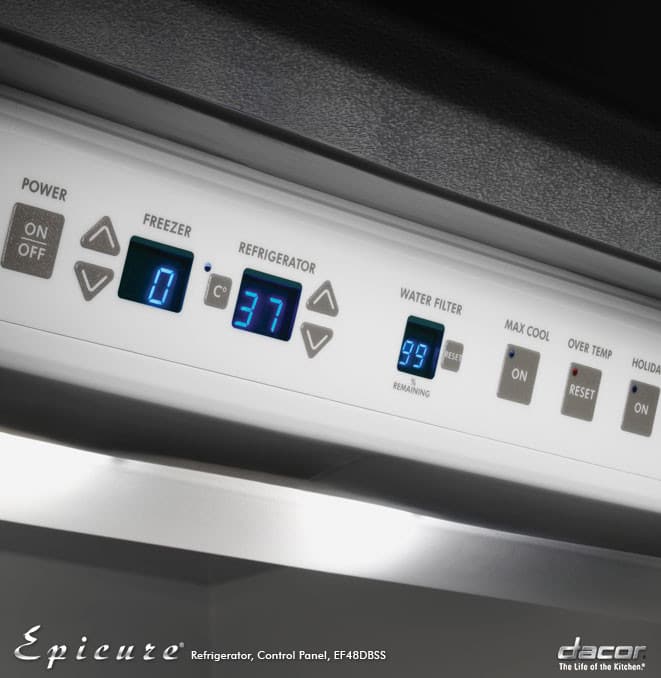
Measure Actual Freezer Temperature
Place a separate appliance thermometer in the freezer for 15-30 minutes to confirm actual temperatures. Wait 15 minutes after door closure for the system to stabilize before taking readings. If temperatures register above 5°F, the ice maker won’t produce ice even though the unit appears to be running normally. The temperature displayed on your Dacor control panel may not reflect actual conditions inside the freezer compartment.
Clean Condenser Coils for Optimal Cooling
Unplug the refrigerator and vacuum condenser coils gently using a coil brush or soft brush attachment. For bottom-grille models, remove the kickplate panel to access coils. Contaminated condenser coils reduce cooling efficiency by up to 30%, straining system components and preventing the freezer from reaching proper temperatures. Annual cleaning restores cooling performance and prevents temperature-related ice production failures.
Test Evaporator Fan Operation
Listen for continuous fan noise when the compressor runs. Absence of fan noise indicates motor failure or an obstruction preventing rotation. Access the fan by removing the rear freezer panel (after unplugging and allowing frost to melt), then inspect for ice accumulation on the blades or any visible damage. The evaporator fan must circulate cold air continuously for consistent ice formation, and obstructions or excessive frost accumulation indicate a separate cooling system issue requiring attention.
Fix Water Supply System Failures
When the ice maker fails to fill, produces small cubes, or overflows, the water supply system requires systematic investigation.
Test Household Water Pressure
Your household supply must maintain minimum 20 psi for Dacor ice makers to function correctly. Test pressure using a water pressure gauge connected to a faucet or washing machine supply line. Low pressure may indicate municipal supply issues, a failing pressure regulator, or restrictions in the household plumbing system. If pressure is adequate at other fixtures but low at the refrigerator, the problem lies within the refrigerator’s water supply components.
Inspect Water Supply Line for Blockages
Trace the supply line along its path and look for sharp bends or compression points. In unheated spaces or during cold weather, the supply line can freeze completely, blocking water flow. If you suspect freezing, warm the affected section using a hair dryer on low heat while checking for flow restoration. Replace damaged or frozen lines with protected tubing designed for refrigerator applications.
Replace Clogged Water Filter
Clogged water filters restrict flow to the ice maker, causing small or hollow cubes. Dacor recommends replacement every 6-12 months depending on usage and water quality. Locate the filter housing (typically in the refrigerator compartment or rear base) and rotate the old filter counterclockwise to remove. Install the new filter by aligning and rotating clockwise until it locks in place. Run several glasses of water through the dispenser to flush air and contaminants from the new filter before resuming ice production.
Repair Ice Maker Mechanical Components
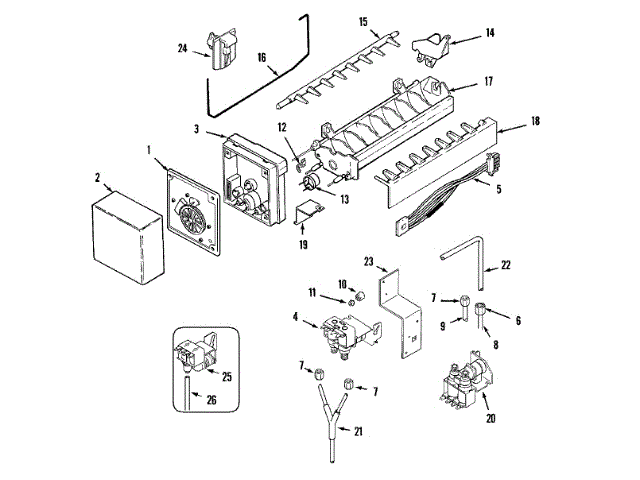
When temperature and water supply systems function correctly, mechanical components within the ice maker assembly often cause operational failures.
Test Heating Element for Proper Function
Access the ice maker assembly by removing the front cover or faceplate. Test the element for continuity using a multimeter—absence of continuity indicates failure requiring heating element replacement or complete ice maker assembly replacement depending on your model’s serviceability. When this element fails, cubes remain stuck in the mold and the ice maker appears to produce no ice despite otherwise normal operation.
Inspect Motor and Ejector Assembly for Damage
Remove the ice maker assembly and visually inspect the drive mechanism for obvious damage. Manually rotate the ejector blades to feel for binding or resistance that indicates mechanical failure. Listen for motor noise when the ice maker should be cycling—if the motor runs without blade movement, gear failure has occurred. Worn gears, stripped bushings, or damaged blades prevent proper cube release.
Reset Electronic Control Systems
Modern Dacor refrigerators employ electronic control boards that manage ice maker operation through programmed sequences.
Perform Ice Maker Control Module Reset
Disconnect power to the refrigerator for 5-10 minutes, allowing capacitors to discharge and the system to reinitialize. After restoring power, initiate a test cycle according to your model’s procedure (typically involving holding a button sequence or using a service mode accessible through the control panel). This simple reset resolves intermittent failures caused by control module glitches without requiring component replacement.
Test Door Switch Functionality
Locate switches in the door hinge area or door frame and test for continuity using a multimeter when pressed (closed) and released (open). Absence of continuity in either state indicates switch failure. A failed switch can disable ice maker production by falsely indicating an open door condition. Replacement switches may require bracket modification for proper mounting depending on your Dacor model’s design.
Prevent Future Dacor Freezer Ice Production Failures
Implement these preventive maintenance strategies to avoid recurring ice maker issues.
Establish Monthly Inspection Routine
Verify door seal integrity and clean sealing surfaces monthly. Check for frost accumulation inside the freezer, which indicates cooling system issues or door closure problems. Ensure items don’t block airflow vents. Listen for normal operational sounds—absence of fan noise or compressor cycling may indicate developing mechanical failures. Monthly checks catch developing problems before complete failure occurs.
Replace Water Filters Every 6-12 Months
Saturated water filters restrict flow and allow sediment to reach valve components, accelerating wear on the water inlet valve. Replace filters every 6-12 months based on usage and water quality. In areas with hard water or high sediment content, more frequent replacement may be necessary. Prompt filter replacement prevents premature valve failure—a $150+ repair compared to a $30-50 filter.
Cost-Effective Repair Decisions

Understanding cost factors helps you decide between DIY repair and professional service.
Water Inlet Valve Replacement Cost Analysis
Water inlet valve replacement parts cost approximately $50-$150, with professional installation adding $100-$200. DIY replacement requires basic mechanical skills and takes approximately 30-60 minutes. Document the orientation and connections by photographing the setup before disconnecting tubing. This repair becomes appropriate when testing confirms solenoid failure or when internal seals no longer provide proper function.
Complete Ice Maker Assembly Replacement
Complete ice maker replacement is appropriate when internal components fail collectively or when individual part replacement exceeds assembly replacement cost. Dacor manufactures model-specific replacement assemblies—verify compatibility before purchasing. Installation requires removing mounting hardware, disconnecting the electrical connector and water line, and transferring any brackets or insulation to the new assembly. This repair requires intermediate mechanical skills and takes approximately 1-2 hours.
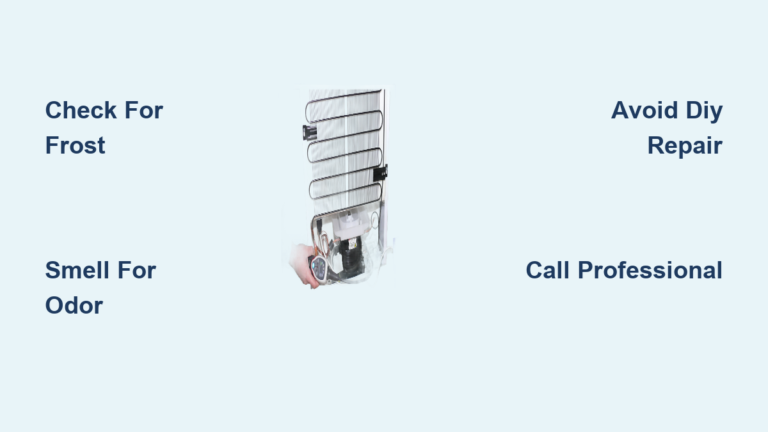
When your Dacor freezer not making ice, follow this systematic approach to identify and resolve the issue efficiently. By methodically checking activation status, temperature regulation, water supply, mechanical components, and electronic controls, you can determine whether a simple DIY fix or professional repair is needed. Implementing regular preventive maintenance—including monthly inspections, quarterly coil cleaning, and timely water filter replacement—prevents most ice production failures and ensures reliable operation for years to come. For complex electronic issues or when uncertainty exists about the proper repair procedure, consult a Dacor-authorized service technician to avoid causing additional damage to your premium appliance.