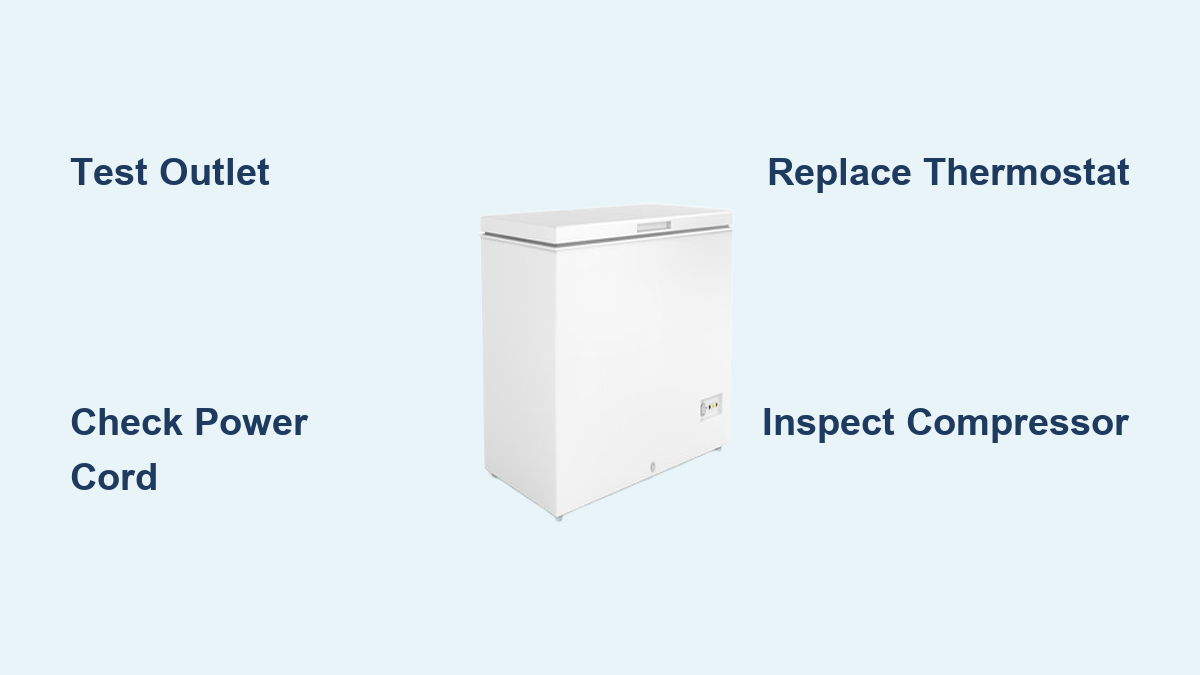
How to Fix Chest Freezer Won’t Turn On
Your chest freezer’s sudden silence can send panic through any household. One moment your frozen goods are safely preserved, and the next you’re staring at a dead appliance with no signs of life. Before you rush to replace your entire freezer or call for expensive service, understand that most power-related issues can be diagnosed and often fixed with systematic troubleshooting. This guide walks you through every potential cause, from simple electrical problems to complex component failures, helping you restore your freezer’s functionality and protect your valuable frozen inventory.
When your chest freezer refuses to start, the problem typically centers on electrical supply issues, thermostat failure, start relay problems, compressor motor defects, or wiring faults. Each of these areas requires specific diagnostic approaches, and understanding which component might be at fault saves both time and money. We’ll begin with the simplest checks and progress toward more technical diagnostics, giving you the knowledge to determine whether a DIY repair is feasible or if professional service is necessary.
Verify Wall Outlet and Power Source Functionality
Electrical supply problems account for a surprisingly high percentage of “freezer won’t start” issues, yet many homeowners skip these basic checks before diving into complex diagnostics. Before touching any internal components, systematically verify that power is actually reaching your appliance.
Test Outlet with Another Device
Start by plugging a different appliance like a lamp or phone charger into the same outlet. If the test device fails to operate, you’ve likely found a tripped circuit breaker or blown fuse. Check your home’s electrical panel for any tripped breakers, resetting them if found. For homes with older fuse boxes, carefully inspect fuses serving the kitchen or garage area and replace any that show a broken filament.
If the outlet tests fine but your freezer remains silent, try plugging it into a different outlet on a separate circuit. This eliminates the possibility of a specific outlet failure or a GFCI-protected circuit that may have tripped. Many kitchens and garages have outlets connected to GFCI breakers, and a tripped GFCI in one location can affect multiple outlets in the circuit.
Inspect Power Cord and Plug Condition
Examine the freezer’s power cord thoroughly for visible damage including cuts, fraying, or exposed wires. Pets, moving appliances, or furniture placed against cords can cause gradual wire damage that eventually leads to complete failure. If damage is visible, the cord requires immediate replacement—never attempt to repair a damaged cord with tape, as this creates serious fire hazards.
Check the plug prongs for signs of burning, melting, or corrosion. These symptoms indicate electrical arcing or overheating at the connection point, which may have damaged internal components. A bent or loose plug prong can prevent proper electrical contact, causing intermittent operation or complete failure. If prongs appear damaged, have a qualified technician assess the situation before further use.
Test and Replace Failed Thermostat Components
The thermostat serves as your freezer’s temperature control center, telling the compressor when to run and when to rest. A failed thermostat can prevent the compressor from receiving the signal to start, even when all other components function perfectly.
Locate and Examine Thermostat Housing
Chest freezer thermostats typically mount on the exterior wall of the cabinet, with the sensing bulb extending into the compartment. Remove the control knob and mounting screws to access the thermostat housing. Before disconnecting wires, mark each wire’s position with tape or take a photo—incorrect reconnection creates serious problems.
Visually inspect the thermostat housing for signs of burning, carbon buildup, or physical damage. A hissing sound when turning the knob indicates internal arcing, while complete absence of clicking suggests electrical failure. Corrosion around terminal posts can prevent proper electrical contact even when the thermostat otherwise functions.
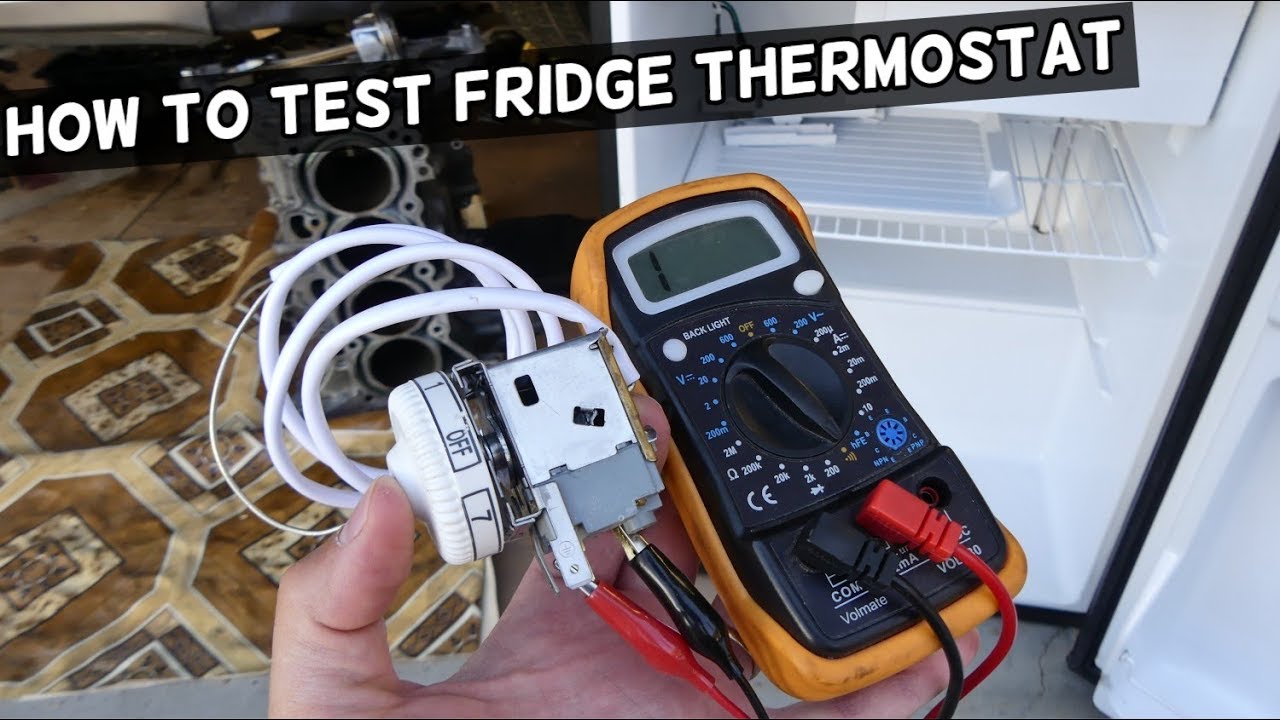
Perform Thermostat Continuity Test
For accurate diagnosis, set a multimeter to the resistance setting. With the freezer unplugged and the thermostat knob turned to its highest setting, touch meter probes to the terminal posts. A functioning thermostat should show zero resistance when turned to the “on” position. If the meter shows infinite resistance, the thermostat has failed and requires replacement.
Repeat the test with the knob turned to its lowest setting—in this position, the thermostat should show no continuity. A thermostat that shows continuity in both positions or neither position is defective. This testing confirms whether the thermostat is preventing compressor operation.
Diagnose Start Relay and Overload Protector Failures

The start relay and overload protector work together as your compressor’s ignition system, providing the initial electrical surge needed to start the motor and then protecting it from overheating. These components, mounted together on the compressor, represent one of the most common failure points.
Recognize Start Relay Failure Signs
Start relays commonly fail in two ways: they either fail to engage (preventing compressor startup) or fail to disengage (causing the compressor to hum without starting). Physical signs include burning marks, melted plastic housing, or a burnt smell near the compressor compartment. A clicking sound from the relay when powering on suggests it’s attempting to engage but failing to complete the circuit.
To test the relay, unplug the freezer and remove it from its socket on the compressor. A functioning relay shows continuity between specific terminals when at rest. Use a multimeter to check resistance between terminals and compare readings against manufacturer specifications printed on the relay label. Substantially different readings indicate failure.
Check Overload Protector Functionality
The overload protector guards the compressor motor against excessive current draw and overheating. Locate it adjacent to the start relay on the compressor. With the freezer unplugged, disconnect the overload and test it with a multimeter set to continuity. A functioning overload shows continuity at room temperature. No continuity indicates a failed overload requiring replacement.
Note that overloads are designed to trip permanently when they overheat significantly—this is a protective feature, not necessarily a defect, but it indicates the compressor experienced abnormal conditions that need addressing.
Identify Compressor Motor Problems
The compressor represents the heart of your chest freezer’s refrigeration system. Compressor problems range from electrical failures within the motor windings to mechanical binding that prevents rotation.
Listen for Compressor Failure Symptoms
A healthy compressor produces a soft humming sound that settles into quieter operation within seconds. A failing compressor may produce loud clicking, growling, or a pronounced hum that persists without settling—the latter often indicates the start relay is engaging, but the compressor cannot overcome internal resistance.
Physical symptoms include excessive heat from the compressor housing during attempted starts, oil stains around the base (indicating internal seal failure), and unusual vibration. The freezer may show partial cooling initially but fails to maintain temperature as a weakened compressor cannot sustain proper refrigerant circulation.
Test Compressor Windings for Failure
Compressor motor windings can fail as open circuits (broken wire) or short circuits (winding grounded to the housing). Testing requires accessing the compressor’s three terminal pins labeled S (start), R (run), and C (common).
Measure resistance between each pair of terminals. Add the S-R and R-C readings—they should approximately equal the S-C reading. Substantially different readings indicate a failed winding. Also test each terminal against the compressor housing; any continuity here indicates a shorted motor that must be replaced.
Assess Capacitor and Wiring Connections

Some chest freezers incorporate starting capacitors to assist the compressor motor during startup. A failed capacitor can prevent startup even when all other components function correctly.
Inspect Capacitor for Physical Damage
Start capacitors are cylindrical components mounted near the compressor. Examine for physical signs of failure: bulging tops, leaking fluid, cracked housings, or discoloration. A failed capacitor may emit a burnt odor or show brownish residue around terminals.
To test, discharge it safely by placing a screwdriver across terminals (wear insulated gloves). Use a multimeter set to capacitance or resistance. A good capacitor will show low resistance that gradually increases as it charges. A capacitor showing zero resistance (shorted) or immediate infinite resistance (open) has failed.
Check Wiring Harness Integrity
Inspect internal wiring for signs of overheating: darkened copper, melted insulation, or discolored plastic connectors. Check for loose connections where wires pull free with gentle tugging. Examine wire runs for damage from moving parts, compression against cabinet walls, or pest damage.
Loose connections can often be repaired by tightening terminal screws or re-securing connector clips. Corroded terminals should be cleaned with electrical contact cleaner and a wire brush. Severely damaged wires require splicing or complete replacement using appropriate gauge wire and proper connectors.
Evaluate Environmental Factors and Installation Issues
Sometimes a chest freezer fails to start due to environmental conditions rather than component failure. These factors are easily overlooked but can prevent normal operation.
Ensure Proper Ventilation and Temperature
Chest freezers require adequate ventilation around condenser coils—typically located on the back, bottom, or sides. Placing the freezer in an enclosed space or against a wall with insufficient clearance stresses components. Ensure at least three to six inches of clearance where coils are located.
Extreme cold can also affect startup. If your garage or basement drops below 50°F (10°C), compressor oil thickens and creates additional starting resistance. Some freezers include cold temperature compensation switches for this reason.
When to Call a Professional Technician
Some chest freezer problems require professional diagnosis due to complexity, danger, or cost considerations.
Recognize Complex Repair Limitations
Replacing a compressor, control board, or sealed refrigerant system requires specialized tools, training, and licensing. These repairs typically cost 50-75% of a new freezer’s price. Before investing, obtain quotes from multiple appliance repair services and compare against replacement costs.
Any repair involving refrigerant handling requires EPA certification—never attempt to service sealed refrigeration systems yourself. Similarly, repairs involving high-voltage electrical work beyond basic outlet testing should be left to qualified professionals.
Implement Preventive Maintenance Practices
Once your chest freezer is running again, regular maintenance extends its service life and prevents recurrence of startup failures.
Establish Routine Maintenance Schedule
Every three to six months, inspect and clean condenser coils using a coil brush or vacuum with brush attachment. Dusty, clogged coils cause the compressor to work harder, accelerating wear. Check that the freezer remains level—adjust feet as needed to prevent door seal leaks.
Annually inspect power cords for damage, test outlet functionality, and verify wiring connections remain tight. Clean door seals with mild soap and water, ensuring they create a complete seal around the cabinet perimeter.
A chest freezer that won’t start doesn’t always mean the end of your appliance. By methodically working through the electrical system, thermostat, start components, and compressor, many startup problems can be identified and resolved without professional service. When repairs become too complex or costly, replacing the appliance provides reliable service and improved energy efficiency. Regular maintenance and careful attention to early warning signs help prevent future failures, keeping your frozen goods safely preserved for years to come.