How to Fix Chest Freezer Leaking Issue
You’re cleaning your kitchen when you notice a puddle forming around your chest freezer. That sinking feeling hits you—appliances aren’t cheap, and leaks can cause serious damage to your floors and surrounding areas. Chest freezer leaks are more common than you might think, and while they’re rarely caused by catastrophic failures, they do require immediate attention to prevent water damage and maintain your appliance’s efficiency. In most cases, a leaking chest freezer stems from simple issues you can diagnose and fix yourself in under an hour, saving you hundreds in unnecessary service calls. This guide will walk you through identifying the exact source of your chest freezer leaking problem, implementing effective solutions, and preventing future occurrences—no technician required.
Identifying the True Source of Your Chest Freezer Leak
Before grabbing towels and tools, you need to determine where the water is actually coming from. Many homeowners mistakenly assume their freezer is leaking when the problem originates elsewhere entirely.
Is It Really a Leak or Just Condensation?
Chest freezers naturally produce condensation when warm, humid air meets the cold exterior surface—especially during summer months or in damp basements. To distinguish normal condensation from a genuine leak:
- Wipe the area completely dry and monitor for 24 hours
- Place paper towels around the base to track moisture patterns
- Check if water appears only after opening the freezer frequently
- Verify if moisture forms primarily on the exterior rather than under the unit
True leaks typically create pooling water that continues accumulating regardless of usage patterns, while condensation usually appears as surface moisture that doesn’t form significant puddles.
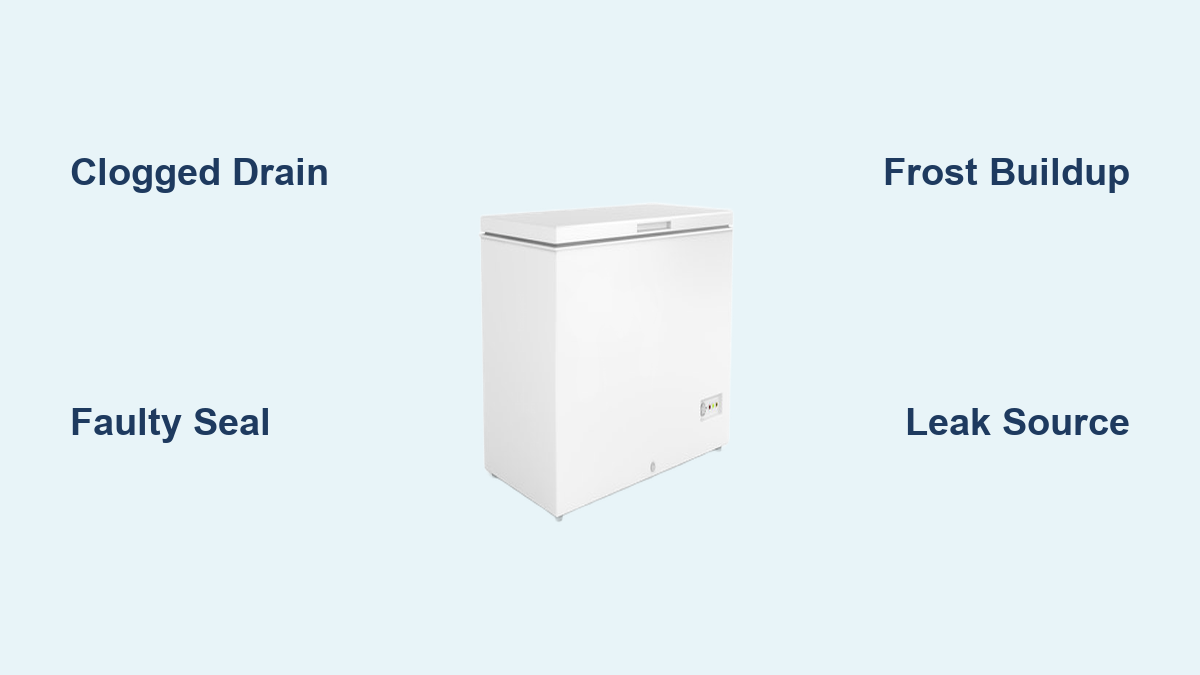
Pinpointing the Exact Leak Location
Systematically inspect these critical areas where chest freezer leaking commonly originates:
- Drain pan underneath the unit – Check if the pan is overflowing from excessive defrost cycle water
- Door gasket seal – Run your hand along the entire perimeter feeling for warm air escaping
- Interior floor – Look for ice buildup that melts during defrost cycles
- Back panel – Examine for frost accumulation indicating defrost system issues
- Hinges and corners – These often collect moisture that eventually drips
Mark the wettest area with a piece of tape before wiping everything dry to help track where new moisture first appears.
Clearing a Clogged Defrost Drain: The Most Common Culprit
Over 70% of chest freezer leaking cases stem from a blocked defrost drain, which becomes obstructed by ice, food particles, or mold over time.
How to Locate and Access Your Defrost Drain
Unlike upright freezers, chest freezer defrost drains are typically found at the bottom center of the interior compartment, often hidden beneath a plastic cover or grille. Look for a small hole (usually 1/4 to 1/2 inch in diameter) near the floor’s lowest point. You may need to remove stored items and pull back any interior lining to access it fully.
Step-by-Step Drain Unclogging Procedure
Follow these steps to clear your chest freezer leaking problem caused by drain blockage:
- Unplug the freezer and remove all contents
- Locate the drain hole and remove any visible cover
- Use a turkey baster filled with warm (not hot) water to flush the drain
- Insert a 1/4-inch flexible plumbing snake or clean wire hanger piece to dislodge obstructions
- Pour a mixture of 1 cup vinegar and 1 cup warm water down the drain to dissolve residue
- Blow air through the drain line using a straw to verify clear passage
- Replace any covers and allow 24 hours for complete drying before restocking
This process typically takes 20-30 minutes and resolves the chest freezer leaking issue in most cases. If water continues accumulating after this procedure, the problem likely lies elsewhere.
Repairing Faulty Door Seals Before Damage Spreads
A compromised door gasket creates the second most common cause of chest freezer leaking, allowing warm, moist air to enter and condense inside the unit.
Diagnosing Gasket Failure with the Dollar Bill Test
Close the freezer lid on a dollar bill at various points around the seal. If you can pull the bill out with minimal resistance, that section of the gasket has lost its sealing ability. Pay special attention to corners and areas near the latch mechanism, which typically wear first.
Temporary Fixes for Minor Seal Issues
For small gaps in your chest freezer leaking scenario:
- Clean the gasket thoroughly with mild soap and warm water
- Apply a thin layer of petroleum jelly to rejuvenate stiff rubber
- Place a hairdryer on low heat 6-8 inches from problem areas for 30 seconds to reshape the seal
- Position heavy books on the lid overnight to help the gasket conform better
These temporary measures can buy you time until you obtain a replacement gasket, but won’t solve severe seal deterioration.
Addressing Internal Frost Buildup That Causes Leaks

Excessive frost accumulation inside your chest freezer often melts during defrost cycles, overwhelming the drain system and causing leaks.
Reducing Frost Buildup to Stop Leaking
Implement these practices immediately to minimize frost-related chest freezer leaking:
- Limit how often you open the freezer (each opening introduces moisture)
- Allow hot food to cool completely before storing
- Keep the freezer at least 75% full to maintain stable temperatures
- Check that the defrost timer is functioning properly (typically cycles every 6-12 hours)
- Verify proper temperature settings (should be at 0°F or -18°C)
If you notice more than 1/4 inch of frost buildup regularly, your defrost system likely needs attention beyond simple maintenance.
Preventing Future Chest Freezer Leaks Through Proper Maintenance
The best approach to chest freezer leaking problems is preventing them before they start with these simple, regular maintenance practices.
Monthly Maintenance Checklist
Create a routine that includes:
- Vacuuming condenser coils at the back or bottom of the unit
- Checking door seal integrity with the dollar bill test
- Inspecting the drain pan for cracks or overfilling
- Wiping down interior surfaces to prevent mold growth
- Ensuring proper clearance (at least 3 inches) around the unit for airflow
Seasonal Deep Cleaning Protocol
Twice yearly, perform these more thorough checks:
- Completely empty and unplug the freezer
- Remove all interior components that can be taken out
- Clean the drain hole and line with vinegar solution
- Inspect wiring for damage near moving parts
- Level the unit using a carpenter’s level
- Apply silicone lubricant to door hinges and seals
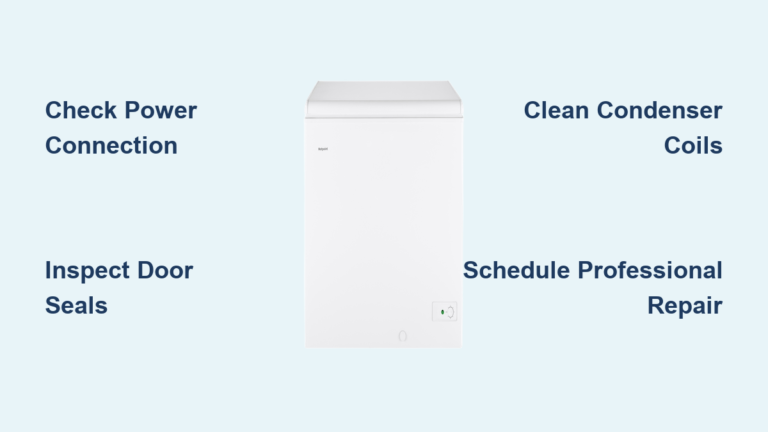
When to Call a Professional for Persistent Leaking
While most chest freezer leaking issues can be resolved DIY, certain problems require professional intervention.
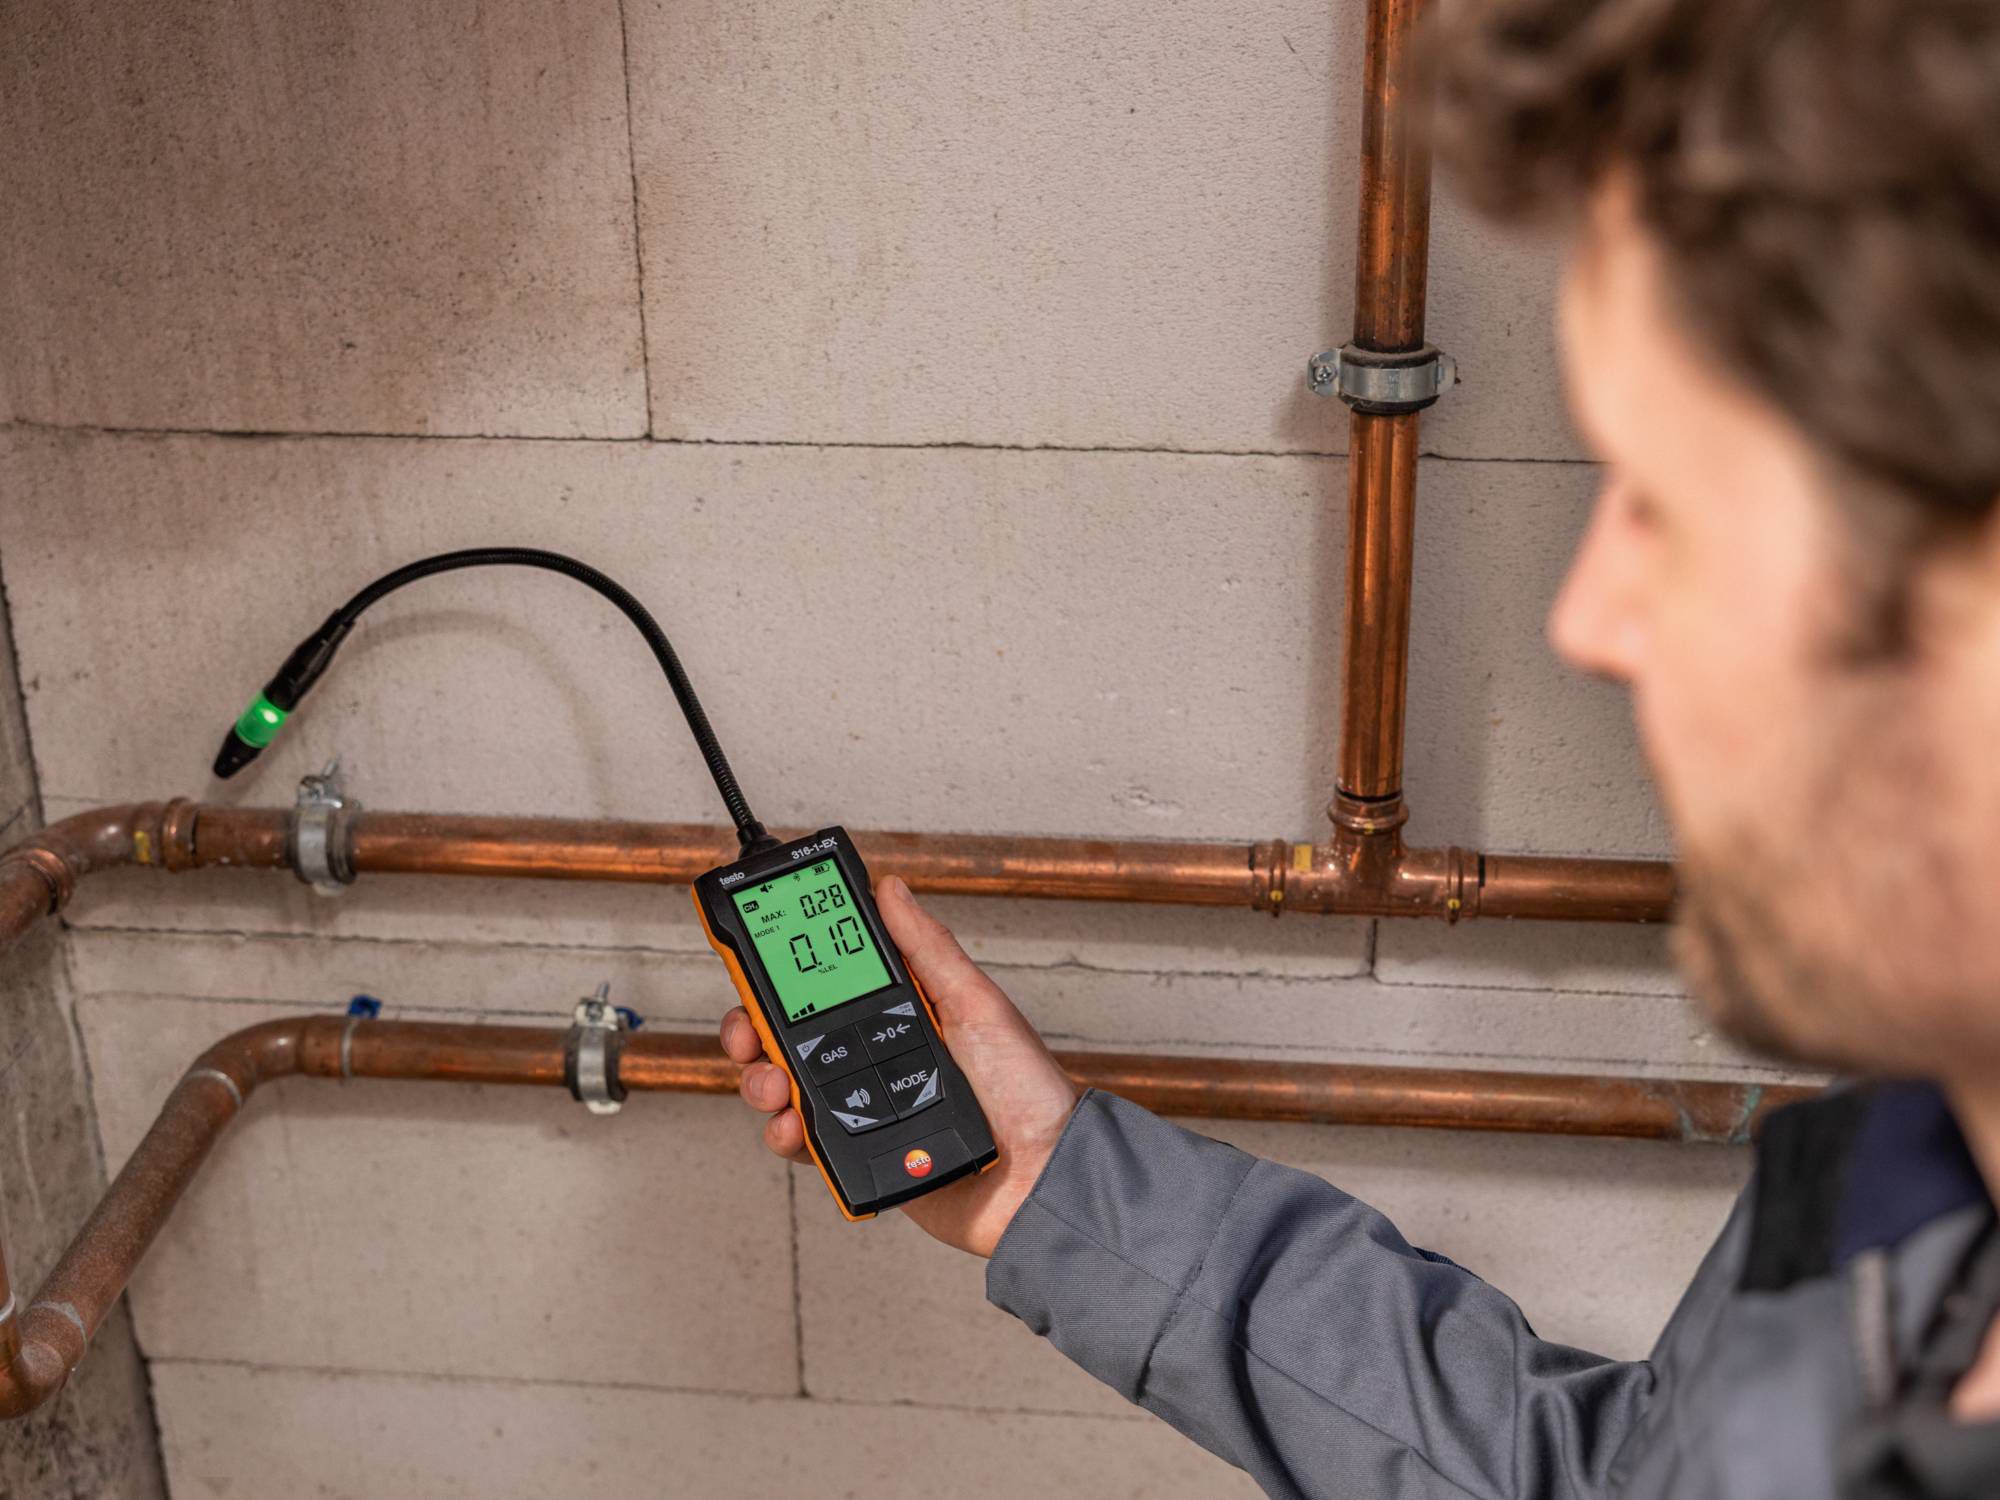
Warning Signs of Serious System Failure
Contact an appliance technician immediately if you notice:
- Water leaking accompanied by a burning smell
- Oil-like residue mixed with the water
- Complete failure to maintain freezing temperatures
- Unusual humming or clicking sounds from the compressor area
- Visible refrigerant lines with ice buildup
These symptoms indicate potential refrigerant leaks or compressor issues that require specialized tools and EPA certification to address safely.
Cost-Benefit Analysis for Repair vs. Replacement
Consider these factors when deciding whether to repair or replace:
- Age of the unit (most freezers last 12-15 years)
- Cost of parts vs. new unit (seals cost $30-80 while compressors run $200+)
- Energy efficiency of newer models (up to 40% more efficient)
- Warranty coverage on both repair and potential replacement
For units older than 10 years with major component failures, replacement often makes more financial sense than investing in expensive repairs.
Final Note: Chest freezer leaking problems are almost always fixable with basic tools and minimal technical knowledge. By understanding the common causes—primarily clogged drains and failing door seals—you can address most issues yourself within an hour. Regular maintenance prevents 90% of leaks before they start, saving you from water damage and costly repairs. Remember that immediate action when you notice moisture can prevent minor issues from becoming major appliance failures. Keep this guide handy for your next chest freezer maintenance session, and consider sharing these troubleshooting tips with friends who might be facing similar freezing appliance challenges.