How to Wrap Steak for Freezing
Discovering your steak has freezer burn after months of careful storage is frustrating—you’ve invested in quality meat only to find it dry, tough, and lacking flavor when you finally cook it. Properly wrapping steak for the freezer isn’t complicated, but skipping key steps can ruin even the most expensive cut. This guide reveals exactly how to wrap steak for the freezer to maintain its premium quality, prevent freezer burn, and ensure your meat tastes as fresh when thawed as it did the day you bought it. Whether you purchased a bulk pack at Costco, received a gift of grass-fed beef, or simply want to preserve a great deal from your local butcher, these techniques will maximize your steak’s shelf life while protecting its texture and flavor.
Why Improper Wrapping Ruins Your Steak Quality
Freezer burn doesn’t just create unsightly white patches on your steak—it fundamentally alters the meat’s cellular structure, causing irreversible damage to texture and flavor. When air reaches your steak in the freezer, moisture evaporates from the surface, leaving behind dehydrated fibers that become tough and leathery when cooked. This process happens gradually, but accelerates dramatically with poor wrapping techniques. Your steak can develop noticeable freezer burn in as little as two weeks if left in flimsy grocery store packaging.
The air exposure that causes freezer burn also allows your steak to absorb odors from other freezer contents. That container of leftover curry or fish fillets sharing space with your ribeyes can transfer their flavors to your premium cuts. Beef is particularly porous and susceptible to odor absorption, which is why many home cooks are surprised when their carefully grilled steak has an unexpected fishy aftertaste.
Proper wrapping creates a complete barrier against air while preserving the steak’s natural juices. Unlike simple plastic wrap alone, which develops microscopic tears in freezing temperatures, professional wrapping techniques maintain integrity for months. This barrier prevents both moisture loss and odor transfer, keeping your steak tasting exactly as it should when you’re ready to cook it.
Essential Tools for Professional-Grade Steak Wrapping

Freezer Paper vs. Regular Plastic Wrap
Freezer paper outperforms regular plastic wrap for long-term storage because of its unique construction. One side features a thin plastic coating that creates an airtight moisture barrier, while the paper side absorbs surface moisture from the meat. When wrapping steak, place the paper side against the meat and fold the plastic-coated side outward. This combination prevents sticking while creating maximum protection. Regular plastic wrap develops tiny punctures in freezing temperatures, allowing air to seep in over time.
Heavy-Duty Aluminum Foil for Maximum Protection
Standard aluminum foil tears too easily for reliable freezer protection. Heavy-duty foil (at least 0.0007 inches thick) provides a superior air barrier that withstands freezer handling. When wrapping odd-shaped cuts like T-bones or tomahawks, foil conforms better than paper while preventing air pockets. For best results, use the “envelope fold” technique: place steak in center of foil, bring long edges together, fold down twice, then fold ends inward twice to create a sealed packet.
Vacuum Sealers for Premium Results
Vacuum sealers remove all air from the package, creating the most effective barrier against freezer burn. These machines heat-seal special bags after extracting air, preserving steak quality for up to three years. While the initial investment seems steep, the money saved by preventing wasted meat quickly justifies the cost. If you regularly buy meat in bulk, a vacuum sealer pays for itself in just a few freezer cycles.
Step-by-Step Steak Wrapping Process
Prepare Your Steak Before Freezing
Pat each steak completely dry with paper towels before wrapping—surface moisture becomes damaging ice crystals during freezing. Work quickly to keep meat at safe temperatures, especially with multiple steaks. Inspect for discoloration or off odors that indicate the steak shouldn’t be frozen. For family packs, separate into meal-sized portions now to avoid repeated thawing cycles later. This preparation takes only minutes but dramatically improves frozen quality.
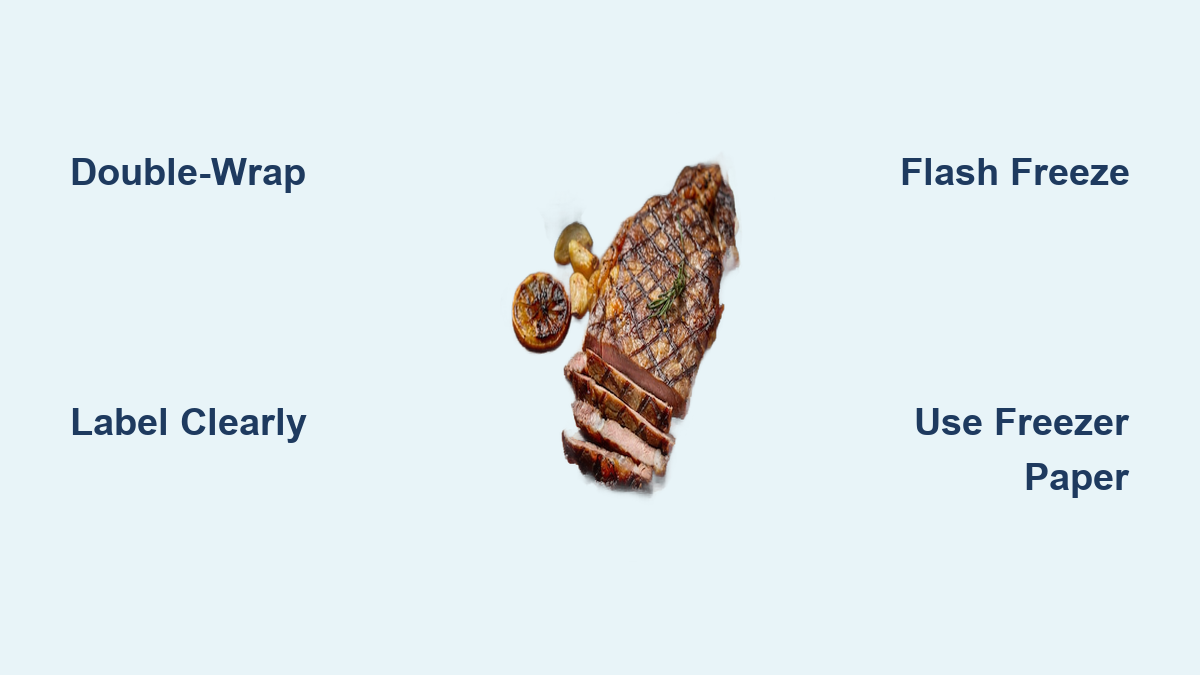
The Double-Wrap Technique That Prevents Freezer Burn
Start by wrapping your steak tightly in plastic wrap, pressing out all air pockets. Next, wrap the plastic-covered steak in freezer paper with the plastic-coated side facing out, sealing all edges with tight folds. Finally, place the wrapped steak inside a labeled freezer bag with the air pressed out. This triple-layer approach creates redundant protection—if one layer develops a tiny tear, the others maintain the barrier. For valuable cuts like Wagyu or dry-aged steaks, this technique is essential.
Proper Labeling That Saves Future Headaches
Write the steak cut, weight, and freeze date on each package using a permanent marker. Many home cooks skip this step, only to discover mystery meat packages months later. Include cooking instructions if you’ve pre-seasoned the steak. Place labels on the top of packages where they’re visible without unpacking your entire freezer. This simple habit prevents wasted food and ensures you use older packages first.
Optimal Freezer Storage Practices
Temperature and Placement Matters
Set your freezer to 0°F (-18°C) or lower and verify with an independent thermometer—many freezers run warmer than their settings indicate. Store wrapped steaks in the back and bottom of the freezer where temperature remains most consistent. Avoid door shelves that experience temperature fluctuations with each opening. Never place heavy items on top of wrapped steaks, as this compresses the protective layers and creates weak points where air can enter.
Air Circulation and Organization
Leave space between packages to allow proper air circulation—overcrowding creates warm spots that compromise food safety. Arrange packages in a single layer when possible, or stack no more than two high. Implement a “first in, first out” system by placing newer packages behind older ones. Check your freezer organization monthly to ensure nothing gets buried and forgotten. This practice maintains consistent temperatures while maximizing steak quality.
Thawing Your Frozen Steak Correctly
The Refrigerator Method for Best Results
Transfer frozen steak to the refrigerator 24-48 hours before cooking, depending on thickness. A one-inch steak typically needs 24 hours, while thicker cuts like tomahawks require 48. Place the wrapped steak on a plate to catch condensation. This slow thaw maintains food safety while preserving texture—rapid thawing causes uneven moisture distribution that leads to tough, dry spots when cooked.
Cold Water Thawing for Time-Crunched Cooks
When you need faster results, submerge the sealed steak package in cold water, changing the water every 30 minutes. A one-inch steak thaws in about an hour this way. Never use warm water, as it raises the steak into the temperature danger zone where bacteria multiply rapidly. Keep the steak in its original wrapping or place it in a leak-proof bag to prevent water absorption that affects flavor.
Warning Signs Your Frozen Steak Has Spoiled
Identifying Dangerous Freezer Issues
Large ice crystals inside the package indicate moisture loss and potential freezer burn. While safe to eat, trim affected areas before cooking. Unusual sour or chemical odors when opening the package signal quality degradation—trust your nose and discard if anything smells off. Slimy texture after thawing indicates bacterial growth during storage; this steak should not be consumed regardless of appearance.
Freezer Burn vs. Spoilage
Distinguish between cosmetic freezer burn (safe but affects quality) and actual spoilage (unsafe). Freezer burn appears as dry, grayish-white patches on the steak surface. While unappetizing, it’s merely dehydrated meat that can be trimmed away. True spoilage involves texture changes, off odors, and potential slime formation—discard any steak showing these signs.
Pro Tips from Professional Butchers
Flash freeze individual steaks on a baking sheet before final wrapping—this prevents them from sticking together in storage. Remove every bit of air from packages by pressing bags from bottom to top before sealing. Freeze steaks flat for easy stacking if you typically cook them that way. For highly marbled cuts, the fat provides natural protection, while leaner cuts like filet mignon need extra wrapping care.
Never leave steak in its original grocery packaging for long-term storage—the thin plastic wrap and Styrofoam tray offer minimal protection. Avoid refreezing previously frozen and thawed steak, as each cycle damages texture. Check freezer bags for tiny punctures before use, as even invisible holes can ruin your carefully wrapped steak over time.
Following these precise wrapping techniques transforms your frozen steak from potentially disappointing to restaurant-quality when cooked. The extra minutes spent properly wrapping pays off in superior texture, flavor, and juiciness when you finally grill or pan-sear your steak. Implement just the double-wrap technique and proper labeling this week, then gradually incorporate other professional methods as you build your freezer management system. Your future self will appreciate opening the freezer to find perfectly preserved steaks ready for an impromptu gourmet dinner anytime. Start with your next grocery store purchase and experience the difference proper freezer wrapping makes to your steak enjoyment.