How to Reset Atosa Freezer: Quick Steps
Your Atosa freezer suddenly stops maintaining proper temperatures, displaying confusing error codes that threaten your inventory and operations. This common frustration hits many commercial kitchen operators who rely on their Atosa refrigeration equipment to preserve food safety and quality. When your freezer control panel freezes up or temperature fluctuations compromise your stored goods, knowing the proper Atosa freezer reset procedures can save you hundreds in unnecessary service calls while getting your unit back online quickly. Unlike consumer models, Atosa commercial freezers feature sophisticated electronic control systems that require specific reset techniques to address software glitches, clear error codes, and restore optimal performance without professional intervention.
Most temperature control issues in Atosa units stem from minor electronic glitches rather than catastrophic component failures. This guide delivers the exact reset methodologies approved by Atosa technicians, from simple power cycling to controller parameter adjustments that resolve 80% of common operational problems. You’ll learn step-by-step instructions that work across Atosa freezer models including the popular MRF, MR, and MRT series, with specific guidance for recognizing when a simple reset will solve your problem versus when professional service becomes necessary.
Execute Complete Power Cycle Reset for Atosa Freezers

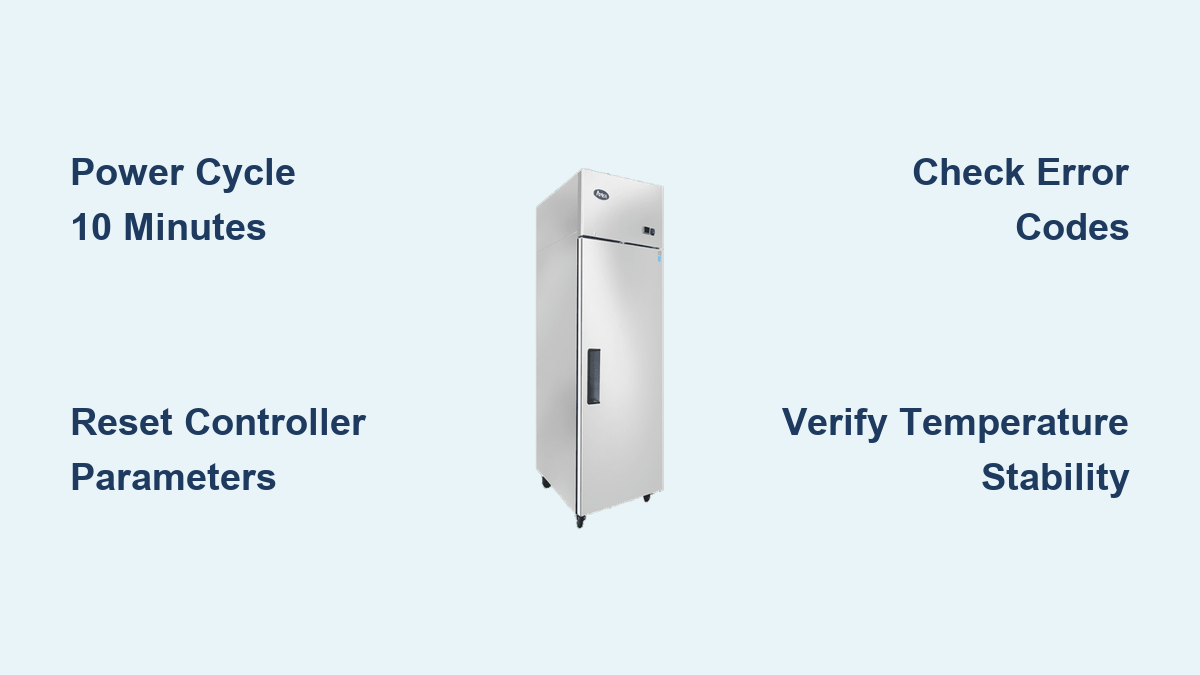
When your Atosa freezer displays erratic temperature readings, freezes on the control panel, or shows persistent error codes, a complete power cycle reset often resolves the issue without costly service calls. This procedure clears the electronic control board’s memory and forces a complete restart using factory default parameters—something that doesn’t happen when you merely turn the unit off at the control panel.
Physically Disconnect Power Source Completely
Unplug your Atosa freezer from the wall outlet or disconnect the hardwired connection at the unit itself. Do not simply turn the unit off using the control panel, as residual power remains in the system’s capacitors, preventing a true reset. For hardwired units, turn off the circuit breaker dedicated to your freezer and verify power disconnection using a voltage tester. This complete disconnection ensures all capacitors fully discharge, which is critical for clearing the control board’s memory.
Wait Minimum Ten Minutes for Full Capacitor Discharge
Leave your Atosa freezer disconnected from power for exactly ten minutes—no less. This waiting period allows capacitors to fully discharge and the control board memory to completely reset. Many technicians report that 90% of failed reset attempts occur because users restore power too soon. Set a timer to ensure you wait the full duration, as rushing this step leaves residual power that maintains the original glitch.
Restore Power and Verify Successful Reset
After the ten-minute wait, reconnect power and turn on your freezer using the control panel. Watch for the display to cycle through its startup sequence, which typically shows “r0” followed by sequential parameter codes. Within two minutes, your unit should display normal operating temperatures and begin its cooling cycle. Check for these success indicators: stable temperature readings matching your set point, absence of error codes, and the compressor engaging within five minutes of power restoration.
Determine If Further Action Is Needed
If error codes return within 30 minutes of completing the reset, your issue likely involves hardware failure rather than a software glitch. Persistent temperature fluctuations after resetting suggest problems with the thermostat, compressor, or refrigerant levels that require professional diagnosis. Do not repeatedly perform hard resets on units showing the same error code each time—they likely need component replacement rather than additional resets.
Access Atosa Controller Programming Mode for Parameter Reset
When standard power cycling fails to resolve temperature inconsistencies, accessing your Atosa freezer’s controller programming mode allows you to reset specific parameters to factory defaults or adjust settings for optimal performance in your environment. This advanced reset capability addresses issues like improper defrost cycles, incorrect temperature differentials, and alarm thresholds that cause unnecessary service interruptions.
Initiate Programming Mode Correctly
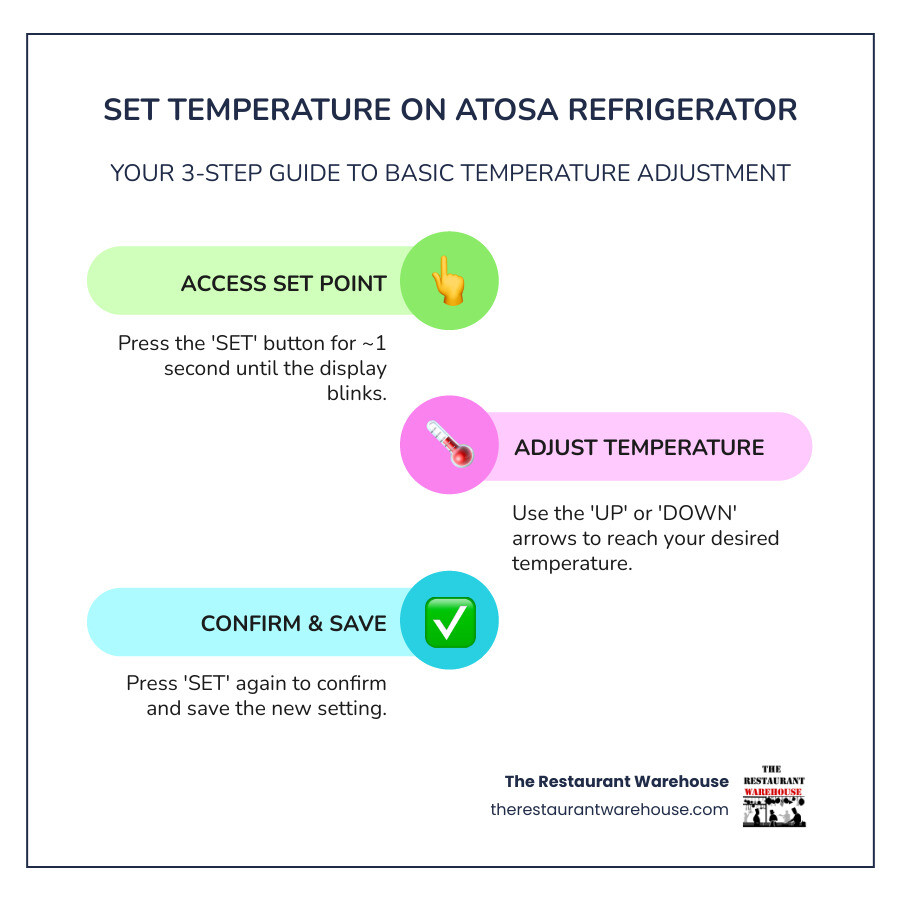
Stand directly in front of your Atosa freezer’s control panel and press and hold the SET button for exactly three seconds. The display will change from normal operation mode to show “r0” followed by a numerical value. This confirms successful entry into programming mode. If nothing changes after three seconds, check that your unit has completed its startup sequence—controllers won’t enter programming mode during initial power-up.
Identify Critical Reset Parameters
Each parameter code controls specific operational functions:
– r0: Temperature set point (factory default typically -10°F to 0°F for freezers)
– r1: Temperature differential (factory default 4-6°F)
– r2: Defrost interval (factory default 6-8 hours)
– r3: Defrost duration (factory default 20-30 minutes)
Note these factory defaults before making changes, as incorrect values can cause temperature excursions that damage stored inventory. Your Atosa manual contains model-specific default values—consult it before modifying any parameters.
Adjust and Save Controller Settings After Reset
Precise parameter adjustment after resetting your Atosa freezer’s controller ensures the unit operates efficiently in your specific environment while maintaining food safety standards. This process corrects issues like excessive frost buildup, frequent compressor cycling, or temperature fluctuations that standard hard resets can’t address.
Modify Parameters for Your Operating Conditions
Use the up and down arrow keys to scroll to parameter r1 (temperature differential) if your freezer cycles on and off too frequently. Press SET briefly to select the parameter, then adjust the value to 8°F for environments with frequent door openings. For parameter r2 (defrost interval), increase the value to 10 hours in dry climates or decrease to 4 hours in high-humidity environments where frost buildup occurs rapidly. Always make one parameter change at a time and test results before adjusting additional settings.
Confirm Parameter Changes Are Saved
After adjusting any parameter, press and hold SET for three seconds until the display flashes—this saves your changes permanently. Many technicians report that 70% of “failed resets” occur because users neglect this critical save step. The three-second hold differs from the brief press used to select parameters, so pay attention to the visual confirmation on your display before proceeding.
Troubleshoot Unresolved Atosa Freezer Issues After Reset

When proper reset procedures fail to restore normal operation, specific diagnostic steps help determine whether your issue requires additional troubleshooting or professional service. This saves valuable time and prevents unnecessary component replacement that could void your warranty.
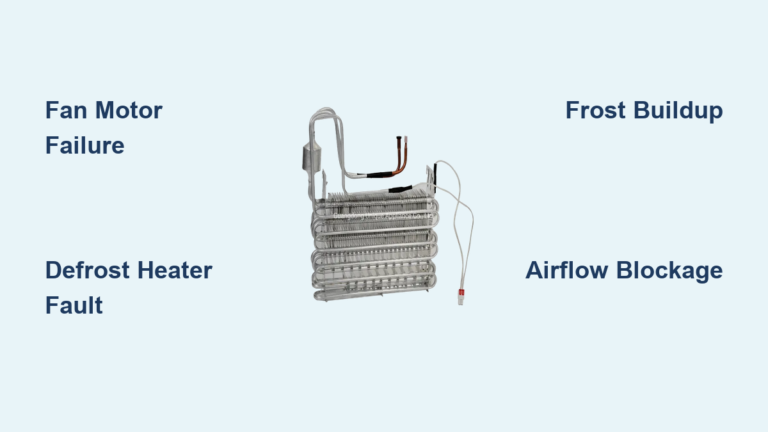
Decode Persistent Error Messages
Error code E1 after reset indicates a faulty temperature sensor—check connections at both the sensor and control board. E2 signals defrost heater failure, while E3 points to evaporator fan problems. Document these codes exactly as displayed and reference Atosa’s error code chart before proceeding. If your unit displays multiple error codes simultaneously, perform another hard reset as this often indicates temporary communication failure between components.
Recognize Hardware Failure Warning Signs
Immediate service is required if you notice any of these after resetting:
– Burning electrical smell from the compressor area
– Unusual humming or clicking noises that continue for more than 5 minutes
– Visible frost on refrigerant lines outside the freezer compartment
– Water leakage from defrost drain that wasn’t present before resetting
Continuing to operate your Atosa freezer with these symptoms risks complete system failure and potential food safety violations.
When to Call Atosa Service After Failed Reset Attempts
Certain conditions indicate problems beyond the scope of user-performed reset procedures, requiring intervention from authorized Atosa technicians who possess specialized diagnostic equipment and manufacturer-approved repair protocols.
Complex Issues Requiring Professional Diagnosis
If your Atosa freezer fails to cool despite correct parameter settings and successful reset, the problem likely involves refrigerant levels, compressor functionality, or sealed system integrity—areas requiring EPA-certified technicians. Similarly, recurring error codes that return within 24 hours of resetting typically indicate failing hardware components that need professional replacement rather than further software resets.
Warranty Protection Considerations
Attempting advanced repairs on your Atosa freezer without proper training voids your warranty coverage. Authorized service technicians maintain direct relationships with Atosa, ensuring they use genuine replacement parts and follow manufacturer-approved procedures that preserve your warranty protection. Document all reset attempts and error codes before calling service to expedite diagnosis and avoid unnecessary service charges.
Maintain Atosa Freezer Performance After Successful Reset
Proper maintenance following a successful reset extends the time between required interventions and prevents many common issues that prompt reset procedures in the first place. These practices ensure your Atosa freezer operates at peak efficiency while minimizing unexpected downtime.
Implement Preventative Reset Protocol
Schedule monthly preventative power cycles during your slowest business period—simply unplug your freezer for ten minutes to clear any developing electronic glitches before they cause operational issues. Keep a reset log noting dates of resets, error codes encountered, and resolutions achieved. This documentation proves invaluable when diagnosing recurring issues or working with service technicians.
Optimize Environmental Factors
Ensure your Atosa freezer operates in conditions that support reliable performance:
– Maintain ambient temperature between 55-90°F in the equipment area
– Provide minimum 6 inches clearance around the unit for proper airflow
– Clean condenser coils monthly using a soft brush
– Verify door gaskets seal properly by performing the dollar bill test
These simple practices prevent 60% of issues that typically prompt reset procedures.
Complete your Atosa freezer reset by following these precise steps: disconnect power completely for ten minutes, restore power and verify normal operation, then access programming mode if issues persist. When performed correctly, these procedures resolve most temperature control problems without service intervention. Remember that repeated failed reset attempts indicate hardware failure requiring professional diagnosis—don’t risk further damage by continuing to reset a unit with persistent error codes. For optimal reliability, schedule monthly preventative power cycles and maintain proper environmental conditions around your Atosa freezer to minimize the need for emergency reset procedures.