Danby Freezer Repair Guide
Your Danby freezer suddenly stops cooling, and suddenly you’re faced with a freezer full of thawed food and a mystery appliance problem. Before you panic or call an expensive technician, many common Danby freezer issues can be diagnosed and fixed with basic tools and a little patience. This comprehensive Danby freezer repair guide walks you through the most frequent problems, from power failures to strange noises, helping you restore your appliance to proper working condition without breaking the bank.
Whether you own a chest freezer or an upright model, understanding how these appliances work empowers you to make informed repair decisions. Most Danby freezer problems stem from a handful of components—the thermostat, start relay, condenser coils, or door gasket—and identifying which part is causing your issue saves both time and money. We’ll cover diagnostic procedures you can perform yourself, component replacement steps, and maintenance practices that prevent future problems.
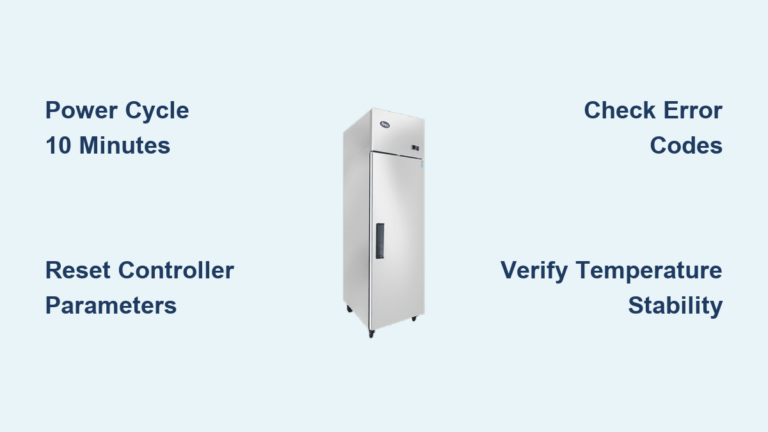
Diagnose Common Freezer Problems
Before diving into specific repairs, systematic diagnosis prevents wasted time and unnecessary part purchases. Freezer symptoms often point to multiple potential causes, so following a logical troubleshooting sequence helps identify the actual problem quickly.
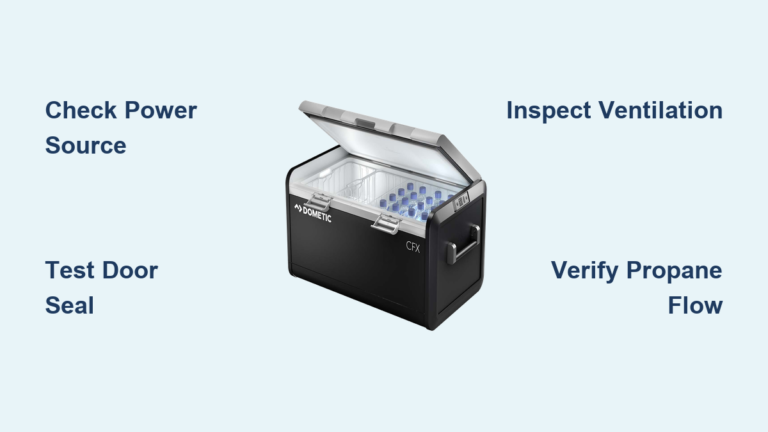
No Power or Running Issues
When your Danby freezer shows no signs of life, start with the simplest explanations first. A tripped circuit breaker, loose plug, or damaged power cord accounts for many “dead” freezer situations. Test your outlet using a multimeter or simply plug in a lamp or phone charger to confirm the outlet has power. Inspect the entire length of the power cord for fraying, burns, or kinks that could interrupt electrical flow.
If power reaches the unit but the compressor won’t start, the problem likely lies with the start relay, capacitor, overload protector, or thermostat. These components work together to initiate compressor operation, and any one of them failing prevents cooling. A clicking sound when you adjust the thermostat usually indicates the relay is trying but failing to start the compressor—a classic sign of relay or capacitor failure.
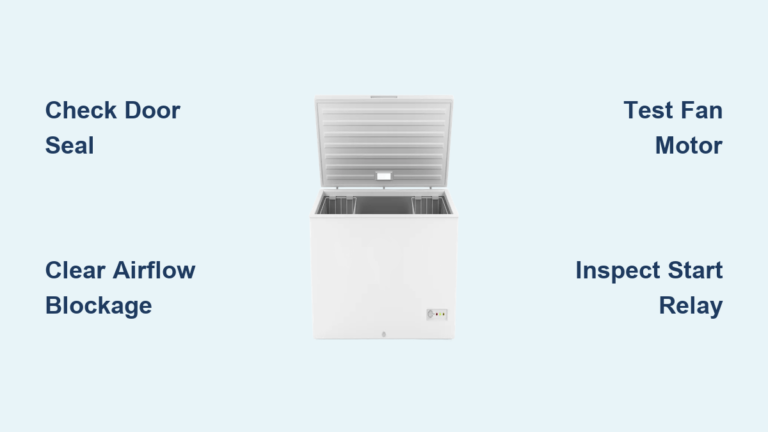
Cooling and Frost Problems
Freezers that run constantly but won’t reach proper temperatures or develop excessive frost present different diagnostic challenges. Inefficient cooling often traces to dirty condenser coils, which Danby recommends cleaning every six to twelve months. When coils become coated with dust and debris, cooling efficiency can drop by thirty to fifty percent, forcing the compressor to work harder without achieving desired temperatures.
Excessive frost buildup—more than a quarter inch on interior walls—indicates a failing defrost system. This system includes the defrost timer, thermostat, and heater element, all of which must function properly to prevent ice accumulation. A clogged drain hole can also cause water pooling and subsequent ice formation, as melted frost has nowhere to go and refreezes inside the compartment.
Fix Power and Startup Issues

Electrical and startup problems frustrate many DIY technicians, but methodical testing isolates the faulty component every time. The compressor startup assembly—comprising the start relay, start capacitor, and overload protector—requires the most attention when your freezer won’t start but shows signs of power.
Test and Replace the Start Relay
The start relay sits on the compressor terminals and engages the start winding during startup. A failing relay often rattles when shaken (indicating internal contact damage), shows visible burning or melting, or fails continuity testing. To test, remove the rear lower access panel and locate the relay—typically a small plastic component clipped directly onto the compressor terminals.
Set your multimeter to the RX1 setting and test the relay terminals. A healthy relay shows continuity between specific terminals depending on its design. If testing reveals an open circuit or the relay rattles when shaken, replacement is necessary. Danby freezers typically use PTC (positive temperature coefficient) relays rated at 165-250V AC. Purchase a replacement matching your exact model specifications, as using an incorrect relay can damage the compressor.
Replace the Start Capacitor
The start capacitor provides the extra electrical boost the compressor needs to overcome startup resistance. Located near the relay on most Danby models, capacitors can fail from age, heat exposure, or electrical surges. Signs of capacitor failure include a humming compressor that won’t start, visible capacitor swelling, or leaking oil.
Before testing or replacing, discharge the capacitor by shorting its terminals with an insulated screwdriver—this prevents dangerous electrical shock. Test capacitance using a capacitance meter; Danby units typically require 120-150 MFD capacitors. If readings fall significantly below the rated value or show infinite resistance (open circuit), replace the capacitor. Always replace both the relay and capacitor together when either fails, as they work as a matched pair and one failing often stresses the other.
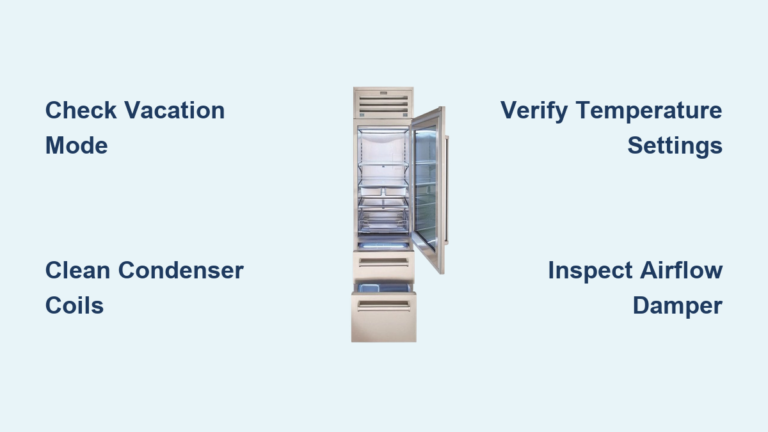
Resolve Insufficient Cooling
A freezer that runs but doesn’t maintain proper temperatures wastes energy and risks food spoilage. Several components working together determine cooling performance, and identifying which one has degraded narrows your repair approach significantly.
Clean Condenser Coils
Dirty condenser coils represent the single most common cause of poor cooling in Danby freezers. These coils—located on the rear or bottom of the unit depending on your model—release heat absorbed from the freezer interior. When coated with dust, pet hair, or debris, heat dissipation suffers dramatically, and the compressor struggles to achieve target temperatures.
To clean, unplug the unit and remove the rear or bottom access panel. Vacuum the coils thoroughly using a brush attachment, then use a soft brush for any stubborn debris adhered to the coil surfaces. Danby recommends this cleaning every six to twelve months, or more frequently if you have pets or the unit is in a dusty location. After cleaning, restore power and allow the freezer to run for twenty-four hours before judging cooling performance—the system needs time to stabilize after any repair.
Inspect and Replace Door Gaskets
A damaged or dirty door gasket allows warm humid air to enter the freezer, overworking the cooling system and causing frost buildup. The dollar bill test provides quick gasket integrity verification: close a dollar bill in the door at multiple points around the entire perimeter. The bill should resist removal at every seal location. If the bill slides out easily at any point, the gasket has lost its seal.
Clean the gasket with mild soap and warm water, removing any food residue or debris from the seal channel. If cleaning doesn’t restore the seal or the gasket shows cracks, tears, or permanent deformation, replacement is necessary. Danby door gaskets typically cost forty to one hundred dollars depending on freezer size. Installation involves removing the old gasket from its door channel—often requiring a putty knife to lift clips or adhesive—and pressing the new gasket into place, starting at the top center and working around the perimeter.
Stop Excessive Frost Buildup

Frost accumulation exceeding a quarter inch indicates your automatic defrost system has failed. This system cycles on every eight to twelve hours to melt any ice forming on the evaporator coils, preventing gradual buildup that eventually impairs freezer function.
Test the Defrost Thermostat
The defrost thermostat clips directly onto the evaporator tubing and monitors coil temperature. It closes (completes the circuit) when temperatures drop below approximately -11°C (12°F), allowing the defrost heater to activate during the defrost cycle. When the coils warm to about 13°C (55°F), the thermostat opens, ending the defrost cycle.
To test, access the evaporator coils by removing the interior back panel—which may require defrosting first if ice has accumulated heavily. Locate the thermostat clipped onto the evaporator tubing and test for continuity using a multimeter while the coils are cold (below freezing). No continuity indicates a failed thermostat that must be replaced. Remember that the thermostat must be cold to test properly; room-temperature testing may show false positives.
When to Call a Professional
While many Danby freezer repairs fall within DIY capability, certain situations require certified technician expertise. Understanding these boundaries prevents personal injury, further appliance damage, and warranty voiding.
Compressor replacement requires EPA certification for refrigerant handling—attempting this without proper licensing is illegal and dangerous. Similarly, any sealed system repairs involving refrigerant recharge, leak detection, or component replacement in the sealed system loop must be performed by licensed professionals. Major electrical repairs beyond simple component replacement, structural damage affecting refrigerant lines, and ice maker water valve replacement (which involves plumbing connections) also warrant professional service.
Warranty-covered repairs generally require professional service to maintain coverage. Danby residential freezers carry a twelve-month parts and labor warranty, with a five-year sealed system warranty covering the compressor, evaporator, and condenser. Document all repairs and retain proof of purchase and service records for any warranty claims. For repairs beyond your comfort level or skill set, contact Danby customer service or a certified repair technician to ensure safe, proper, and warranted service.
Regular maintenance and prompt attention to developing symptoms keep your Danby freezer running efficiently for years. The troubleshooting procedures and repair techniques in this guide address the vast majority of homeowner-level freezer problems, saving you time and money while extending your appliance’s service life. When problems arise, approach them systematically—diagnose before replacing, verify repairs before reassembly, and never hesitate to call professionals when a repair exceeds your capabilities.