Freezer Making Humming Noise? Quick Fix Tips
Your freezer’s gentle hum is normal background noise—until it suddenly transforms into a loud, persistent drone that vibrates through your kitchen floor. That jarring change isn’t just annoying; it’s your freezer screaming for attention. When that humming shifts from a quiet companion to a disruptive roar, it often signals underlying issues that could escalate into costly repairs or even total appliance failure. Ignoring it risks spoiled food, skyrocketing energy bills, or a complete breakdown on a sweltering weekend. In this guide, you’ll learn exactly how to diagnose the source of abnormal humming—from simple fixes you can do in 10 minutes to critical warning signs demanding professional help. Let’s pinpoint why your freezer’s sound changed and stop that noise before it leaves you with $200 worth of ruined groceries.
How to Instantly Determine If the Humming Is Dangerous
Check These 3 Critical Warning Signs First
Before grabbing tools, perform this 60-second safety assessment. Unplug your freezer immediately if you notice any of these red flags:
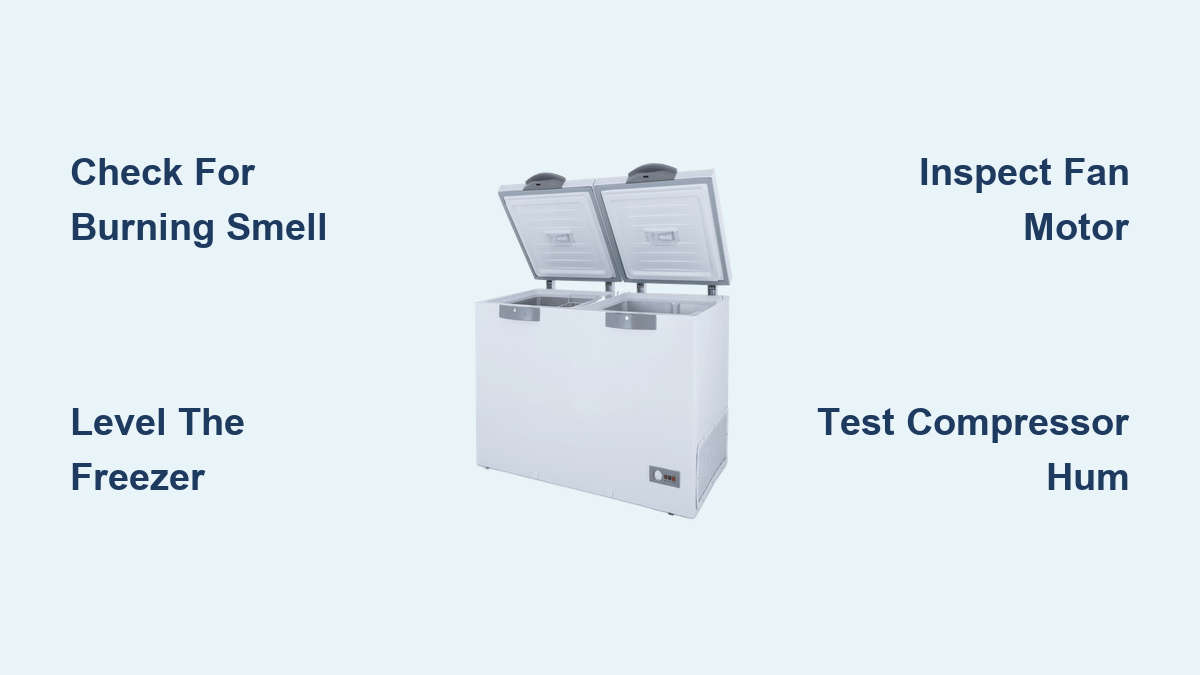
- Burning smells or smoke near the compressor (usually at the back/bottom)
- Excessive heat radiating from the motor compartment (too hot to touch for 5 seconds)
- Oil leaks pooling under the unit (dark, greasy fluid)
If all clear, proceed to diagnose the noise source. Most humming falls into three categories: normal operation (steady 45-55 dB hum), annoying but safe (vibrating shelves), or dangerous (grinding/metallic tones). Measure your noise level: Place your phone against the freezer with a free decibel app. Below 60 dB? Likely harmless. Above 70 dB with rhythmic pulsing? Requires action.
Is This Humming Actually Normal Operation?
Many owners mistake standard compressor sounds for malfunctions. True normal humming has these traits:
– Consistent pitch that doesn’t change during operation
– Starts/stops with the cooling cycle (runs 15-20 mins, pauses 5-10 mins)
– No vibration transferred to countertops or floors
– Volume doesn’t increase over weeks
Pro Tip: Record 30 seconds of the sound. Compare it to Dyson’s official compressor noise demo videos on YouTube—search “[Your Freezer Brand] normal compressor sound.” If your recording matches, relax. If it’s louder or has new rattles, investigate further.
Fix Loose Components Causing Amplified Humming (5-Minute Solutions)

Stop Cabinet Vibration From Turning Hum Into Roar
Loose shelves, drawers, or interior panels turn normal vibrations into deafening noise. Fix this in 3 steps:
- Empty the freezer completely (use coolers for temporary storage)
- Remove all shelves/drawers and inspect mounting points for cracks
- Reinstall components firmly, adding rubber washers ($2/pack at hardware stores) between metal parts
Critical Check: Place a coin on a shelf. If it vibrates off within 1 minute of the compressor kicking on, components aren’t secured tightly enough. Re-tighten until the coin stays put.
Eliminate Floor Resonance With Proper Leveling
An unlevel freezer amplifies motor vibrations through your floor. Use this foolproof method:
- Place a bubble level on the freezer floor
- Adjust front leveling legs clockwise to raise, counter-clockwise to lower
- Target 1/8-inch front tilt (creates proper door seal while reducing vibration transfer)
Warning: Never place cardboard under legs—it compresses and worsens vibration. Use solid rubber anti-vibration pads (like IsoAcoustics ISO-155) cut to size.
Diagnose Internal Components Causing Abnormal Humming
Identify Compressor vs. Fan Motor Noises
Listen at these key locations with a mechanic’s stethoscope (or a long screwdriver pressed to your ear):
| Location | Normal Sound | Problem Sound | Urgency |
|---|---|---|---|
| Back panel | Low steady hum | Loud buzzing + clicking | ⚠️ High |
| Bottom front | Faint pulsing | Metallic grinding | ⚠️⚠️ Critical |
| Inside walls | Occasional drip | Constant high-pitched whine | Medium |
Expert Insight: Compressor issues often worsen when ambient temperatures rise. If humming intensifies on hot days, suspect failing start components.
Test the Condenser Fan Motor Yourself
A failing fan motor creates loud humming as it struggles to spin. Verify in 4 steps:
- Unplug freezer and pull it away from the wall
- Remove the rear access panel (usually 4-6 screws)
- Visually inspect fan blades for ice buildup or obstructions
- Manually spin the blade with a chopstick—should rotate freely 5+ times
If stuck: Defrost completely before restarting. If spins freely but still hums: The motor’s start capacitor likely failed (requires professional replacement).
When Humming Signals Critical Compressor Failure

Recognize These 4 Pre-Failure Symptoms
Your compressor is the freezer’s heart—and humming changes often precede death. Act immediately if you notice:
- Rhythmic pulsing that speeds up over 2-3 days
- Humming that continues after the freezer reaches temperature
- Oil leaks near the compressor housing (check with flashlight)
- Tripped circuit breaker coinciding with noise onset
Time Factor: Compressors failing due to seized bearings typically give 1-3 weeks of warning noises. Ignoring these often leads to total burnout requiring $400+ replacements.
Why You Should Never Attempt DIY Compressor Repairs
Tampering with compressor components risks:
– Electrocution from high-voltage start relays
– Refrigerant leaks (illegal to handle without EPA certification)
– Voiding warranties with improper disassembly
Real Consequence: A DIY blogger recently caused $1,200 in collateral damage by incorrectly replacing a start relay—frying the main control board. Always call a pro for compressor-related humming.
Prevent Future Humming With Proactive Maintenance
Clean Condenser Coils Like a Technician
Dusty coils force components to work harder, amplifying noise. Do this quarterly:
- Unplug freezer and move away from wall
- Locate coils (usually on back or bottom-front)
- Use a coil brush ($8) to gently dislodge dust (never vacuum—bends fins)
- Blow out debris with compressed air in reverse direction of airflow
Pro Move: Place a small fan blowing across coils during summer months. Reduces compressor strain by 15-20%.
Replace Worn Grommets Before They Amplify Noise
Rubber vibration dampeners between the compressor and frame harden over time. Check annually:
– Inspect grommets for cracks/white powdering
– Squeeze gently—they should feel supple, not brittle
– Replace in matched sets ($12 online) using exact model numbers
Warning: Mixing old/new grommets creates uneven vibration transfer that worsens humming.
When to Call a Professional vs. Replace Your Freezer
Cost-Benefit Decision Framework
Use this flowchart to decide your next move:
mermaid

graph TD

    A[Humming started within last 30 days?] -->|Yes| B[Under warranty?]

    A -->|No| C[Freezer older than 10 years?]

    B -->|Yes| D[Call manufacturer for free repair]

    B -->|No| E[Get repair quote]

    C -->|Yes| F[Replace unit - repairs >50% new cost]

    C -->|No| G[Repair if quote < $250]

    E --> H{Quote < $250?}

    H -->|Yes| G

    H -->|No| F
Reality Check: Repairing compressors on freezers over 8 years old costs 60-80% of a new unit’s price. Factor in labor ($120/hr) and parts markup—often making replacement smarter.
Final Noise-Reduction Checklist Before Sleeping
Before bed, perform these 3 quick actions to minimize overnight disruption:
1. Clear 6 inches of space around the freezer (especially back/sides)
2. Place anti-vibration pads under all legs (even if level)
3. Store heavy items on bottom shelves to dampen resonance
Remember: A sudden humming change is your freezer’s distress signal. By methodically checking loose parts, fan operation, and compressor health using these steps, you’ll either solve the issue in minutes or know precisely when to call for help—saving hundreds in emergency repairs. Keep this guide handy; that humming could return when you least expect it. If noise persists after basic fixes, unplug immediately and contact an appliance specialist—your frozen treasures depend on it.